
Since most of my articles are about drawing food, I thought I’d do something totally different and create a drawing tutorial on drawing a kitchen appliance like a stand mixer.
I’ve already done a lot of tutorials on drawing cute and kawaii animals, like this kawaii dog tutorial and this kawaii cat tutorial.
In this post, I will show you how to draw a Stand Mixer step by step.
It’s definitely not super easy, but the steps are easy to follow if you follow the instructions carefully.
You can check out my other kawaii tutorials here.
I’ll even show you how to color the stand mixer, like this:

This post includes affiliate links. If you do decide to purchase something, I will make a commission at no extra cost to you. For more information, please read my entire Privacy Policy here.
I am currently using an iPad Pro and an Apple Pencil to create my digital art.
But you can use any tool – a pen and paper or color pencils or Copic markers or Photoshop because the drawing method remains the same.
Table of Contents
How to draw a Stand Mixer – Easy Step by step instructions
Let’s begin.
Step 1: Draw the Stand Mixer
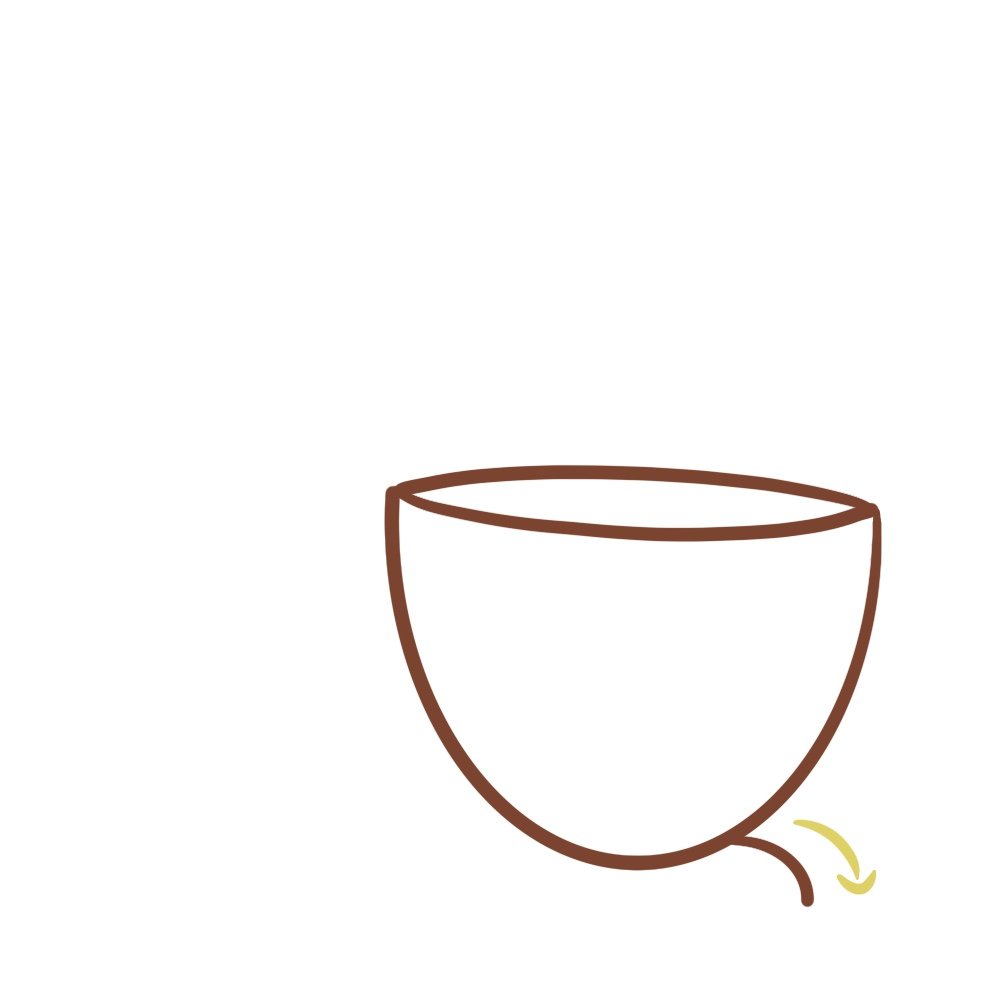
We’ll start by drawing the bowl in the stand mixer first.
I’m going to start with a simple U shape like this:

The U is very deep because stand mixers have a deep bowl so you can mix the batter without spilling.
Next, I’m going to draw the rim of the bowl on top like this:

Now, we need to draw the stand of the stand mixer, so we’re going to draw a simple adjacent curve from the bowl like this:
And now we can draw the base of the stand mixer by drawing another shallow curve like this:

Next, we’re goin to take the line up and end it when we’re at the same height as the bowl like so:
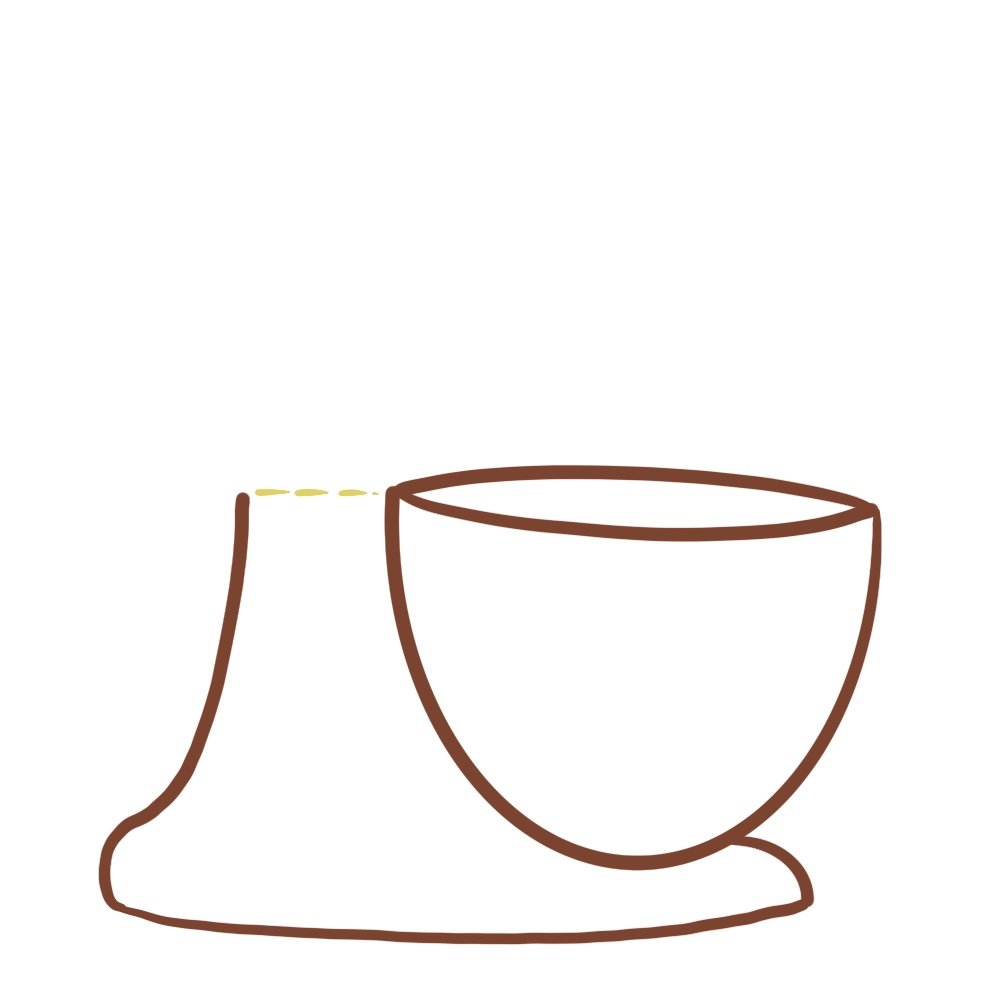
And we’re going to draw the inside of the mixer by drawing an inverted “L” right next to the bowl.

It’s not too hard, right?
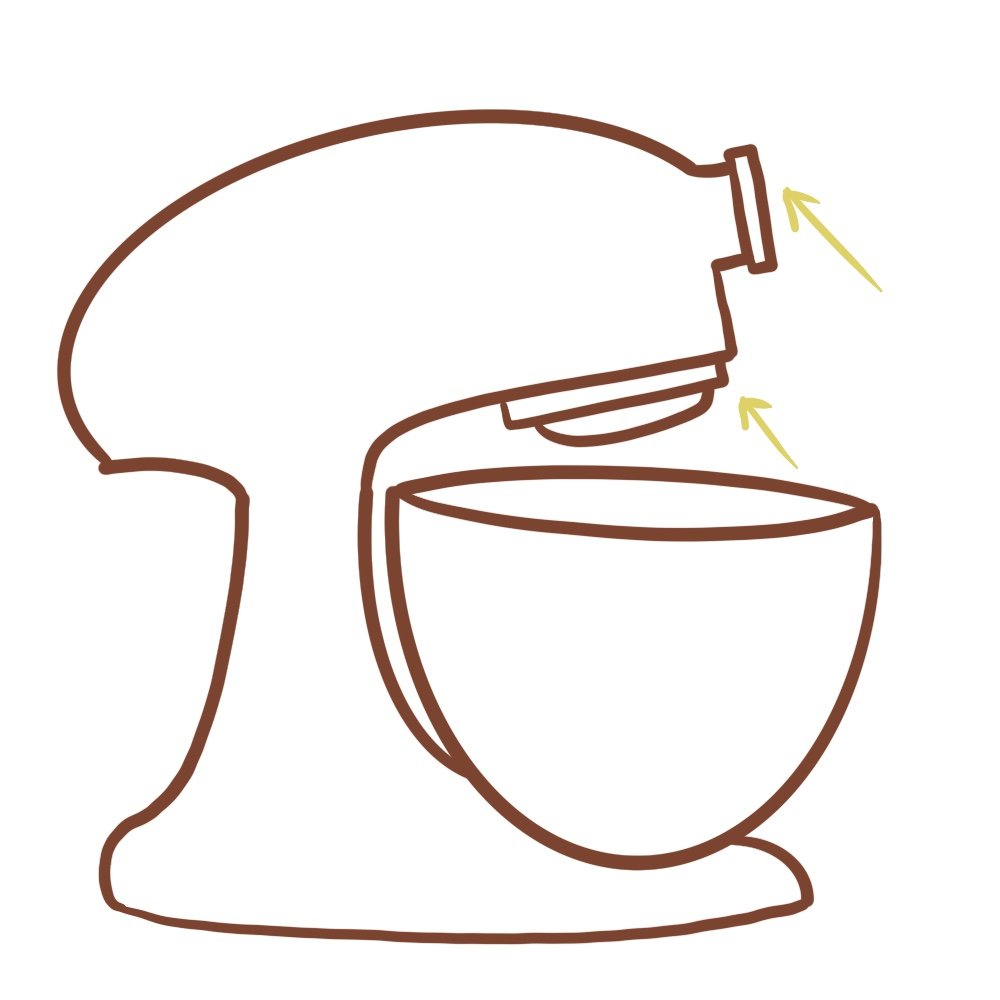
Next, I’m going to draw a simple curve on top of the stand mixer.
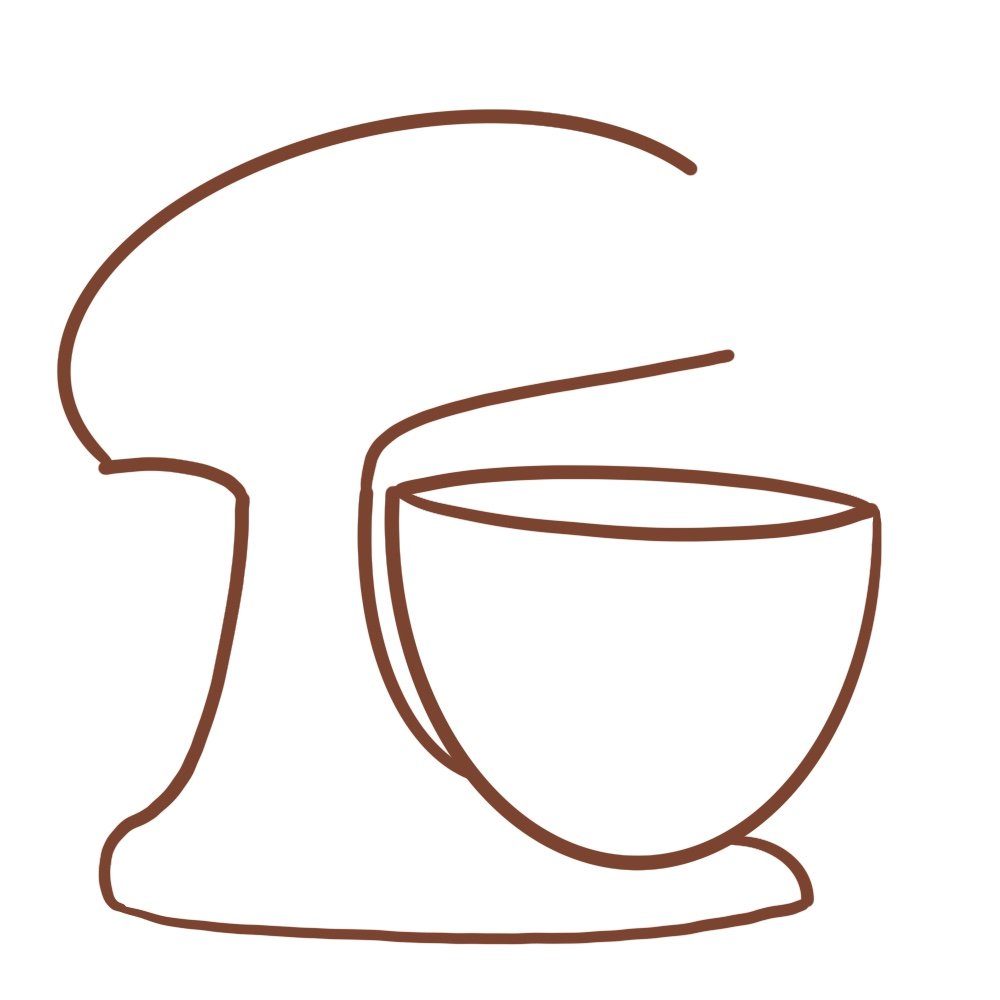
And while drawing the side, we’re going to draw a small protrusion like this. I did use a photo of an actual stand mixer to make this kawaii drawing.
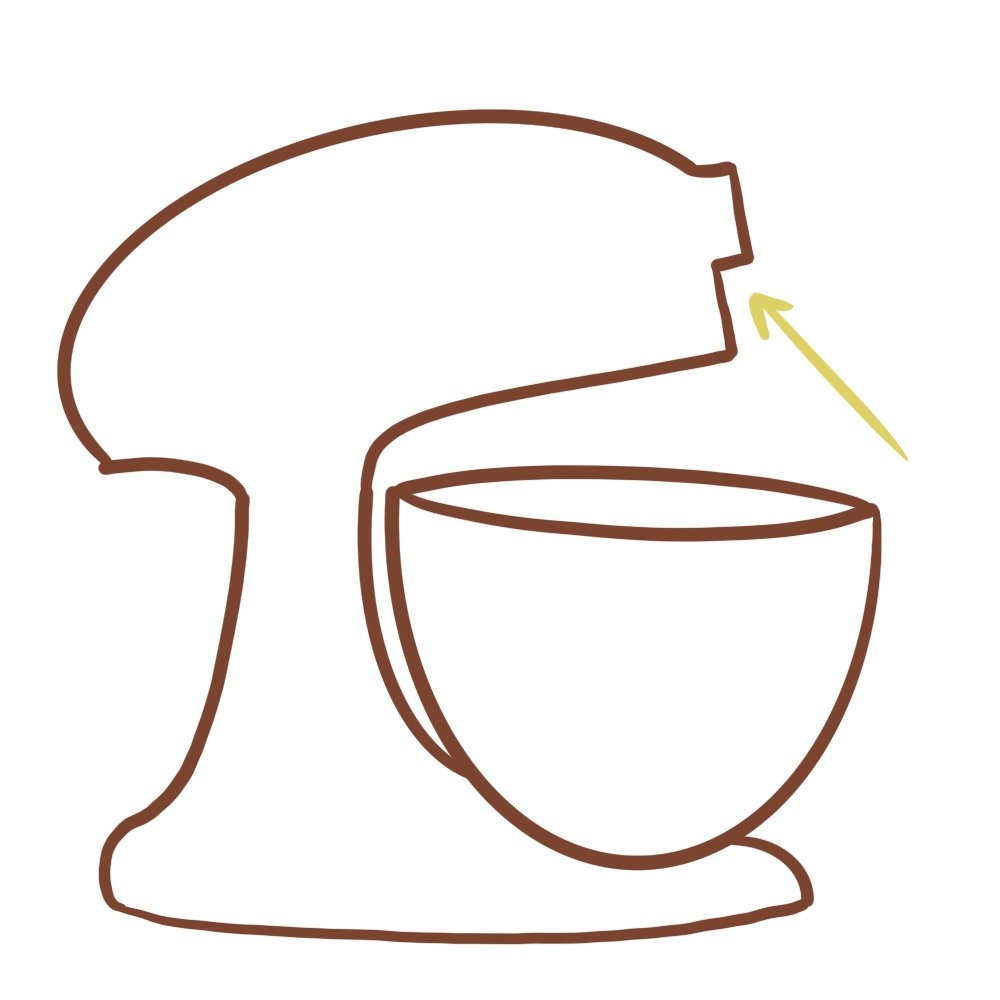
And then I’m going to add some accents like this to the stand mixer to make it look more natural. We are trying to keep this drawing very simple by using extremely basic shapes.
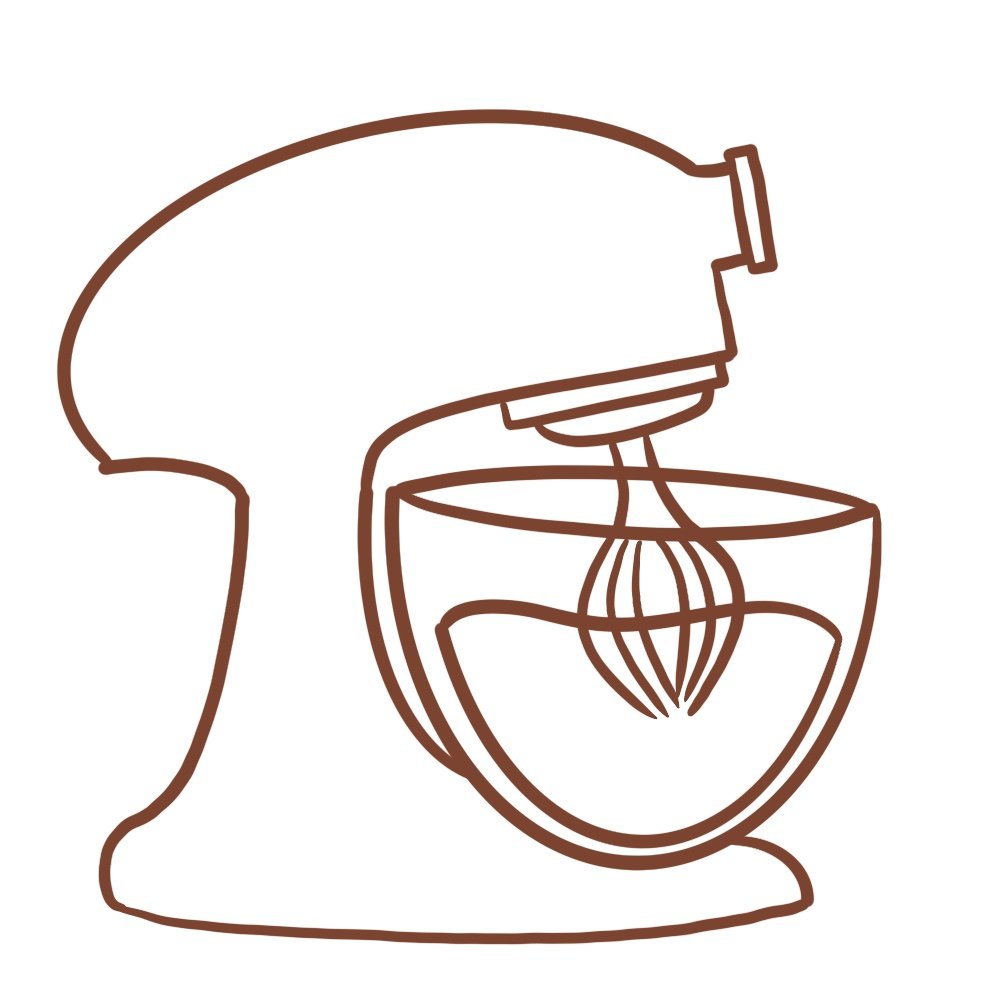
Next, we can draw the blades.
So, I’m going to start with two small curves like this:

And then draw a few claw shaped lines inside the bowl – the bowl is going to be transparent so we can draw the blades – no worries.

Next, we are going to draw the batter, so most of the batter will take the shape of the bowl but the surface of the batter is going to be a wiggly line to make it look like the mixer blades are moving and swirling around the batter.
Lastly, let’s add a few lines to make the stand mixer look more real.
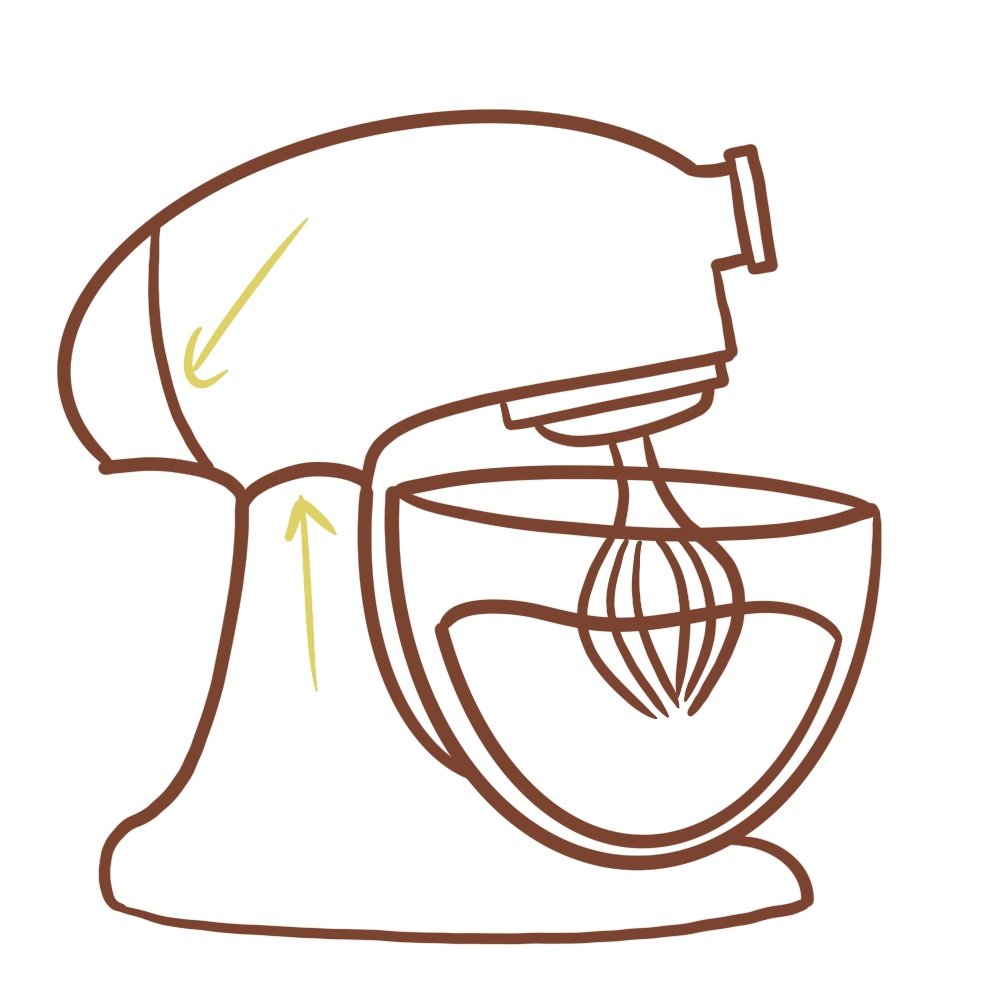
And I’m going to end the drawing by adding a cute kawaii face to the stand mixer.
I always like adding 2 small eyes and a mouth in the center like this:

Step 2: Color the stand mixer
I’m going to color the stand mixer a light purple since it’s one of my favorite colors.

Next, I’ll color the accents of the stand mixer.
Please note that you can color the stand mixer any color you want! It’s totally upto you.
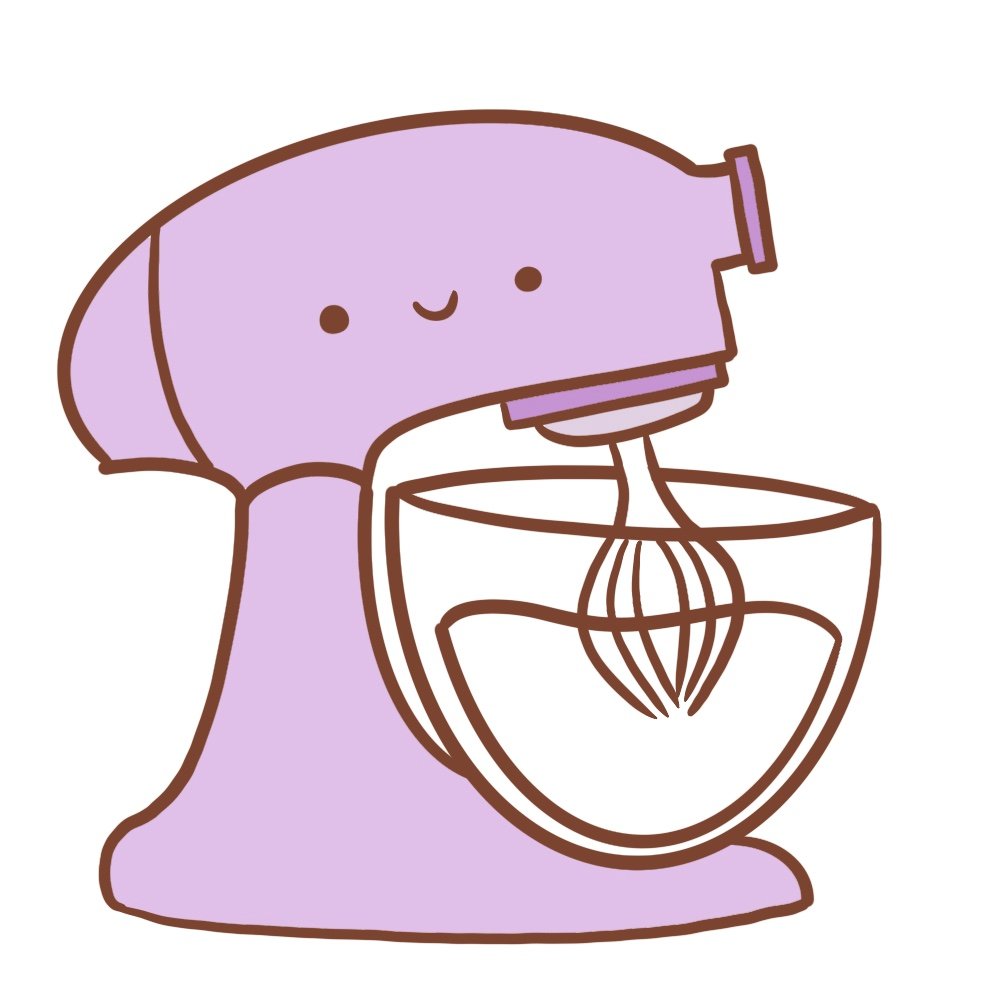
Next, I’m going to color the blades a simple light gray.

And then I’ll color the batter a creamish brown color and color the bowl a light blue.
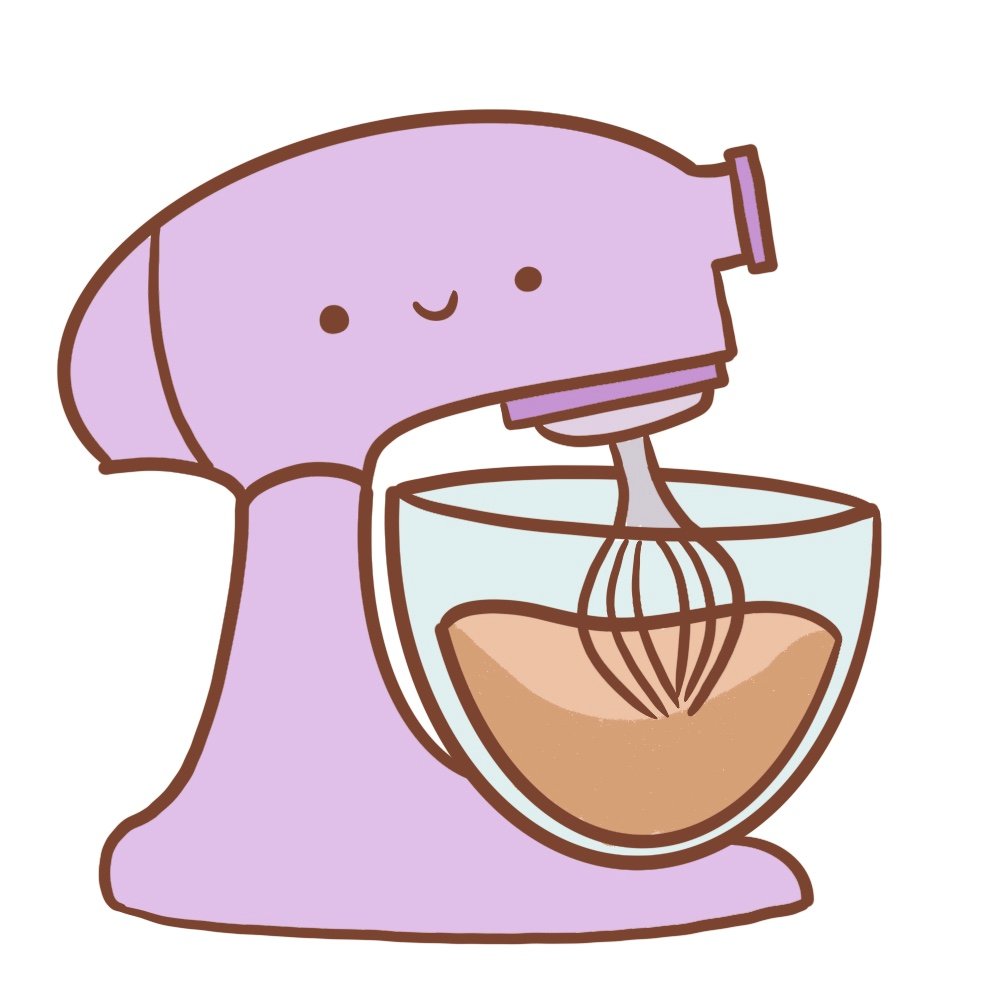
And lastly, I will add 2 blush spots to the stand mixer to the stand mixer just to give it that cute kawaii look.
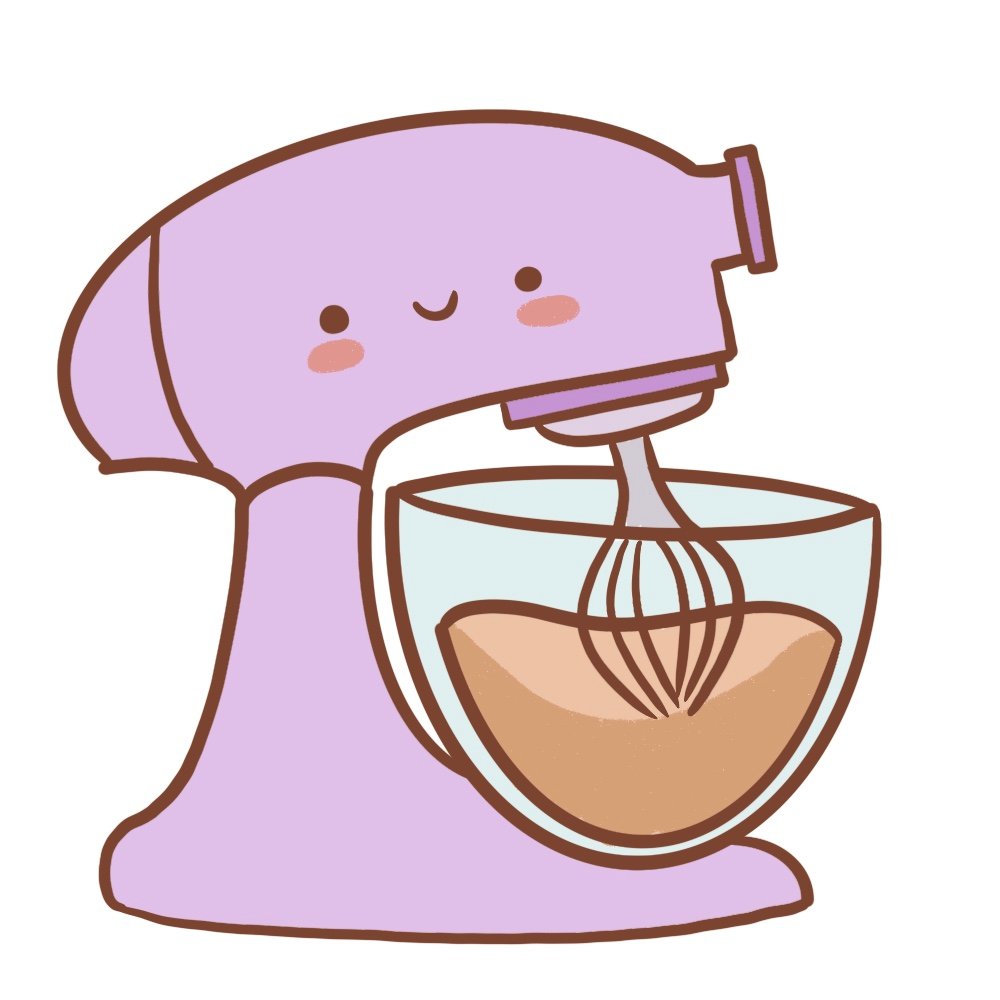
You can leave it like this or you can add some highlights to the stand mixer like this:
I go over how I color my digital art and add highlights in this post.
Conclusion of how to draw a Stand Mixer + Drawing Resources
Was this tutorial helpful?
I hope you could learn how to draw a stand mixer step by step.
If you want to see more tutorials on drawing kawaii animals and kawaii things, please leave a comment below on what you’d like to see next!
I will be adding more kawaii drawing tutorials (animals, food, and lots of things) to this blog, so keep a lookout!
If you are interested in drawing in a kawaii style and then selling clipart or merchandise on Etsy, check out this course!

My old bud Ilaria (we’ve been friends on Instagram back when I had Instagram) created this course! I’ve watched her grow from 0 followers, and I’m so, so proud of her!
And believe it or not, there is not 1 single good online course about learning how to draw kawaii art and then making physical stickers on the internet. I’ve been looking for a course like this for a long, long time.
And it’s finally here!!!
You can create your own stickers and print them and sell them on Etsy or any space! She goes into detail about how to draw the characters.
This is by far one of the best courses I’ve taken that is so cute and so educational.
The course is in English, and it’s amazing!
What do you need?
A sketchbook, Photoshop, and a graphic tablet so that you can draw the kawaii characters. If you want to make stickers, you’ll need a printer and sticker sheets.
Even if you don’t want to make stickers and just draw kawaii characters, this course is perfect!
And if you are really keen on improving your drawings or you want to create cute kawaii animals and kawaii people, check out this second course by Sara.
Sara teaches you how to draw anything in a nice kawaii style. I really love these kinds of courses because they’re so easy to learn and it’s very easy to get clients because this is a really relatable drawing style.
It is in Italian but it comes with subtitles and it’s really easy to follow.
Use code STRAYCURLS-10 to get a 10% discount!
If you are just getting started with ProCreate, I highly recommend this course: Procreate for Beginners: Digital Illustration 101
You may also enjoy:
- How to draw a kawaii dog
- How to draw a kawaii cat
- How to draw a cute dinosaur
- How to draw a long-neck dinosaur
- How to draw a cute chibi frog
- How to draw a cute raccoon face
- How to draw a cute hamster
- How to draw a kawaii unicorn
- How to draw a cute mermaid cat
- How to draw cute boba tea
- How to draw a cute succulent
- How to find your art style


Leave a Comment