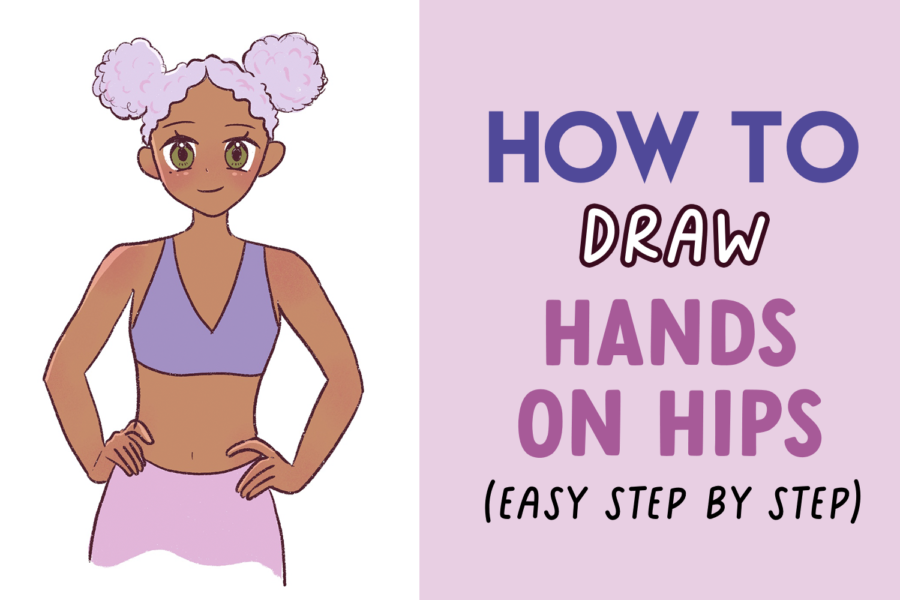
When drawing characters, one of the most popular positions is to draw the character with their hand on their hips.
It can be slightly confusing, especially when taking the length of the arms and the position of the body.
In this post, I’m going to teach you how to draw a hand on a hip in a step-by-step way so that you can draw people in this position easily!
It doesn’t matter if you’re a drawing beginner who’s learning how to draw. The following steps are extremely easy to understand. As long as you follow the tutorial step by step, you should have no difficulty understanding it.
This is the position we will be learning to draw today.

Affiliate Disclaimer: This post includes affiliate links. This means I may make a commission if you choose to purchase anything at no extra cost to you whatsoever. For more information, please read my entire Privacy Policy here.
Please note that I use an iPad Pro and an Apple Pencil to create all my illustrations. But you can use any tool – a pen and paper, markers, or Photoshop because the drawing method remains the same.
If you want to master Procreate and learn how to use it within a week, take this online course – it’s a life-saver!
Let’s begin.
How to Draw a Hand on a Hip- (Step by Step) Easy guide for beginners
We will begin by drawing a rough sketch of the character first.
When drawing Anatomy, it’s wise to draw a rough sketch of the body first – this makes it easy for us to use the rough sketch as a template when creating the main illustration.
This will make it easy for us to draw the character with their hand on their hip.
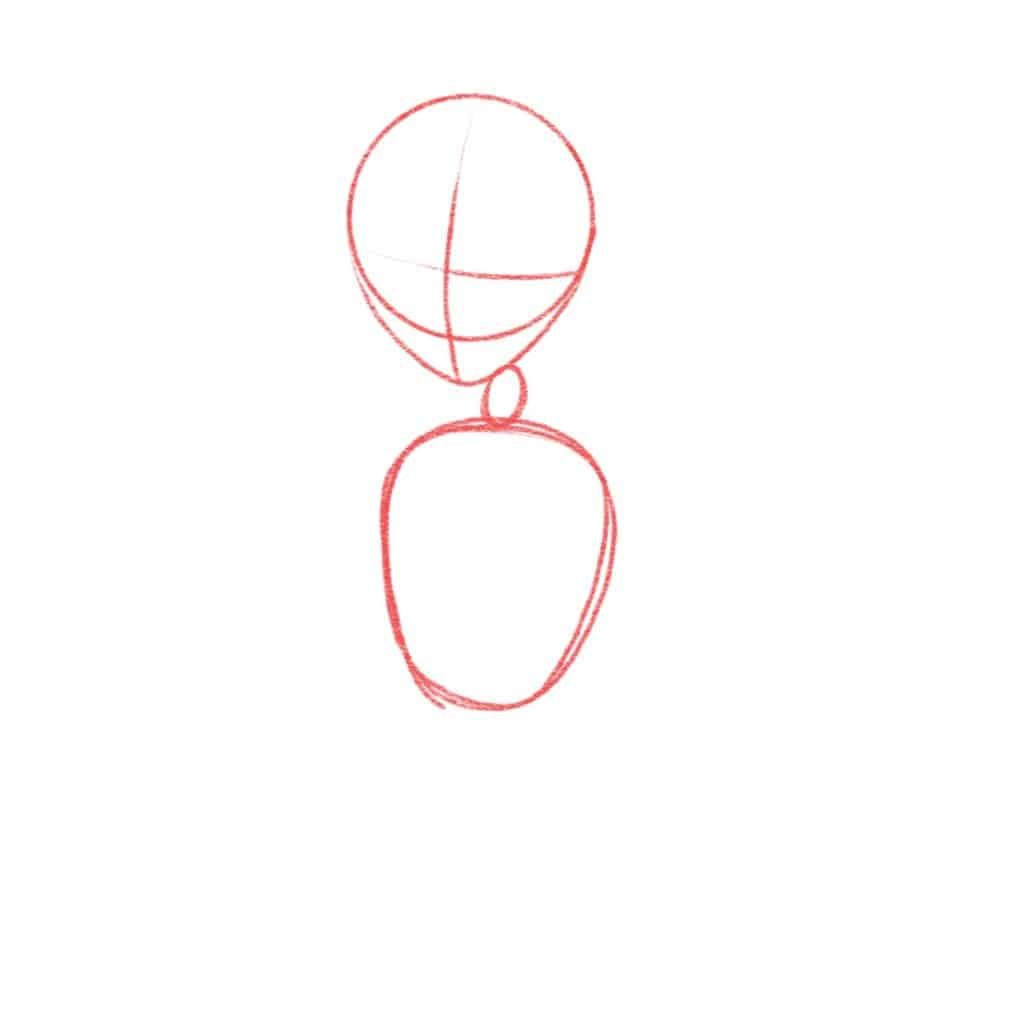
Let’s start by drawing the head shape first.

I’m using the technical pencil in Procreate for this (it is free with the app) but if you are drawing this on paper, make sure the lines are very light, because we’ll be erasing these lines later to draw our final character.
I won’t go into detail about drawing heads because this post is about drawing the position of a hand on a hip, but you can check out this book if you’re interested.
I highly suggest getting that book because you’ll learn to draw human anatomy from scratch and it will make a huge difference to your art.
Next, we’ll draw a rough sketch of the neck and the torso.
I’m twisting it slightly as you can see so that we can draw this character in a nice position that’s more seemly.
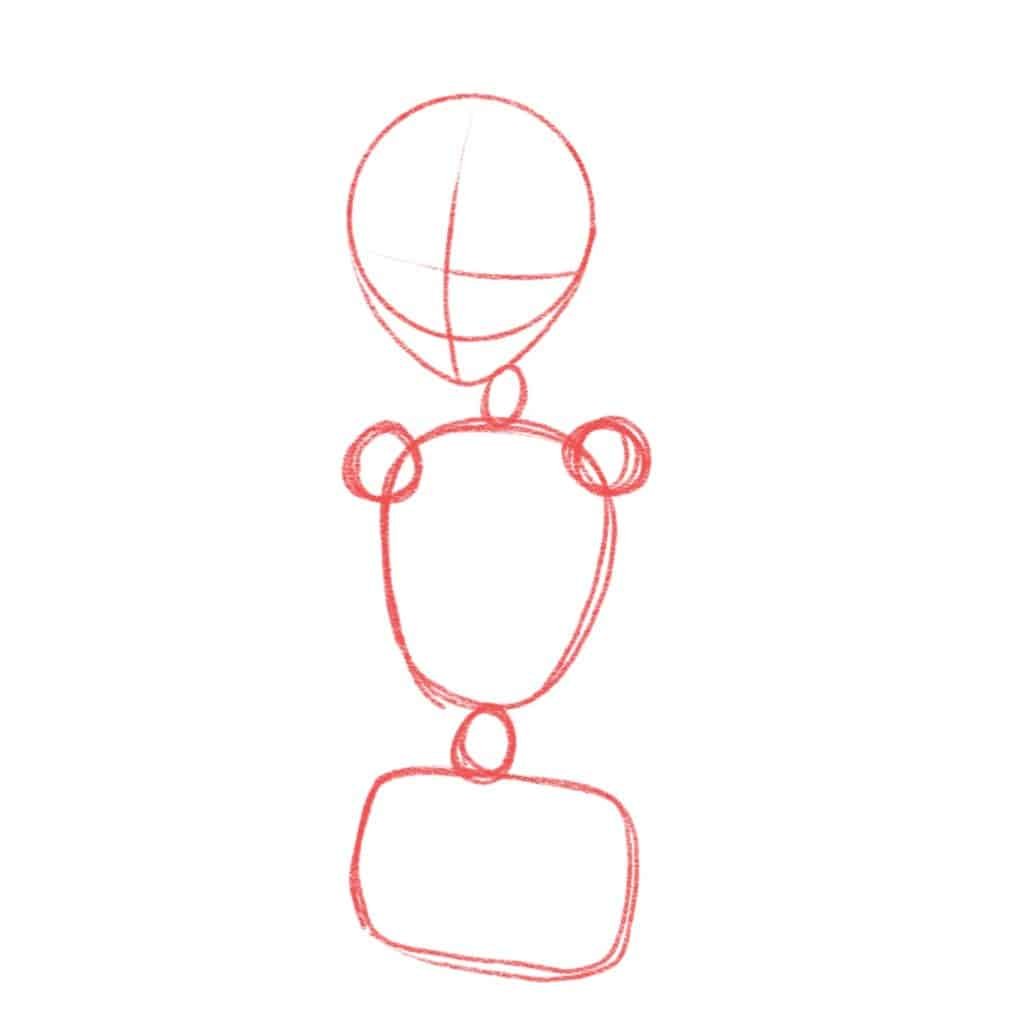
Next, I’ll draw the shoulder joints – we always draw joints as circles.

And to complete the main body, I will draw the waist and the hip. Women’s hips are bigger than men’s so we draw a big box for the hips.
Now, it’s time to draw arms.
I’m going to draw the arm that’s behind her – this arm will be straight lying at her side.

And now, we’ll draw the other arm.
The other arm is going to rest on her hip so we need to fold it like this.
At this point, don’t bother making your drawing perfect. It’s okay if it’s rough – this is just to give us a rough idea of how to ink our lines later.

And we’ve finished our rough sketch.
We can start by inking out the head and the hair. I’m using the dry ink brush in Procreate for this.
You can draw any character – in any art style.

Next, I’ll pen out the neck and the torso of the character like this:

And we’ll draw the shoulder and the arm that is behind her.
If you want to learn how to draw human anatomy, do get this book. It’s what I used to learn to draw better characters.

Now, we’ll draw the hand.
I’m going to draw the bean-shaped palm first and the thumb.
Always draw the palm first. This makes it easier to draw the hand.

Note: Read this post to learn how to draw cartoon hands.
Next, we’ll draw the fingers one by one. You can get this book if you want to learn how to draw hands.

Now, we can draw the other arm.
Note that the elbow is lower than what you expect it to be generally. And keep very little distance between the elbow and the torso.

Now, it’s time to draw the other hand.
We’ll start with the bean shape of the palm first.

Isn’t that easy?
Note: I break down drawing hands in this post if you’d like to understand how to draw hands easily.

And next, we’ll draw the fingers one by one.
We aren’t going to draw the thumb because the thumb is behind the hip.
Once we’ve finished drawing both the arms, we can draw the waist and the hips.
And add the clothes.
To keep this drawing very simple, I’m going to draw a sports bra and leggings to make the clothes fit tight.

And we’ve finished learning how to draw a hand on a hip.
You can also use this hand on hip drawing reference to draw your character in the same pose!
Bookmark this post so you can keep coming back to it.
I’m going to go ahead, erase the rough lines and color my illustration now. Read this post if you would like to learn how to color digital art.
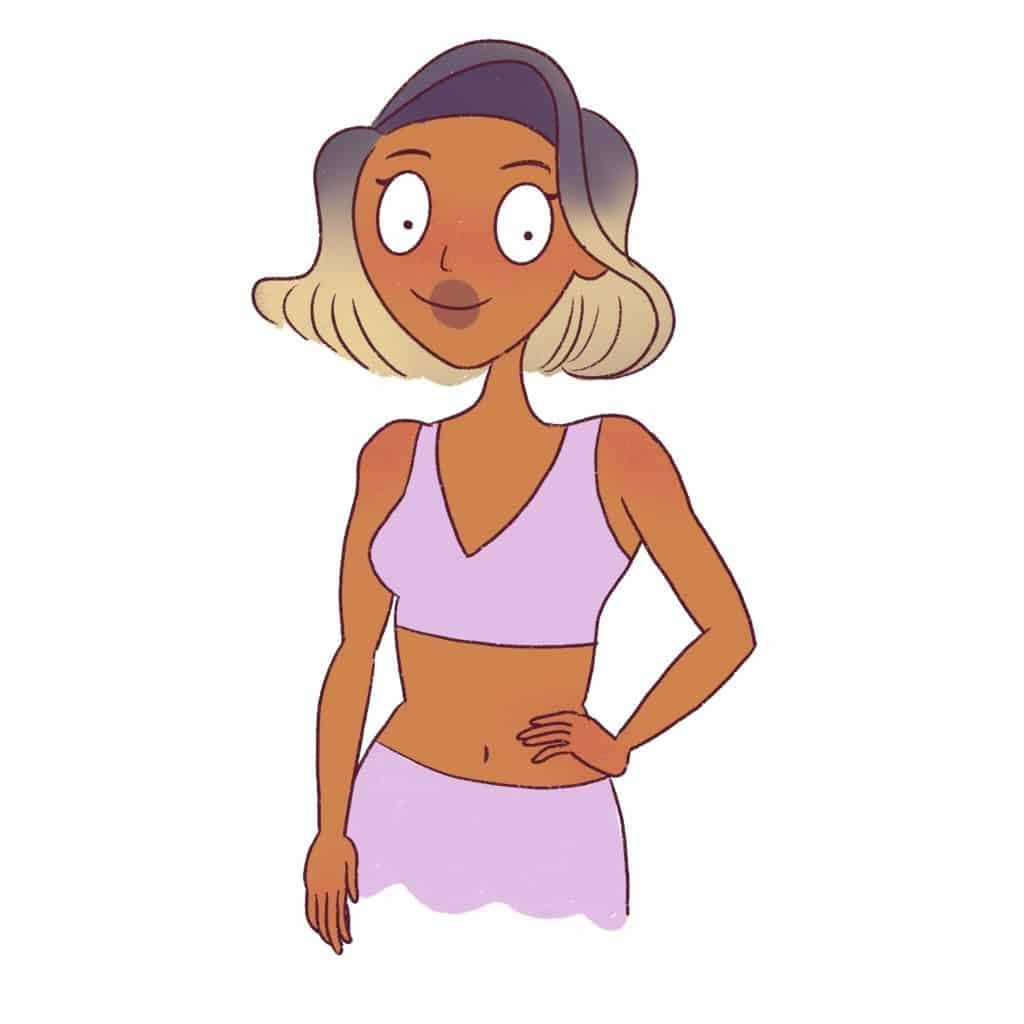
Next, I’ll add some shadows and highlights and use the blend tool to blend the shadows and I’m done!

Conclusion + Resources
I hope this in-depth tutorial was helpful to you, and you were able to learn how to a hand on a hip easily.
Drawing poses can be a little tricky, but you can use several methods to make drawing poses easier for you:
- Go to quickposes.com to practice drawing poses
- Take photos of yourself in different poses and use that as a drawing reference (one of the best ways to learn)
- Or look at stock photos online of people in poses so you can draw poses better.
Don’t worry if it doesn’t look right straight away.
Drawing poses gets better with practice.
If you want to see more tutorials on hair and people, just leave a comment down below. You can check out my other Character Tutorials to learn how to draw people and clothes.
I will be adding more drawing tutorials to this blog, so keep a lookout!
If you are looking for books on drawing people and bodies check these out.
Want to practice drawing beautiful characters?
If you’re looking to improve your drawings faster and want to really draw as a hobby or even pick up drawing professionally, I highly recommend picking up this beautiful online course that teaches you how to draw appealing characters with personality.
Use code STRAYCURLS-10 to get a 10% discount!
This class will teach you how to draw a character from scratch and then color it.

If you are just getting started with ProCreate, I highly recommend this course: Procreate for Beginners: Digital Illustration 101
It will help you learn to Procreate within a day or a week at most. I found it super helpful!
You may also enjoy:





Leave a Comment