Of late, I’ve been obsessed with drawing chibi characters.
I am currently enjoying drawing chibi food and chibi girls because they’re so darn cute and you can make such cute stickers from these drawings.
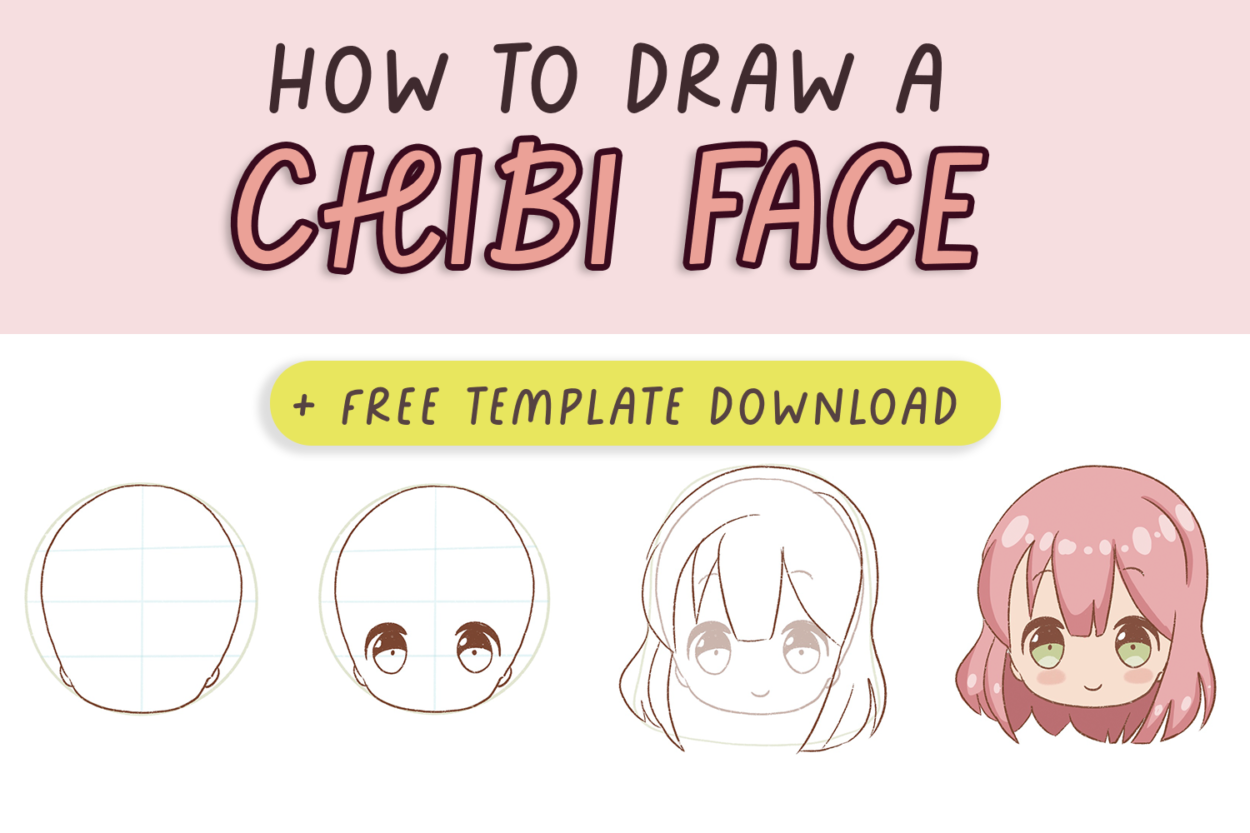
I want to teach you how to draw a chibi face in this tutorial. I think this will be very useful if you’re trying to draw chibi characters.
You can even pick up my free printable chibi face template here and practice on your own:
[convertkit form=3469776]
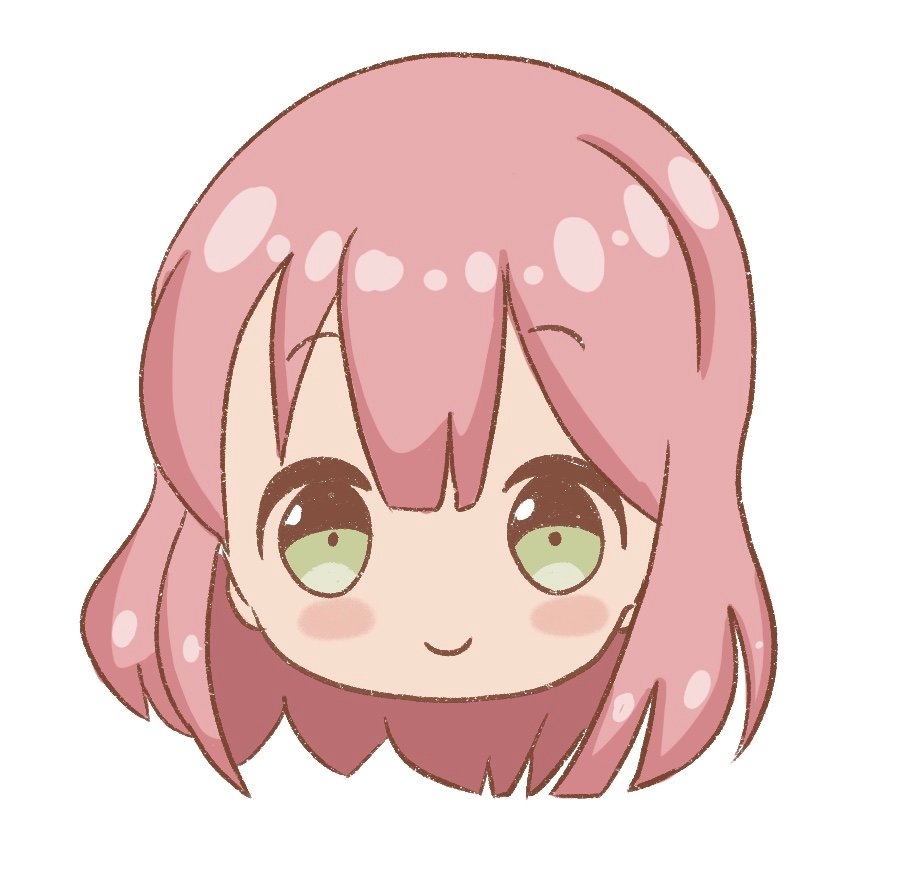
This is what you will learn to draw by the end of this drawing tutorial:
Okay, let’s begin with the basics.
This post includes affiliate links. If you do decide to purchase something, I will make a commission at no extra cost to you. For more information, please read my entire Privacy Policy here.
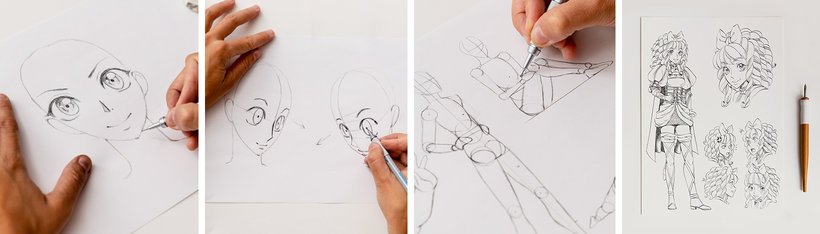
I am learning how to draw chibi characters from all these chibi drawing books. So, please check out those books if you really want to enhance your learning.
Tools I’m using to draw my digital art:
I’m currently using:
And I’m using the Procreate software (which costs $10 one-time-fee)
I highly recommend looking at this superb online course that teaches you how to use Procreate.
You can draw this using pencils or a fine marker, or draw it digitally like me.
The tools you use don’t matter because the technique remains the same.
How to Draw a Chibi Face – Step-by-step easy tutorial for Beginners
If you are using digital art, please remember to keep your lineart on one layer and make it a reference layer.
Remember to keep each color on a new layer – this will allow you to manipulate any specific layer without affecting the others.
All these colors should be underneath the reference layer so that you’re not messing with your outline.
This will enable us to drag and drop colors easily if the area or section is closed completely by lineart.
Step 1: Draw the head
Before starting the face, it’s always best to draw a rough template of a circle first.
This will help us draw the face very easily.
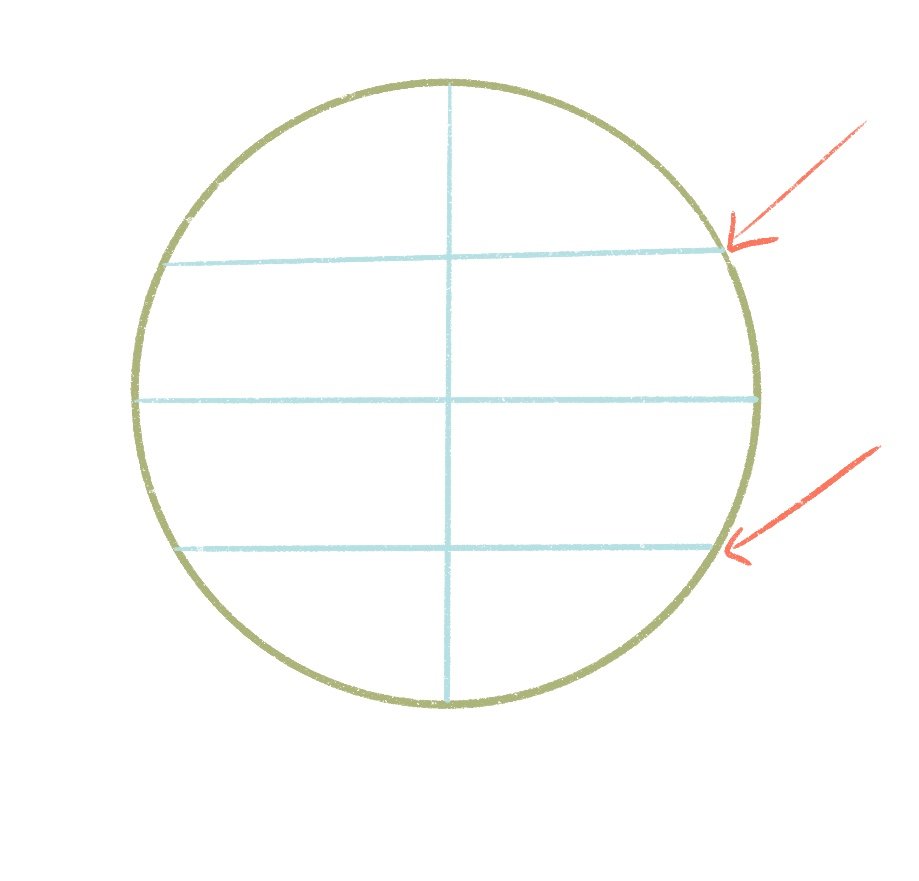
So, first, I’m going to draw a circle and a cross-section inside the circle.
Please use a compass or a stencil if you’re drawing a circle traditionally.

Easy enough, right?
Now, draw 2 more lines (that divide the cross horizontally) in the circle like this. Please note the arrows to understand it better.
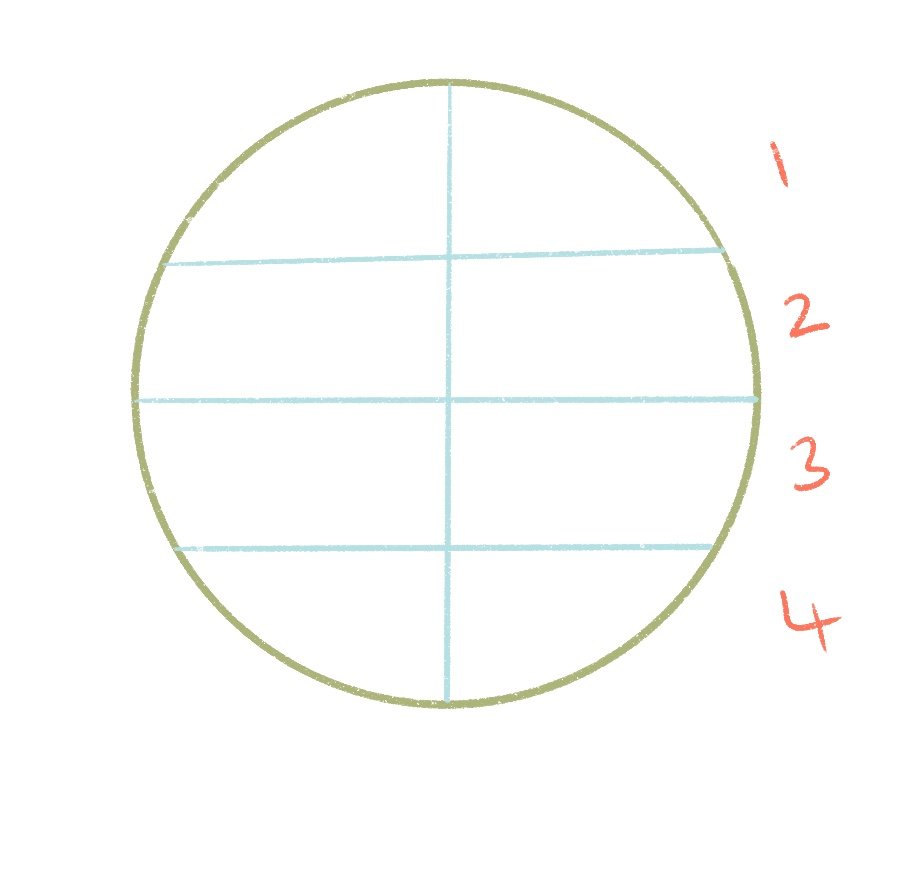
This will divide the circle into 4 equal sections.
Just to make it easier, I’m going to label these sections – 1, 2, 3 and 4. Now it will be easy to draw a chibi face.
Now, we are going to draw the chibi head. So we’ll draw the upper portion first.
Draw a simple curve like this and see how far the curve moves away from the circle as we draw it downwards.
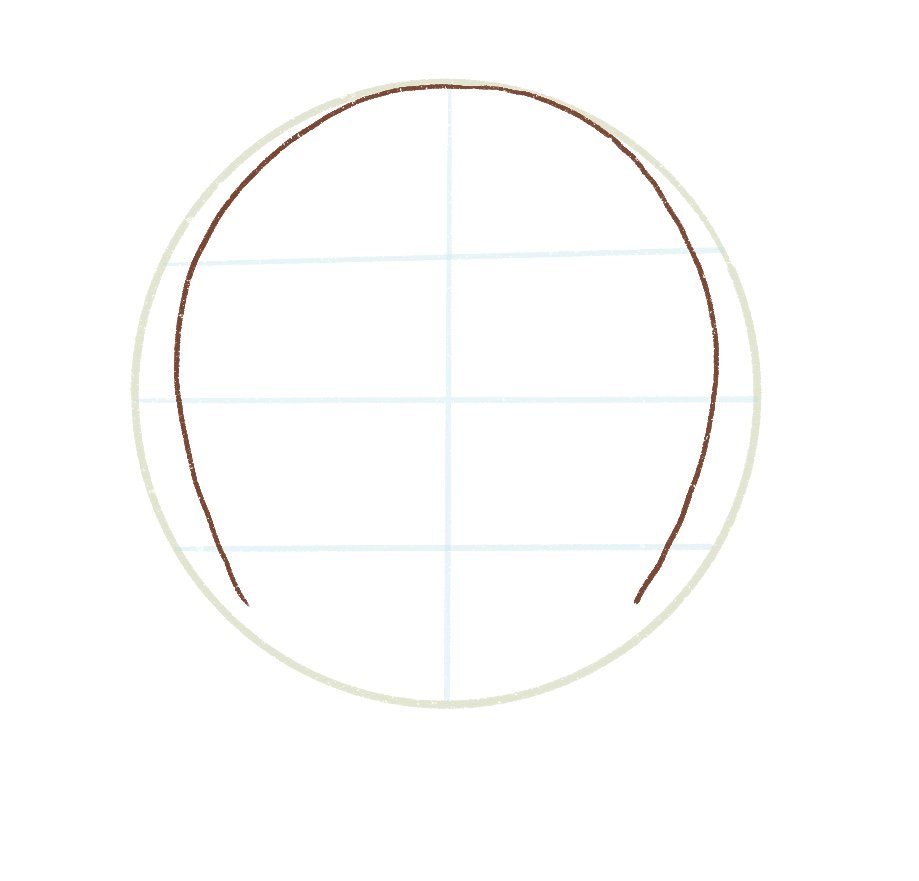
Chibi heads are very big. Sometimes they are bigger than the body so don’t fret if your head looks too big – this is how it is typically drawn.
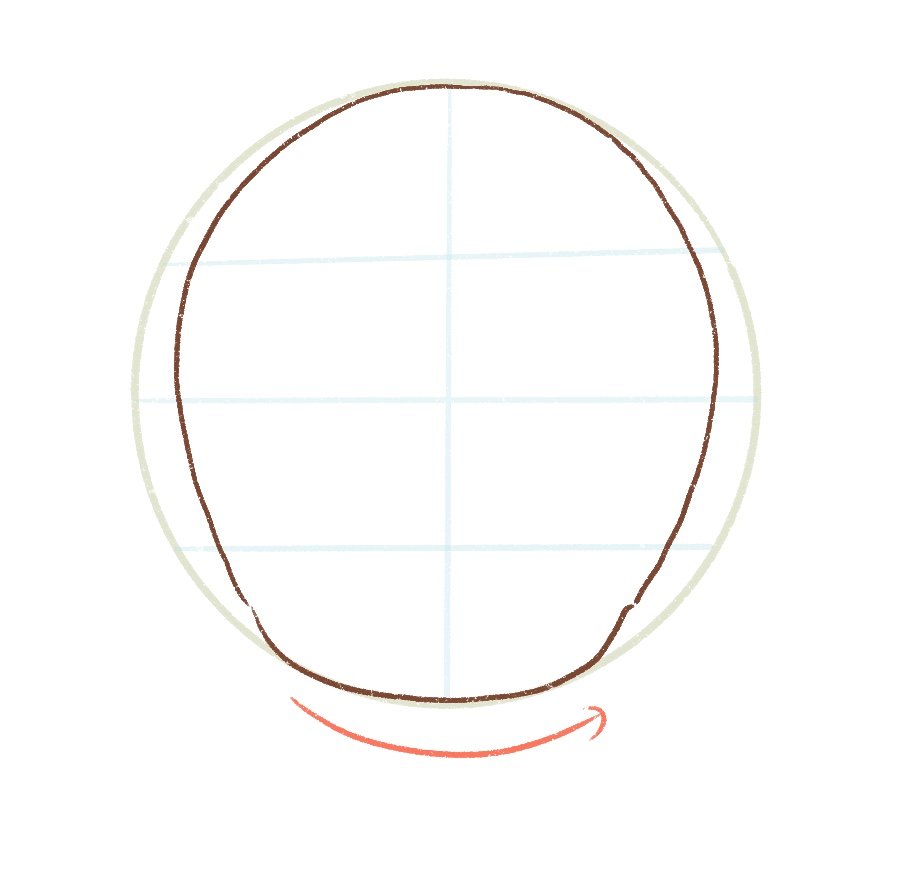
Next, we will draw the chin.
Please note that chibi characters are usually chubby. That’s what gives them that super cute factor.
So, instead of drawing a pointy chin, draw a small curve like this to complete the head of the chibi girl.
As long as you can remember this shape, you can draw practically any chibi face and character.
So, keep practicing this shape so that drawing chibi head shapes comes naturally to you.
Step 2: Draw the facial features
Now that we’ve drawn the head, it’s time to draw the rest of the face.
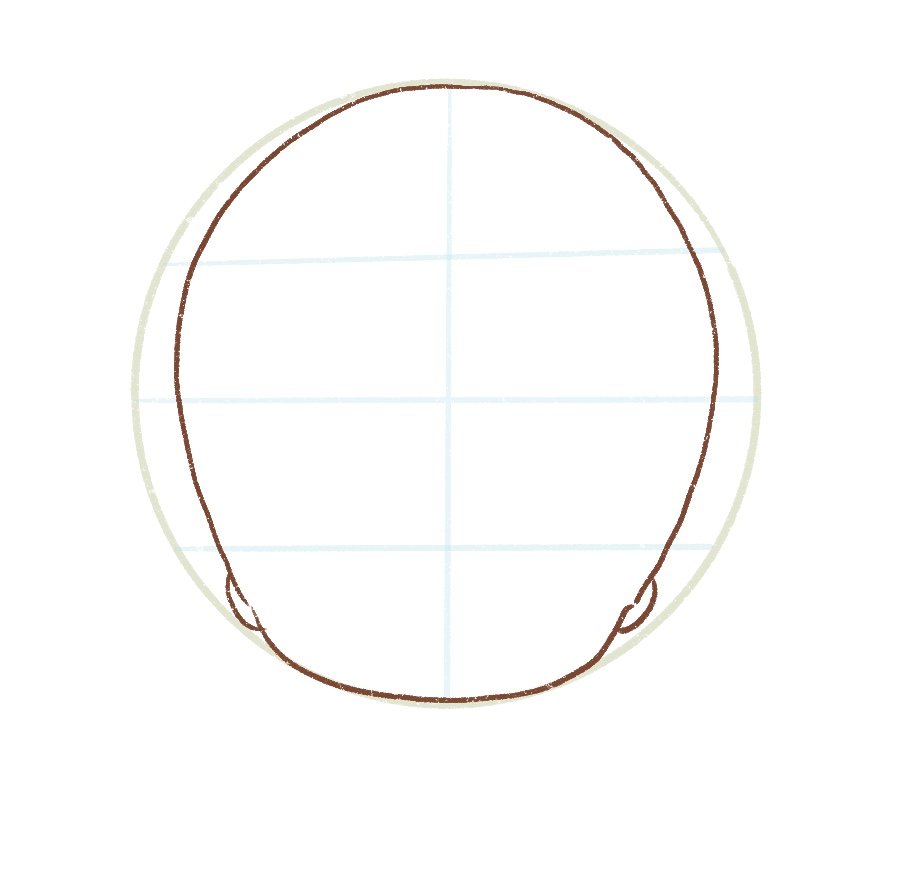
We’ll begin by drawing the ears – just draw 2 small “C” shaped curves at the side of the face.
Draw the ears low because this enhances the cuteness of the chibi girl.
Remember to draw the ears in the 4th section.
Now, it’s time to draw the eyes.
Draw 2 crescent or moon-shaped lines in the 3rd section moving tilted downwards.
These shapes will be the upper eyelids of the chibi girl.

Next, draw 2 soft circles like this right under the crescent shapes. These soft circles will become the chibi eyes.

Now, it’s time to add more details to the chibi eyes.
So, draw 2 small circles at the right and then shade the upper half area of the circles like this. This will give your chibi eyes more depth.
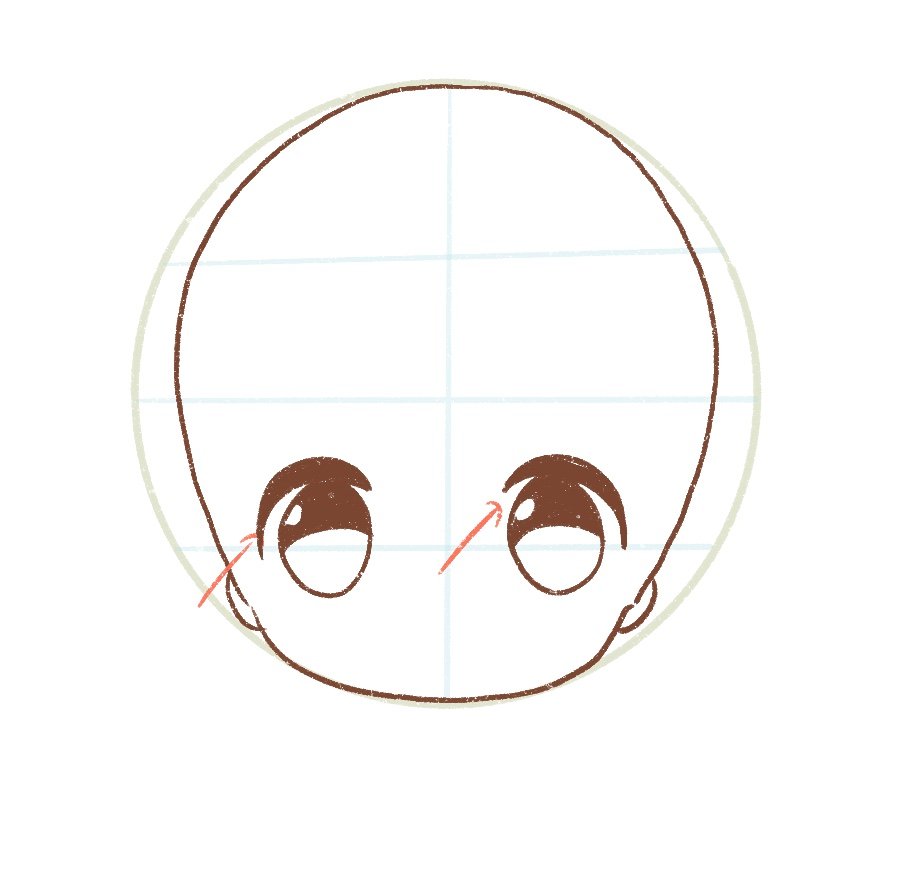
Add 2 small dots underneath the eyes.

The eyes are almost done.
We will add the rest of the details when we are coloring the chibi face.
For now, let’s move on to the rest of the facial features.
Draw 2 eyebrows in the second section of the face (in the middle) and then draw a mouth between the eyes and the chin.
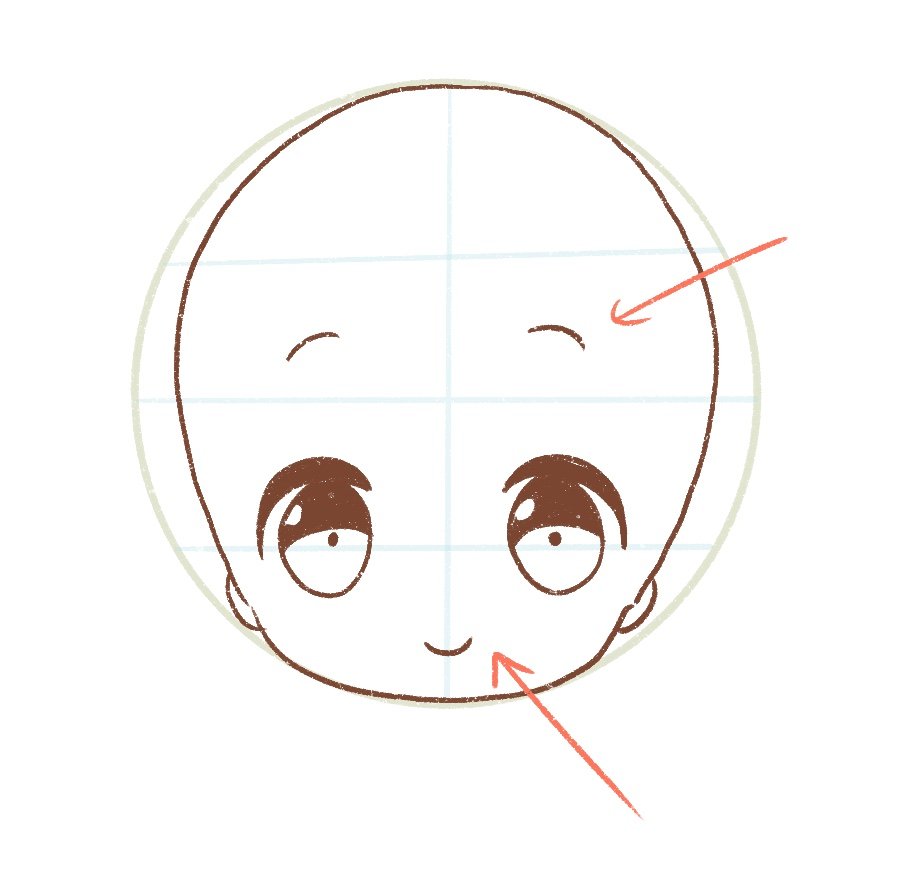
Remember to keep the facial features very simple.
When learning to draw a chibi face, you must remember that the eyes are the main attraction.
The rest of the features should be very small and not distracting. So, keep the nose, the mouth and the ears very simple.
Step 3: Draw the hair
I already have a detailed post on drawing chibi hair here, so please check it out. I won’t elaborate too much in this tutorial.
First, I always start drawing hair (on any character) with a simple shape.
This allows me to understand how I want the hair to look on the chibi character. I do this rough sketch on a new layer so I am not disturbing the other layers.

Next, I will draw some quick bangs and the hair’s sides.
Note: Chibi faces look very cute with bangs – so if you want to learn how to draw cute chibi faces, practice drawing different types of bangs so that you can get the perfect chibi face.

I’m also going to add the behind portion of her hair to complete her look.

And lastly I will clean up the lines and join all the disconnected portions to make my drawing neater.
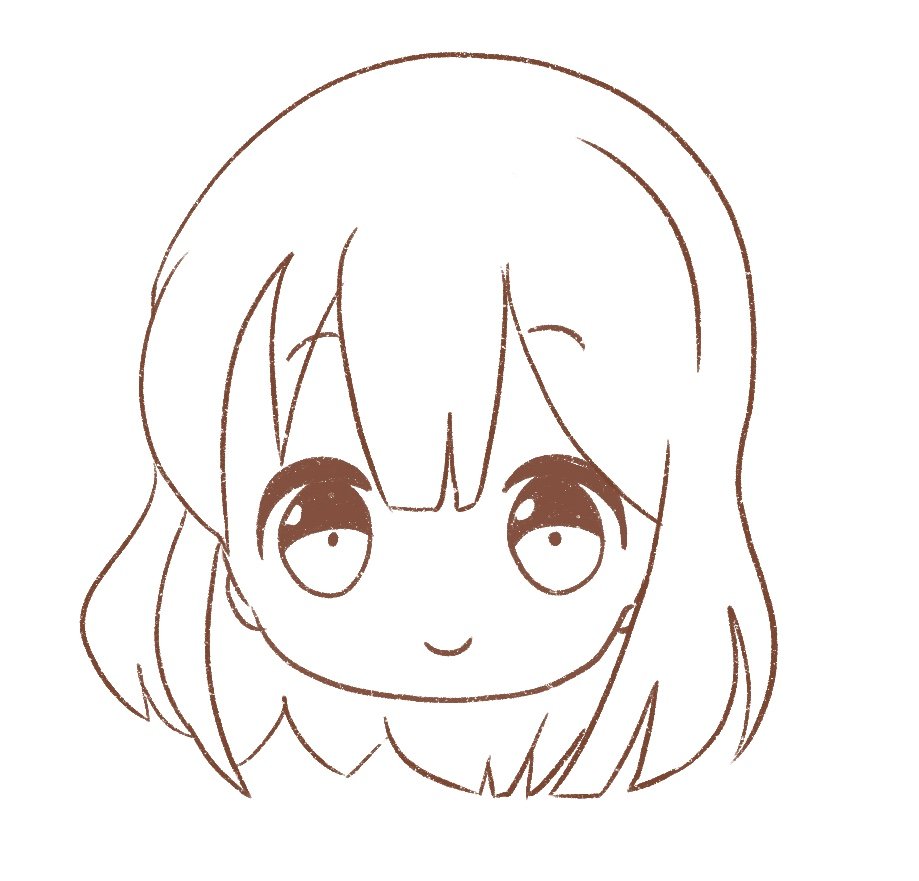
I’m really happy with how this looks, so I can move on to coloring my drawing.
Please download your chibi face template here so that you can practice lots of different faces and also practice drawing different hairstyles.
[convertkit form=3469776]
Step 4: Color the chibi face and hair
I already have a very detailed tutorial on how I color my digital art, so please check that out if you have any doubts. It even includes a video so you can see step-by-step how I color all my digital art.

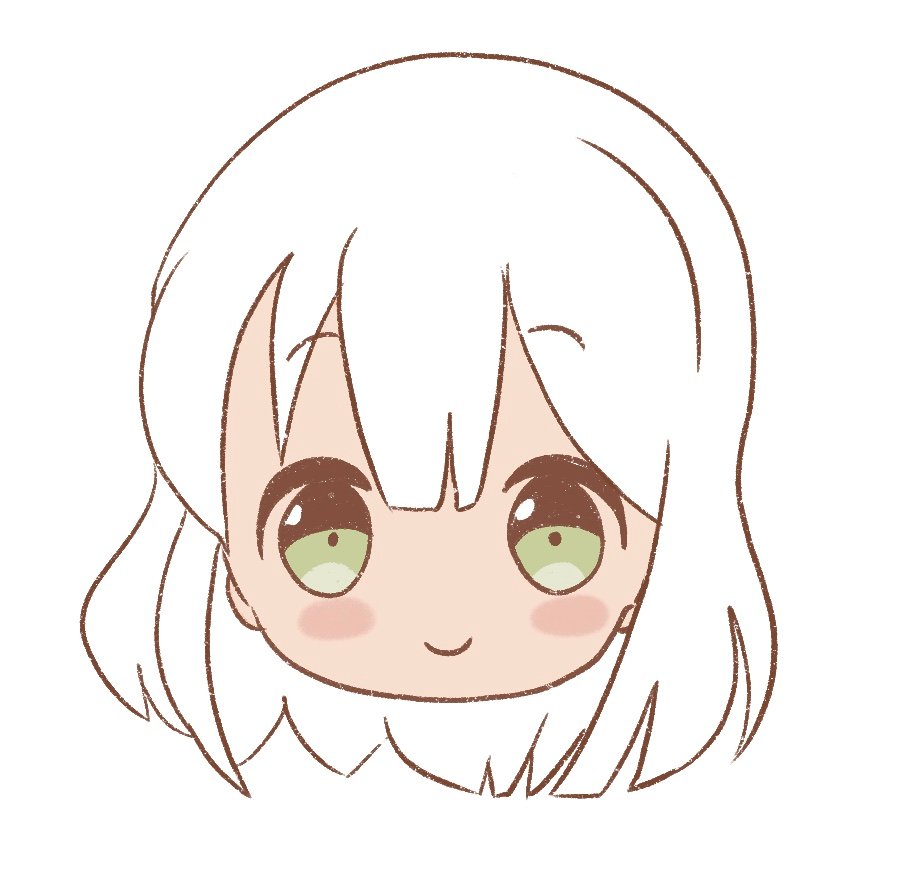
I’m going to color the face a very light cream color and add 2 light pink blush spots on her cheeks.
When drawing chibi characters, always remember to add the blush spots on the chibi’s face. This will make your chibi character very cute and youthful!
Next, I’m going to color the eyes.
You can color the eyes any color you want – purple, brown, or red. Use your imagination.
I am going to go green because I love green!
I will color the whole bottom part of the eye mid-green, and then, with light pastel green, I will draw 2 small semi-circles at the bottom of the eyes.
Please note that there are so many types of chibi eyes you can draw. But I prefer this style because I find this style very cute!
Next, we can move on to coloring the hair.
I am going to go with custard pink because I love this color. My whole blog has multiple pink tones.
And I will color the hair pink. When coloring the inside portion of the hair, remember to use a darker tone because light is not hitting that section directly. This will add depth to your drawings.

You can color your chibi hair any color you want!
Please use your creativity to mix and match colors!
Next, I will take a slightly darker tone of pink and add shadows throughout the hair like this:
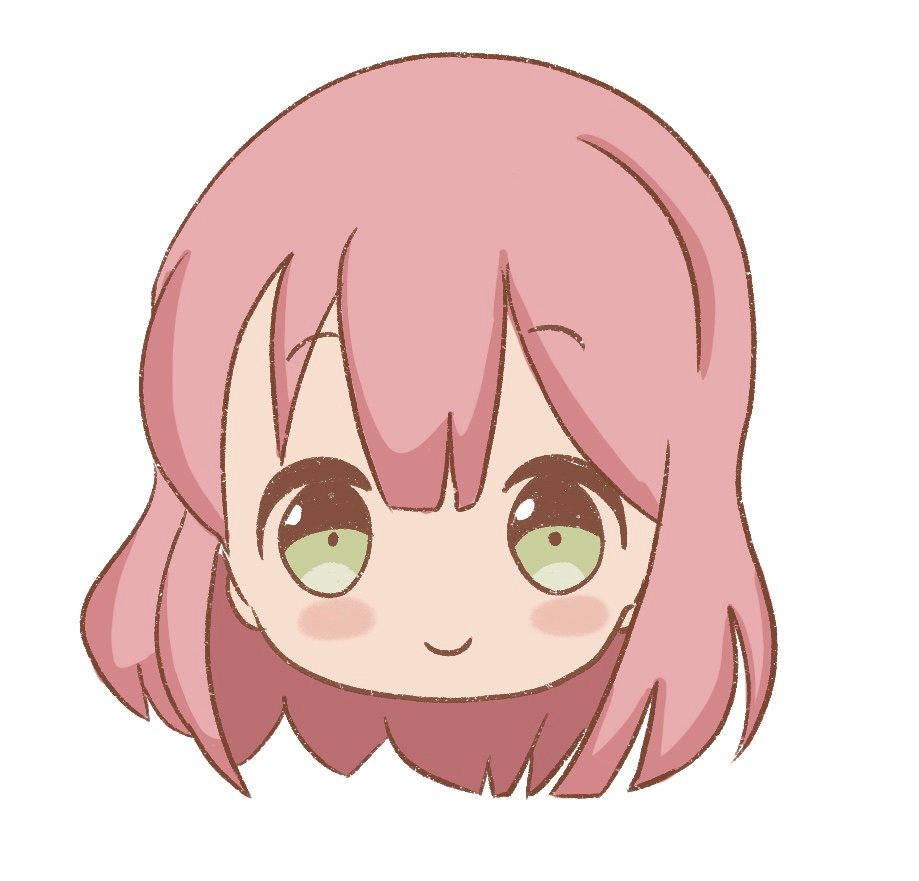
And finally, it’s time to add the highlights.
With a light pastel pink, I’ll just add highlights throughout the hair.
You can ask yourself where the light is hitting the hair, and accordingly draw the highlights in her hair.
And voila!
You’ve finished learning how to draw a chibi face and even learned how to color it.
Please download your free chibi face template here if you haven’t already!
[convertkit form=3469776]
Conclusion
Drawing Anime and Chibi takes some time but I am going to attach a few resources below that will really help you.
If you want to see more tutorials on chibi, just leave a comment down below. You can check out my other posts on drawing hair over here.
I will be adding more chibi drawing tutorials to this blog, so keep a lookout!
If you are looking for books on how to draw anime and chibi faces or how to draw anime hairstyles, take a look at these books:


Want to practice drawing more Manga and Anime?
If you’re looking to improve your drawings faster and want to really draw as a hobby or even pick up drawing professionally, I highly recommend picking up this beautiful online course that teaches you how to draw manga characters easily from scratch.
Use code STRAYCURLS-10 to get a 10% discount!
This class will teach you how to draw manga characters from scratch and add personalities to them.
You don’t need any tools except a pencil and paper.
It’s a very detailed course and it’s not at all expensive.
If you are just getting started with ProCreate, I highly recommend this course: Procreate for Beginners: Digital Illustration 101
It will help you learn Procreate within a day or a week at most. I found it super helpful!
You may also enjoy:
- How to draw bangs
- How to draw chibi hair
- 7 best chibi drawing books to learn how to draw chibi characters
- How to draw space buns
- The ultimate guide on drawing different types of ponytails
- How to draw mermaid hair (in different poses)
- How to draw cartoon hair on Procreate (easy tutorial for beginners)
- How to draw a mullet
- How to draw wet hair
- How to draw afro hair
- How to draw a bob cut
- How to draw a 90s anime style girl
- How to draw Anime dreads


This tutorial is super helpful! I love the step-by-step approach, and the free chibi template is an amazing bonus. Can’t wait to try drawing my own chibi characters! Thank you for sharing this!
This tutorial was super helpful! I always struggled with drawing chibi faces, but your step-by-step guide made it so much easier. The free template is a fantastic bonus too! Can’t wait to try it out! 😊
Loved this tutorial! The step-by-step instructions made it super easy to follow, and the free template is such a great bonus. I can’t wait to try drawing my own chibi characters! Thanks for sharing!