Coloring digital art is so much fun.
However, using Procreate can be a little challenging.
I remember trying to use it in the beginning and getting so confused. With time, I learned how to use it to color all my artworks.
Now I draw digitally almost every day!
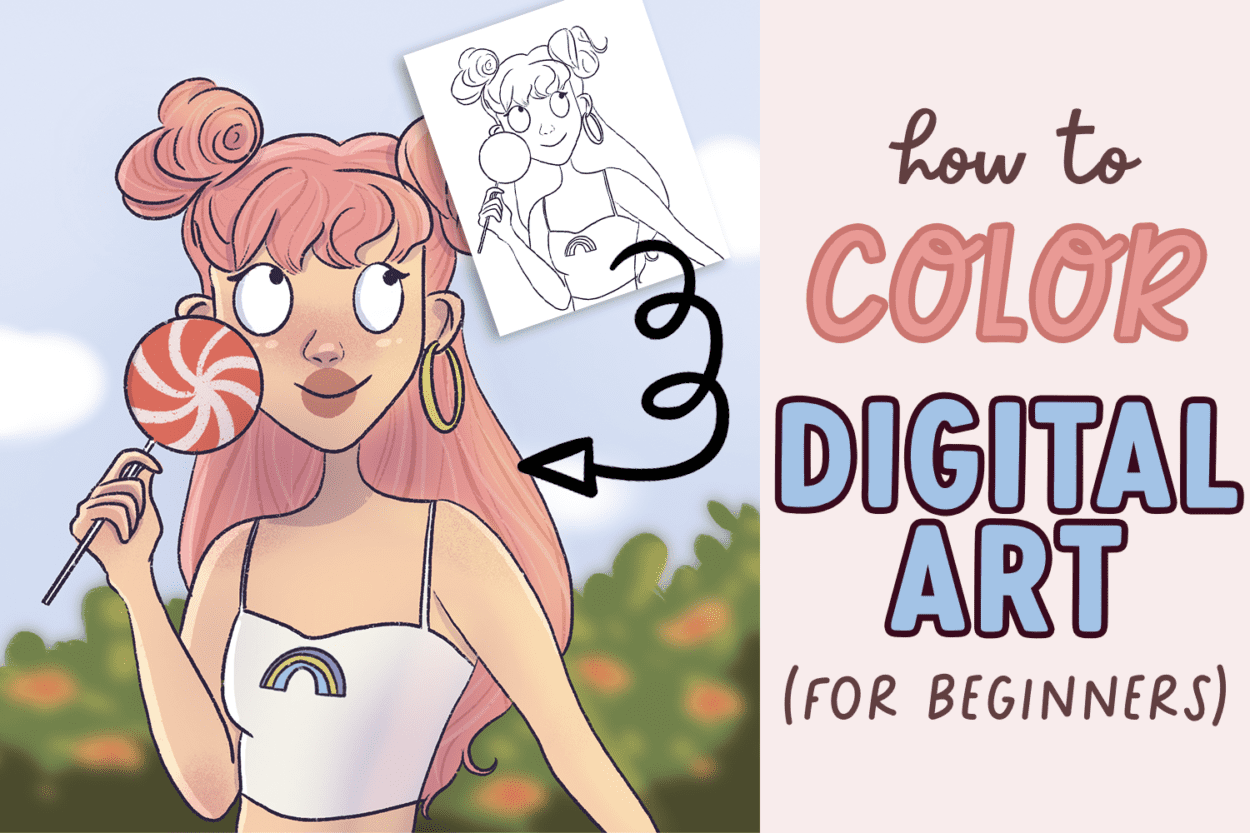
In this post, I am going to teach you how to color digital art. This post is aimed at beginners and will include detailed steps.
If you have any questions, leave a comment below. I will answer asap.
You can also watch the video here if you don’t want to read the steps below:
Okay, let’s begin – in this post, you will learn how to color digital art and color a drawing digitally, provided you have the lineart ready.

Okay, let’s begin with the basics.
This post includes affiliate links. If you do decide to purchase something, I will make a commission at no extra cost to you. For more information, please read my entire Privacy Policy here.
Tools I’m using to color my digital art
Okay, before I begin the tutorial, I need you to know what I’m using to color digital art.
I’m currently using:
And I’m using the Procreate software.
It’s a one-time fee of $10. And that’s it.
You can draw on it forever for free after that.
You can use any software because everything I’m going to explain below can be done with Photoshop and other software as well.
I highly recommend looking at this superb online course that teaches you how to use Procreate.
How to Color Digital Art for Beginners – Step by step easy tutorial
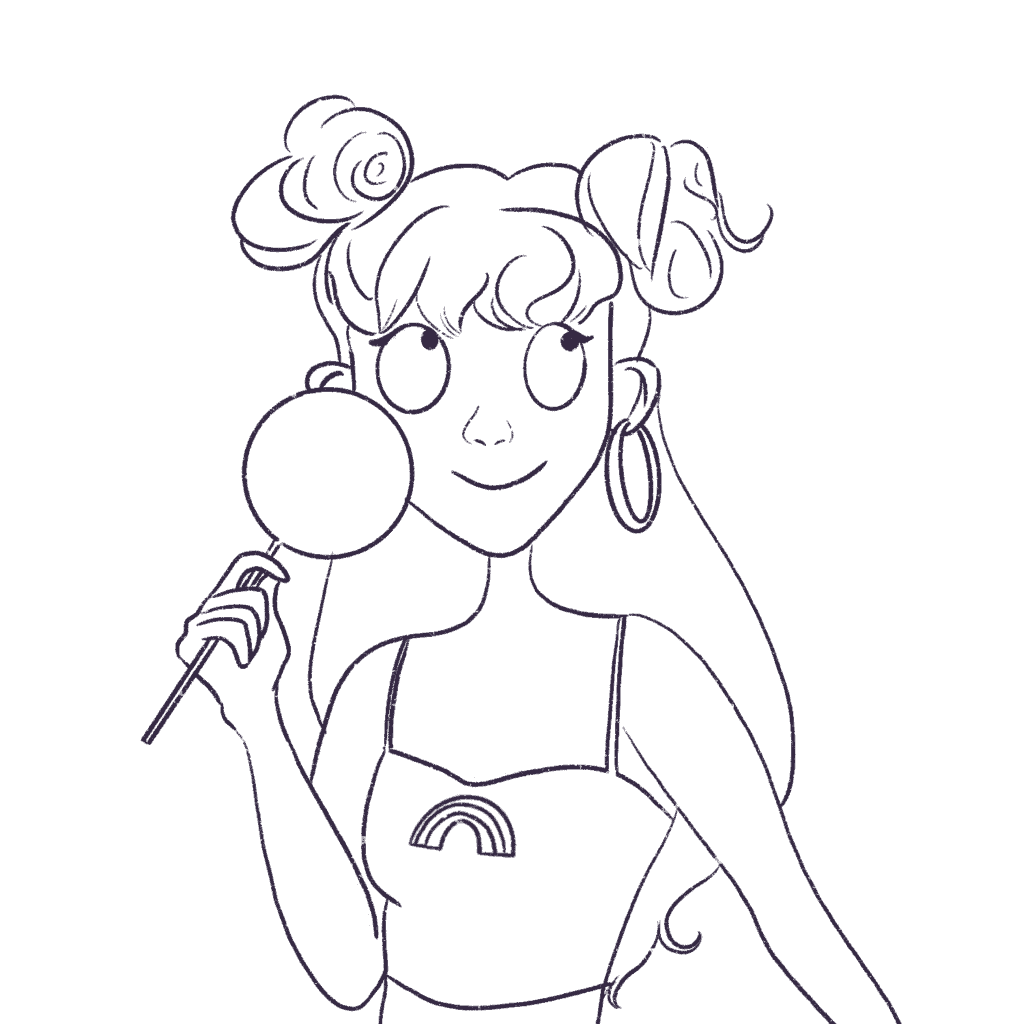
Okay, first of all, please keep your lineart on 1 layer and make it a reference layer.
Remember to keep each color on a new layer – this will allow you to manipulate any specific layer without affecting the others.
All these colors should be underneath the reference layer.
This will enable us to drag and drop colors easily if the area or section is closed completely by lineart.
I’m not going to detail how I’ve drawn the line art because the post will become too long – I’m only going to teach you how to color this digital art.
You can check out my other tutorials here to see how I draw lineart.
1. Start adding the base colors
Okay, now, on a new layer underneath the outline layer, I’m going to paint the skin.
Please drag and drop the skin tone color.
If you’re looking for good skin tones, Artsy Dee has some free amazing color palettes for skin shades.

Please note that I am using the dry ink brush mainly for my outline as well as my shading. It’s free in Procreate and is one of my favorite brushes.
Next, on a new layer over the skin layer and I’m going to use the bonobo chalk brush (free in Procreate) to add some color to her cheeks, ears, shoulders, and fingers.
Keep your hand loose when you’re shading this part – it will allow you to get better results!
If you want the texture to be more smooth, you can smudge this layer using the smudge tool in the top right corner.
The smudge tool will also blend the color nicely into the skin – think of it as using a blending sponge to blend in the makeup with the skin.
Note: The smudge tool looks like a little finger pointing downwards.
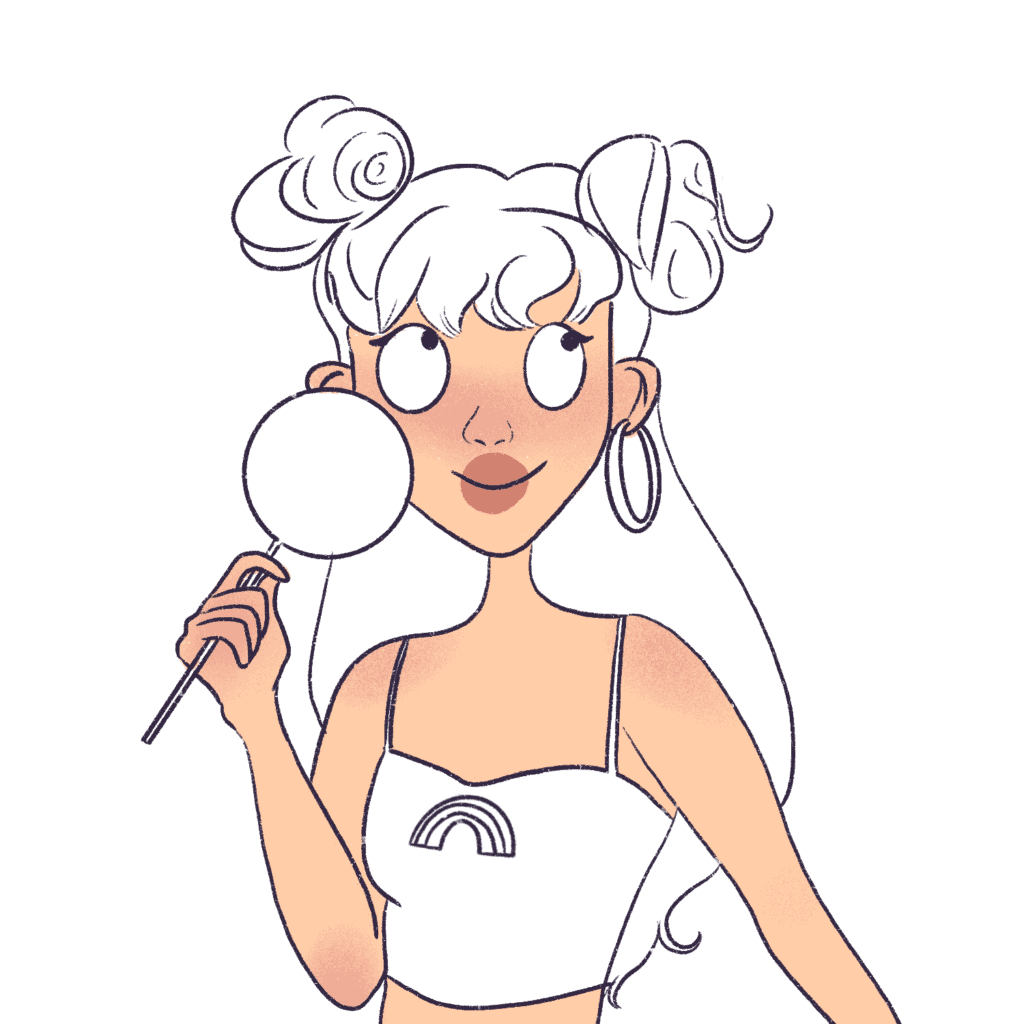
Next, on a new layer, I will color the eyes and the lips.
Now, I’m coloring the character’s earring and clothes on a new layer.
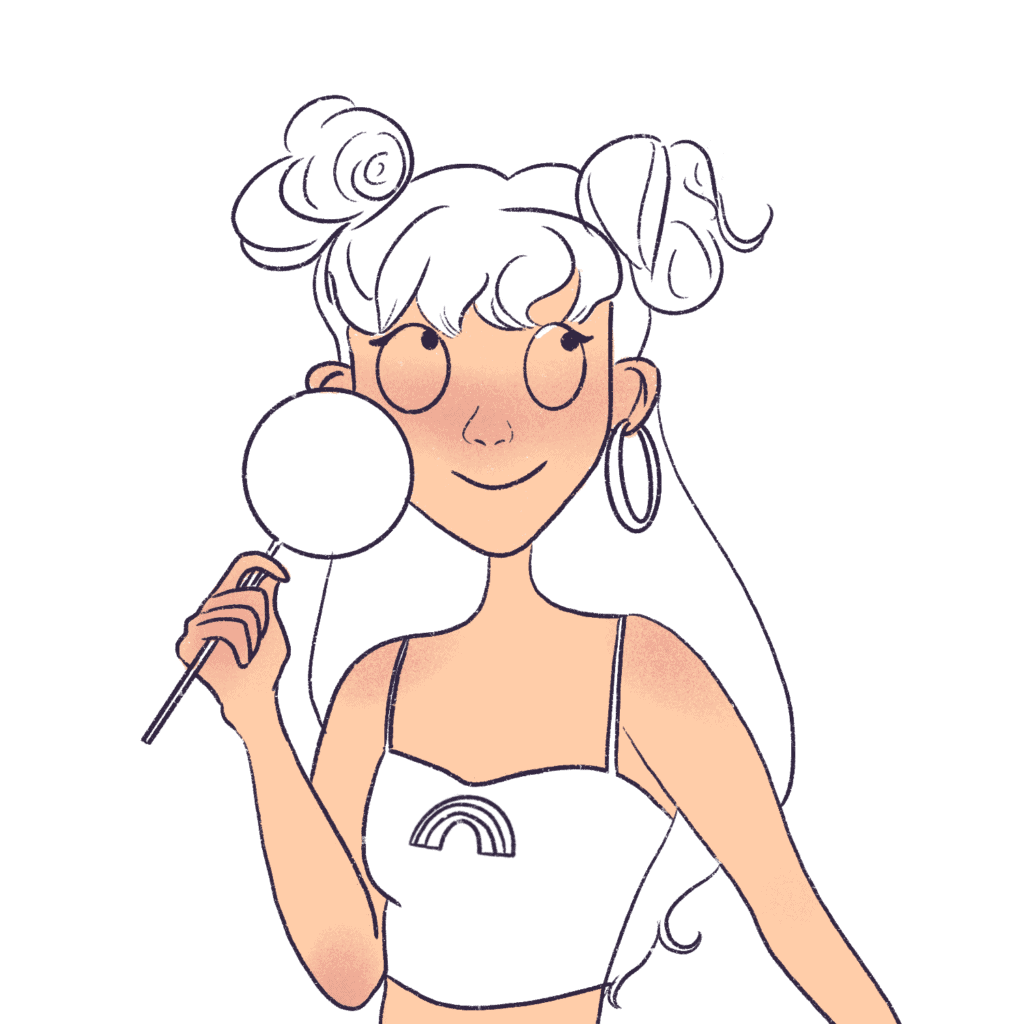
I’m going to color her top white.
Note: I never choose pure white or pure black when coloring digital art. It doesn’t look natural. Always choose a dark grey or blue or purple or brown when you want to indicate black and an off-white when you want to color something white.
See the color I chose for her top – it’s more of an off-white or eggshell white than pure white.
This will make your digital art look better.
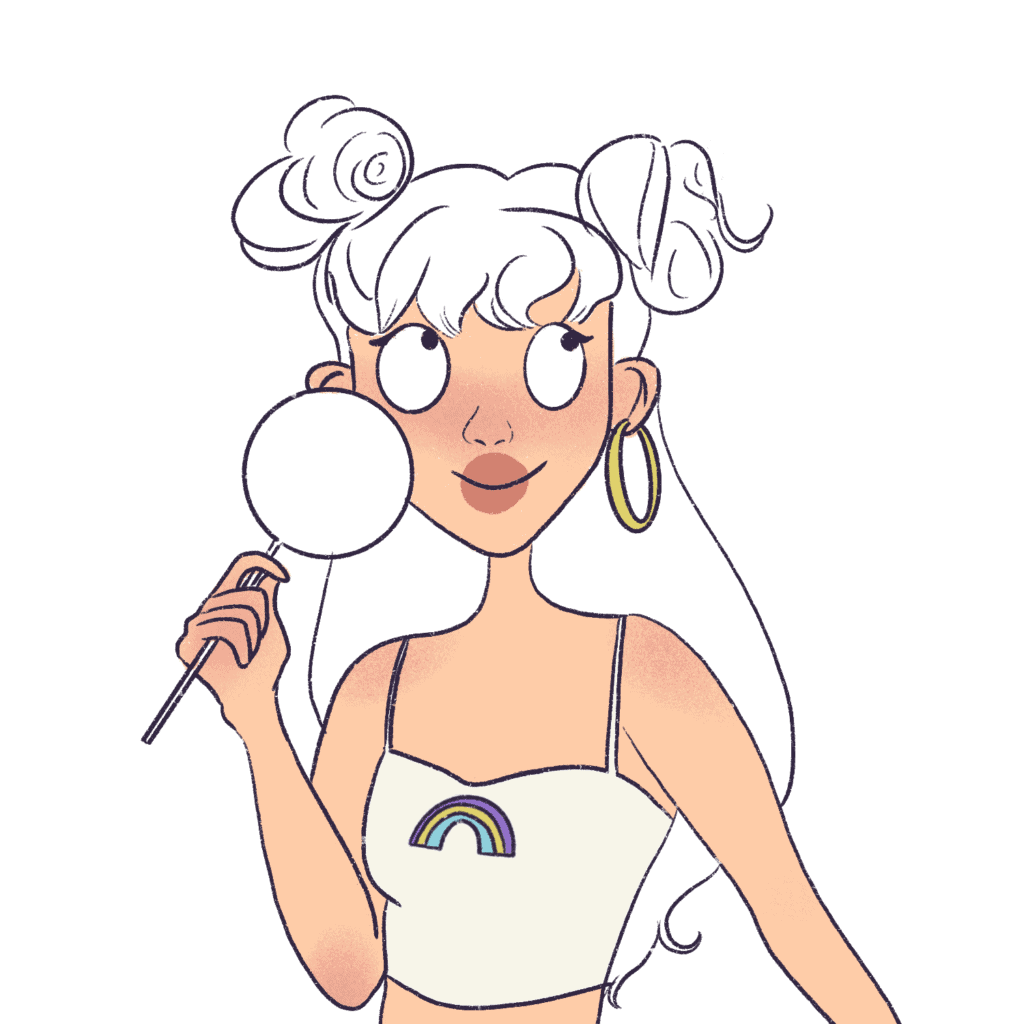
Next, I’m going to color the lollipop.
So, I will add the base colors to the lollipop first on one layer like so:

Now, on a new layer above this red color, we’re going to draw the stripes of the lollipop.
Convert the new layer to a clipping mask so that you can draw on the lollipop without fear of coloring outside the lines.
And then draw the lines in a manner resembling a pinwheel-like this:
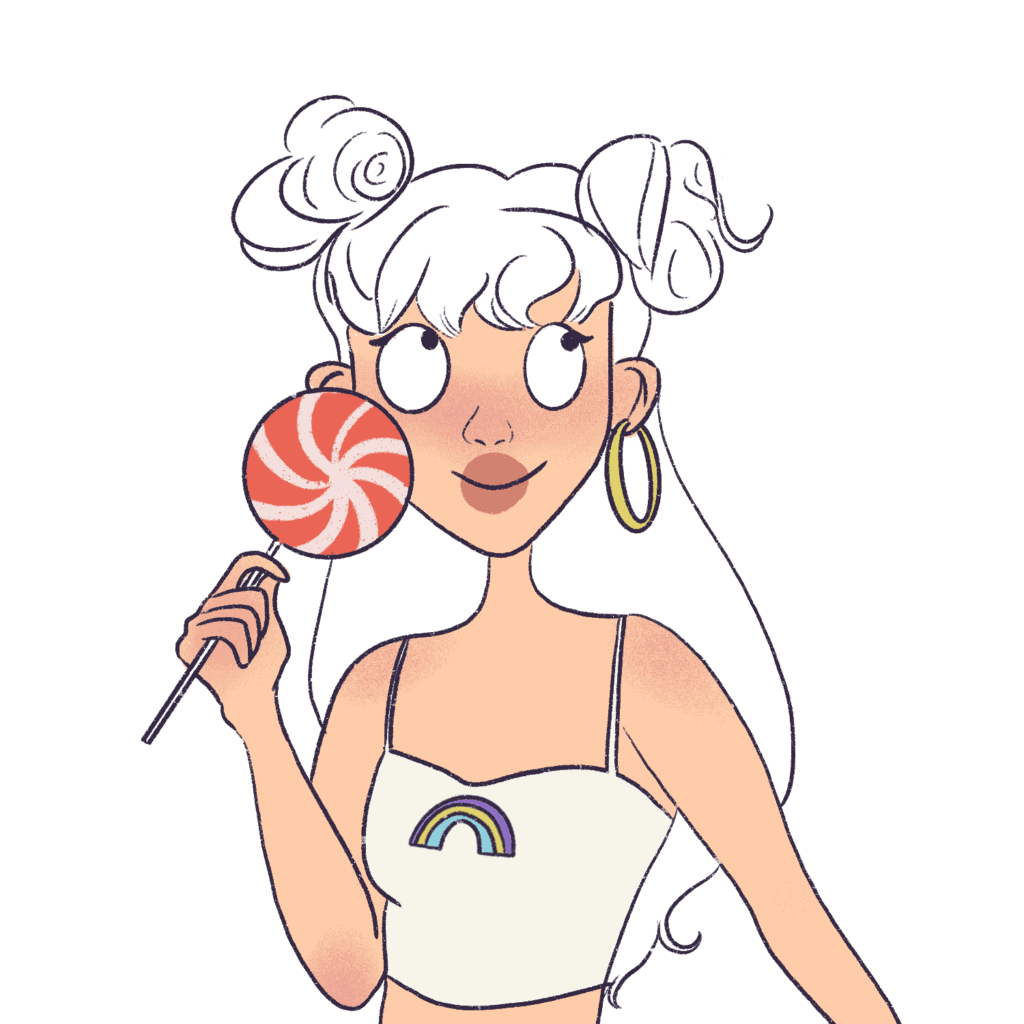
You just have to start from the center and twist the line clockwise as you move to the edge.
Now, all that’s left is to color the hair. Coloring the hair is super easy, and I’m going to show you how to do that!
2. How to color the hair in digital art
Coloring hair is so much fun. I have a whole post on drawing and coloring cartoon hair here.
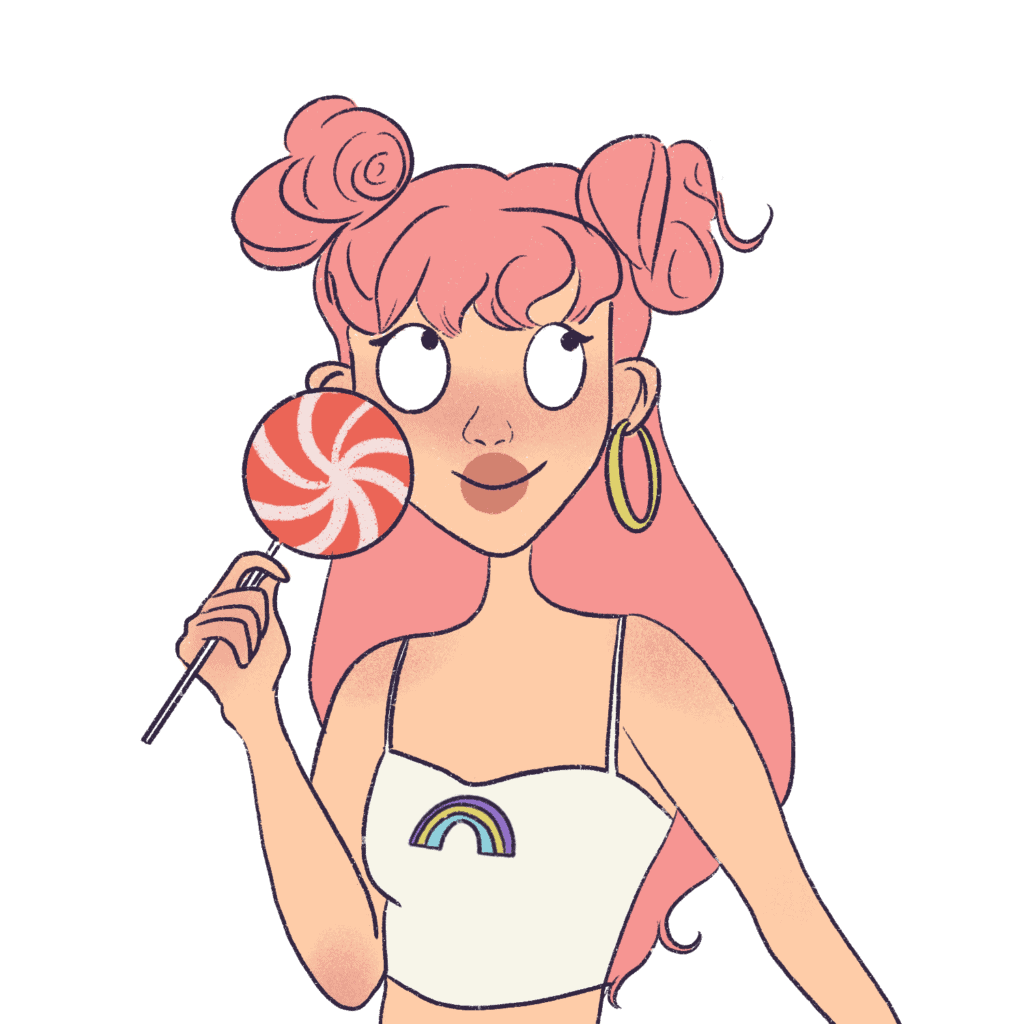
I’m going to start with the base colors.
I will color the hair a nice custard or rose pink.
Note: When choosing colors for coloring your digital art, keep in mind that you want to go for subtle shades. Don’t choose oversaturated colors like bright pink or bright yellow – it’s okay to have pops of color, but the overall digital art should be balanced and clean.
It is important to have a basic understanding of color theory, and I highly recommend this online course if you’re getting stuck.
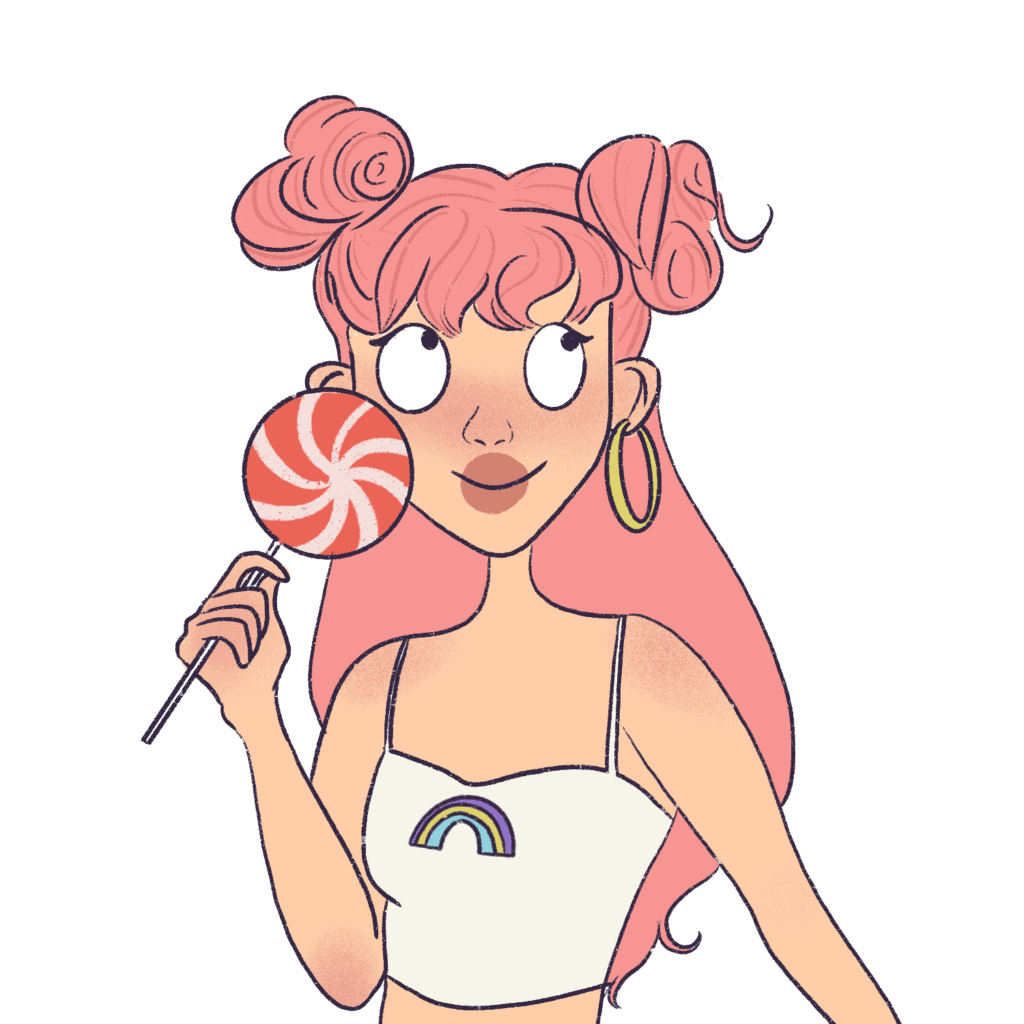
Okay, this looks great but we want to add more details to the hair to make it look more realistic. And the best way to do that is to add a few individual strands.
Now, to draw the hair strands, we’re going to pick a color on the color palette by choosing a color that’s darker and more saturated.
Whenever I say saturated, I mean warmer – which means moving to the right on the color palette.
And then on a new layer, create a clipping mask and start drawing the strands. You can see my post on drawing cartoon hair here if this is confusing.

Remember, when choosing a color for the hair strands, we’re moving down on the color palette and a little bit to the right to pick a color that stands out in the hair.
Create a new layer over the pink color hair layer and click on it to select “clipping mask.”
So now, when we draw the hair strands, we won’t exceed the boundaries of the hair layer.
I am going to continue drawing more hair strands.
Now, I will draw strands along the back of her hair.

Here are some things to note when you’re drawing and coloring hair in your digital art:
- Vary the thickness of the hair strand lines – this will make your hair look organic
- Vary the length of the lines so as to give it a better look
- Do not make the lines parallel – vary the distance between the lines.
Now, we can leave it like this, or we can add some more strands in a color lighter than the base color.
So, I’m going to use light pink to do this:

Doesn’t that look pretty?
Now that the hair is done, it’s time to work on the background.
3. How to color backgrounds in digital art
The background is always the most challenging bit of any digital art.
It also requires a lot of time and thinking.
Backgrounds are important because they tell a story and really help with the setting of our character.
I want to keep things super simple so, I will draw a very simple background.
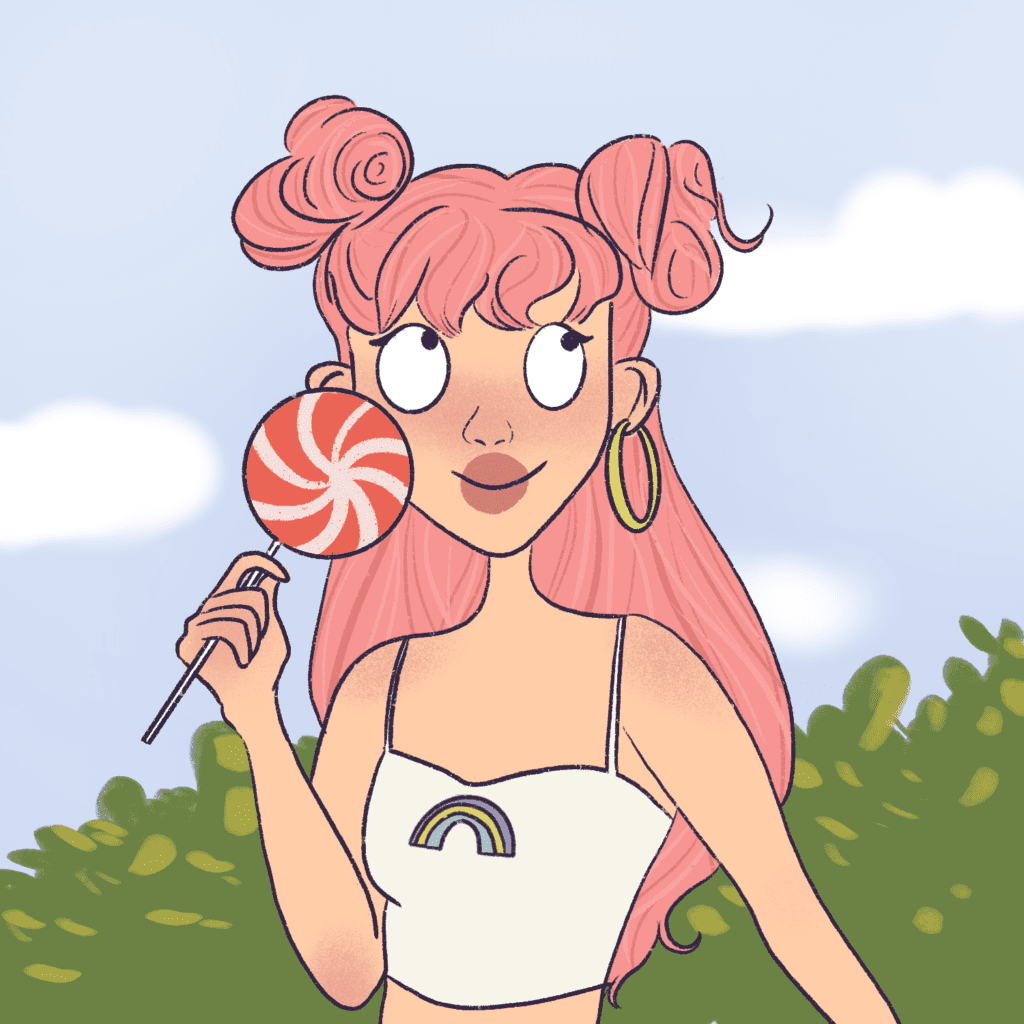
First, I will color the sky a pale blue.
And then, with the soft airbrush (free in Procreate), I’m going to add some clouds to the sky. Keep the sky and the clouds in separate layers.
The soft airbrush makes the clouds look hazy.

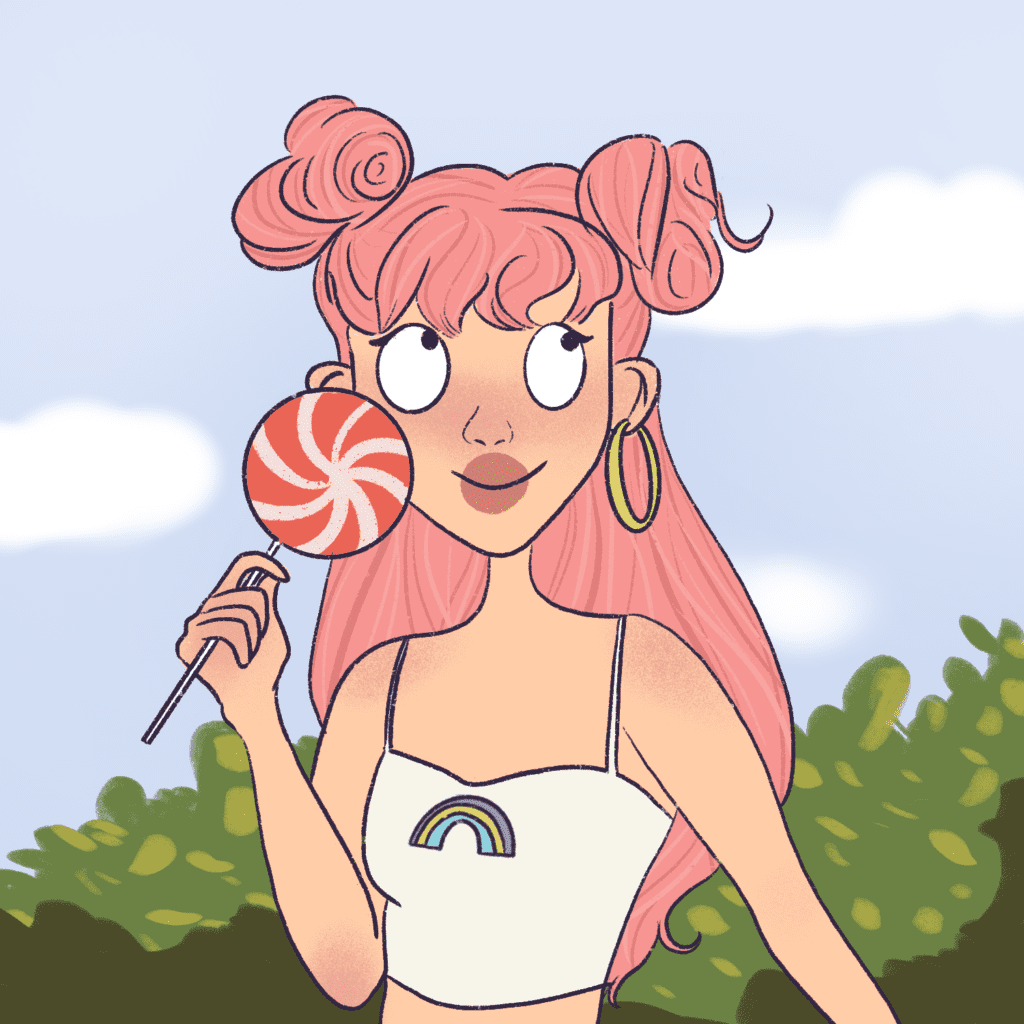
Next, I’m going to draw some elements in the background because I feel it’s too plain.
I will draw some hedges with a mid-tone green color and also add some lighter-colored leaves to the hedges to give them more texture.
Note: When going for a lighter shade, make sure you go with a more saturated (warmer) color as this looks better.
I’m going to add some darker green contouring along the bottom to make the hedges look heavier.
Now, I want to add some color to the background, so I’m going to draw some flowers.
I think I’ll go in with bright orange.
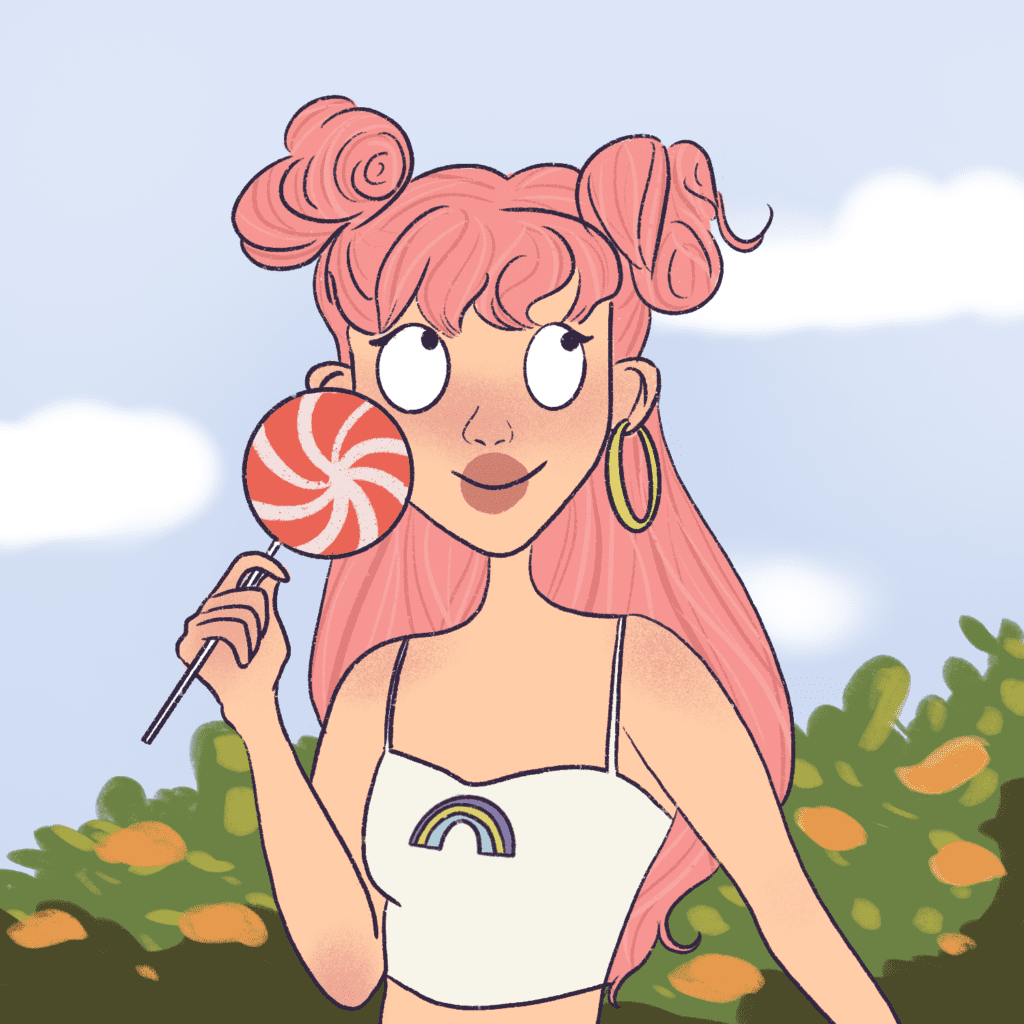
Now, I’ll draw the center portion of the flowers with cherry red.

I want the main focus to be on the character, so first, I’m going to merge all the layers with the hedge and the flowers into 1 layer by grouping the layers and then flattening them.
Then I will go to Attributes (top left corner) and click on Gaussian Blur.
This tool exists in Photoshop too.
And by blurring this layer, I will get something like this:
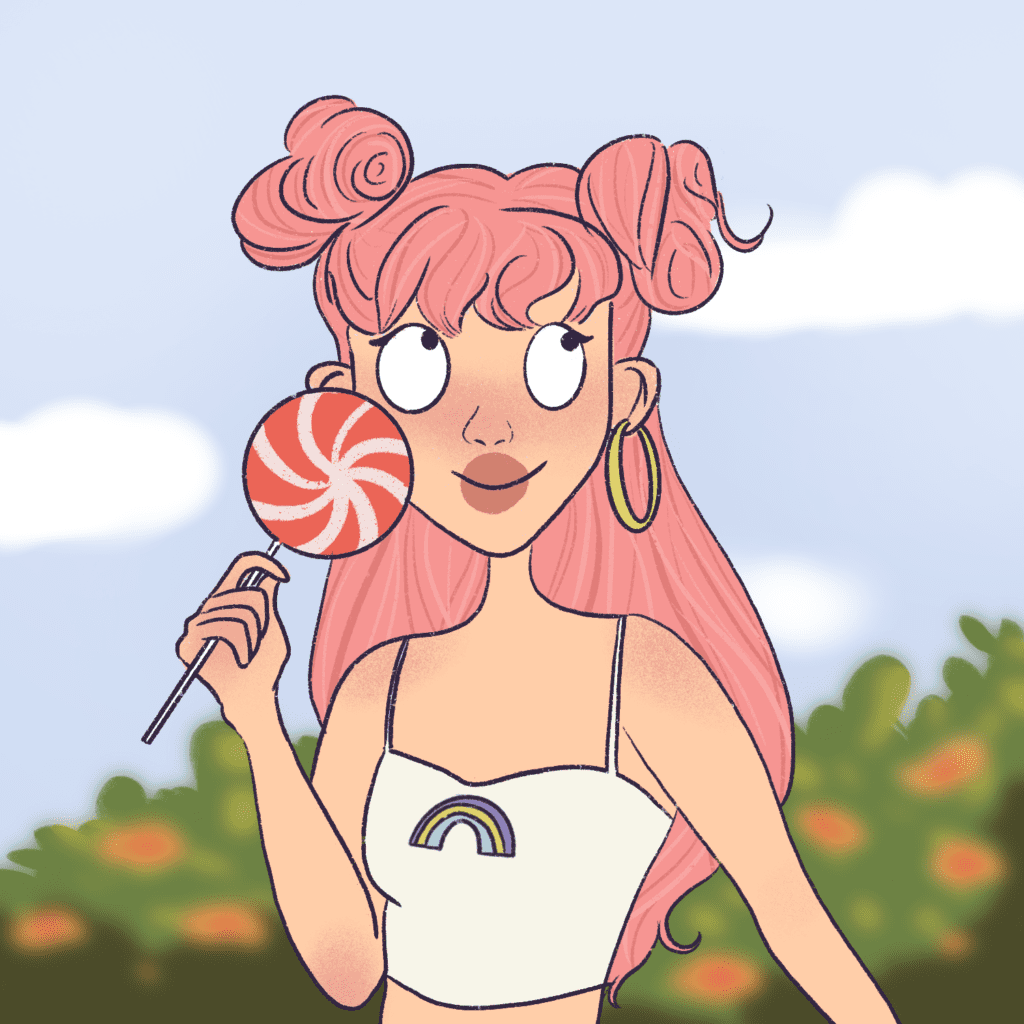
I feel the background is done.
I don’t want to add anything else to the background to keep this digital art super simple.
If you’re using Procreate, here are some fantastic resources:
- 8 Grainy Brushes for ProCreate
- Character Drawing Toolkit for Procreate (This pack comes with free drawing tutorial worksheets!)
- 21 Custom Pencil Brushes for Procreate
4. Adding lights and shadows to your digital art
Digital art isn’t complete unless you add lights and shadows.
This gives depth to your drawings.
Please note that I usually add all the light and shadow layers right underneath the reference layer (above the colored layers)
Let’s begin!
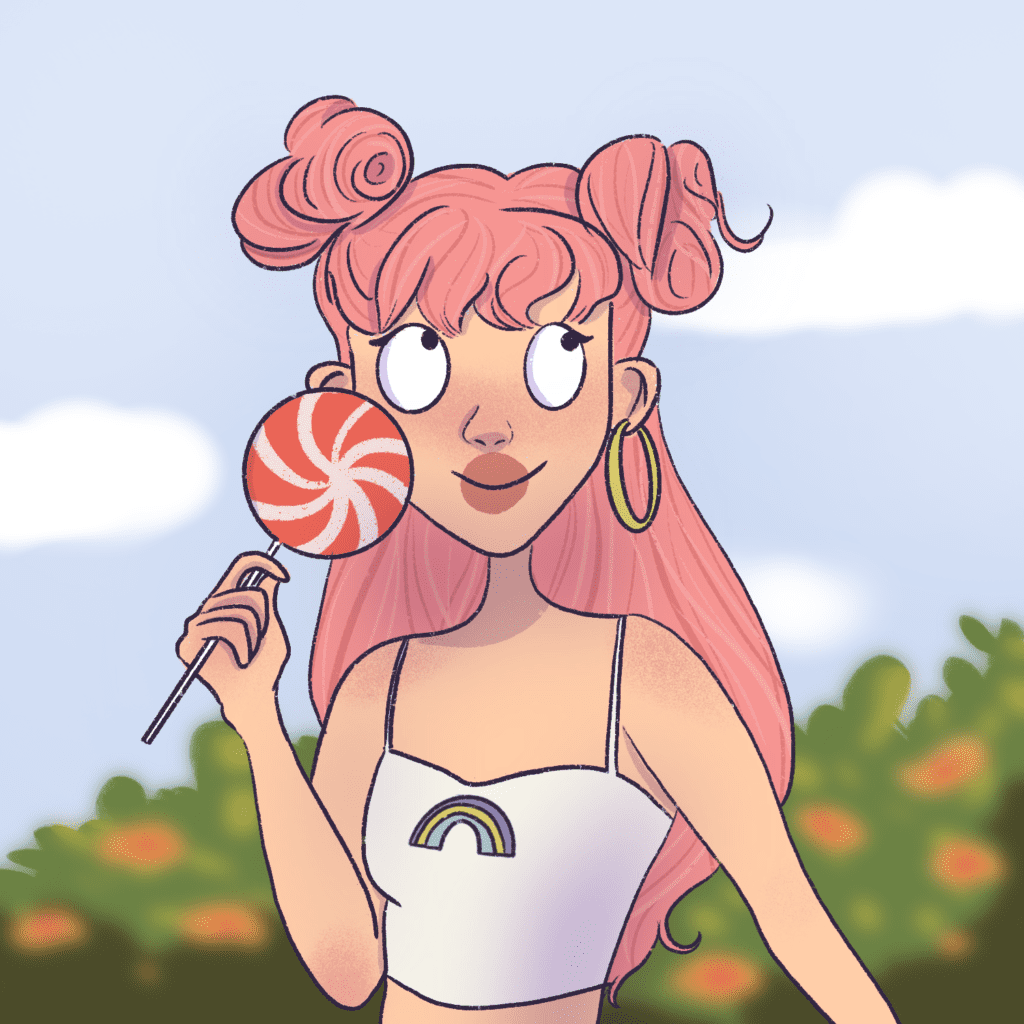
First, I’m going to add contact shadows or immediate shadows.
This will give our digital art so much depth.
I’ll go in with my dry ink brush and use medium purple to add shadows.

Once you’re done drawing in the shadows, you can set the layer’s blending mode to Multiply and decrease the opacity to 37% like this.

It’s okay if you don’t know where to add your shadows in the beginning.
As you keep drawing every day, you will get better at analyzing these things, and your digital art will get so much better.
You can check out these books if you want to get better at drawing.
I’m going to add more shadows now.
On a new layer, I will go in with my Bonobo chalk brush and add some shadows to the darker areas of this digital art.

Once I’m happy with the shadows, I’m going to go to Attributes (top left corner) and apply the gaussian blur filter to the layer to make the shadows more smooth.
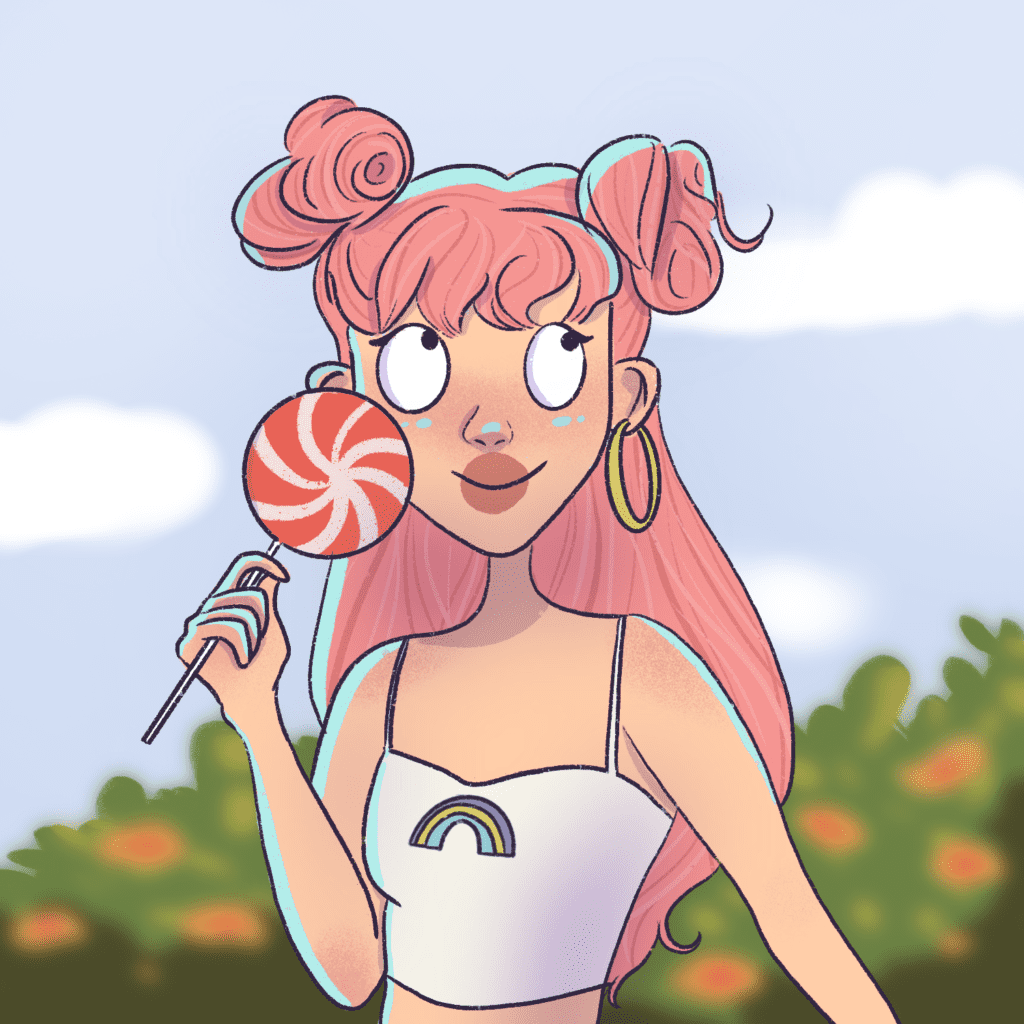
Now it’s time to draw the highlights.
On a new layer, I’m going to go in with a light blue and draw on all the edges – this helps make the character stand out from the illustration.
I’ll start with the face by adding some highlights to her cheeks and nose and then go to the edges of her hair and her body like so:
Take your time with this, and don’t rush.
Think about all the parts of this digital art that require highlights and add them to the digital art slowly.
Once you’re happy with the highlights, you will have to change the blending mode of this layer to “Add” and decrease the opacity to about 15%.

Now, because she’s outside, I want to add some lighting of the sun to her character.
It is important to pay attention to all sources of light when you want to color your digital art.
So, on a new layer, I’m going to go in with my airbrush (it’s free on Procreate) and color a few areas of the character in this digital art with bright orange like this:
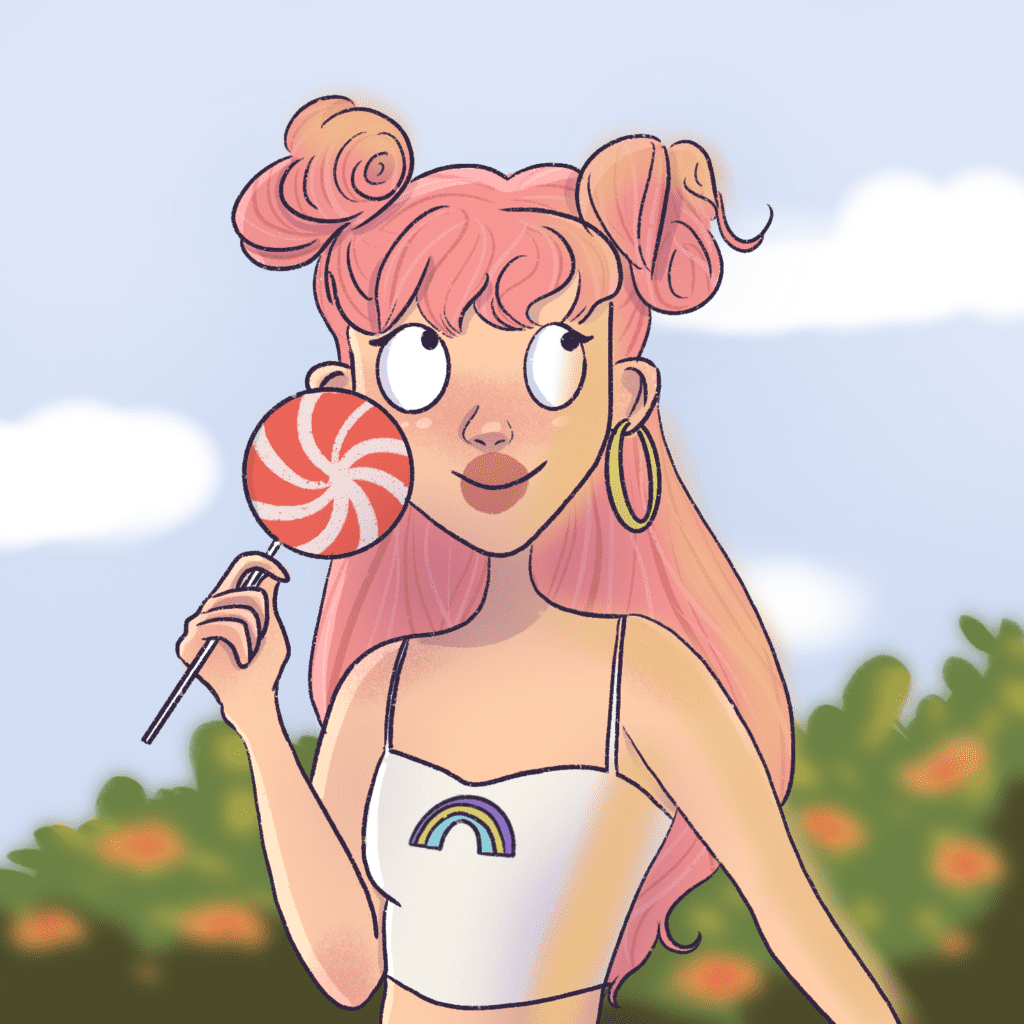
Once I’m happy with this, I will change the blending mode of the layer to “Overlay” and decrease the opacity of the layer to 66%.
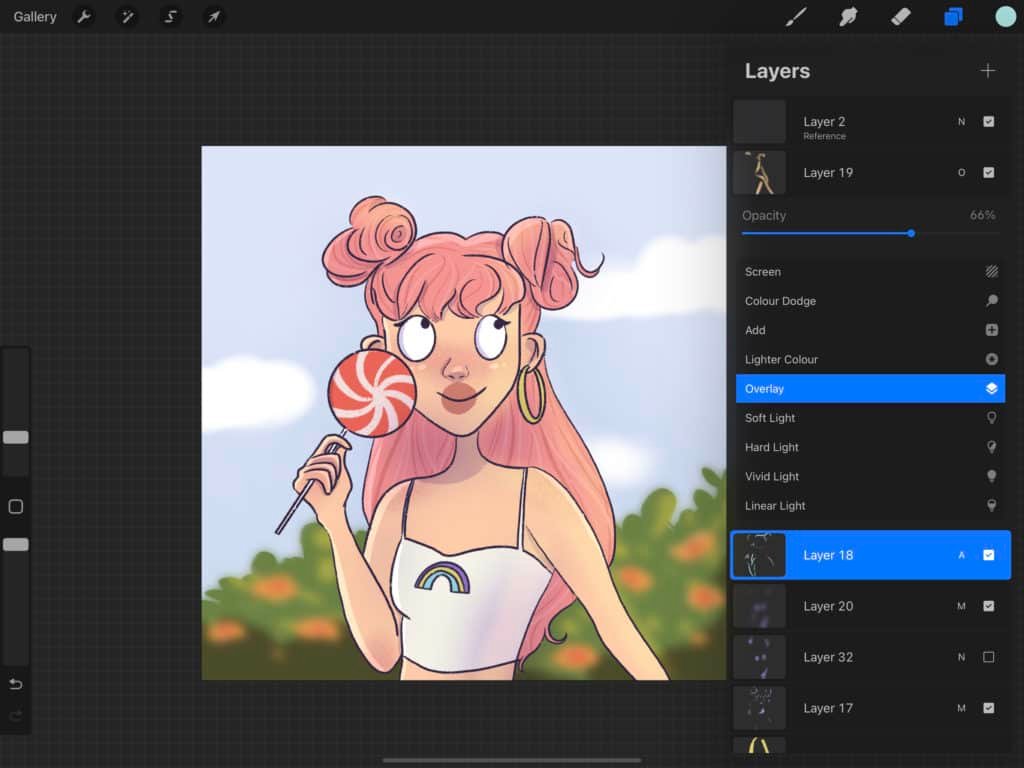
And once I’m done, I’ll get something like this:

Tadaa!
You’ve just learned how to color digital art.
If something wasn’t clear to you, you can watch this step-by-step video to see how I color this digital art:
Conclusion
Drawing and coloring digital art isn’t easy, especially at the beginning, because there is a huge learning curve.
So, don’t feel disappointed if it’s taking you a lot of time to get used to holding the digital pen or drawing on a tablet.
It’s a really huge step moving from traditional art to digital art.
Remember, all of this comes with practice. So, keep practicing every day and you’ll be creating digital art easily, really quickly!
I hope this in-depth tutorial was helpful to you and you were able to learn how to color digital art.
And you can always bookmark this post if you want to use this tutorial for studying later.
One of the best parts about drawing digital art in a cartoon style is you can keep things simple and you don’t need to go in-depth and draw or color your digital art realistically.
I have a post that you can read on how to find your art style if you are keen on developing your own style of drawing cartoons.
You can make things easier by picking up this Character Drawing Toolkit.
If you want to see more tutorials on hair and people, just comment below. You can check out my other posts on drawing over here.
I will be adding more drawing tutorials to this blog, so keep a lookout!
If you’re looking to improve your drawings faster and want to really draw as a hobby or even pick up drawing professionally, I highly recommend picking up this beautiful online course that teaches you how to draw digital cartoon characters.
Use code STRAYCURLS-10 to get a 10% discount!
The course is in Spanish but comes with subtitles and is beginner-friendly. I’ve taken several courses on Domestika and I honestly feel it has improved my drawing and illustrating skills immensely.
This course will specifically teach you how to draw and color illustrations on your Procreate app or Photoshop app.
If you are just getting started with ProCreate, I highly recommend this course: Procreate for Beginners: Digital Illustration 101
If you enjoyed this drawing tutorial, you might enjoy these other hair drawing tutorials:
- The ultimate guide to finding your art style
- Is digital art easy? Read the pros and cons of traditional vs. digital art
- Why do people love drawing? Drawing Benefits you should know!
- How long does it take to learn how to draw? From newbie to pro!
- How I became a full-time artist with no degree!
- 13 silly drawing mistakes most beginners make
- How to make cute stickers on Procreate
- 13 ways to make money online as an artist
- How to draw without a reference
- Fun drawing gifts for 10 year olds!
Before I wind up, I want to cover some resources that helped me grow as an Illustrator and shorten my learning curve.
Resources to help you draw better:
Books that helped me learn more about drawing:
- How to Draw Anime ( Includes How to Draw Manga, Chibi, Body, Cartoon Faces )
- Making Comics: Storytelling Secrets of Comics, Manga, and Graphic Novels
- Sketch Every Day: 100+ simple drawing exercises from Simone Grünewald
- Figure Drawing: Design and Invention
Books that taught me how to make money with my art:
- Draw What You Love: The Art of Simone Grünewald
- Becoming a Successful Illustrator
- Graphic Artists Guild Handbook, 16th Edition: Pricing & Ethical Guidelines
- Art, Inc.: The Essential Guide for Building Your Career as an Artist
Courses that helped me create better art digitally and gave me wonderful business ideas:
- Procreate for Beginners: Digital Illustration 101
- Daily Sketching for Creative Inspiration
- Female Cartoon Character Design with Procreate
- Creating comics for Instagram
And if you’re using Procreate, here are some fantastic tools:


Leave a Comment