It’s Mermay!
Every artist is celebrating Mermay by drawing a lot of mermaids.
They’re so much fun to draw – the tails, the hair, and conveying the flowy movement of the mermaids in the water.
Conveying the movement of a mermaid in a drawing is slightly for intermediate artists, but I will simplify things by breaking down each step in this drawing tutorial.
In this post, I will teach you how to draw a simple and cute mermaid.
I’ve already covered multiple posts on drawing mermaids here:
- how to draw a mermaid tail
- how to draw a mermaid on a rock
- how to draw a mermaid swimming
- how to draw mermaid’s hair
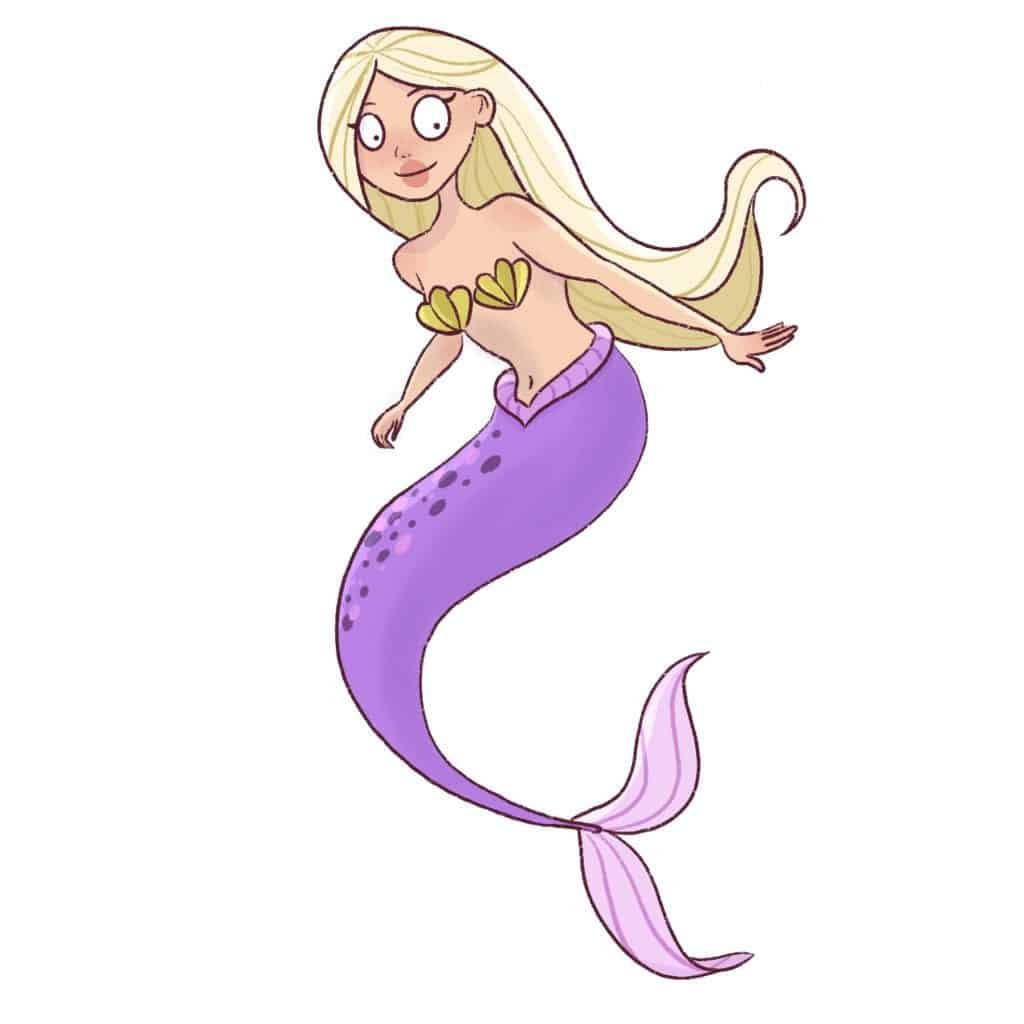
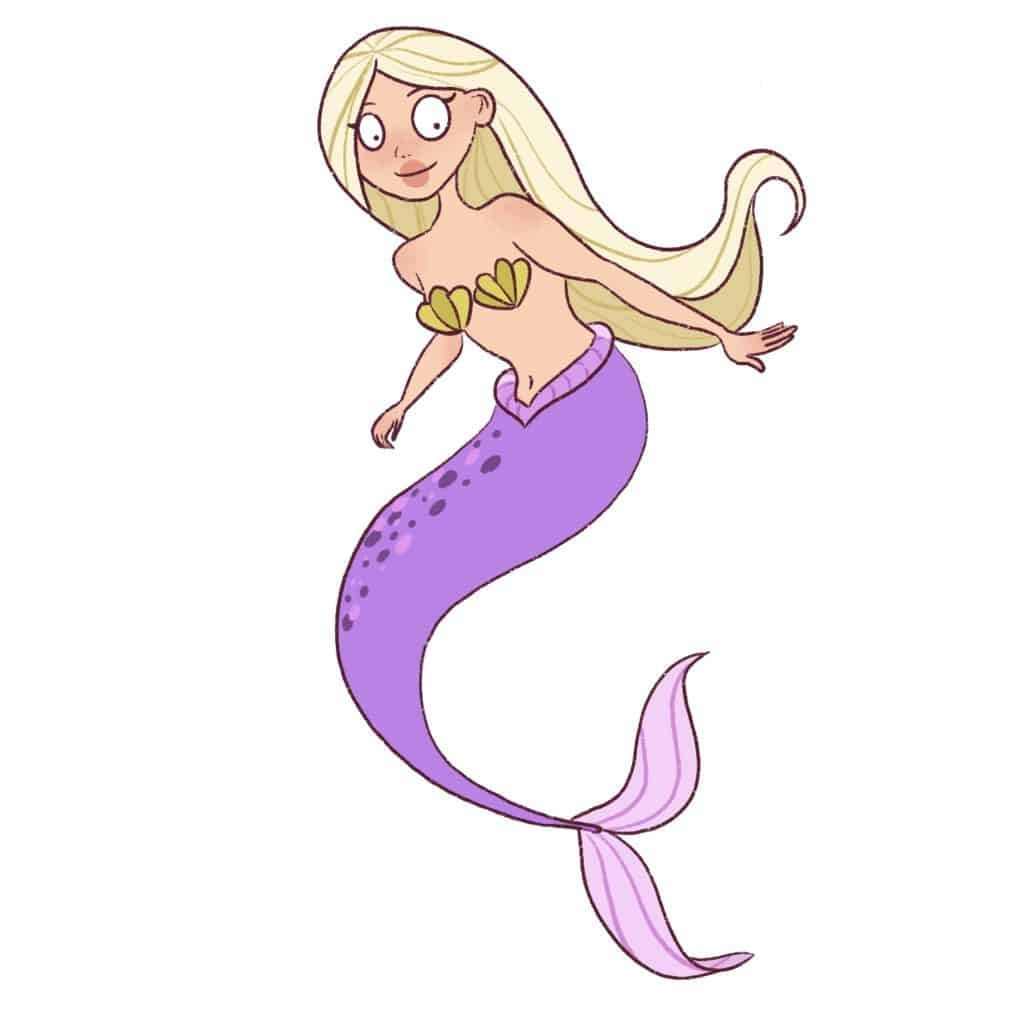
So, I thought I’d tie it all together and create a comprehensive post on drawing mermaids – this time, we’ll go for something simple like this:
This post includes affiliate links. If you do decide to purchase something, I will make a commission at no extra cost to you. For more information, please read my entire Privacy Policy here.
Please note that I use an iPad Pro and an Apple Pencil to create all my illustrations. But you can use any tool – a pen and paper, Copic markers, or Photoshop because the drawing method remains the same.
Let’s begin drawing this beautiful mermaid!
Table of Contents
How to draw a mermaid – Step by Step Easy Tutorial for Beginners
A mermaid is a half woman and half fish.
And one thing to keep in mind when drawing a mermaid is that you need to have a good understanding of female anatomy as well as fish.

Because a mermaid is a half woman and half fish, we have to study the tail anatomy of a dolphin.
Whenever I’m drawing mermaids, I look at references for dolphins to understand how their tails move.
You can also look at Pinterest and Instagram because a lot of artists post their sketches of mermaid tails there.
Observing and drawing will help us draw better mermaids.
So, try to look at references and understand how the human body and the fish’s body work to improve your mermaid drawings.
Getting back to drawing our mermaid
Step 1: Drawing the face and body of the mermaid
To begin drawing the mermaid, we need to draw the overall line of action.
So, I’m going to begin with a simple line like this:

Next, I’ll quickly draw a rough figure of the mermaid to help me understand how to draw and place the body on this line.
This is how we convey movement.
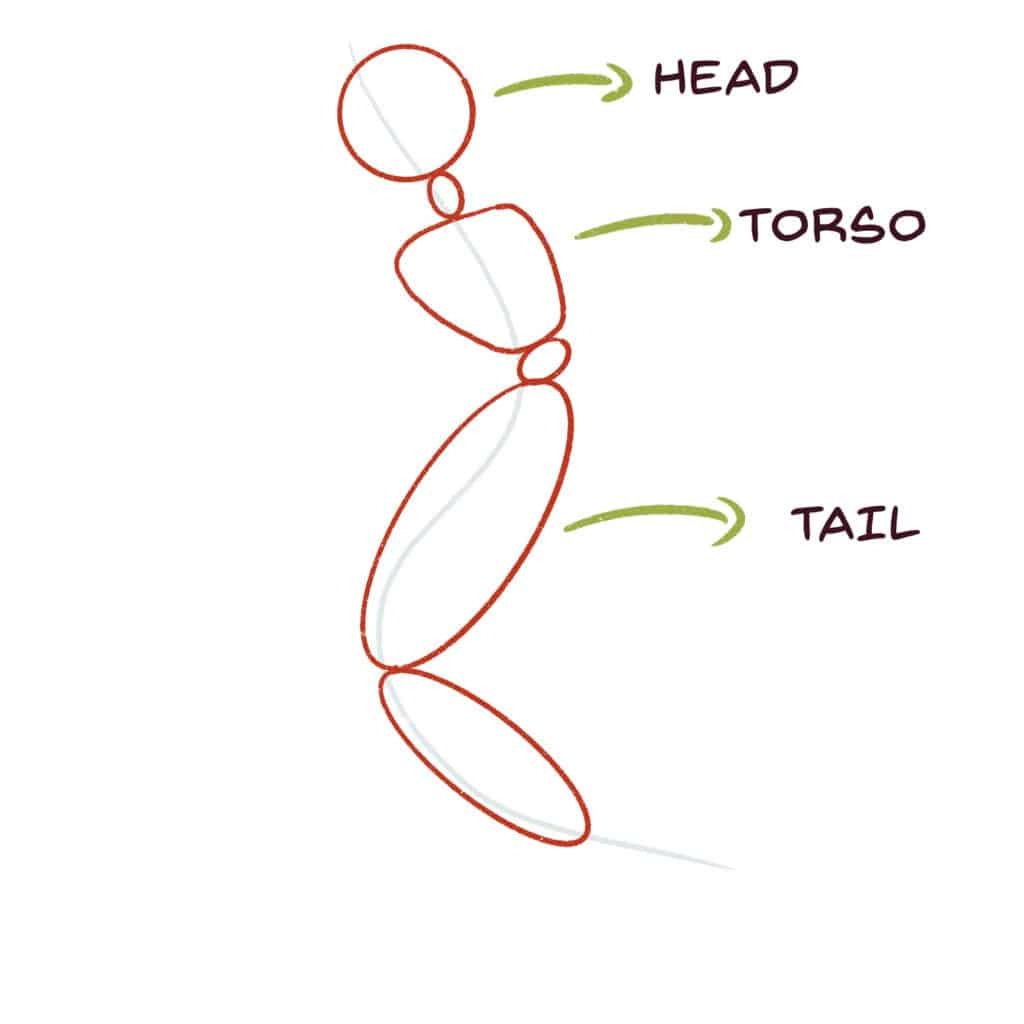
When you draw simple shapes, drawing the sketch over this becomes very easy.
It is important to break complex figures into shapes – it makes drawing very easy.
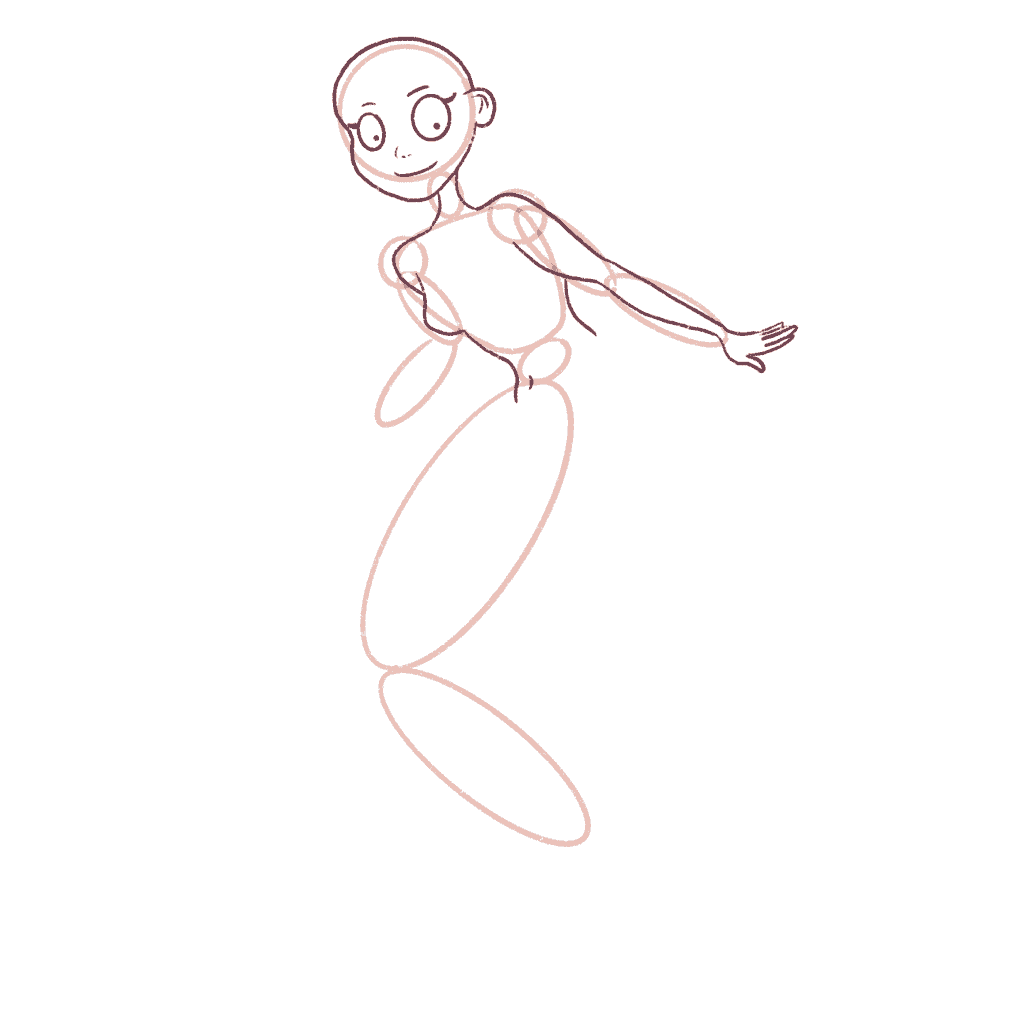
Now, I’ll draw the joints and the arms of the mermaid.

Now, it’s time to draw the head.
I’m not going to go into detail about drawing cartoon heads because that is a very long topic. However, if you want to learn how to draw heads and faces, get this book.

Now, I’ll sketch out the facial features of the mermaid.
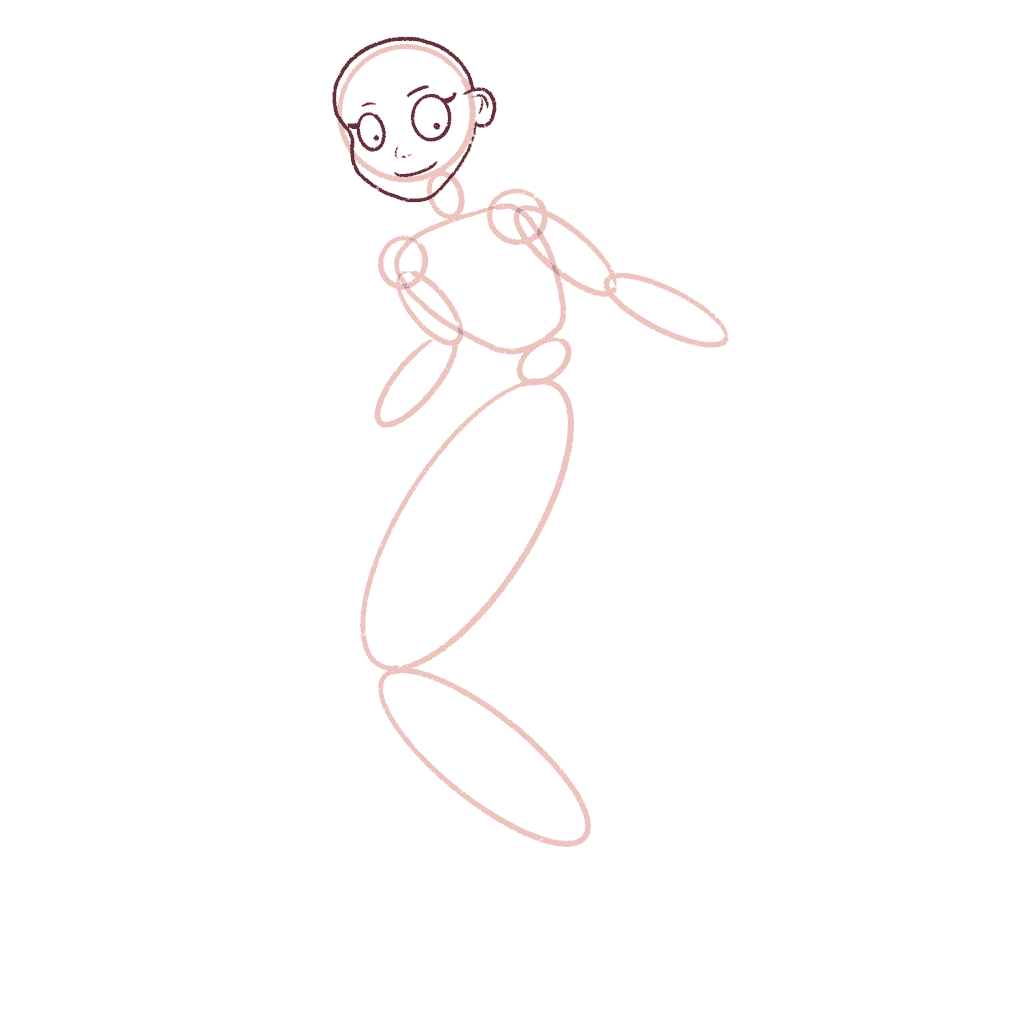
Take your time with this.
Next, we’ll move on to drawing the torso and the tail of the mermaid.
Step 2: Drawing the toro and the tail of the mermaid
Let’s begin drawing the torso by using the sketch we already have.
I’m going to start with her outstretched arm first. To learn how to draw cartoon hands, read this.

Next, I will draw her torso.
It’s quite easy since we already have the shape ready.
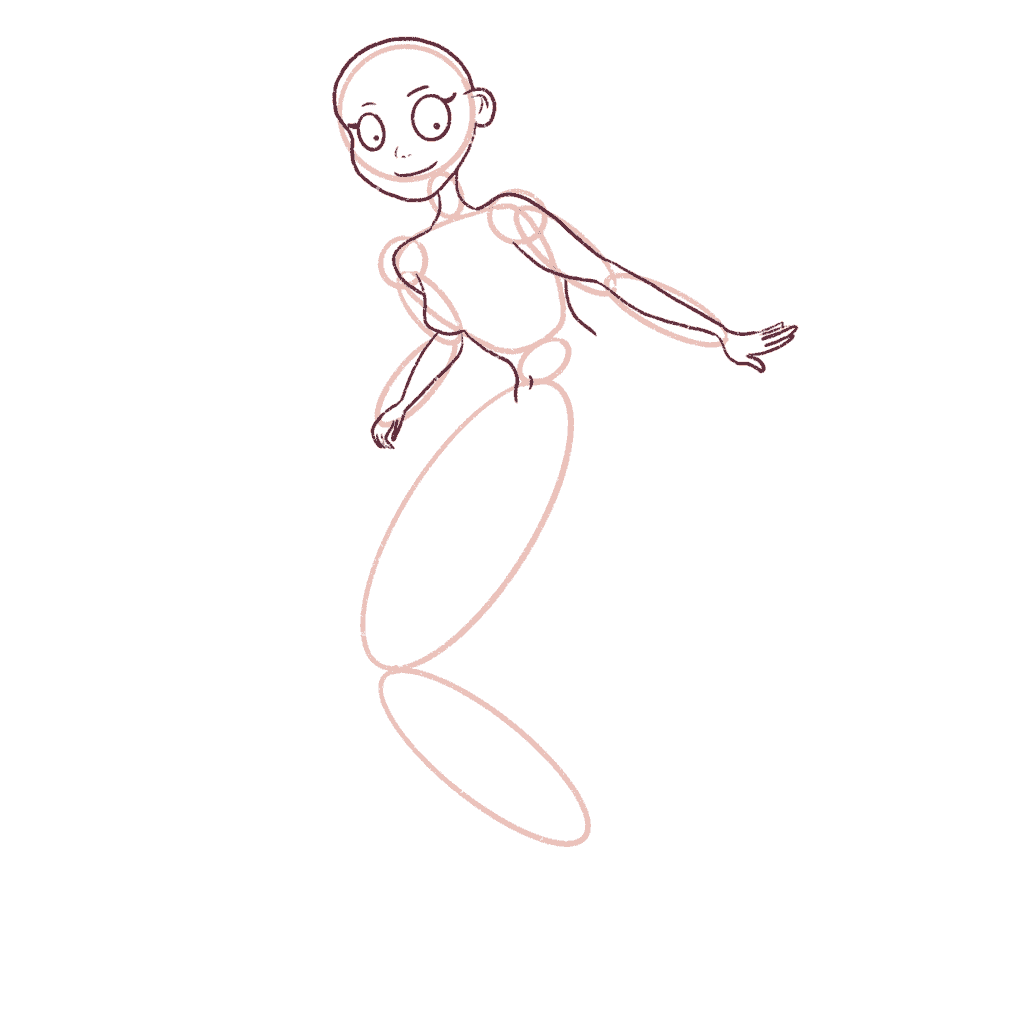
Now, I will draw the arm that is behind her.
Since it is behind, it will be smaller than the previous arm.
If you are finding it difficult to draw hands, please read my whole post here that explains how to draw hands.
Additionally, if you are looking to learn how to draw human anatomy, I suggest picking up these books:


Next, it is time to draw the mermaid’s tail. I have a detailed post on drawing mermaid tails here.
The easiest way to draw the tail is to draw a quick S-shaped curve.

I’ve also added the fins around her waist and at the end of the tail.
It can take some time to master drawing tail fins, but it gets better with practice.
Remember to keep your hand grip loose when drawing these lines because we want to maintain the fluid motion – this will help your lines be long and flowy.
Okay, we’ve officially finished drawing the most challenging part of the mermaid.
Next, let’s get to drawing the hair.
Step 3: Drawing the mermaid’s hair
Drawing a mermaid’s hair can be a little tricky.
The physics of her hair changes. So depending on whether you are drawing the mermaid swimming or drawing the mermaid on a rock, the hair will change.
Remember that the hair always moves in the opposite direction if she’s swimming in the water.
However, if she’s stationery, it will move in the water current direction.
Remember to think of the hair as one object when we’re drawing it.
Now, let’s start with the overall shape of the hair next.

I’m going to keep her hair behind her.
Let’s add more details now.
Additionally, here are some books that will help you to draw hair:


I am going to divide the front part of her hair into two sections like curtain bangs (but longer). I have a whole post on drawing mermaid hair in different poses here.
I’ll now finish the drawing by adding the sea-shell bra to her chest.
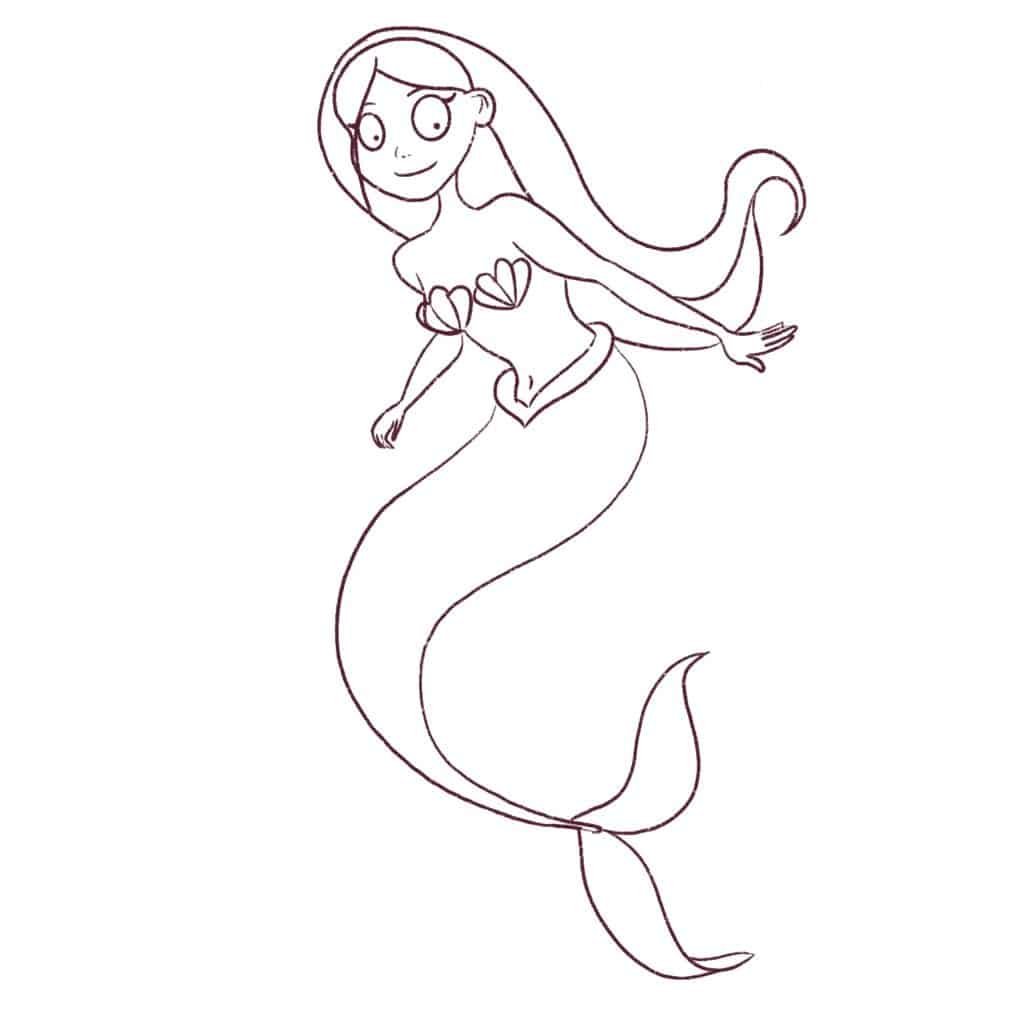
And with that, we have learned how to draw a mermaid.
Let’s clean up all the lines now so we can see what the final picture looks like.
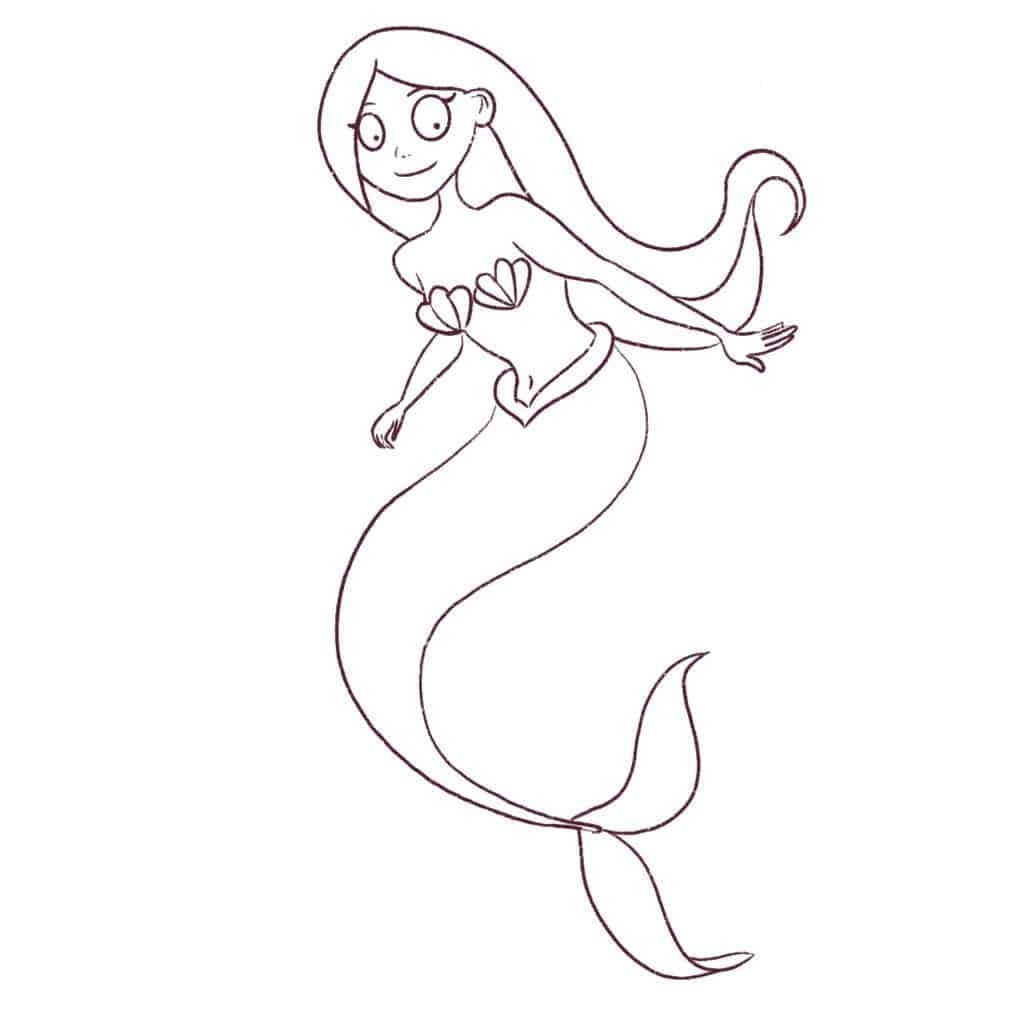
And the outline of the mermaid is done. You can either shade it with coloring pencils or we can color it digitally.
I honestly enjoy coloring my digital art, so I’m going to go ahead and do that!
Step 4: How to color the mermaid
Please note that I am drawing this digital art and coloring it via Procreate on an Apple iPad while using an Apple Pencil.
However, you can use any coloring method like Copic markers or watercolor paints or color pencils.
I will group all the layers I just used in Procreate and duplicate the group.
I will then merge the group copy into 1 layer (by flattening the layers) and make it my reference layer. This will help me color the illustration more easily because I can simply drag and drop the color to the part I want to color.
Remember that when coloring, every color can lie on an individual layer and it must be underneath the main outline layer.
This makes coloring super easy because you can manipulate any layer with any color.
Please read my post on coloring digital art, so you have a better idea of how I do this. It even has a video.
Let’s start with the skin of the mermaid.
I am going to go for a pale mermaid this time – so let’s start with a light color skin shade.

Now, with a pinkish tone (slightly darker in hue than the skin shade), I’m going to add some detailing to her face, shoulders, and hands.
I’m using the bonobo brush (free in Procreate) for this.

Now, let’s dig into my favorite part of the mermaid – her tail.
I won’t be going into too much detail about this because I already have a post on coloring mermaid tails here.
I’m going to go for a royal purple like so:
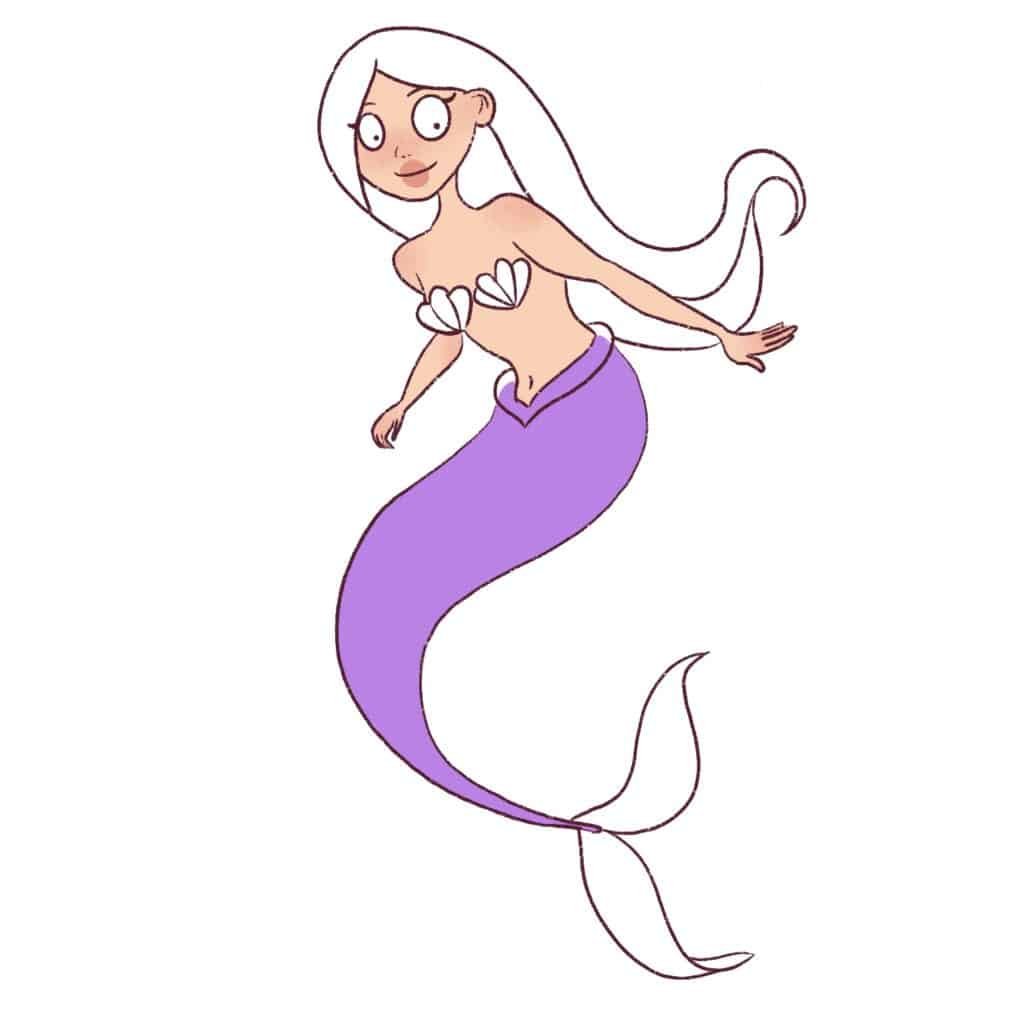
Next, I will color the fins a lighter purple (on a new layer) and decrease the opacity of the layer to 40%.
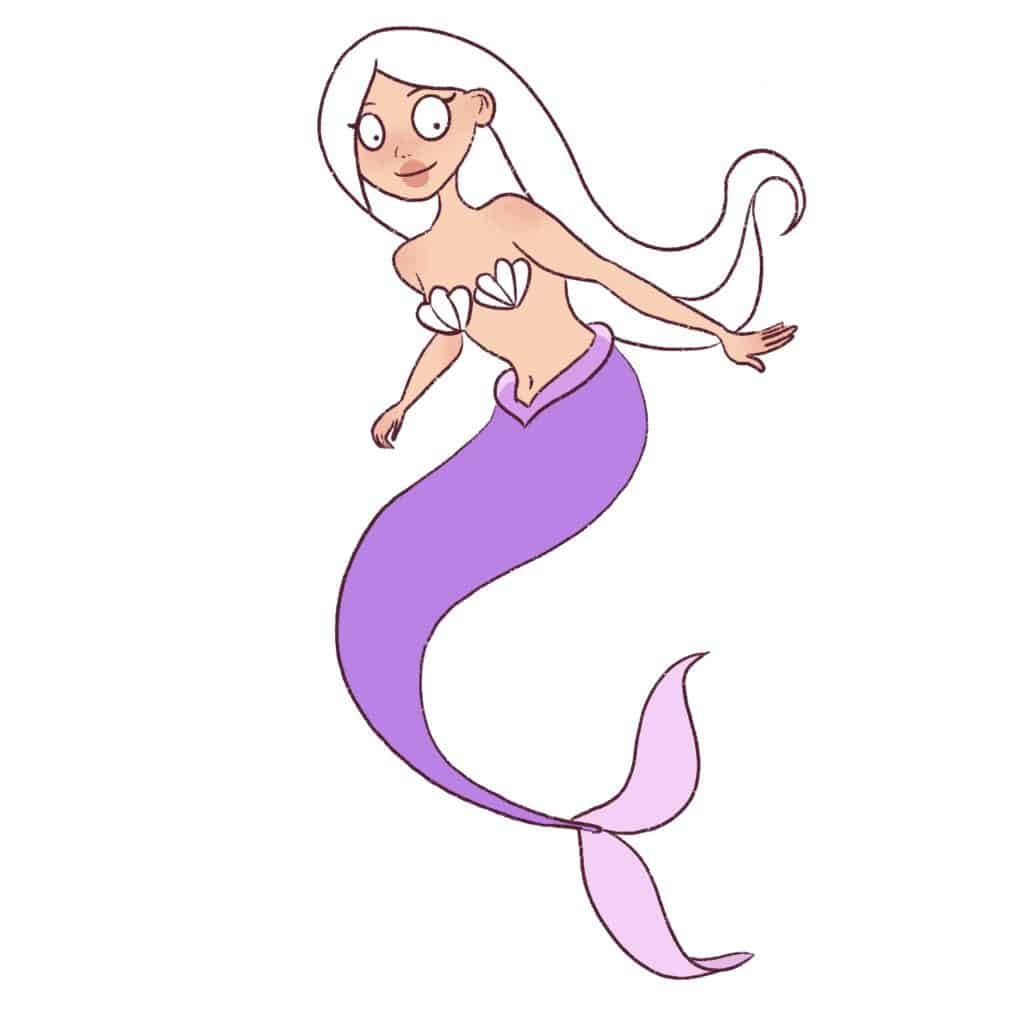
Now, I will add some details to the tail fins.
On a new layer, I will just draw some lines on her tail fins and the fins around her waist.
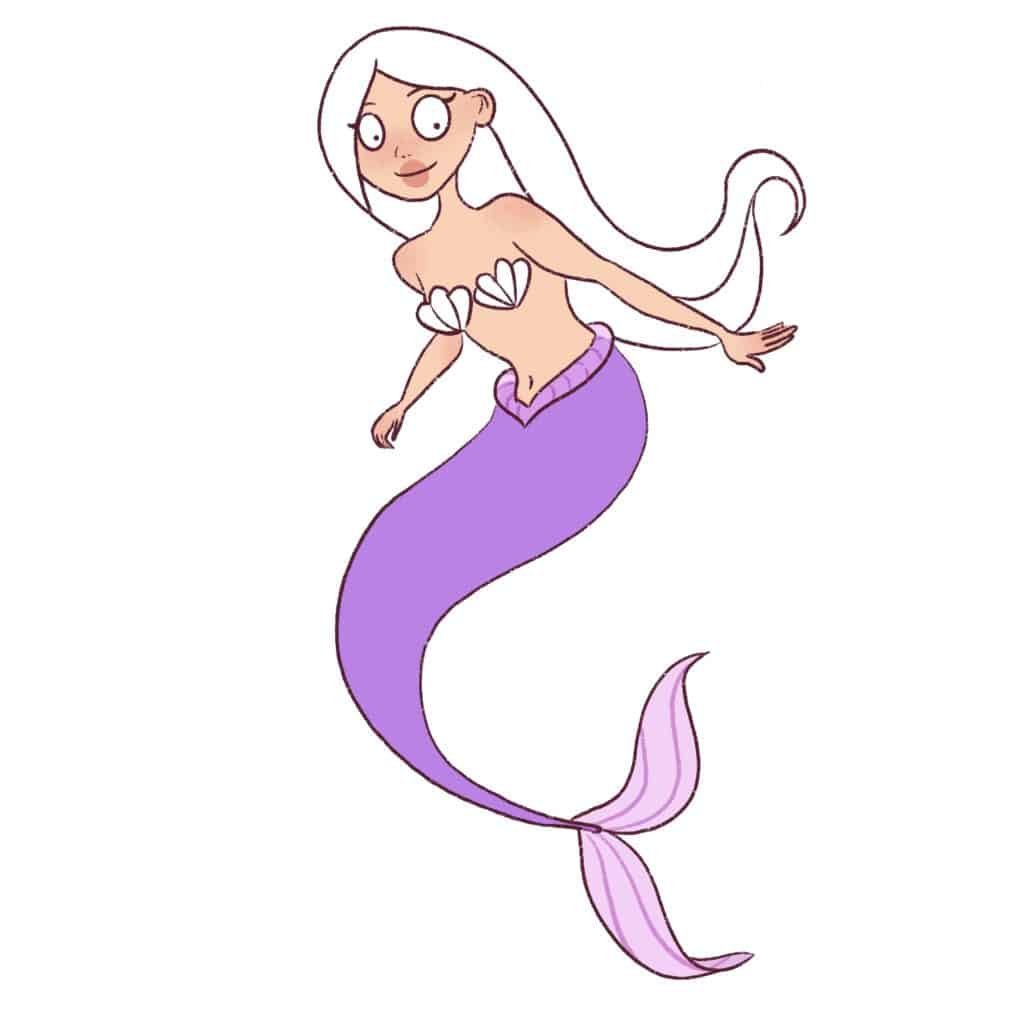
Now, I will add some scales to the mermaid’s tail to give it more texture and look more realistic.

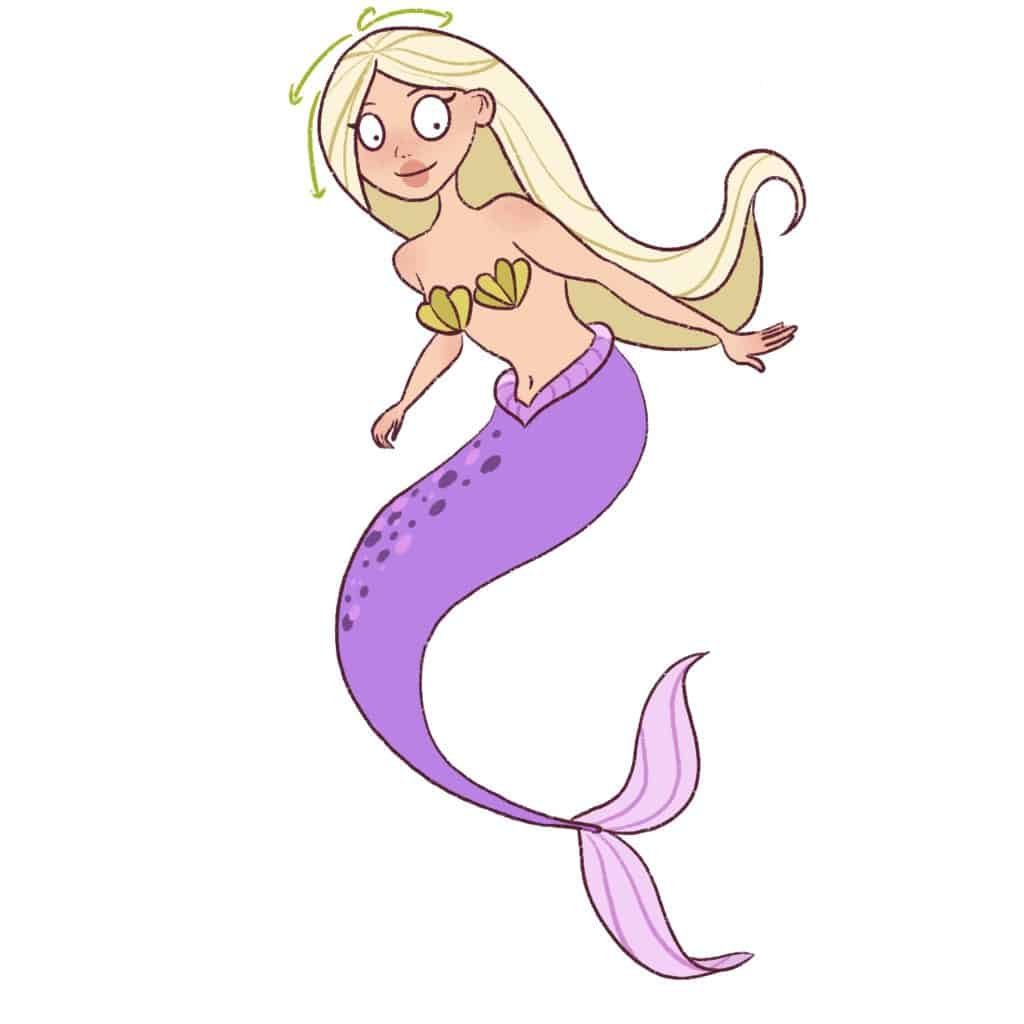
Now, it’s time to color the mermaid’s hair. If you’re having trouble with drawing mermaid’s hair, please see this post.
I’m going to color her hair with a simple base color like light blonde.

Next, I’m going to go in with some strokes for her hair with a dark blonde color to give it more texture.
Remember to draw the strokes in the direction of the hair growth.
Here are some points to keep in mind when drawing the hair strokes:
- The hair strokes should vary in line thickness.
- Try to vary the distance between the hair strokes – it should not be parallel to each other.
Using the same approach from above, I am going to draw more hair strokes.
Drawing hair takes some practice, but you will get the hang of it soon enough if you draw consistently.
Now, I want to add shadows.
Using the bonobo brush (it’s very diffused and chalky), I will use a medium purple and add the shadows on a new layer.
Change the blending mode to “Multiply” and change the opacity to 37%.
Doing that, I should get something like this:

This looks great, but we are not quite done.
It is time to add the highlights.
On a new layer, with a bright blue, I’m going to paint the highlights. Once I’m done, I will change the blending mode to “Add” and decrease the opacity to 17%.
Please read this post if you want more help coloring digital art.
We’ve learned how to draw a simple and cute mermaid.
What to do if you find it hard to draw mermaids?
Practice, practice, practice!
Drawing only gets better by doing it every day. Think of it like playing the piano – you cannot get better unless you get there and practice.
Nobody is born gifted – we all get better by doing more of this skill.
Check out this book – it’s one of my favorites.

Also, there are countless illustrations and sketches of mermaids online, and you can even study women’s anatomy because a mermaid is a half woman!
You can also read my post on how to draw a mermaid tail to see a simple pose you can start with.
And you can use Google Images for references or just go ahead and check out these fantastic books for studying human anatomy.
I would also suggest getting this course to help you speed up your learning: It will help you improve your visual memory for drawing people.
Keep practicing different poses until you get comfortable drawing women and mermaids.
Conclusion + Resources
I hope this in-depth tutorial was helpful to you, and you were able to learn how to draw a mermaid swimming.
Of course, this tutorial will help you get started. You do have to practice drawing women and mermaids before you get the hang of it.
Learning human anatomy takes some time.
So, don’t be discouraged if you don’t get it right from the start.
Every artist you see online that draws people has practiced drawing faces, arms, legs, and bodies repeatedly in their sketchbooks till they got to a stage where they can draw from memory.
It’s called enhancing your visual memory.
If you keep practicing drawing mermaids in various poses, you’ll soon be able to draw from memory.
You can make things easier by picking up this Character Drawing Toolkit.
If you want to see more tutorials on hair and people, just leave a comment down below. You can check out my other People Tutorials to learn how to draw people and clothes.
I will be adding more drawing tutorials to this blog, so keep a lookout.
If you are looking for books on drawing mermaids, check this out!
If you’re looking to improve your drawings faster and want to really draw as a hobby or even pick up drawing professionally, I highly recommend picking up this beautiful online course that teaches you how to draw appealing characters with personality.
Use code STRAYCURLS-10 to get a 10% discount!

This class will teach you how to draw a character from scratch and then color it.
If you are just getting started with ProCreate, I highly recommend this course: Procreate for Beginners: Digital Illustration 101


I just finished this tutorial and my mermaid came out so pretty! Thank you for sharing your gift with us. Can’t wait to learn more with your tutorials.
Hey Priscilla,
Ah, I’m really happy, I really do love drawing mermaids too! If you have more ideas on things to draw, you can always leave a comment here! I’m so glad you loved this one.
Warm regards,
Angela
Hey Priscilla,
Ah, I’m really happy, I really do love drawing mermaids too! If you have more ideas on things to draw, you can always leave a comment here! I’m so glad you loved this one.
Warm regards,
Angela