
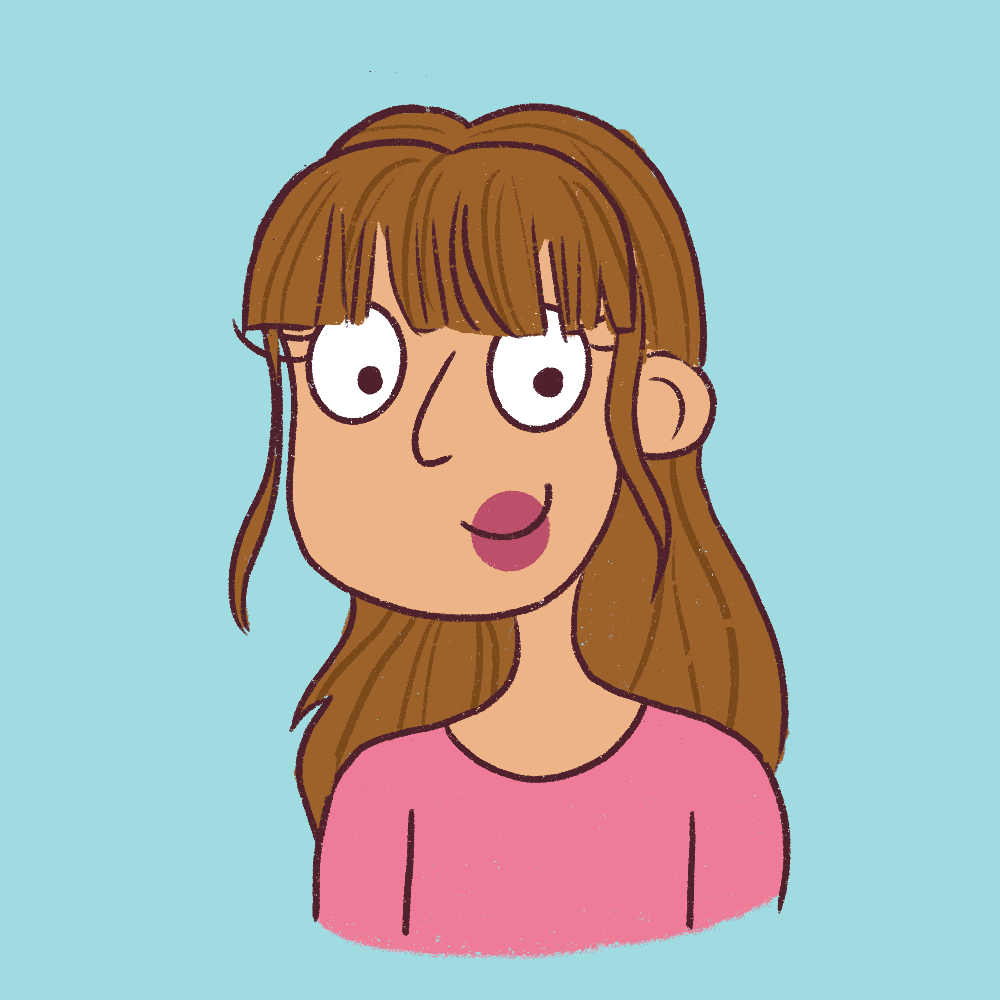
One of my favorite things to draw is hair.
I even started a hair comic channel on Instagram because it gave me so much joy drawing curly hair.
Curly hair and straight hair are 2 entirely different mediums. I love the fluid motion and the strokes of hair. It gives me so much joy.
However, drawing hair is a challenge, especially in a cartoon style.
In this post, I’m going to break down how to draw bangs in a step-by-step way so that you can draw hair and bangs really quickly!
You can check out all my hair tutorials here.
It doesn’t matter if you’re a kid or an adult beginner, the steps are extremely easy to follow, and as long as you follow the tutorial step by step, you should have no difficulty following it.
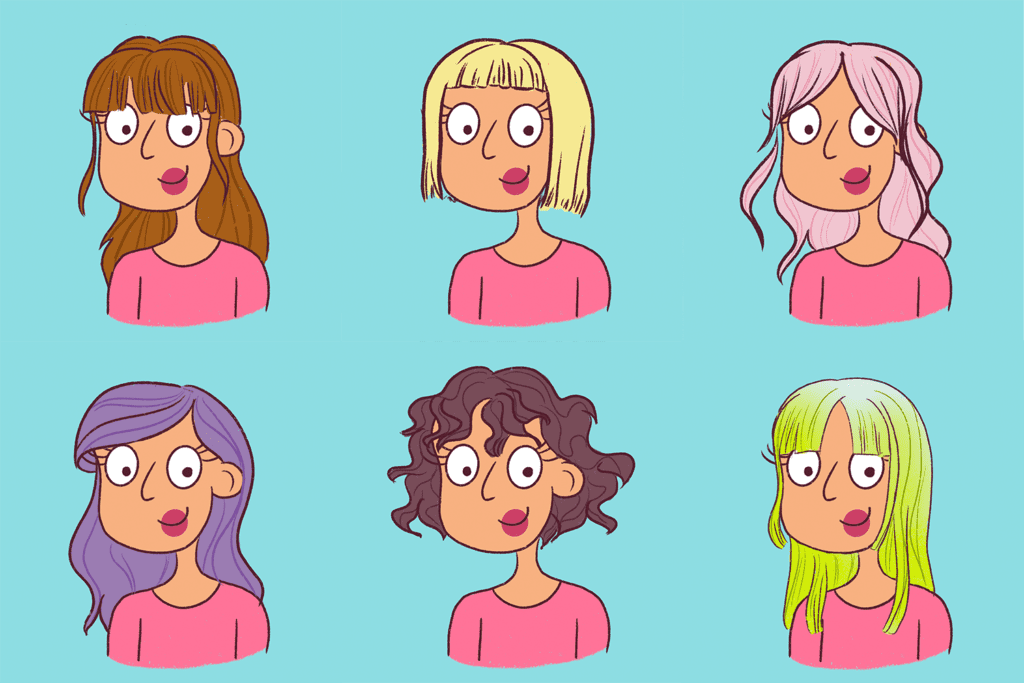
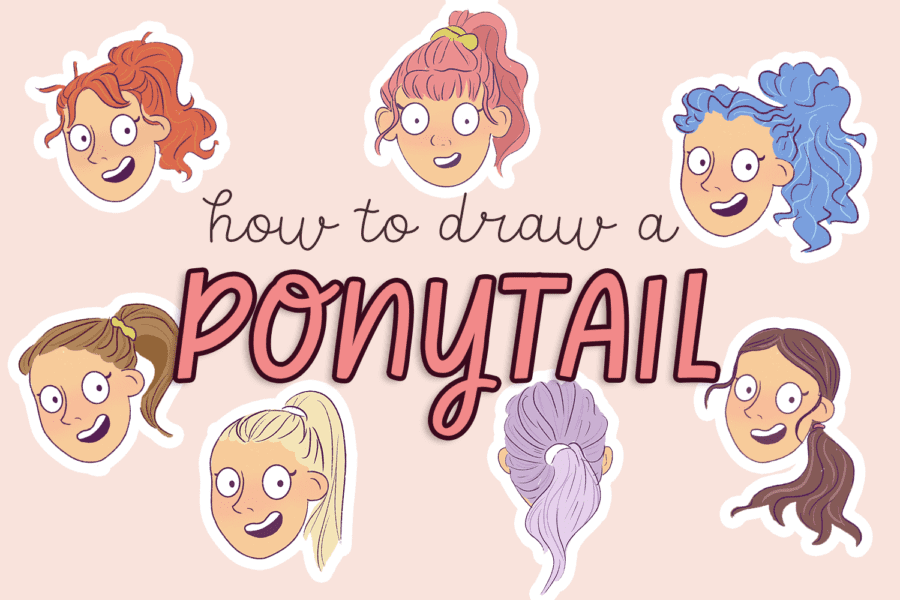
These are all the types of bangs we will be drawing today:
This post includes affiliate links. If you do decide to purchase something, I will make a commission at no extra cost to you. For more information, please read my entire Privacy Policy here.
I am using an iPad Pro and an Apple Pencil to draw my illustrations. But you can use any tool – a pen and paper or Photoshop because the drawing method remains the same.
I’m going to cover multiple types of bangs, so feel free to skip to a section that you are most interested in.
Table of Contents
How to draw bangs – A step by step guide
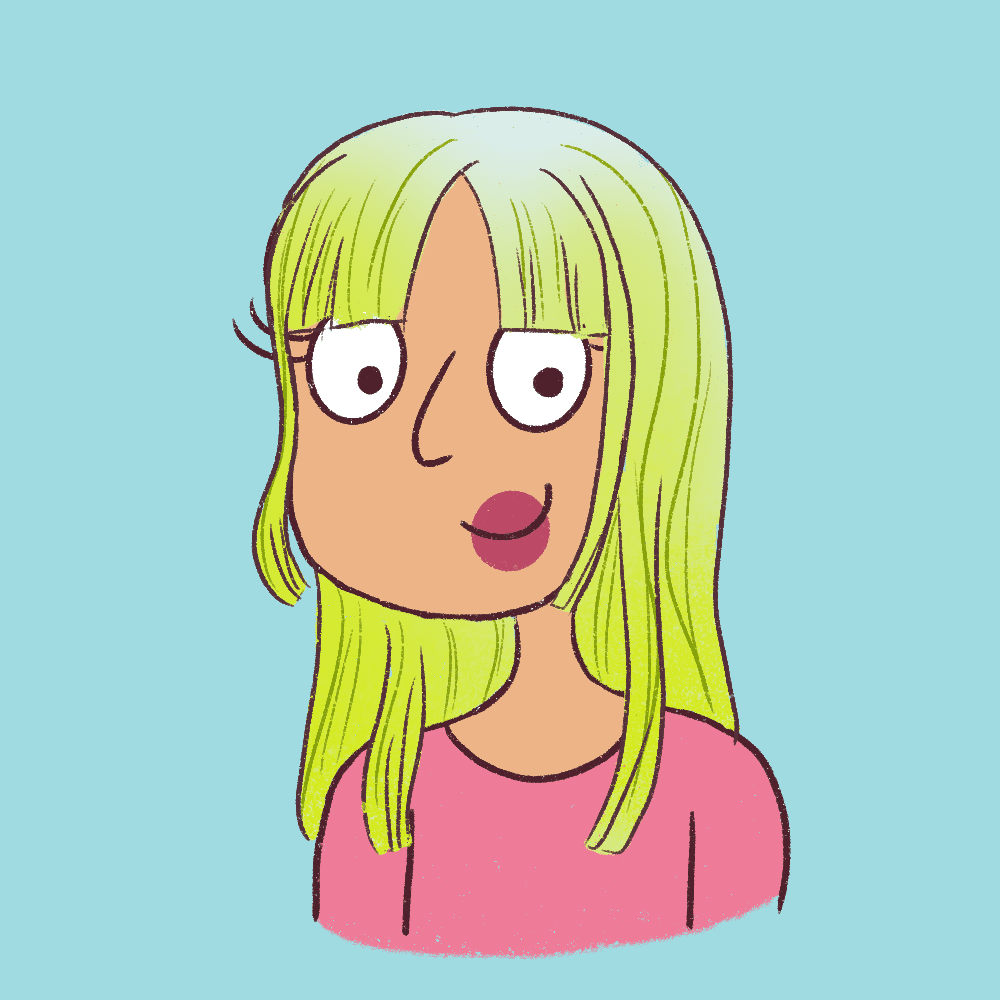
Let’s start with a simple head shape before we even start drawing hair.
Nothing too complicated, just a simple structure of a skull.
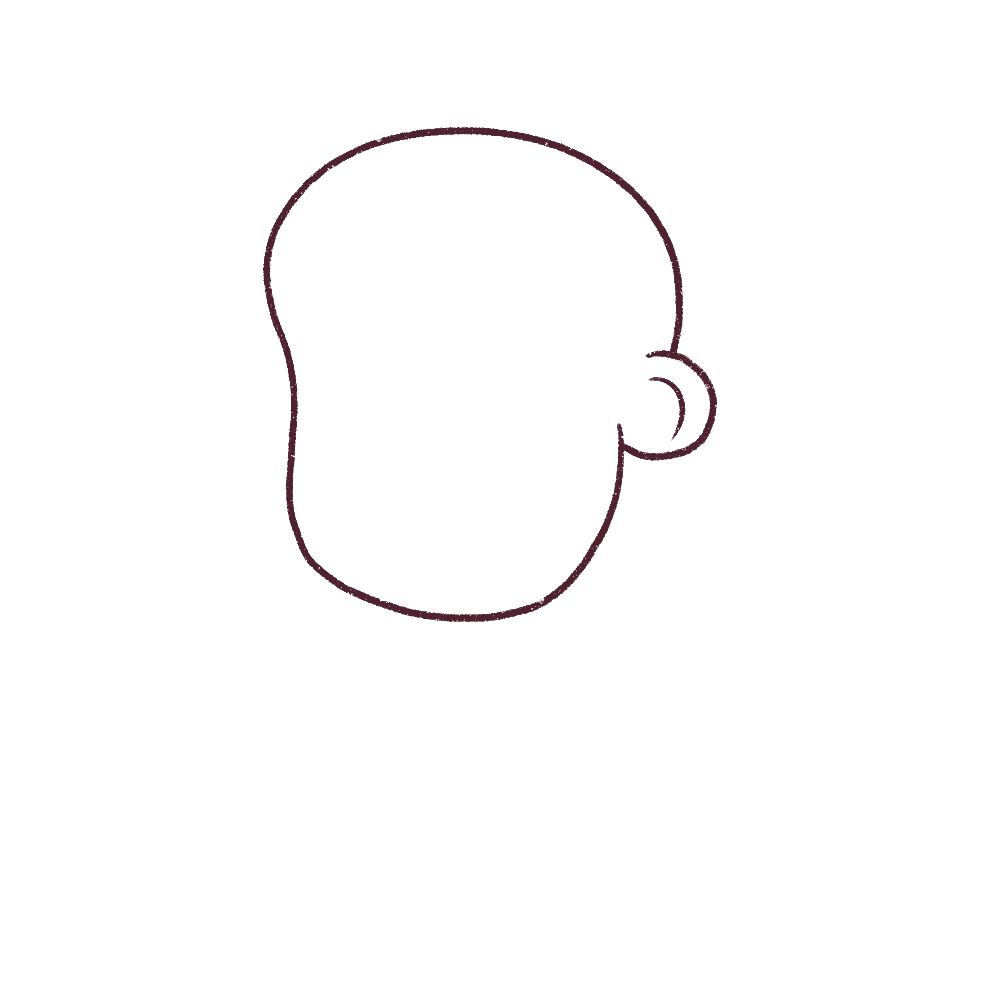
The head is drawn in a cartoon style, hence the big dumbo-like ears.
It’s okay to accentuate some features when you’re drawing characters in a cartoon style.
Now, let’s add the facial features to the face before learning how to draw bangs. I’m going to add two simple round eyes, a nose, and a small mouth.

Ah, the face is done. Now, we can move on to drawing some bangs.
1. How to draw Straight Bangs
When you are drawing straight bangs, you need to hold your pencil very loosely so that your strokes look fluid and not rigid.
This is the key to drawing very cartooney bangs.
And even with straight bangs, there are a lot of variations you can pursue.
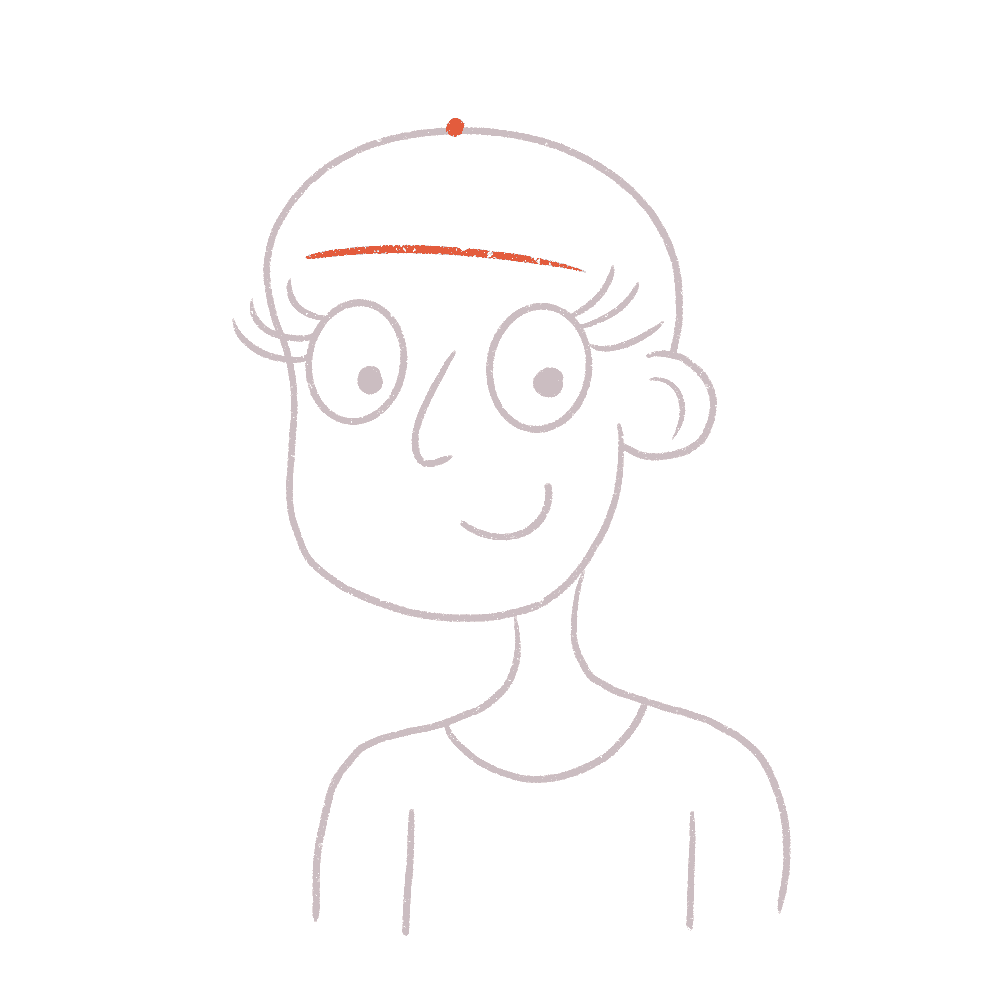
Let’s make it very simple. Your bangs will originate from here – the top of the head.

1. Birkin Bangs Tutorial (how to draw)
Birkin bangs are long and cover the eyebrows. They are inspired by Jane Birkin. It’s almost like a fringe, and it stops just before the eyelashes.
Birkin bangs are the easiest to draw; that’s why we are beginning with Birkin bangs.
Let’s start with a simple outline of the bangs first.
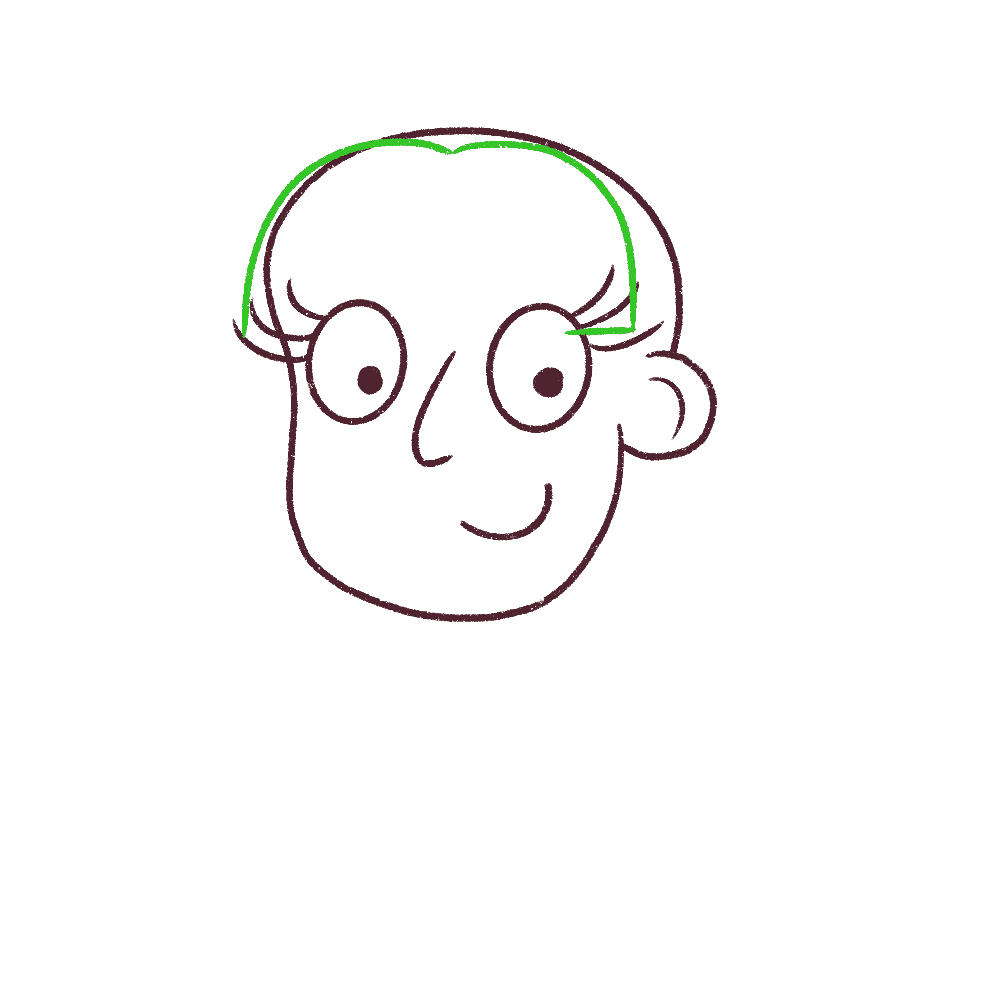
I’m coloring the bangs in green, so it’s simpler for you to visualize and see.
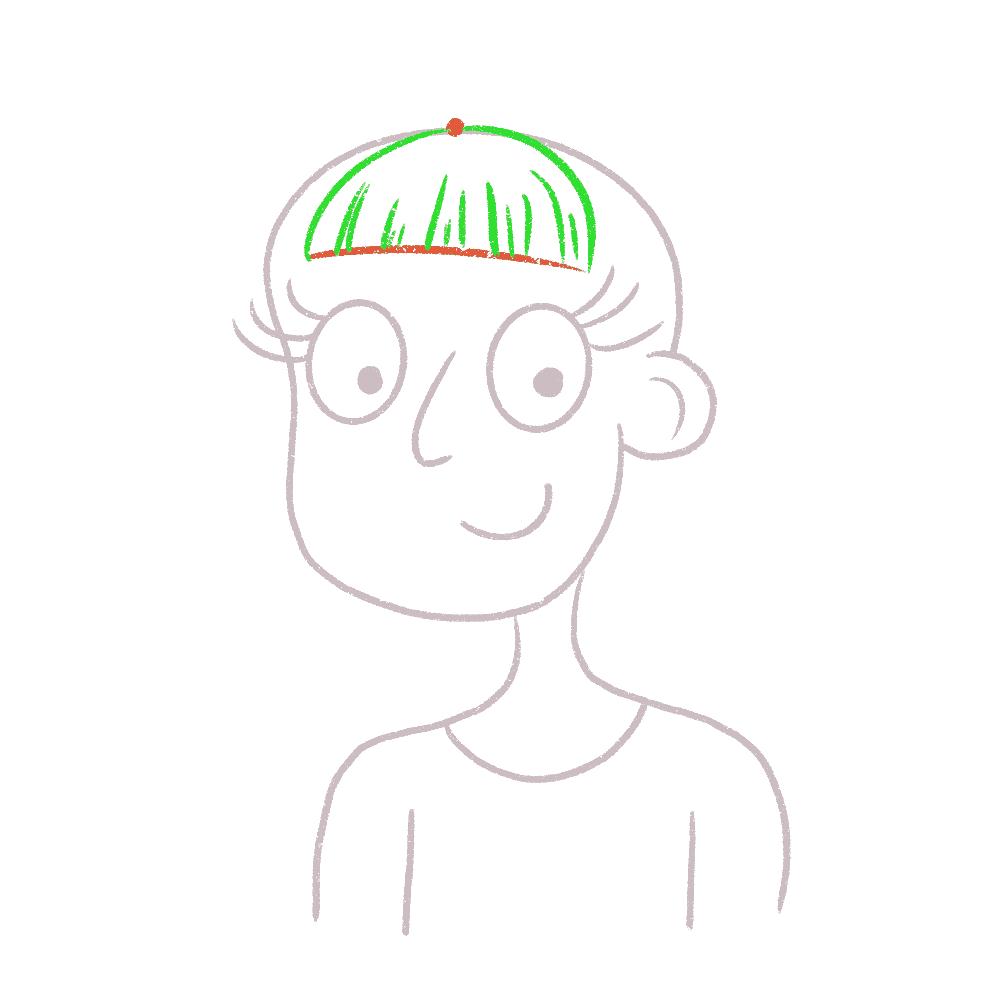
Now, slowly fill in the bangs outline with quick strokes moving upward – this way, the lines will be thicker at the bottom and thinner on the top.
It doesn’t need to be perfect.
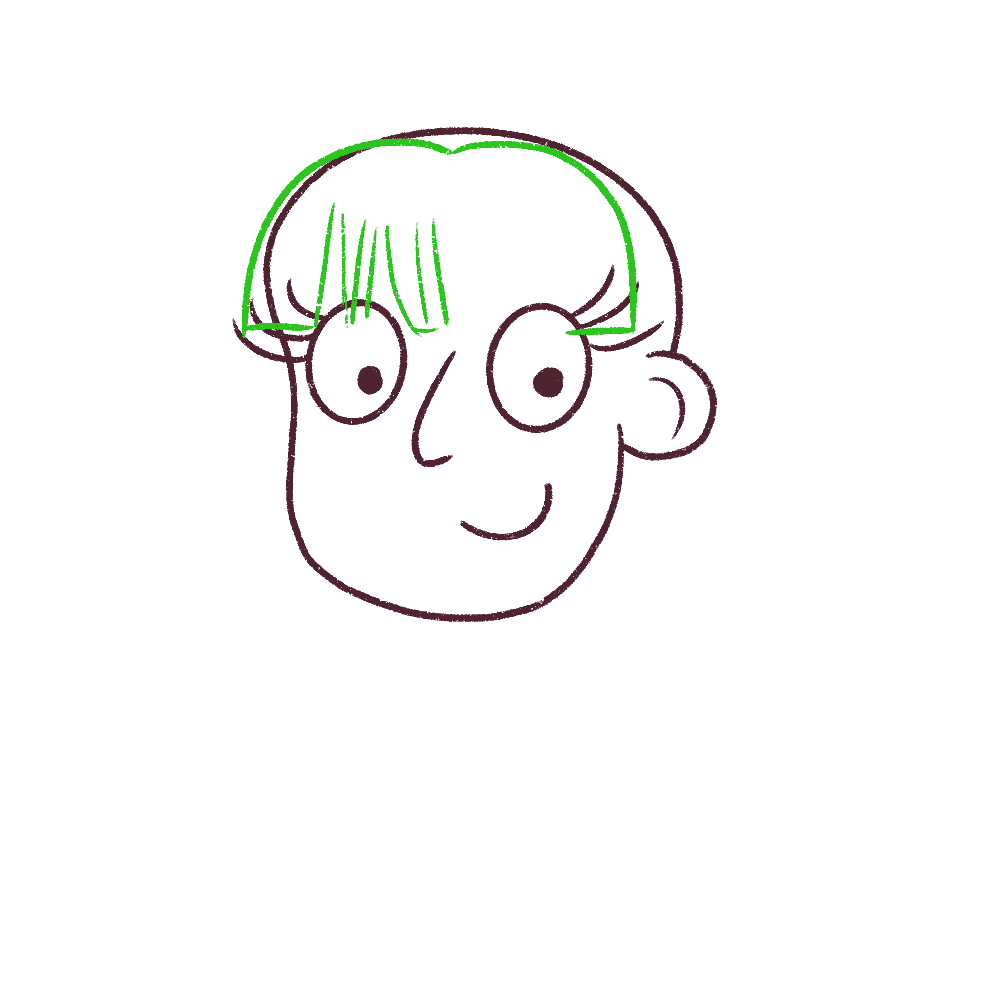
Continue filling in the strokes till you’re completely done.
Remember to clump a few strands together, so it looks more natural. It should not be evenly spaced.
Once you practice drawing in cartoon style, this will come more naturally to you.
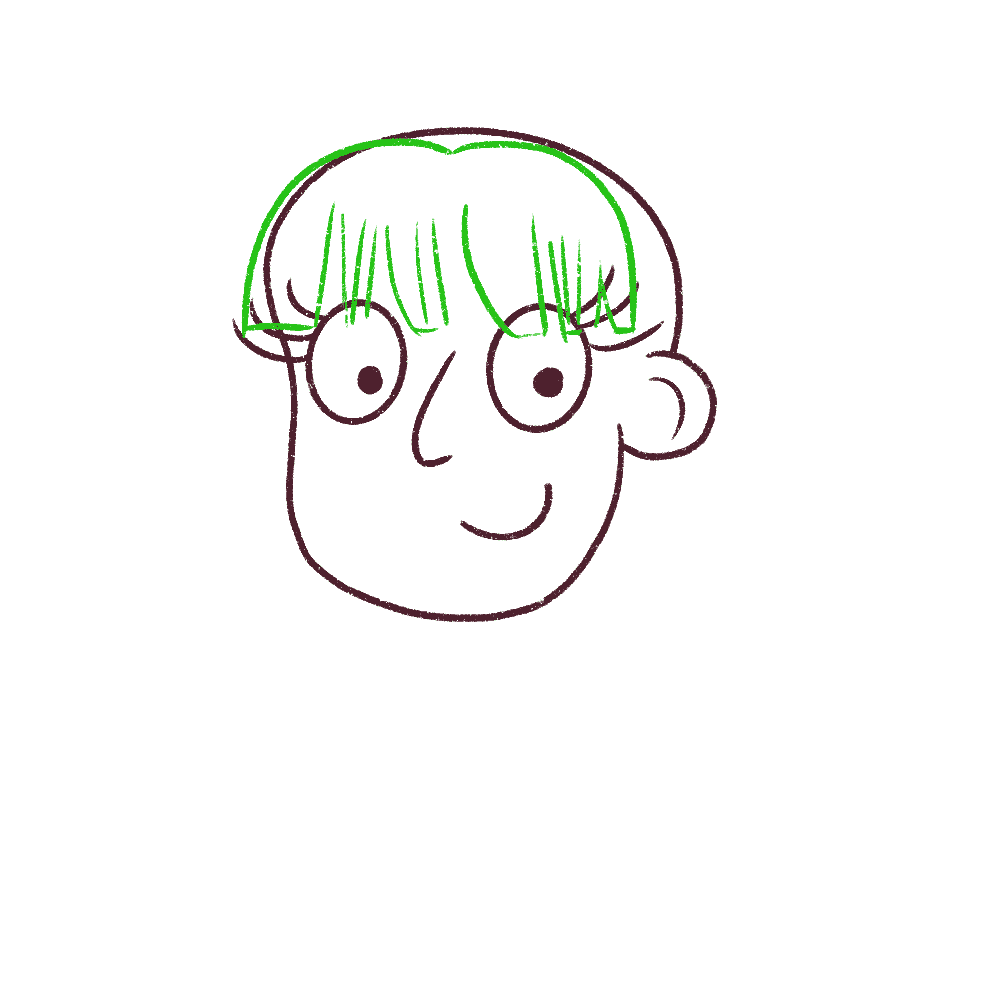
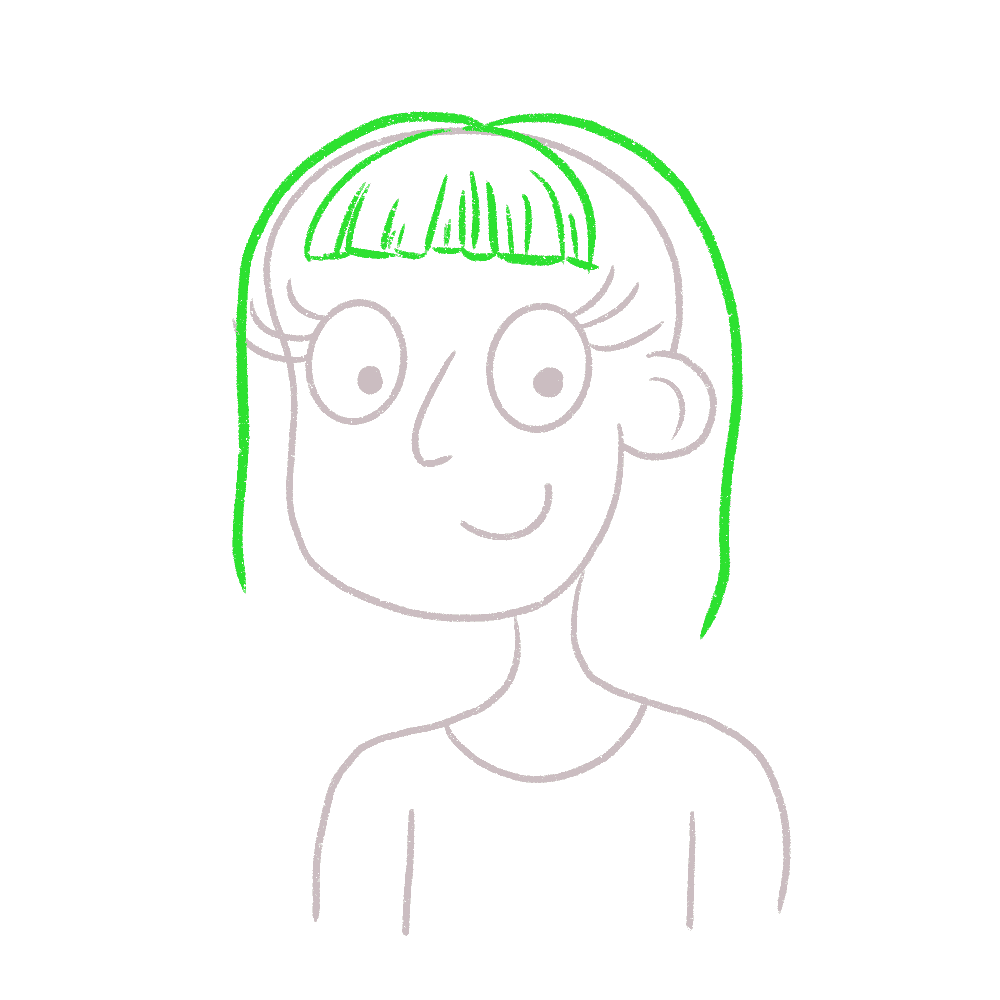
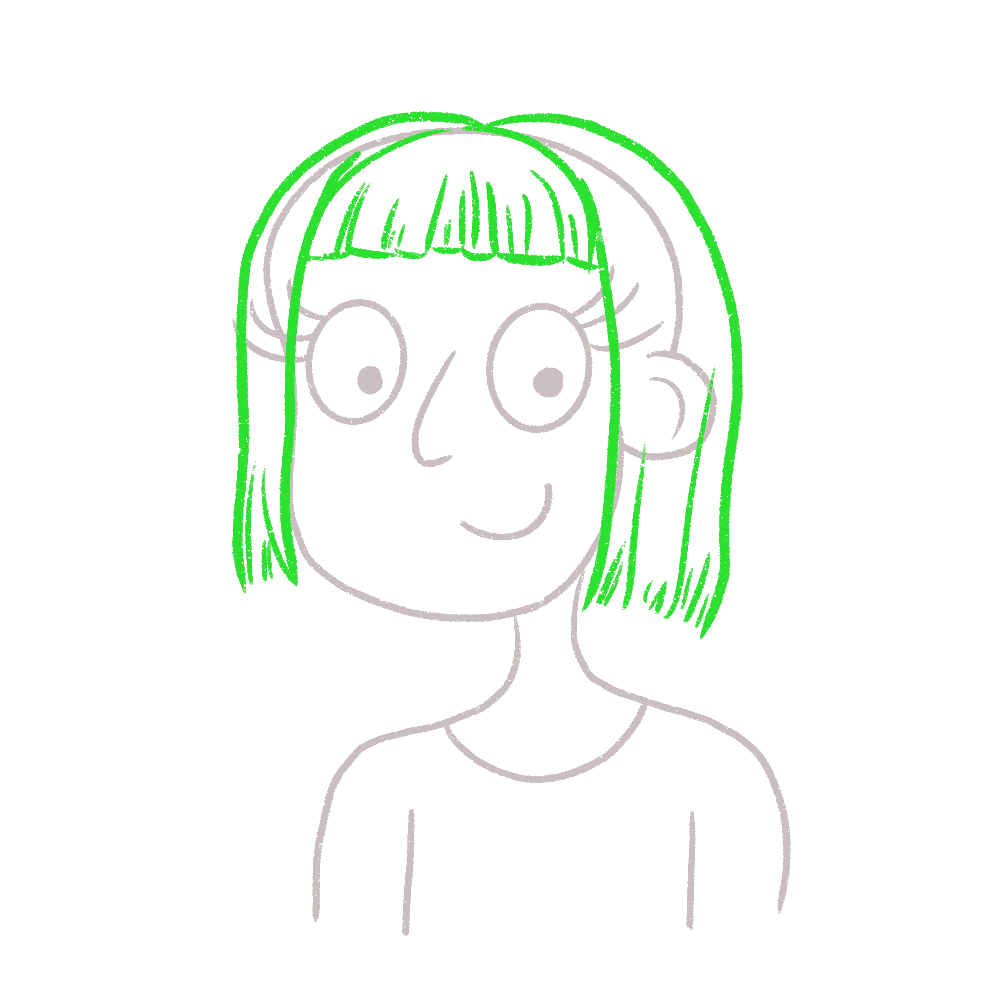
Draw 2 more wispy bangs on the side of the face to frame the face nicely, following a simple “S” curve.
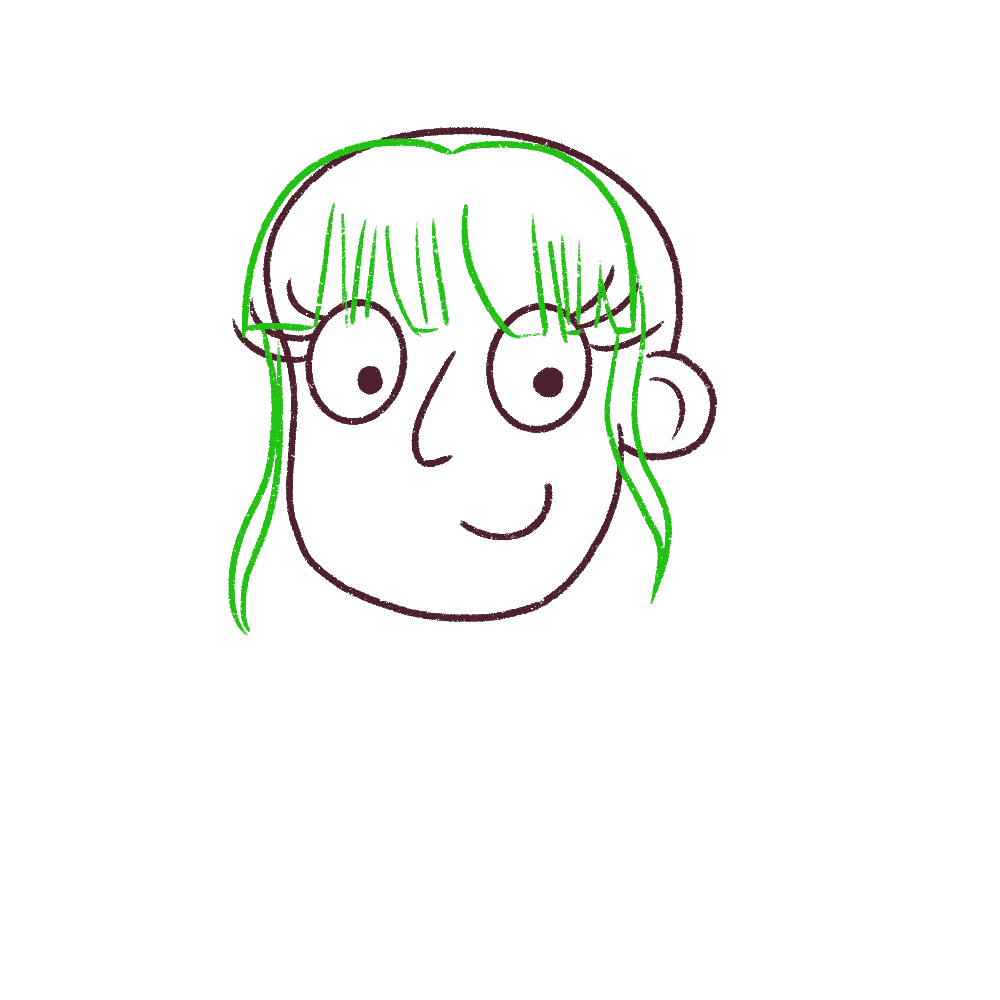
And now finish off with the rest of the hair. I’m going for something super simple and easy. Remember, the hair grows outward, so draw your strokes moving in the outward direction or in the direction of the hair growth.

This is how the hair should look now, along with the Birkin bangs:
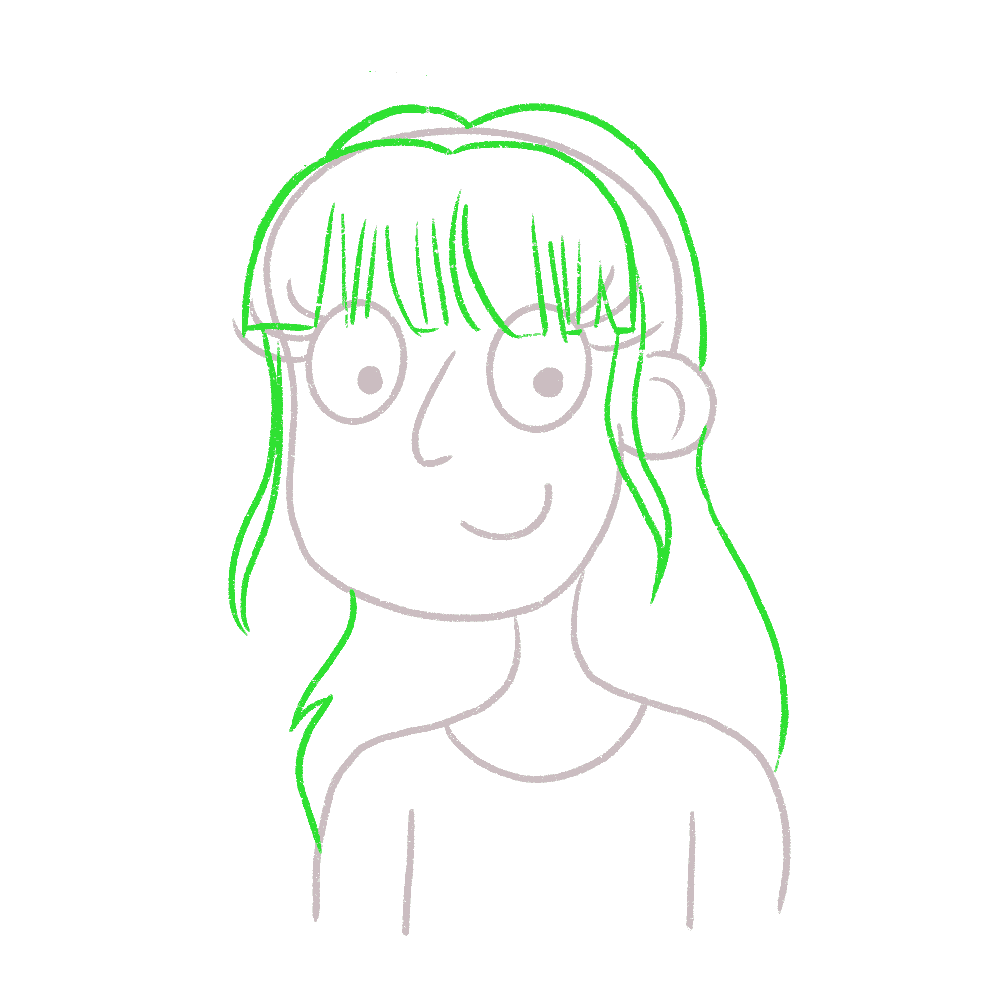
And now, let me change the transparency settings and color the hair the standard outline color.

I’m also going to clean up some of the overlay lines. And I’m just going to add some color to the illustration:
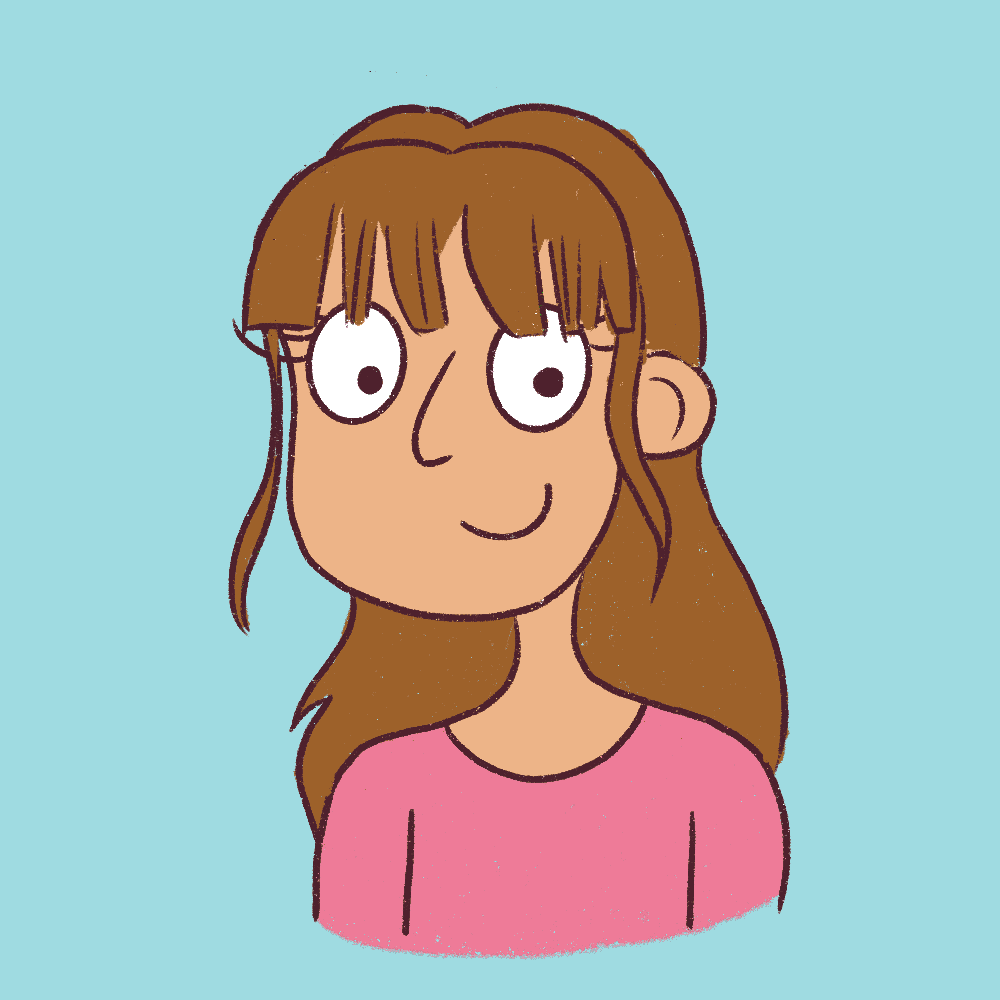
And if you want to add more detail to the hair, add some strokes in a shade darker than the overall hair. Remember to draw the strokes in the direction of the hair growth! You can vary the thickness of the strokes to make your hair look more natural and give it more texture.

I can still add more straight bangs to her face to give her a more polished look. So, I’m going to go ahead and clean up the illustration a bit.
You can modify your sketch as much as you please till you’re happy with the final result.
Congratulations! You’ve just learned how to draw Birkin bangs!
And now, let’s move on to another popular type of straight bangs.
2. Blunt Bangs Tutorial (how to draw)
Blunt bangs are very straight cut and have almost no layers. They are cut in one layer, so they look pretty thick and are definitely not layered.
Sometimes blunt bangs are cut just above the eyebrow – think The Girl with a Dragon Tattoo. And the forehead is a bit exposed.
I’m not going to start from scratch again. I’m going to use the same head template as before, and now, I’m going to make a small cut in red to signify where the blunt bangs should end.
Using the guide above, I’m going to draw a neat inverted hemisphere and quick short strokes from below to signify the blunt bangs.
Once that’s done, complete the rest of the blunt bangs by curving the edges in a “u” shape. You can see the blunt bangs beginning to form nicely.

Now, let’s draw the rest of the hair. I am going to go for a short hair bob because I feel it suits the blunt bangs perfectly!
And let’s draw the inner strands to frame the face.

And now, I’m going to finish it off with small rough edges along the ends of the remaining hair.
Before coloring the illustration, I’m going to tidy up some of the blunt bangs because I feel the lines are too thick around the bangs.
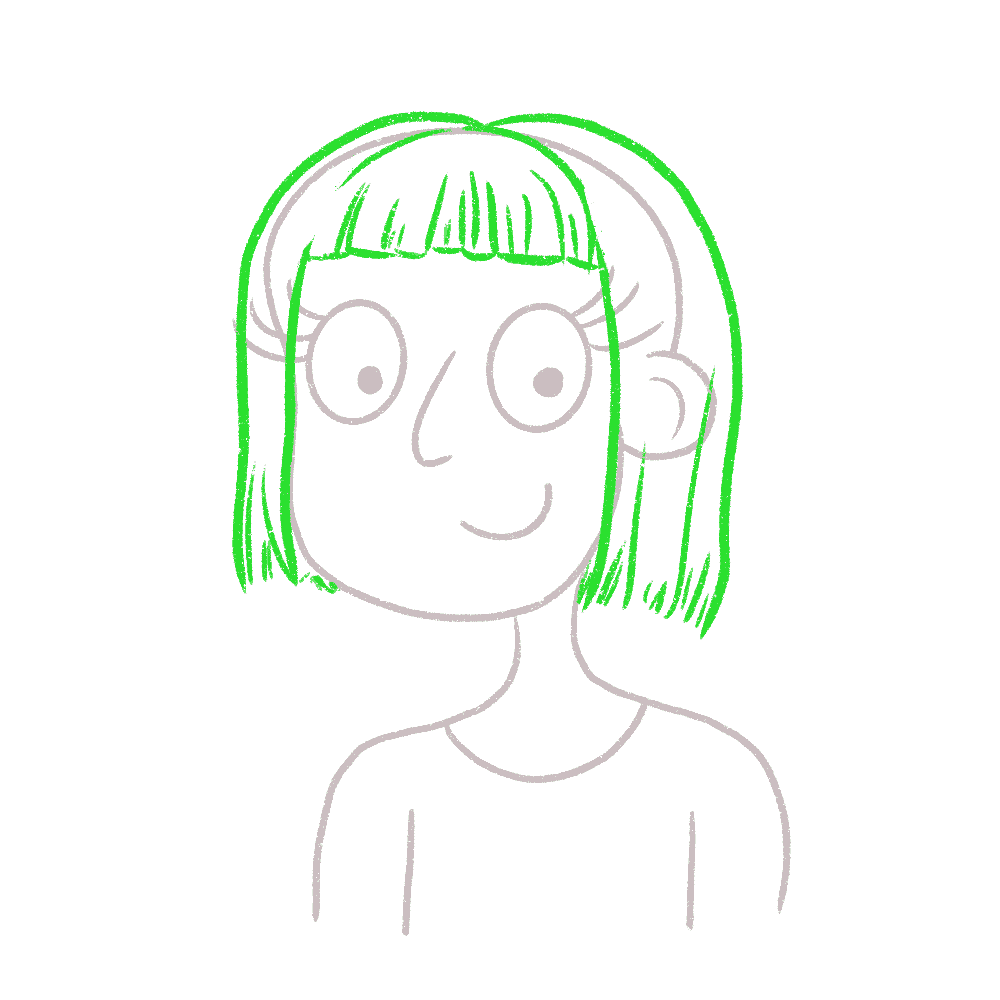
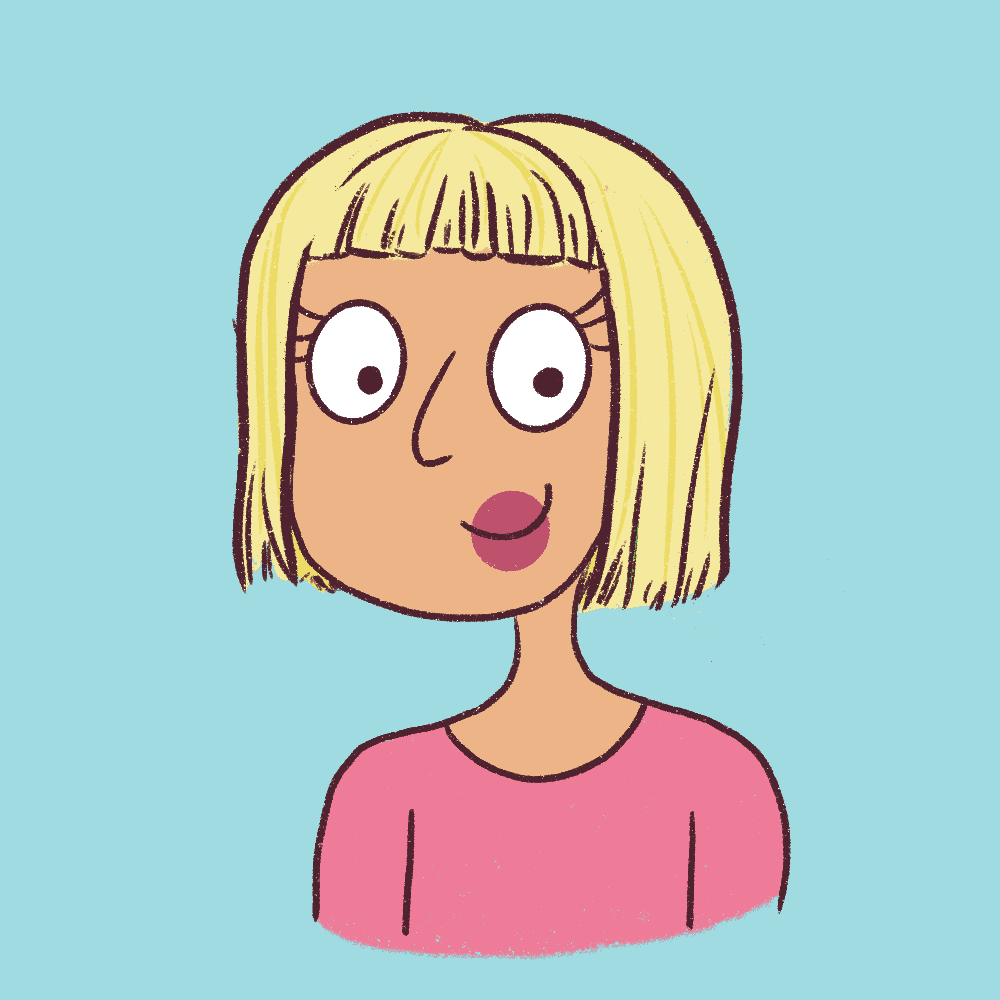
And now I’m going to color the hair and the bangs a nice blonde color

I feel the hair could be neater, so I’m going to erase the right portion of her hair upwards to give it more shape.

I’m going to add some darker hair strands to add more detail to the bangs and hair. And now, we are finally done with the blunt bangs!
And now, we are going to draw yet another type of popular straight bangs – curtain bangs!
Powered by Creative Market3. Curtain bangs Tutorial (how to draw)
Curtain bangs are similar to Birkin bangs, but there is a parting in the middle so you can see the middle of the forehead.
And curtain bangs give a nice nerdy, sweet-girl look, so you can use this hairstyle every time you want to signify innocence.
Let’s start with the head shape again and split the bangs in the middle like this: I will use an inverted bra shape.

The hair is thicker where it begins and slowly is serrated as it moves down as you are drawing layers. In all of these bangs tutorials, we are using extremely simple shapes and strokes to make drawing easy.
Let’s fill in the curtain bangs outline with some hair strands!
Now, let’s focus on drawing the rest of the hair.
I feel wavy, and long loose curls will complement the curtain bangs nicely. I’m also going to draw 2 wispy bangs along the side of her face to give it more shape.
Remember to draw “S” shape bangs when you’re drawing wavy hair framing the face.
Now, it’s coming together nicely.
And now, let’s add some color and texture, and we’re done drawing curtain bangs!
Apart from curtain bangs, we can also do side parting for the bangs – and this becomes side bangs or side-swept bangs.
4. Side Bangs or Side Swept Bangs Tutorial (how to draw)
Side-swept bangs are very similar to curtain bangs, but the parting changes from the middle to the side.
Side-swept bangs make a character look very mature and professional, and it’s great if you want to add some years to your cartoon character.
Let’s get started.
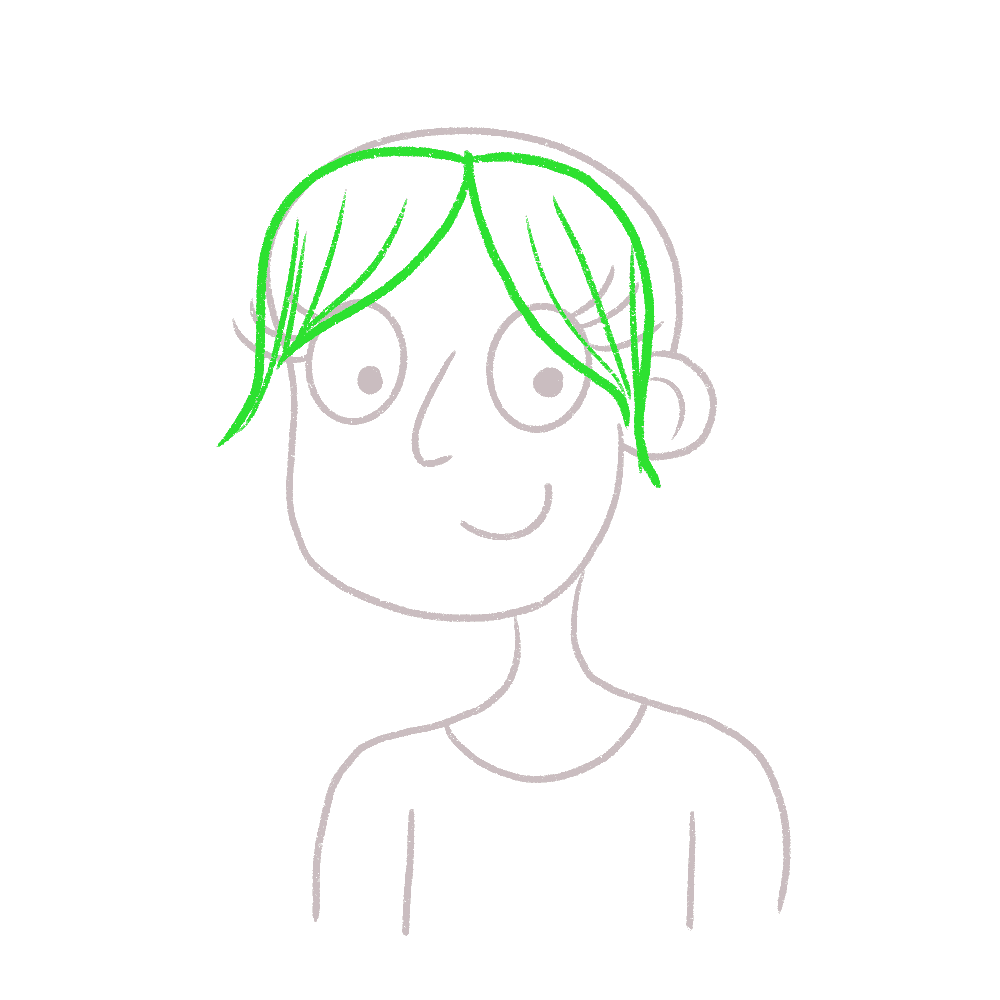
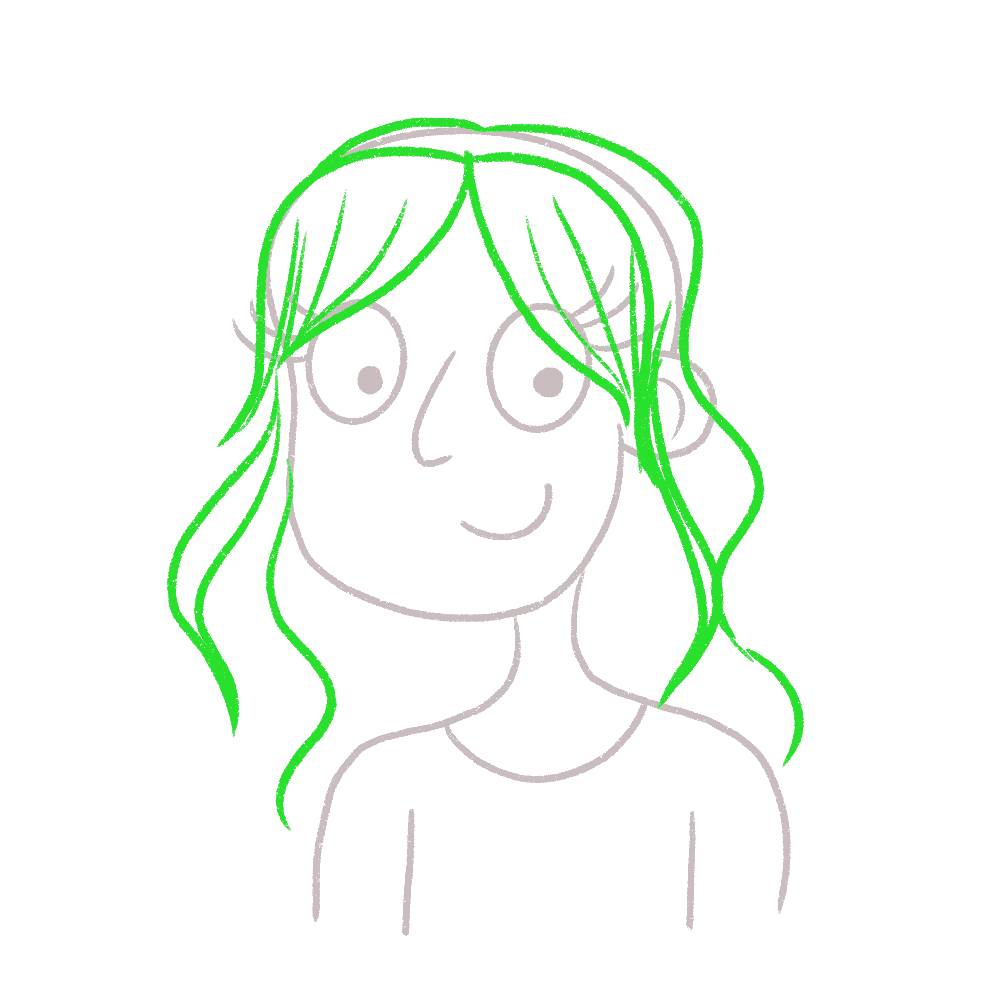
Start the drawing by bringing the bangs to the side in a long sweeping motion like this:

Remember, hair always follows a fluid motion, so keep your hand moving freely when you’re drawing the side-swept bangs.
This character is beginning to look a lot like Ariel from The Little Mermaid!
Now, draw the rest of the hair as you usually would. I’m going for slight waves as I feel it’s simple and easy to draw.
We’re not doing anything too complicated. And just like before, go with loose “S” strokes to draw the wavy hair.

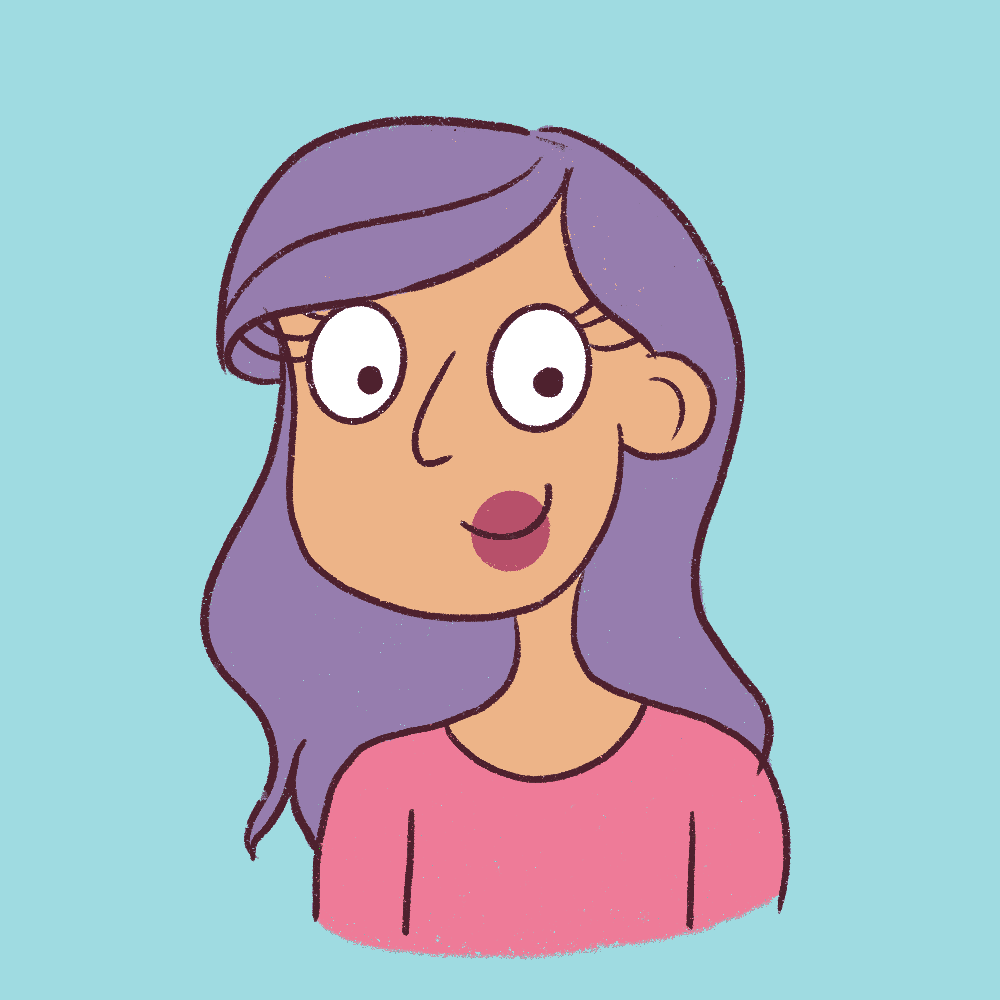
And now, complete the drawing by filling in a simple color. I’m going to go for purple this time just for fun.
And now, I will draw strands along the bangs and the hair to add more effect to the drawing following the same “S” shaped strokes.
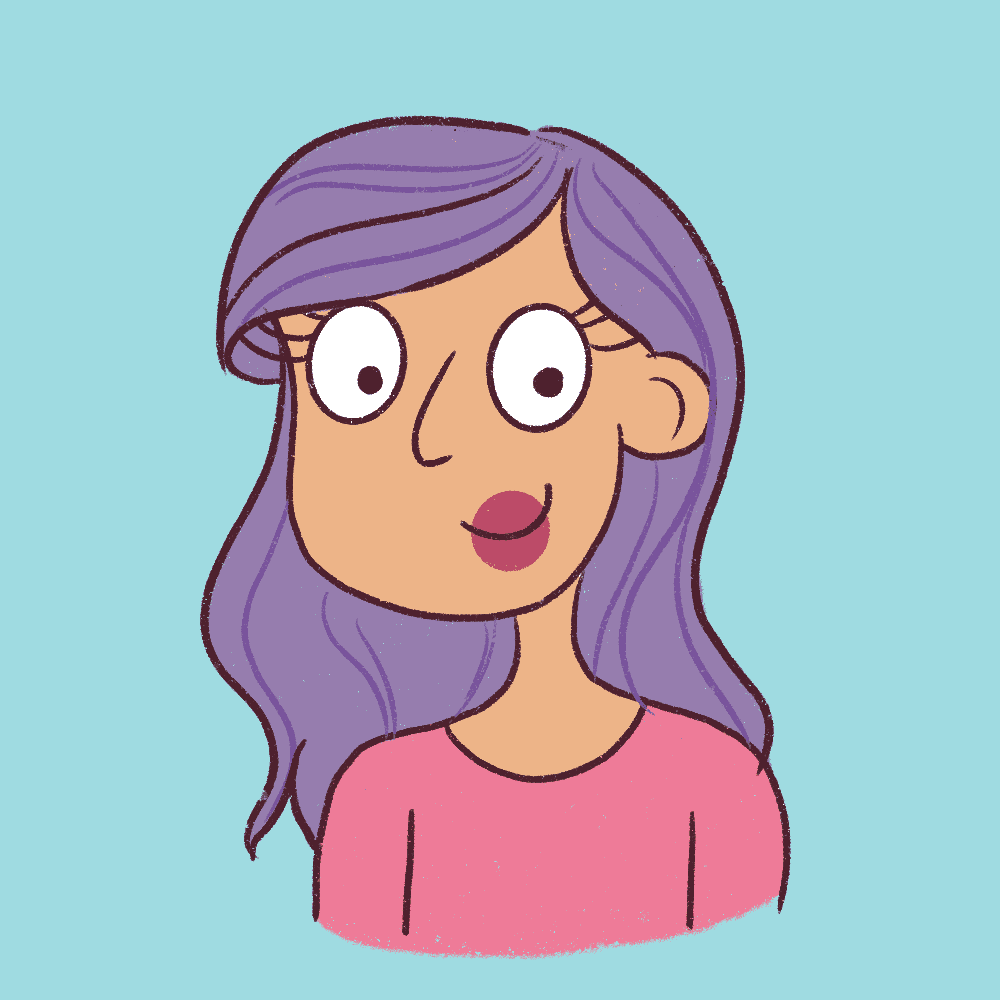
And voila! We’ve just finished side-swept bangs.
With this tutorial, we’ve finished covering how to draw straight hair with bangs and covered most of the different straight hairstyles.
Let’s move on to one of the most dreary types of bangs – Curly bangs!
2. How to draw Curly Bangs
The problem with curly hair is that the curlier it is, the more it doesn’t adhere to the basic rule of gravity.
It gets denser and fluffier.
Curly hair definitely takes some practice drawing, and it isn’t easy to draw as straight hair. It’s less controlled and more unruly. And that’s completely okay.
So, instead of drawing curly hair down to a point, you have to make sure it goes sideways or outward. And the best way to draw curly hair is to lump curls together and treat them as separate segments.
Unlike straight hair that moves in 1 fluid motion and direction, curly hair can be split into several segments that move in waves or coils in separate directions.
Let me show you how!
Let’s begin with drawing a few curls on the front of the face. We are still drawing “S” like strokes, but they are tighter and denser.

It can take a while to understand, but the more you practice, the easier it gets to draw curly hair.
Now, complete the rest of the hair by drawing more curls around the head. Remember, curly hair grows outward and not downward specifically.
So, when drawing curly hair, feel free to get as messy as you’d like! I’m going to draw short curly hair for this particular hairstyle.
Take as much time as you like. There is no rush.
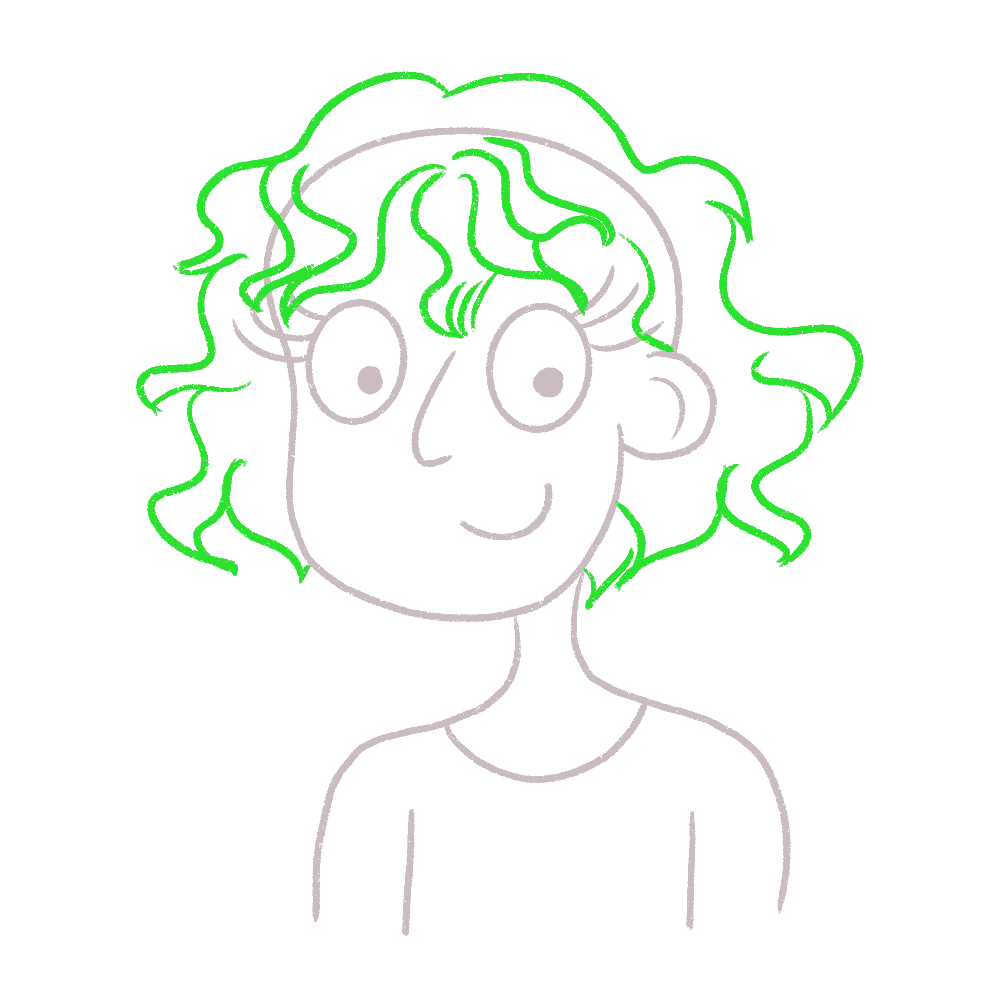
Now, I’m going to color the curly hair a lovely chocolate brown to give her a youthful look.

Now, when adding strands to the curly hair, your strands have to be curly too! Just draw squiggly lines in the hair that move in the direction of hair growth.
This will ensure that the curly hair looks more realistic.
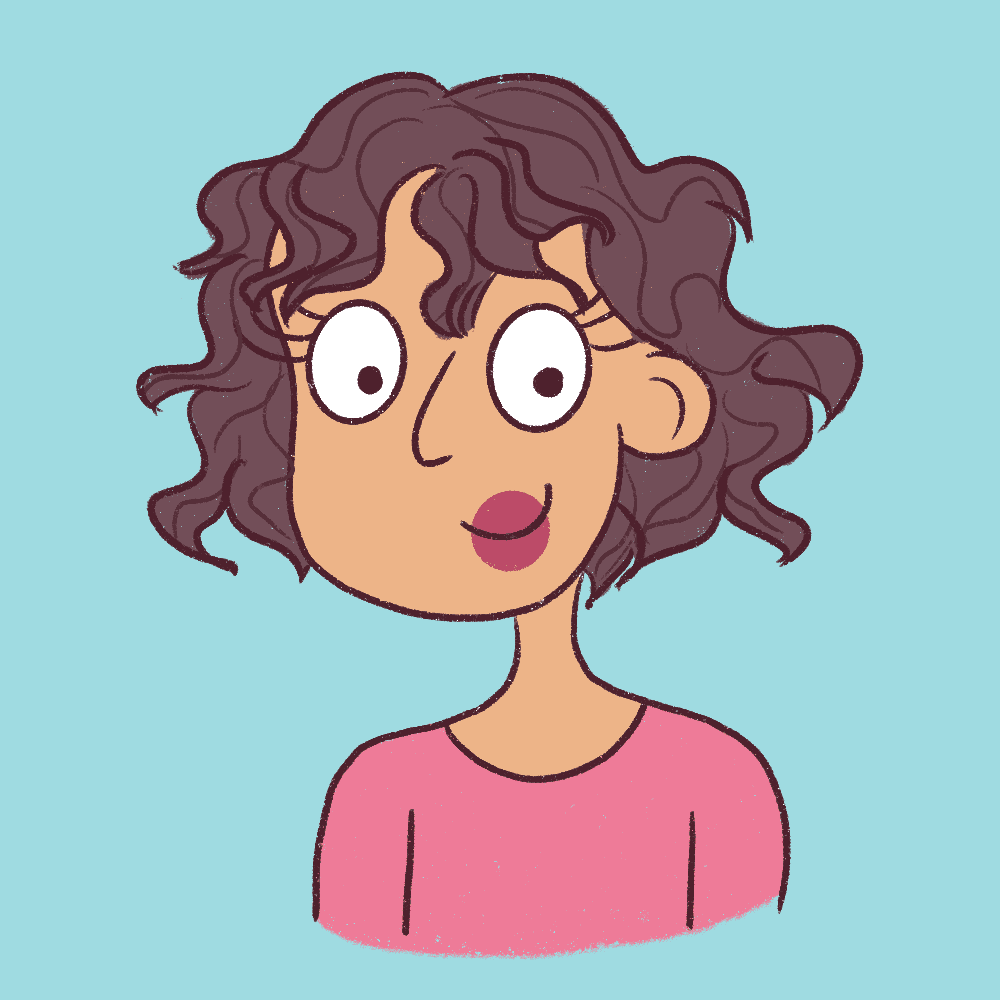
And there you go! You’ve just drawn curly hair and curly bangs!
Now that we’ve finished drawing straight bangs and curly bangs let’s move on to drawing anime bangs!
Anime bangs are pretty popular and used in mainstream media primarily.
3. How to draw Anime Bangs
Anime bangs are primarily used in Anime and Manga.
Anime bangs involve a fringe covering the front of the fade, side bangs or locks that frame the side of the face, and highly poker-straight hair behind the bangs.
You can go wild when coloring anime bangs and color it anything you wish. Anime bangs and Anime hair is generally light-colored and shiny.
It isn’t hard to draw, and I’m going to show you how!
Let’s begin drawing anime bangs with a simple parting in the middle. The lines need to be straight to make it look more anime or Asian. So, let’s focus on quick sharp strokes!

Now, let’s draw sidelocks that frame the sides of the face.
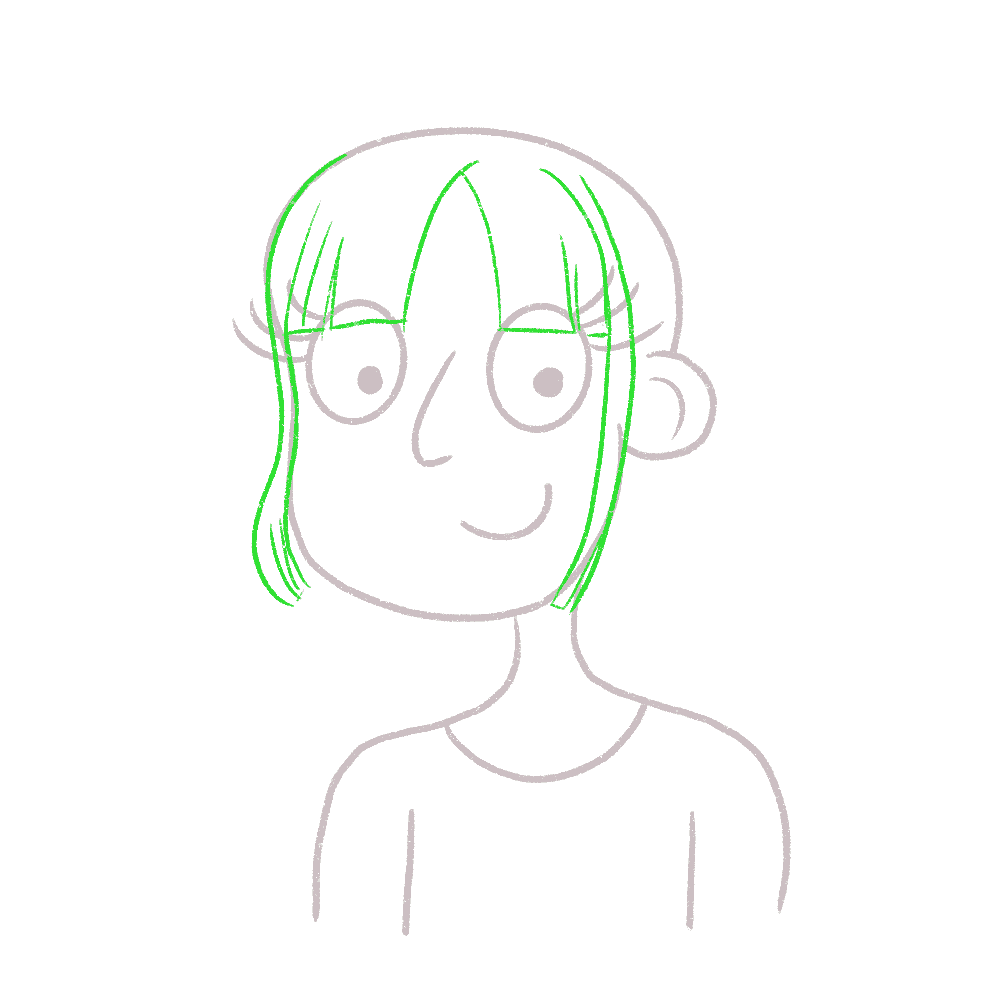
It is important to note that Anime bangs and Anime style hair are almost straight. So, don’t overthink it, and keep the hair close to the head to signify straight hair.
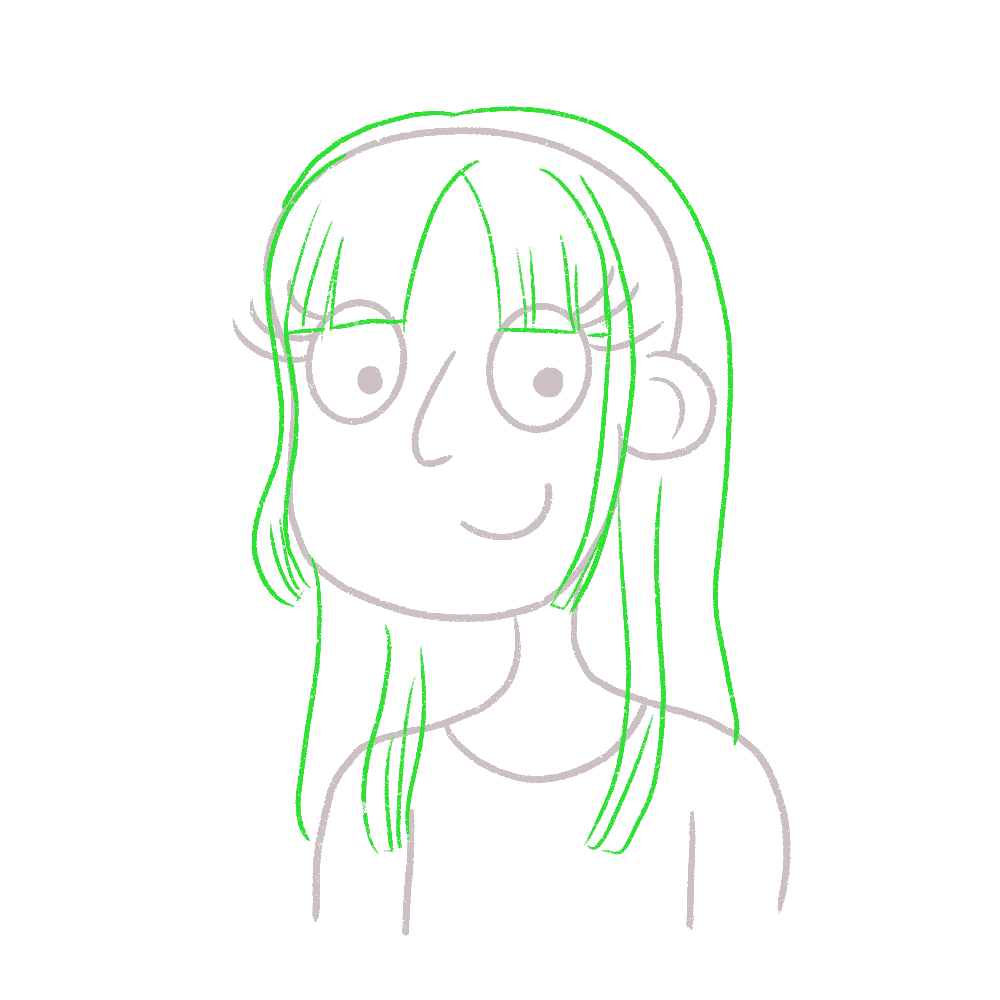
This gives a very Anime feel to the hair. And now, let’s color it something quirky! I’m going to go for green, and I’m going to make a transition from light green to dark green just to add more texture.
And voila, we’ve just learned how to draw anime bangs and anime hair.
You now have mastered learning how to draw girl bangs of any kind!
If you have more questions or would like to see a new hair tutorial on this blog, please leave a comment below!
Conclusion + Resources
I hope this in-depth tutorial was helpful to you, and you were able to learn how to draw bangs.
I know drawing hair can be challenging!
But drawing hair and bangs does get much easier with practice. Trust me.
If you want to see more hair tutorials, please check out all my posts on drawing hair. I will be adding more hair drawing tutorials to this blog, so keep a lookout!
If you are looking for books on how to draw anime or how to draw anime bangs and anime hair, take a look at these:
If you’re looking to improve your drawings faster and want to really draw as a hobby or even pick up drawing professionally, I highly recommend picking up this beautiful online course that teaches you how to draw female cartoon characters.


Leave a Comment