Mermaids are beautiful.
And drawing mermaids is such an excellent way to pass the time.
However, drawing a mermaid’s hair can be challenging because there is a lot of physics involved.
Especially if you’re looking to understand how to draw mermaid hair underwater or want some references for mermaid hair drawings.
I’ve made another post on drawing wet hair if you’re interested.
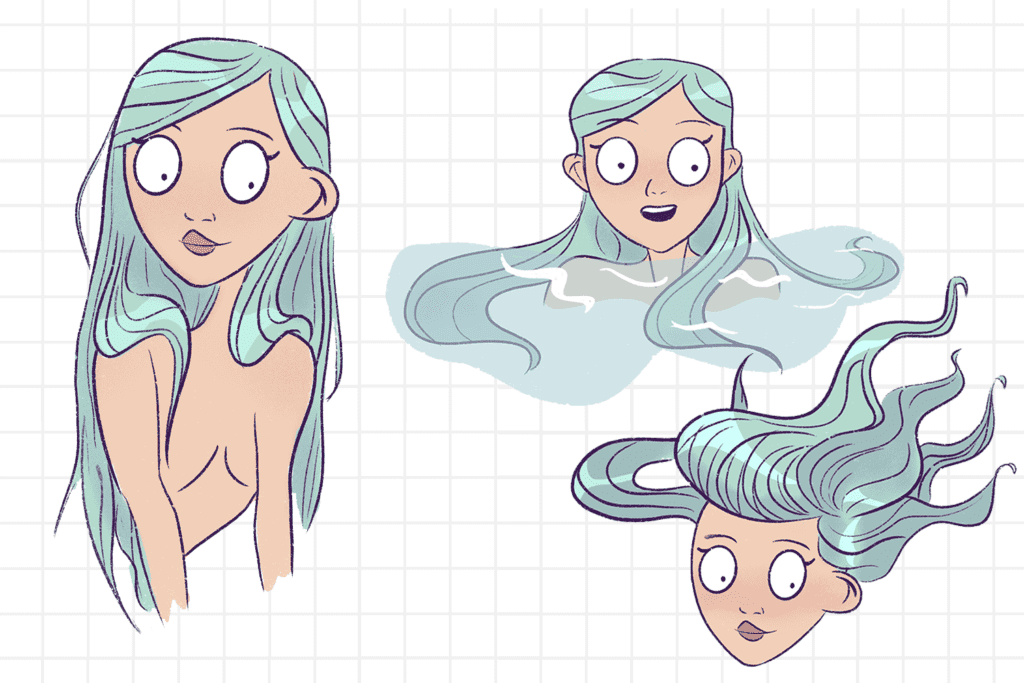
I will specifically teach you how to draw mermaid hair flowing underwater and even out of water in this post.
I want also to include a mermaid who is half in water and half outside so that I can show you how to draw wet and dry hair.
I will even show you how I color mermaid hair step by step in Procreate because there aren’t that many tutorials online breaking down this information.
This post includes affiliate links. If you do decide to purchase something, I will make a commission at no extra cost to you. For more information, please read my entire Privacy Policy here.
If you are looking to learn how to draw hair, please pick up this book.
Please note that I am currently using an iPad Pro and an Apple Pencil to create all my illustrations. But you can use any tool – a pen and paper, Copic markers or Photoshop because the drawing method remains the same.
Let’s begin.
Table of Contents
How to draw mermaid hair
Before I begin with this tutorial, I just want you to keep this in mind:
- When drawing hair, remember to treat the hair as a whole object.
- Once you have the basic outline of the shape of the whole hair, you can start dividing it into sections – ribbon-like sections because hair clumps together.
- After dividing the hair into sections, you can then start working on each section by drawing the strands
- End with adding the highlights and the shadows!
Okay, so you have the basis.
Let’s begin drawing the mermaid hair!
How to draw mermaid hair (out of the water)
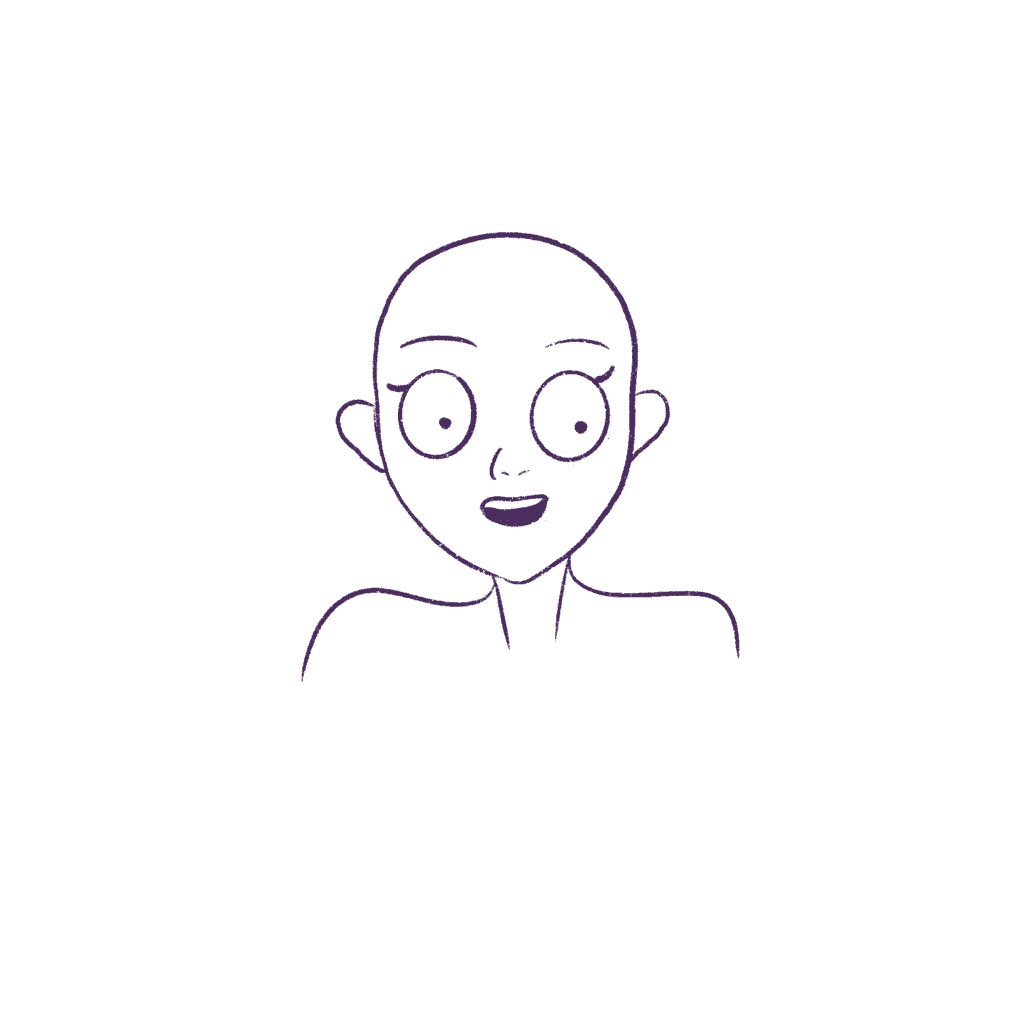
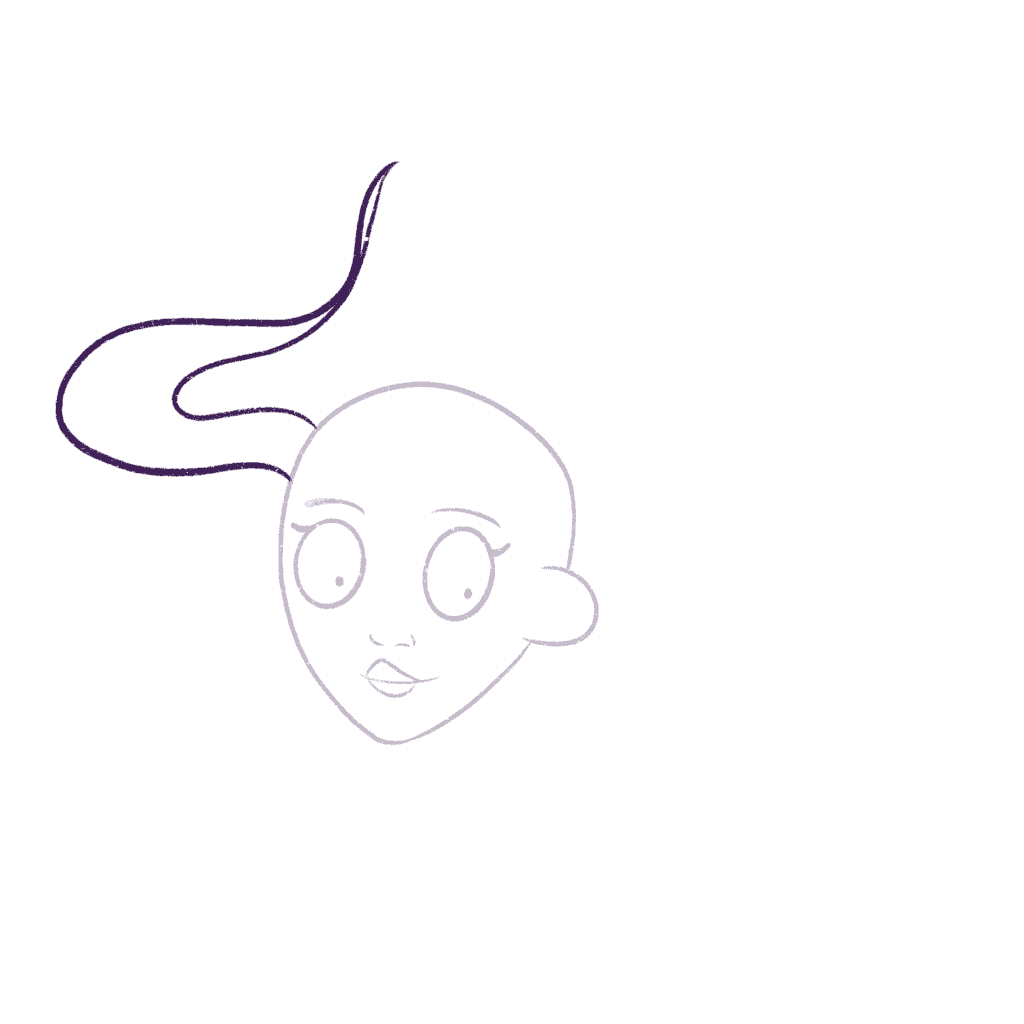
First, we’ll start with a head – this will make it easier to draw the hair. I am using the dry ink brush in Procreate.
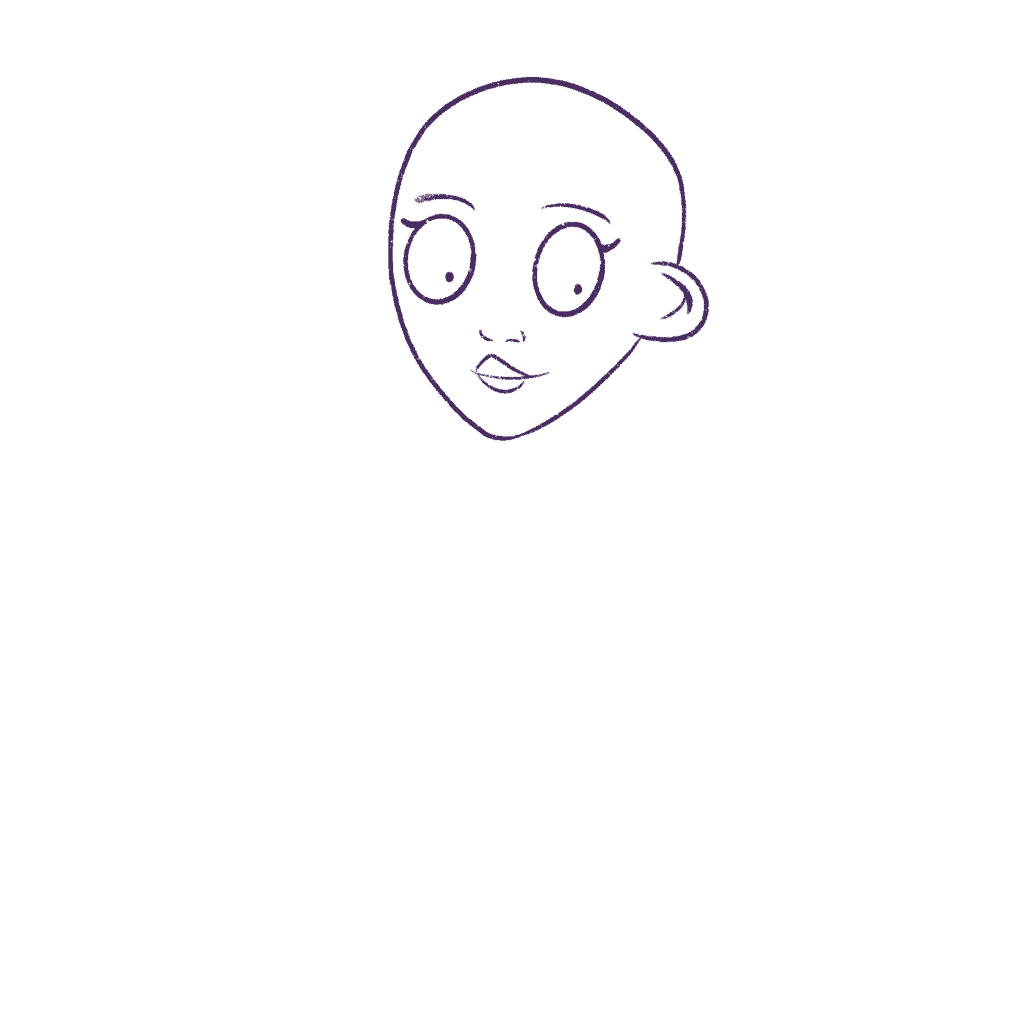
I’m drawing this mermaid hair in a cartoon style – you can see this book to learn how to draw characters in a cartoon style.
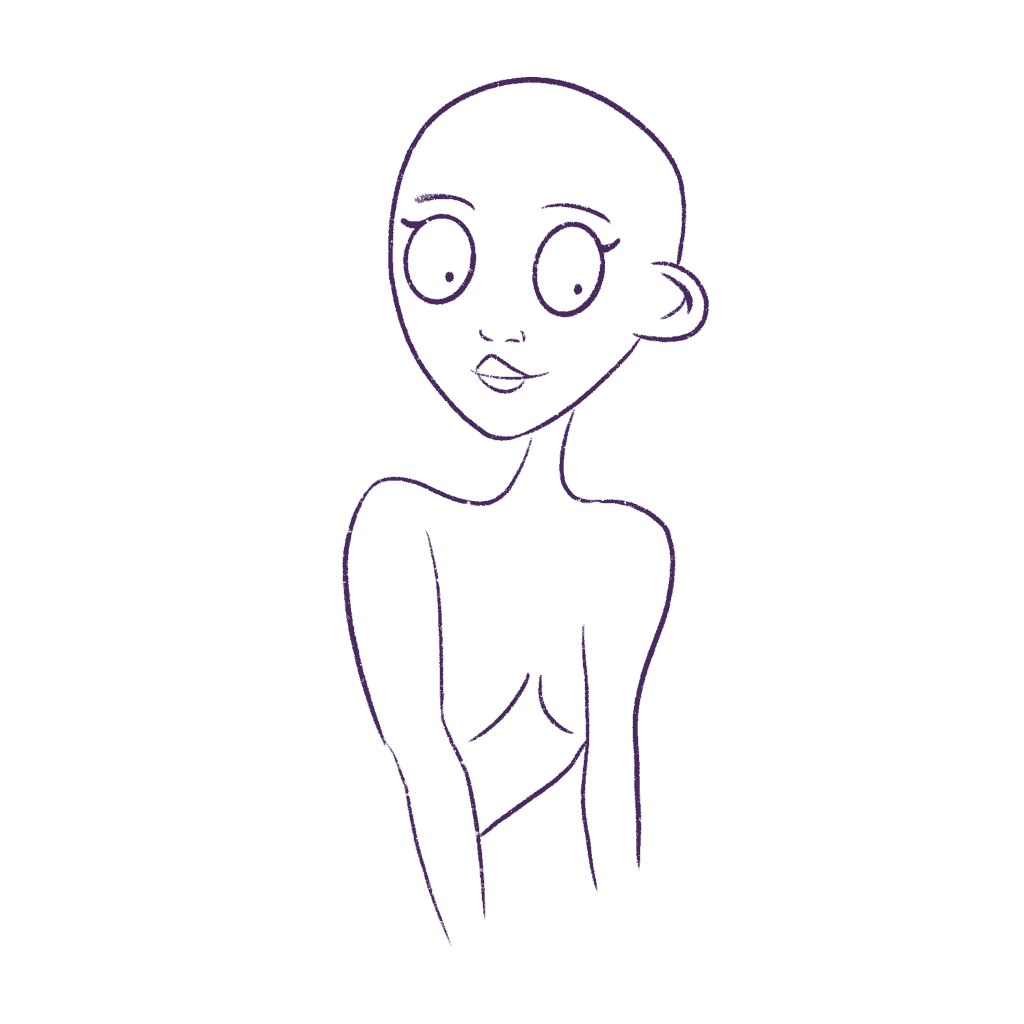
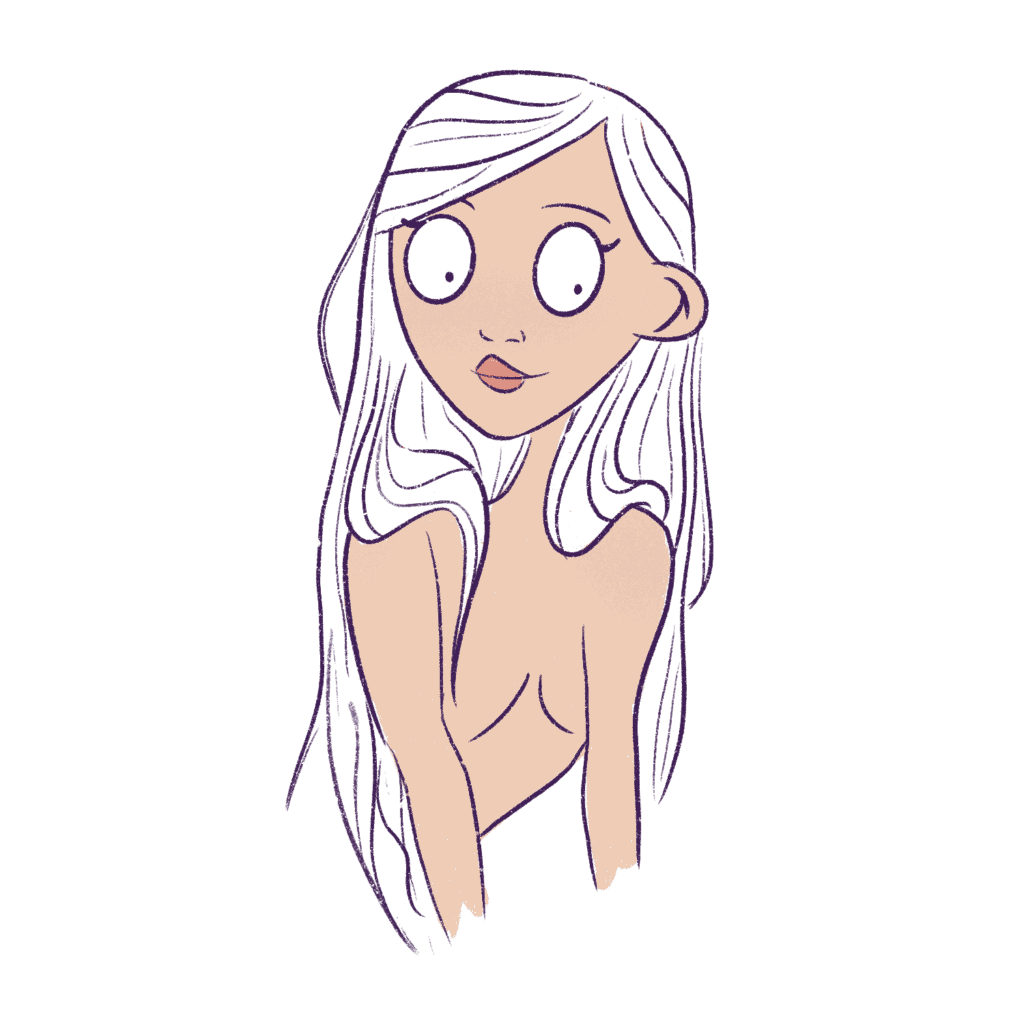
I’m going to add her body now – she’s propped up on a rock because I want to draw this mermaid as if she’s just come out of the water.
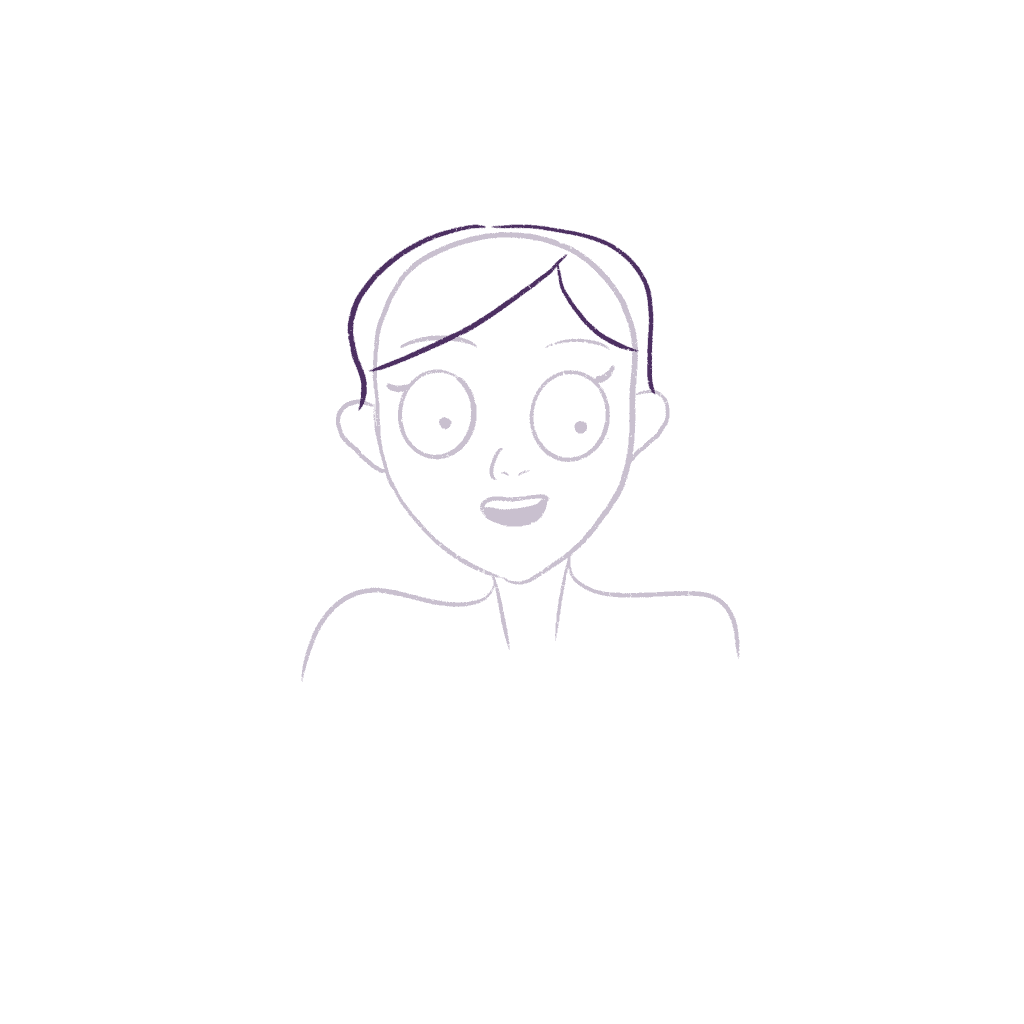
Next, I’m going to make this layer transparent so we can clearly see the mermaid’s hair.
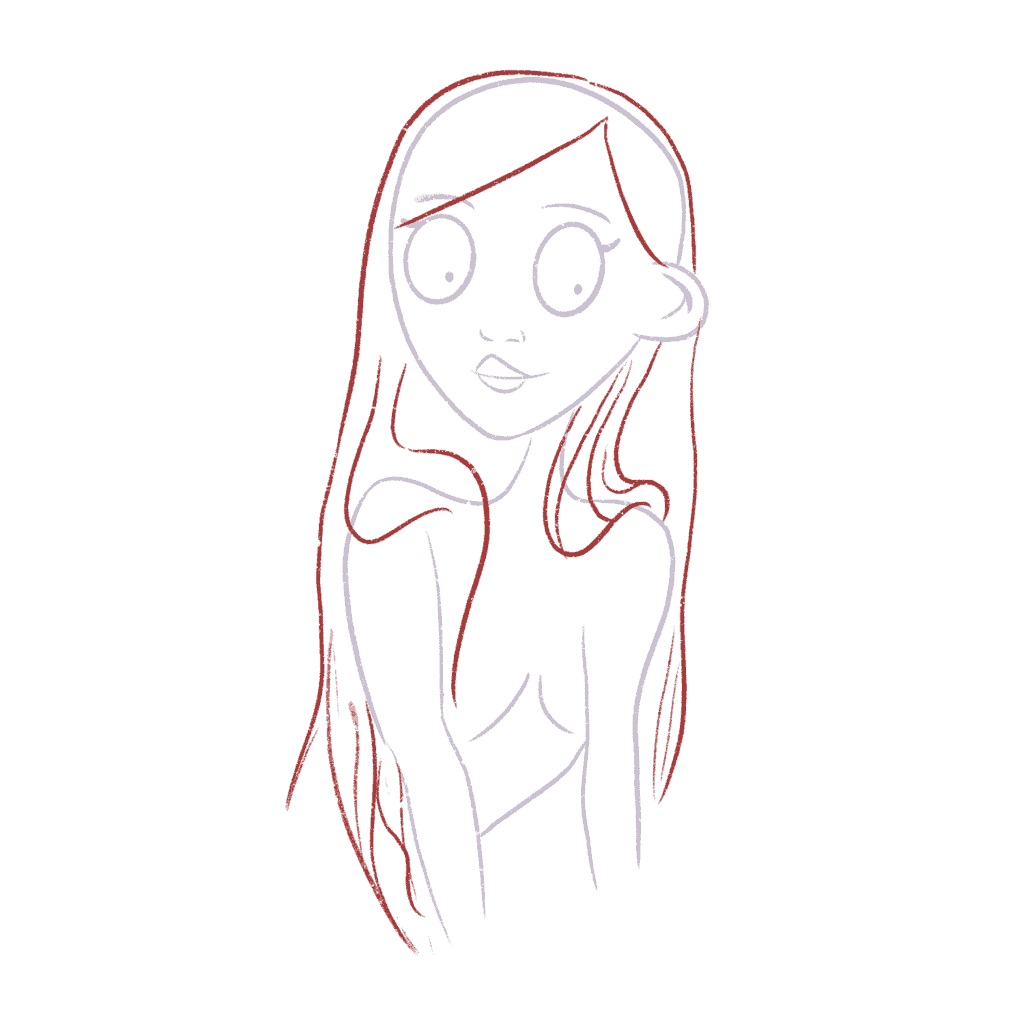
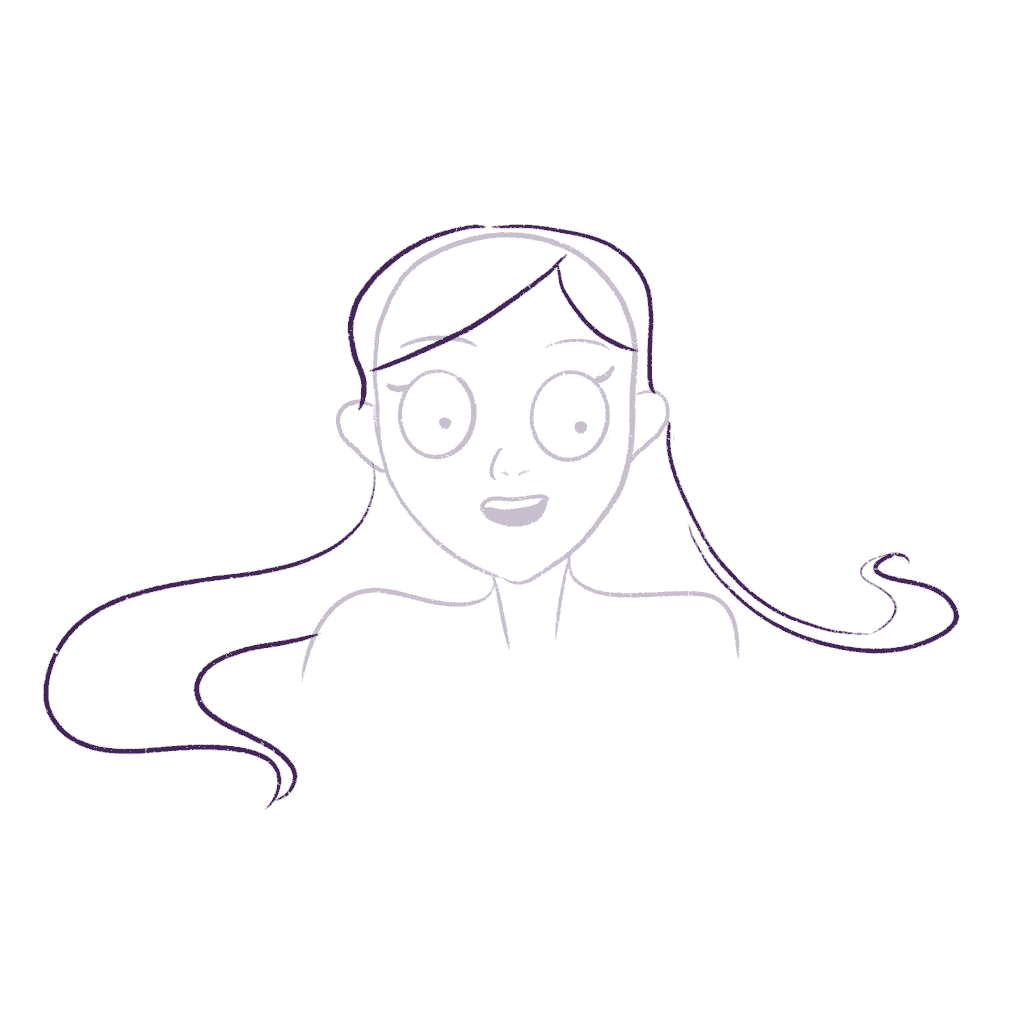
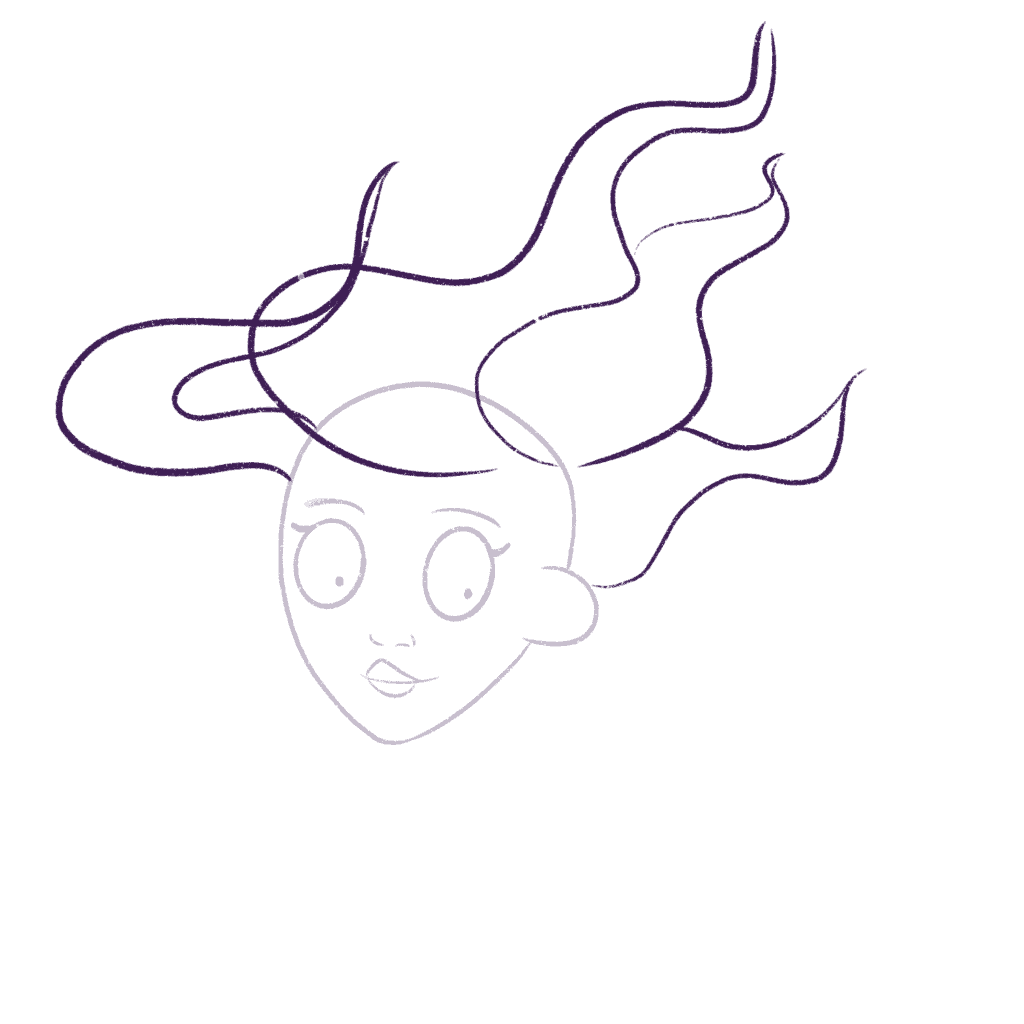
I will start with the overall shape of her hair.
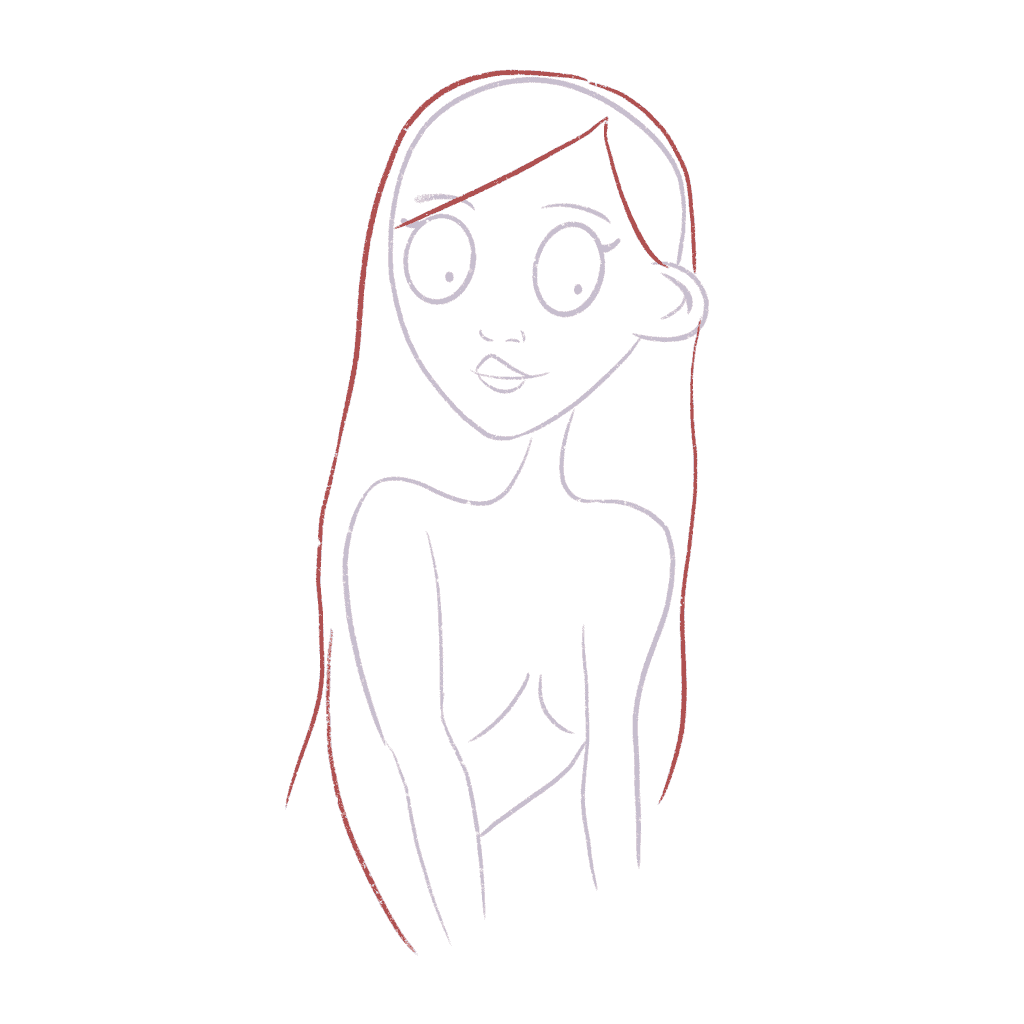
Since her hair is wet, you don’t need to add much volume to her hair. The hair will pretty much be straight and flowing downwards.
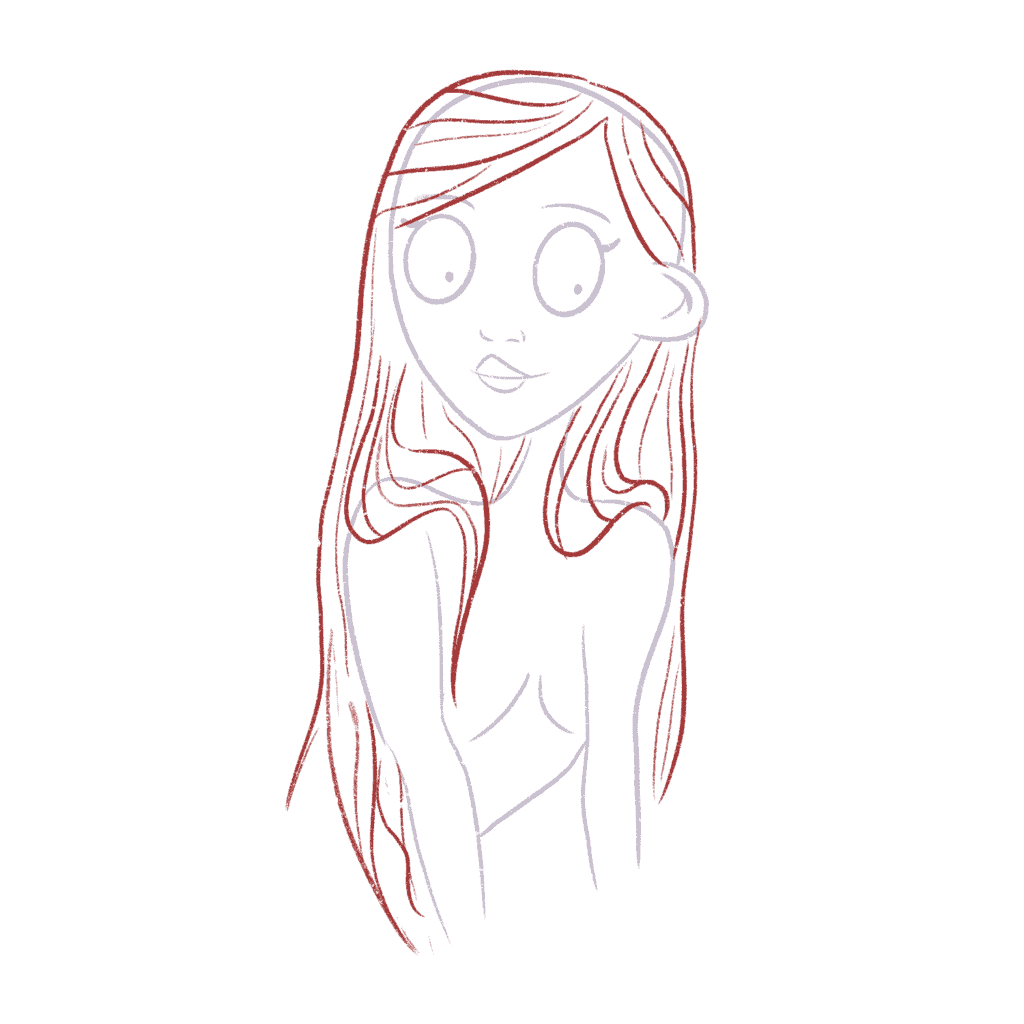
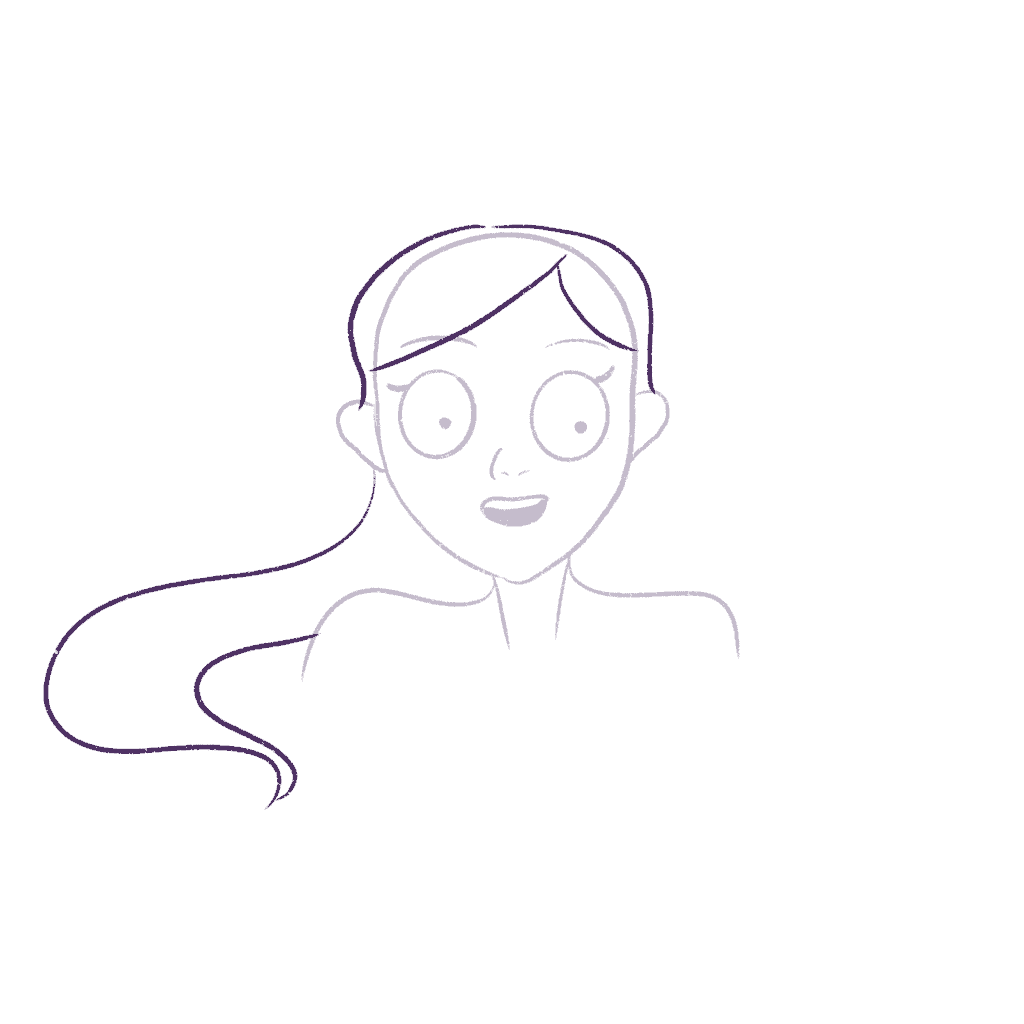
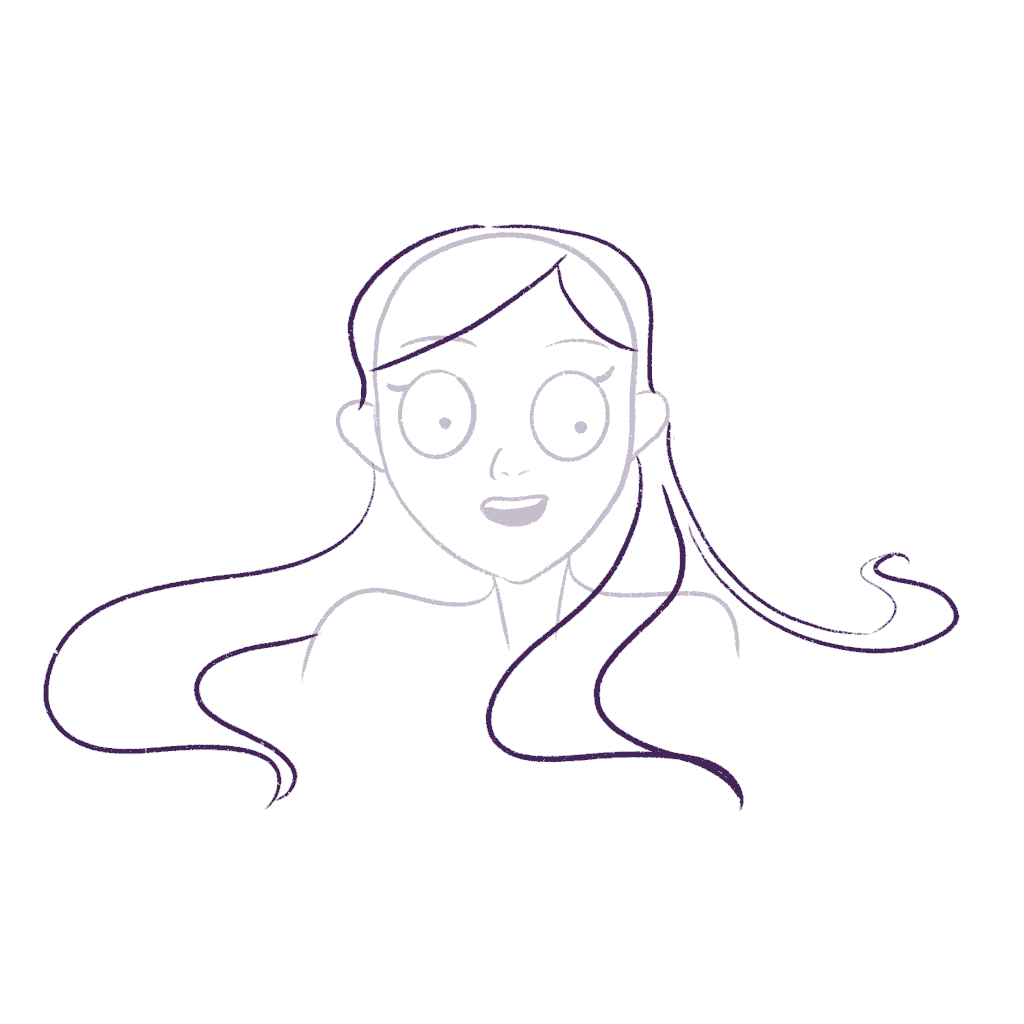
Now, I want to add some hair on her shoulders so I’m going to draw that.
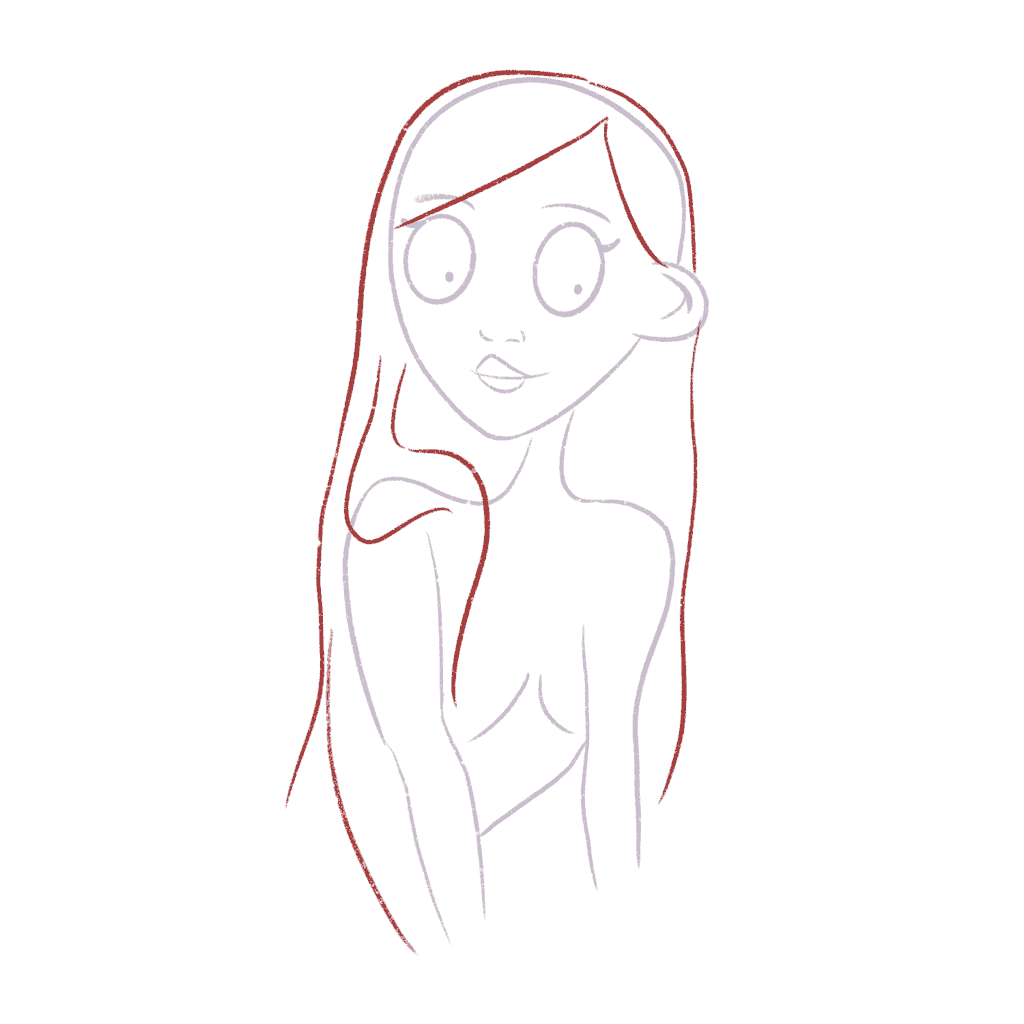
When the hair falls on the shoulders, – it flattens a bit because it’s lying on the shoulders. So, remember to vary the volume and density of the hair as it touches the shoulders.
Once the hair falls from the shoulders, the volume decreases again.
Think of drawing this section like a snake – it gets thicker in the middle and slowly decreases in volume as we reach the tail.
I’m going to draw one more section of folded hair on the other shoulder.
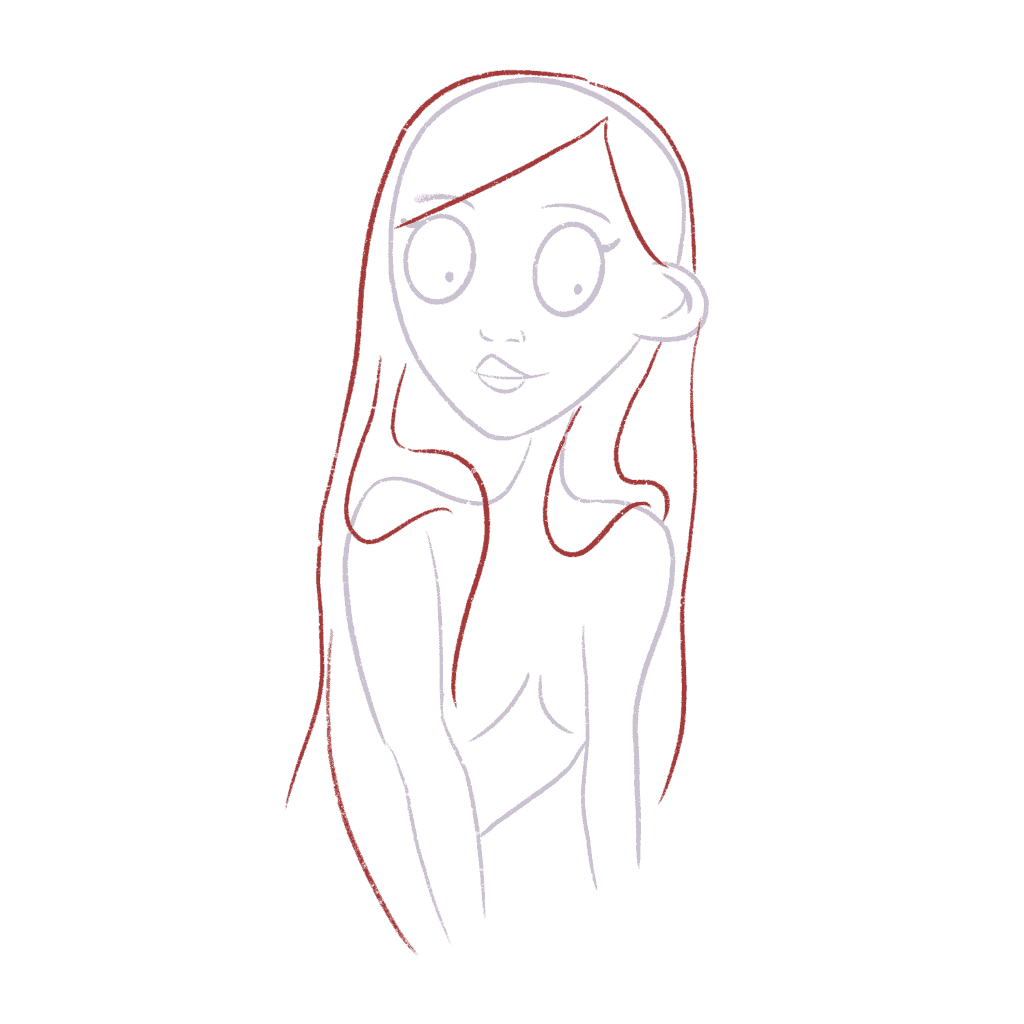
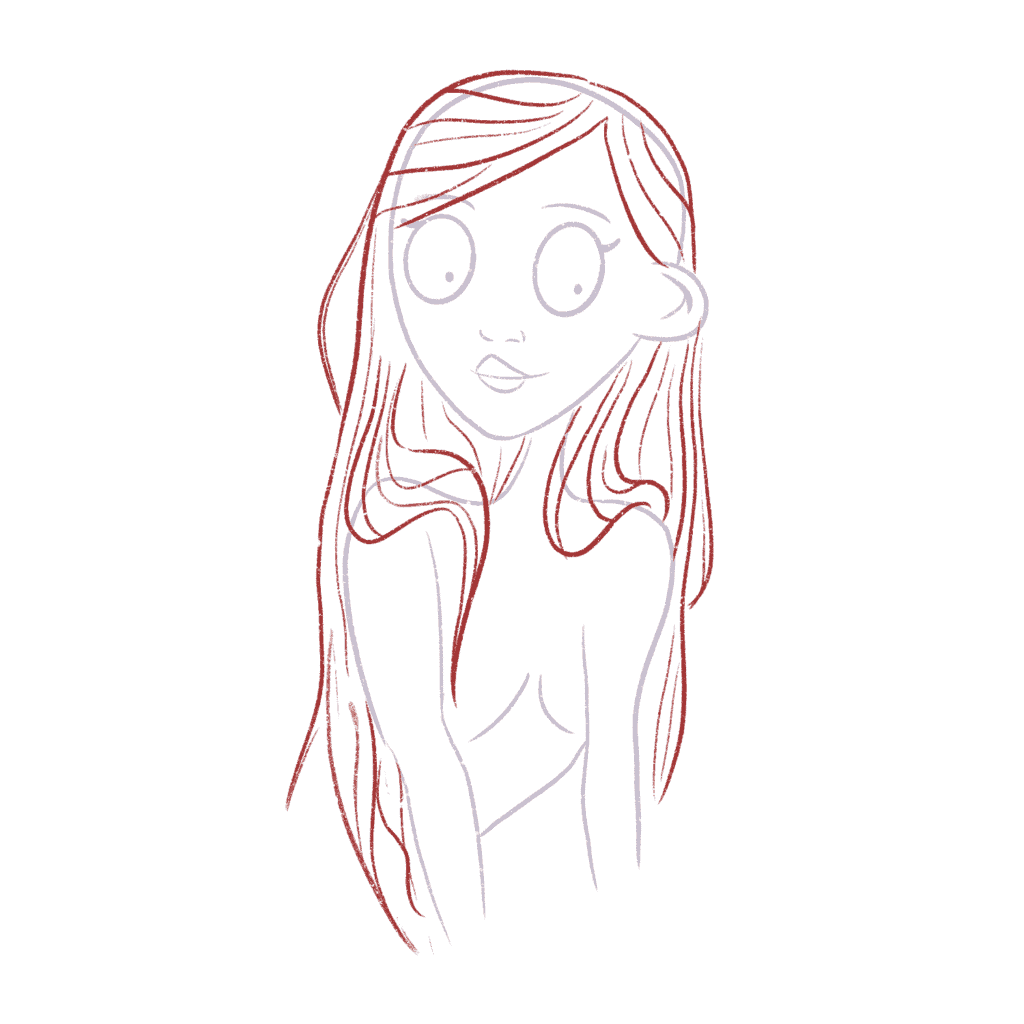
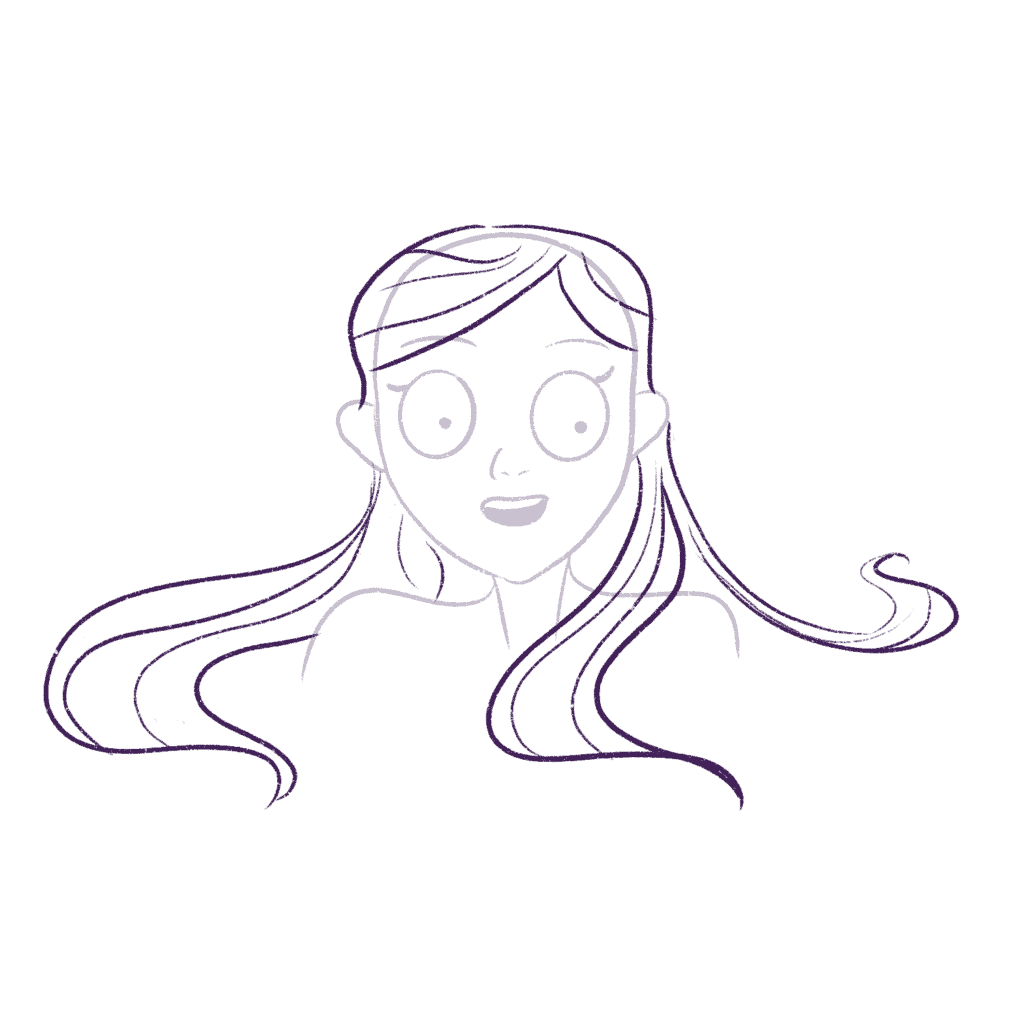
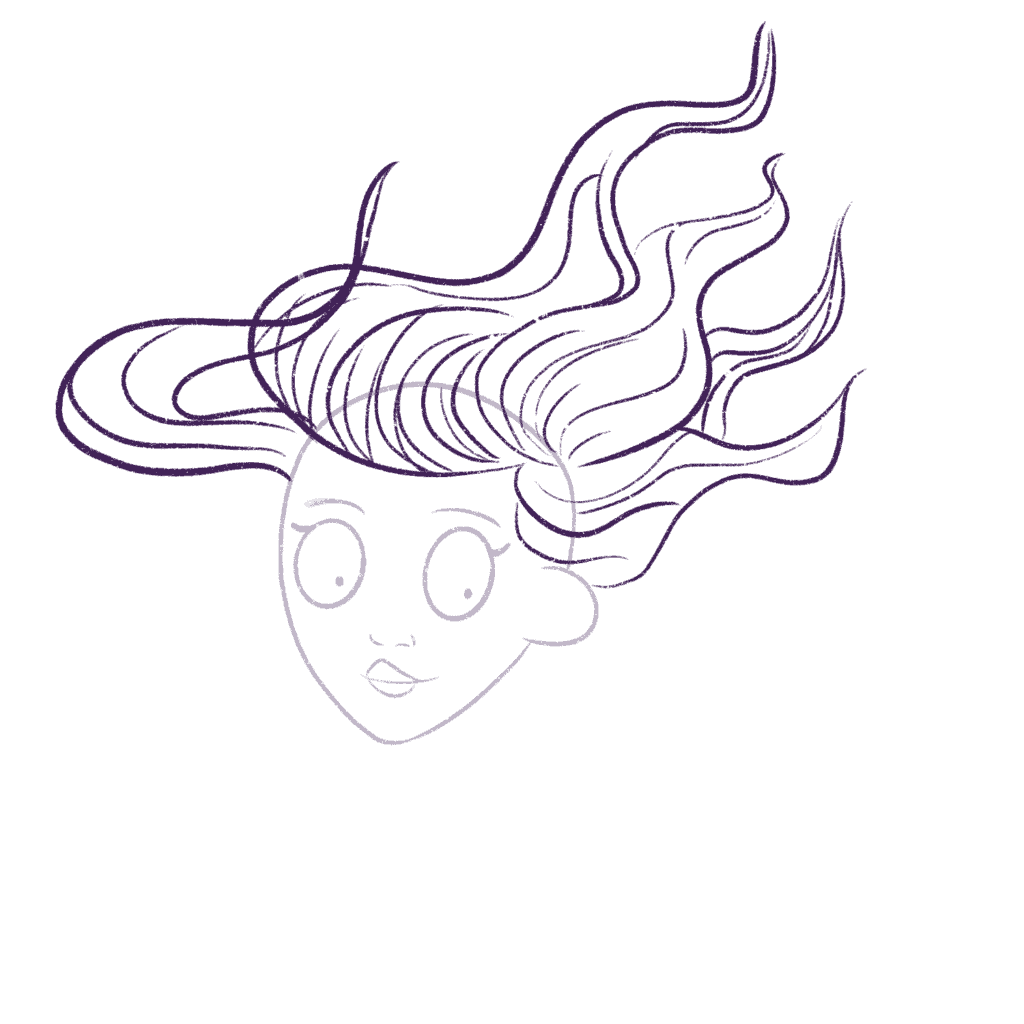
Next, we can draw the ends of the hair – just remember to draw quick strokes here.
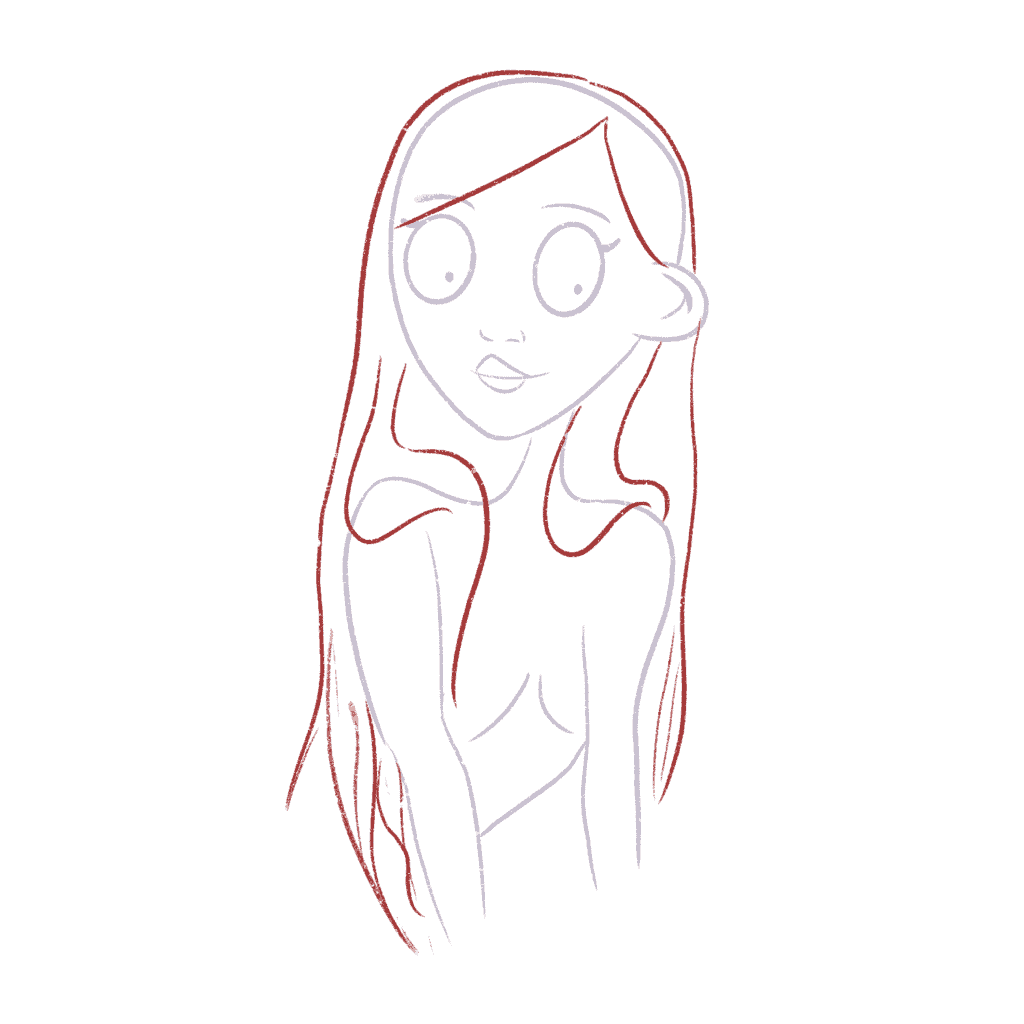
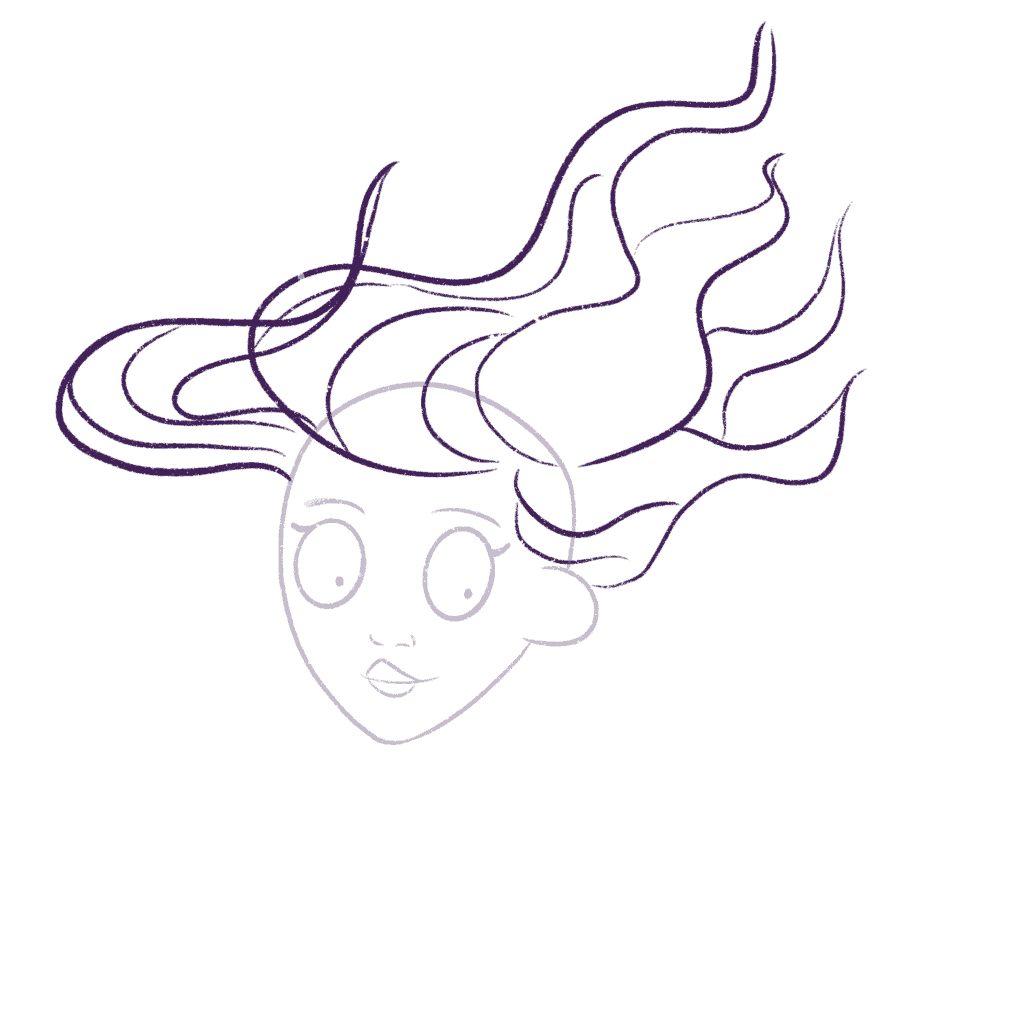
Next, I’m going to draw strands in her hair. Divide the hair into sections by drawing strands inside each section.
Draw the strands in the direction of the hair flow.
Remember to vary the distance between strands. If it’s parallel, it will look odd.
This definitely takes some practice, so don’t worry if it doesn’t look perfect.
Keep drawing till you become comfortable with drawing hair.
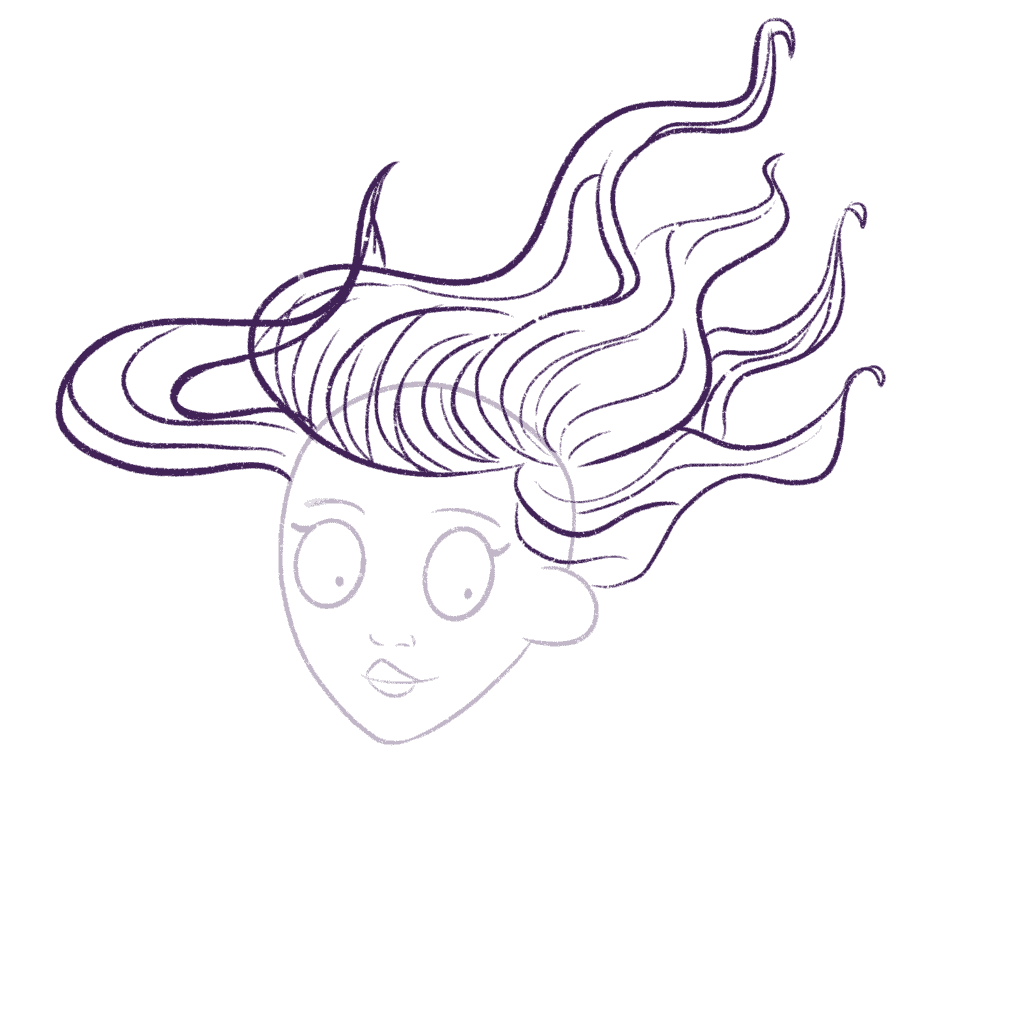
I’m going to draw all the strands in the sections of the hair now.
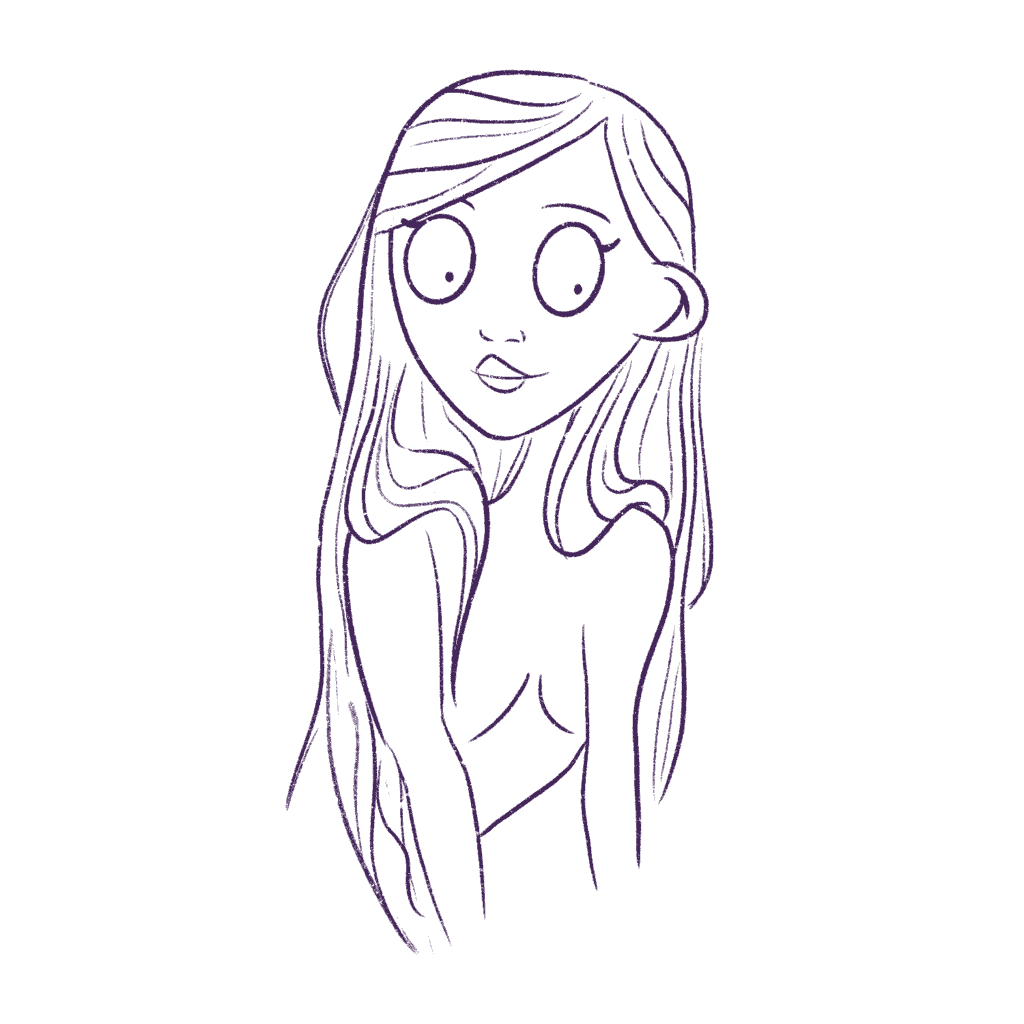
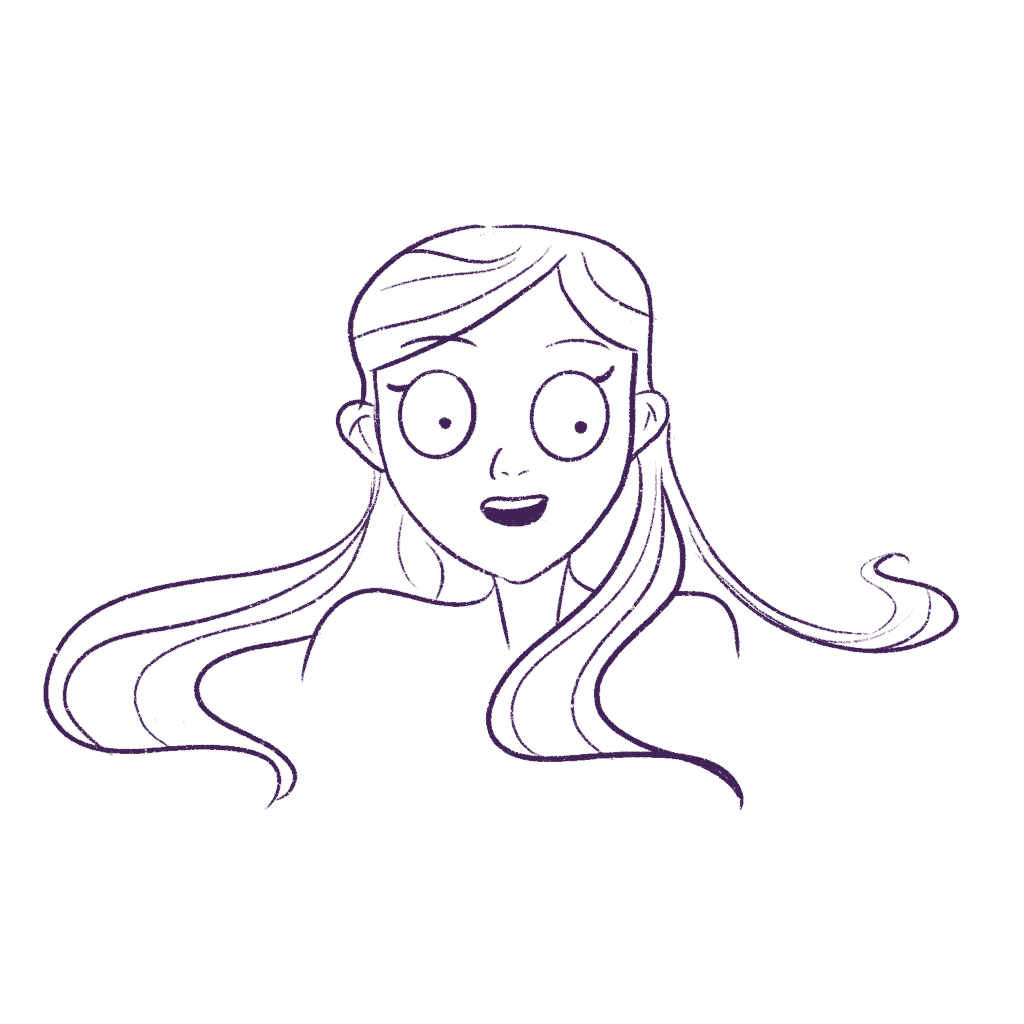
And once you’re done, you can draw some stray strands just to make her hair look a little more realistic.


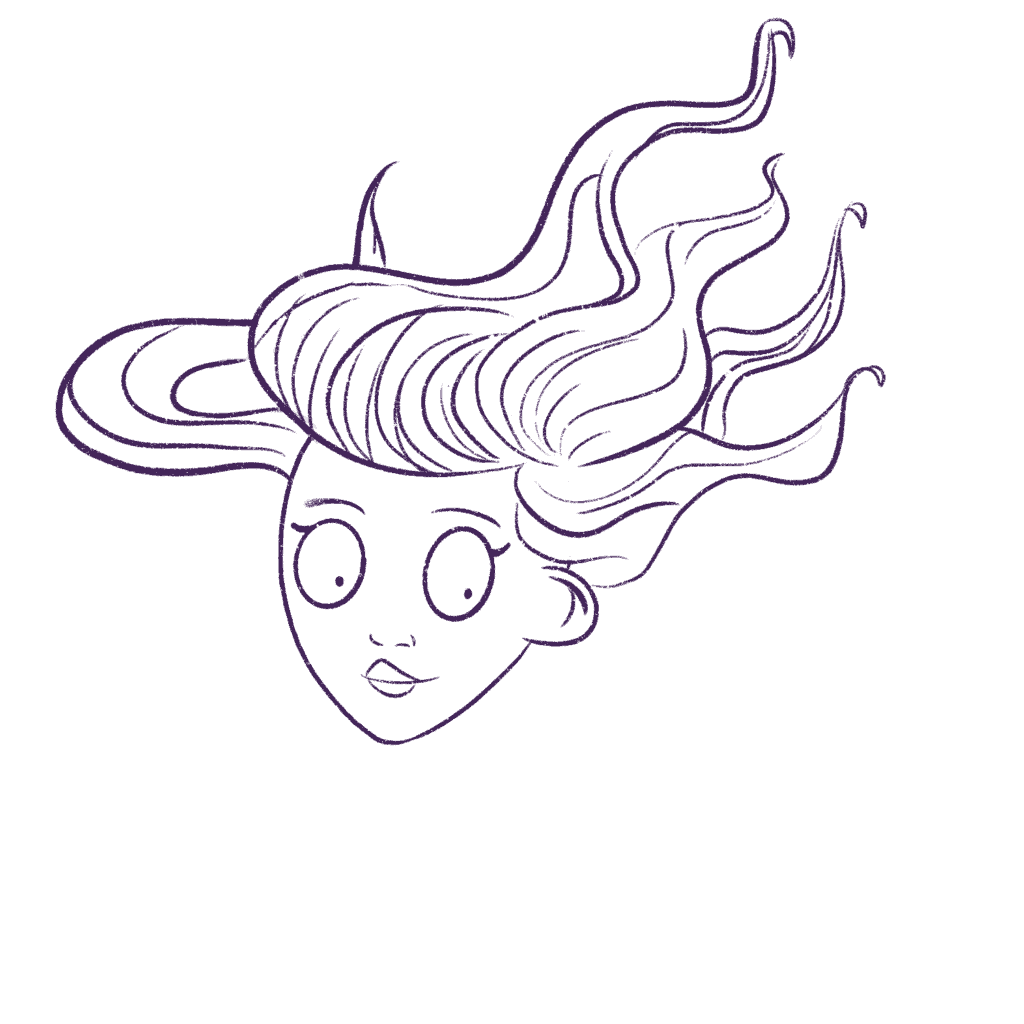
Once you are happy with how your mermaid’s hair looks, finalize the drawing by erasing all the overlapping sections.
And you should get something like this:
Now, that you have the outline, you can duplicate the layers and group them. Flatten the group so that your entire outline is in one layer and then make it a reference layer so that you can just drag and drop colors in different layers.
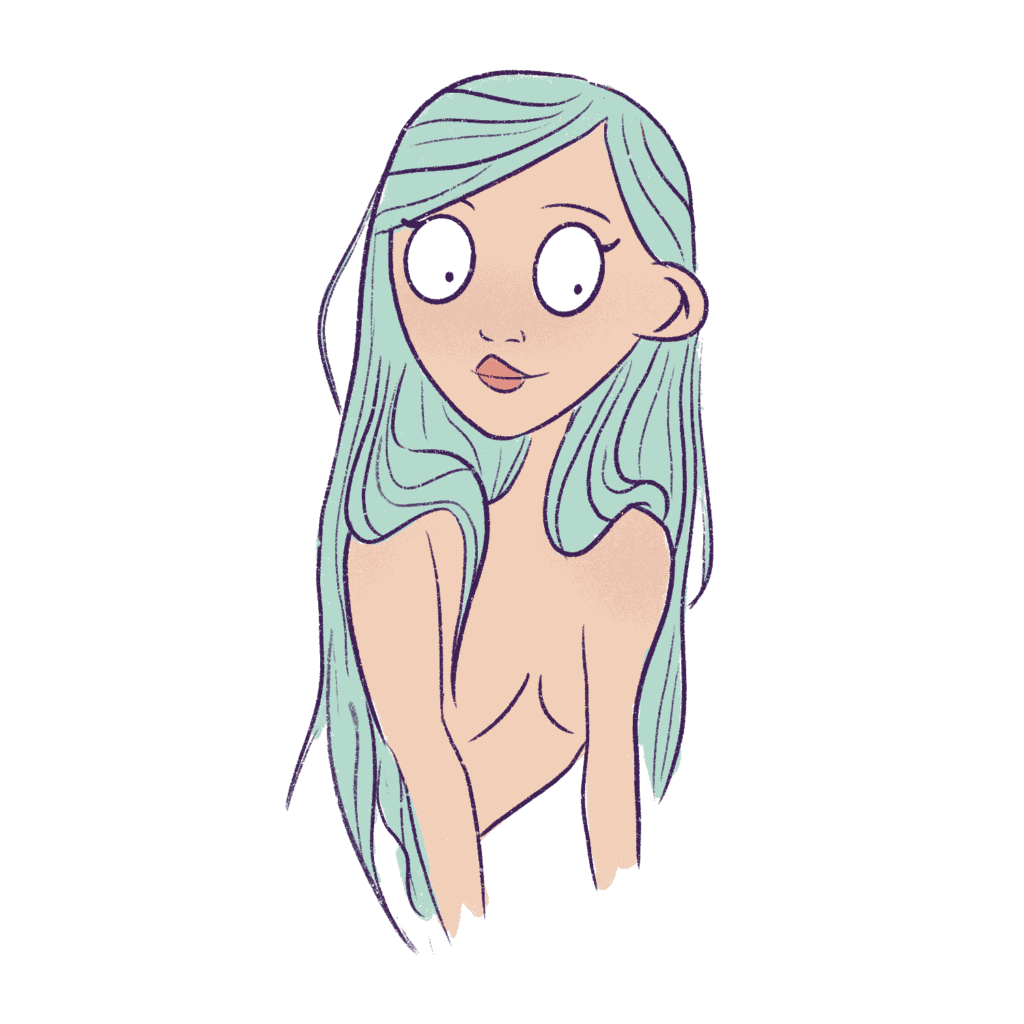
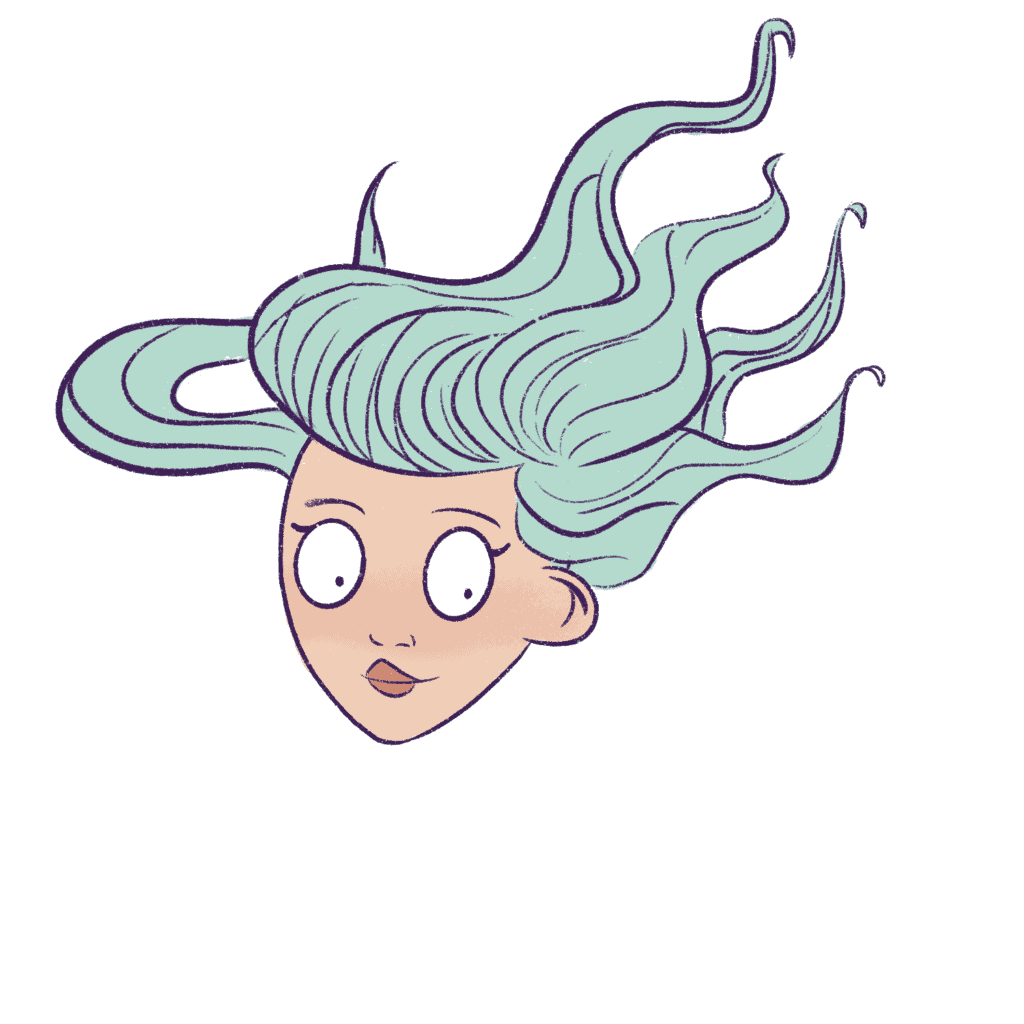
I’m going to shade the mermaid’s skin first.
And then, I will color her hair with a simple base color – I’m going to go for teal because I love that color so much!
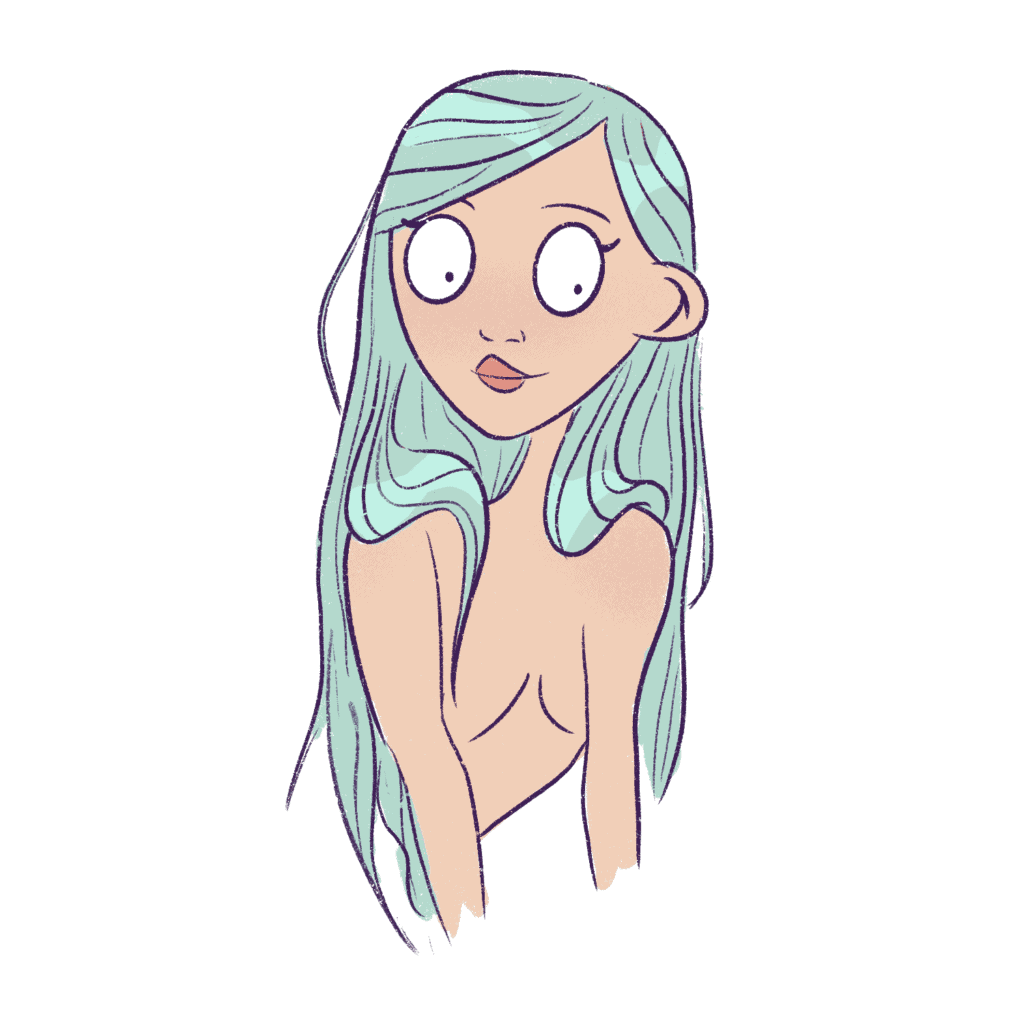
Now, I’ll add some highlights to her hair in a new layer.
And finally, I’ll add in the shadows. I’m going to use the Bonobo brush and go in with a purple shade.
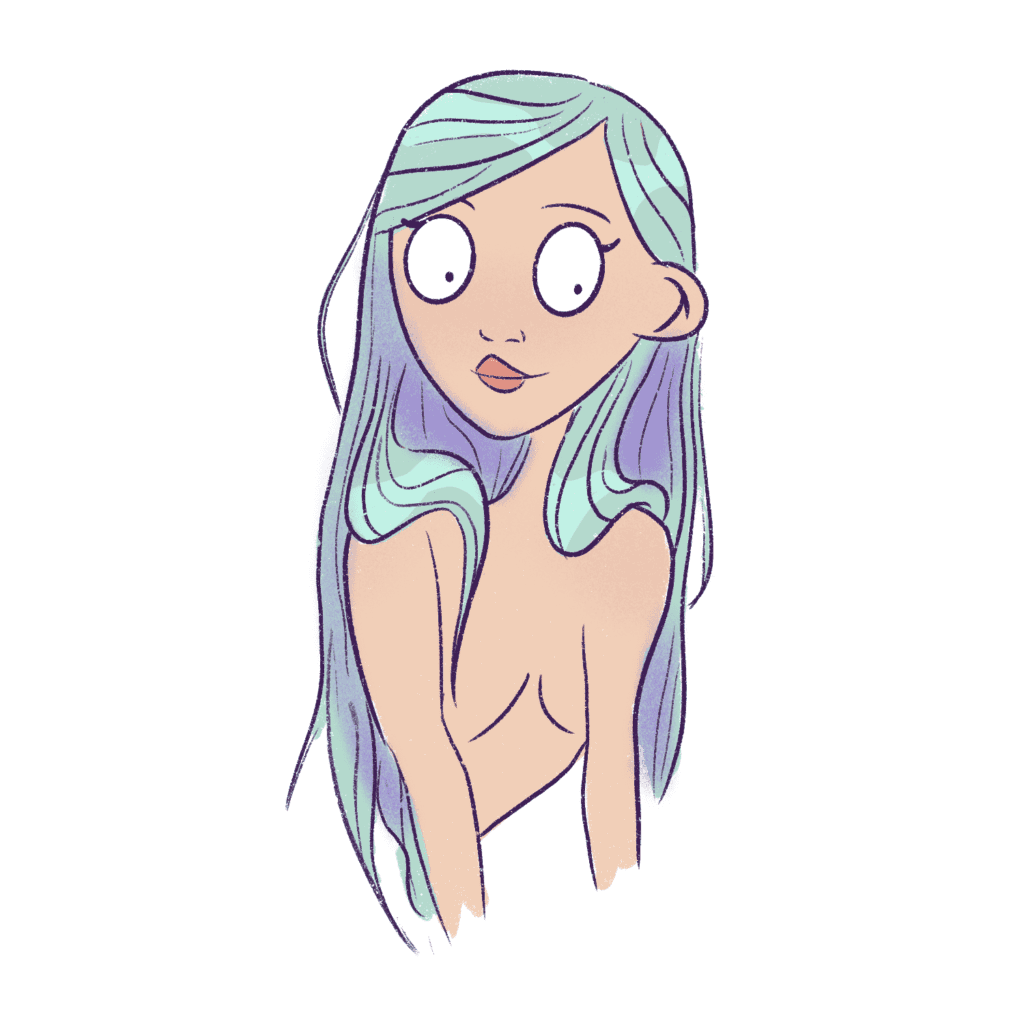
And once I’m happy with the shadows, I’m just going to change the blending mode to multiply and decrease the opacity to 35%.
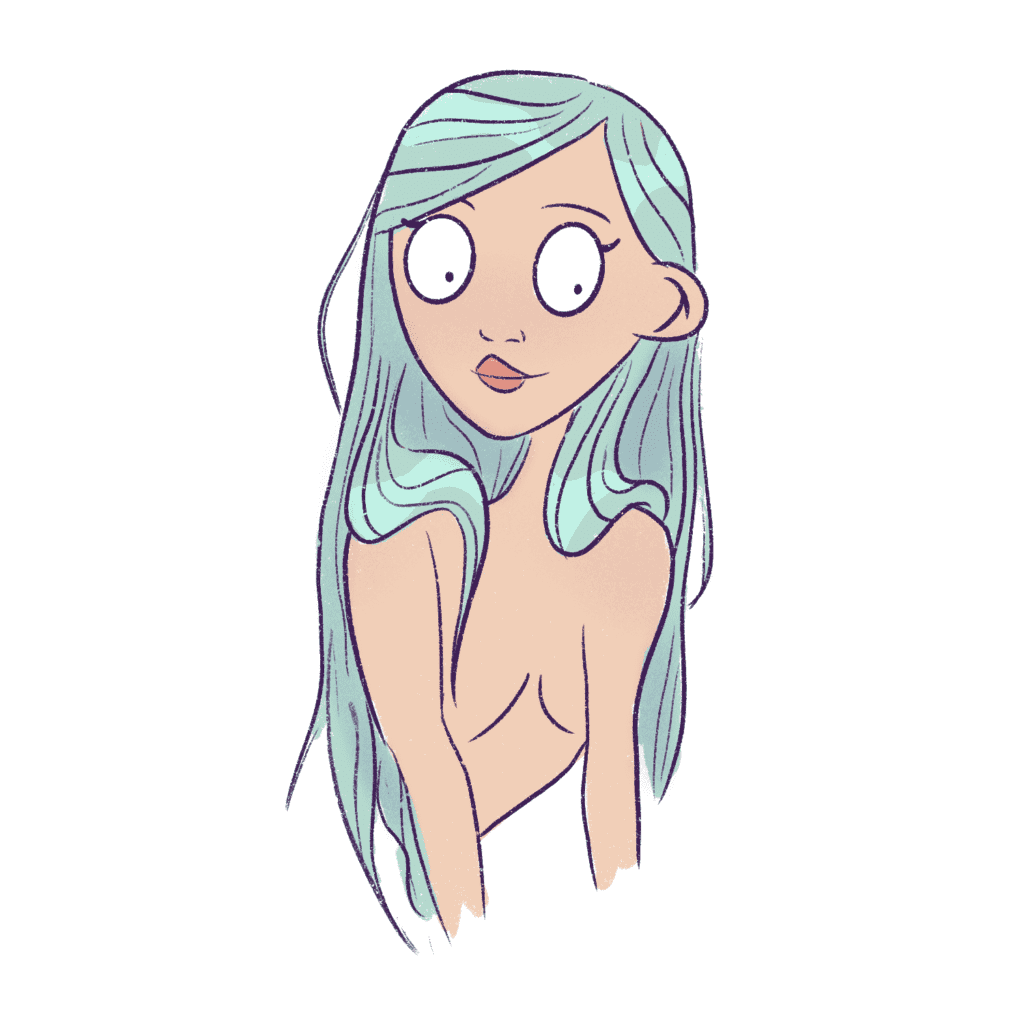
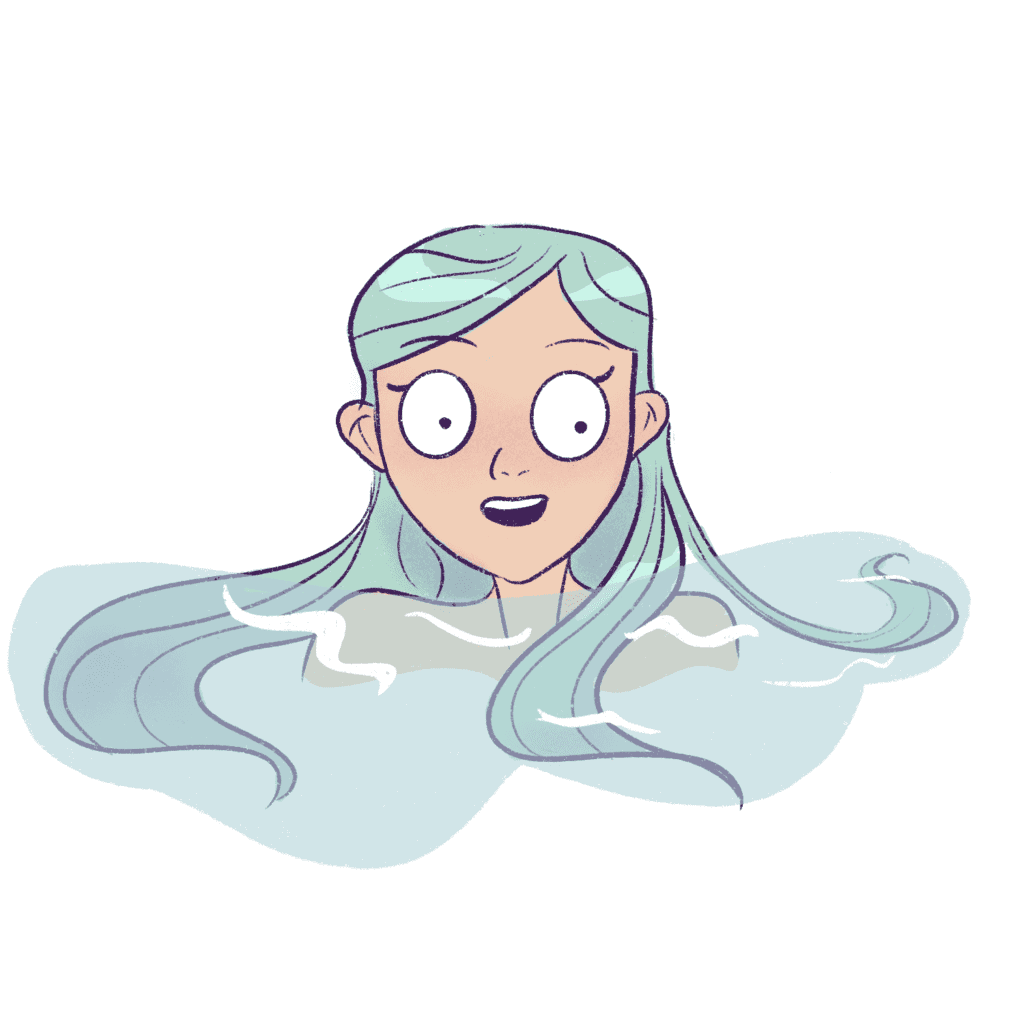
And voila!
We’ve finished learning how to draw mermaid hair out of the water.
If you are looking to learn how to draw a mermaid on a rock, see this post.
Okay, but what if she’s half out and half of her hair is submerged underwater?
Let’s learn how to draw that!
How to draw mermaid hair (half in water)
Okay, let’s begin with the head shape as usual. I’ll even add in the shoulders.
If you’re having difficulty drawing head shapes, pick up these great character builder brushes from Procreate.
Next, I’m going to start with the head shape.
Now, because half of the mermaid’s head is above water – her hair will be wet and sticking to her head.
This means I need to make sure that the volume of the hair is less because it’s sticking to her head on the top.
Now, the remainder of the hair is underwater, so her hair will be flowing in the water.
When drawing these sections, remember to keep the hair very fluid – draw large S shapes with varying volumes to make it look more natural.
Let me show you what I mean.
Remember that the hair decreases in volume and density as we reach the ends.
It’s best to draw the hair with long strokes. It can take some practice moving your wrists to draw these long strokes, but it does get easier if you spend more time practicing drawing hair.
Let’s do more sections.

You can vary the degrees of the hair sections too. In this case, the strand is moving away from her in a backward direction. As you get to the end of the hair, the loop becomes more angled.
Now, let’s finish this section.
I’m going to draw one more section in front of her shoulder.
Now, I’m going to divide all these sections into strands, just like before.
And, I will erase all the rough lines so that I get a nice, clean outline of the mermaid’s hair.
Now, let’s quickly color the mermaid’s skin.

And I’m going to use the same teal base color for the hair as before.

And I’ll add in the shadows – I’m going to use the same process as before.

Next, I’m going to go in with the highlights.

It already looks amazing.
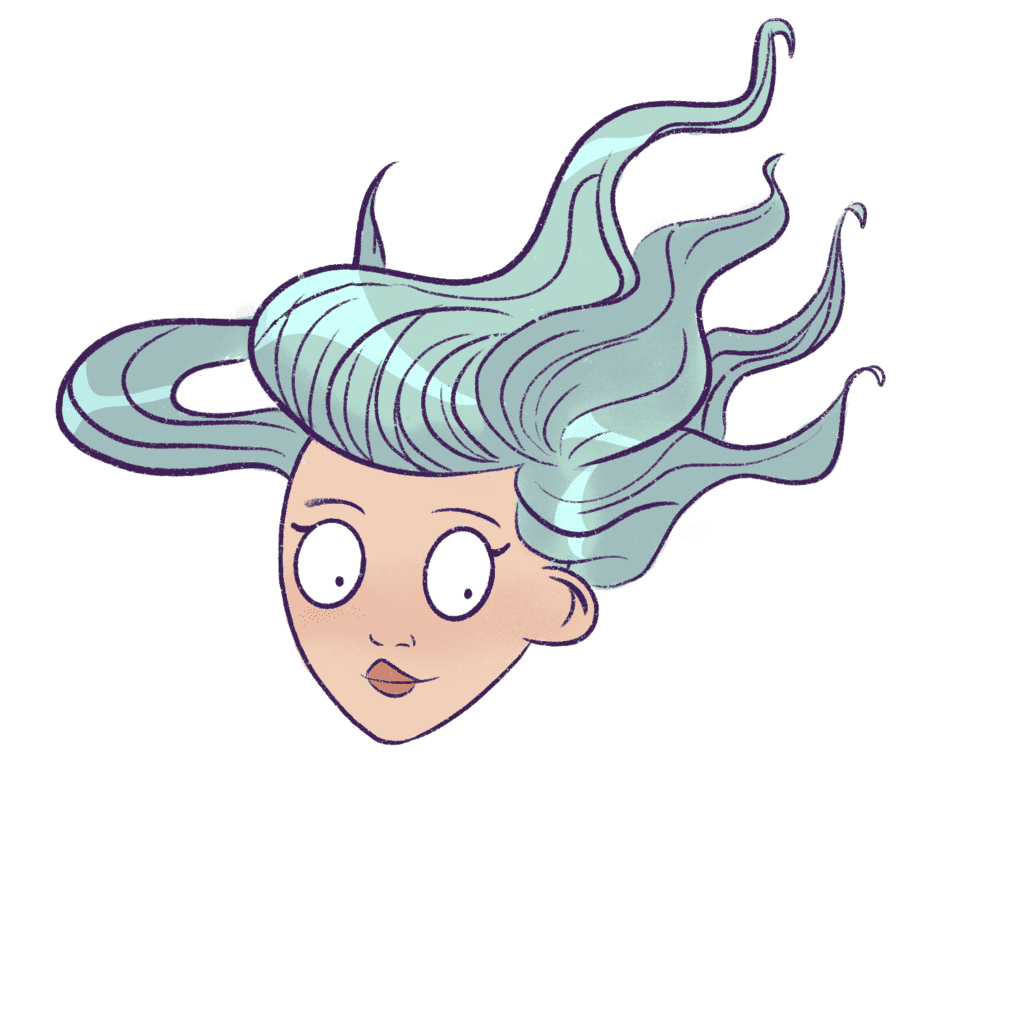
But this mermaid hair drawing will look so much better if we add in the water.
So, on a new layer, I will paint a blue portion and then decrease the opacity to 50% so that the layer is transparent and we can see the mermaid in the water. Now on a new layer, I’ll add some white strokes to add more texture to the water’s surface.
So, we should get something like this:
And we have learned how to draw a mermaid’s hair in water while it is half in water.
How to draw mermaid hair underwater
So far, we’ve learned how to draw mermaid hair out of the water and half submerged in water.
But what if she is in water entirely?
Do the dynamics change?
Yes!
You have to consider the water current and the movement of the mermaid underwater, especially when you are drawing long hair underwater.
If she is stationary, you can draw her hair flowing in the water in basically any direction.
It doesn’t matter.
But it is important to maintain that fluidity, to make it look like her hair is flowing smoothly.
Think of each section of the hair as a ribbon flowing gently in the water.
Let’s begin with her head first.

Let’s start with one section first.

Note how the hair volume decreases as we reach the ends of the hair.
This is important and just by implementing this tip, you will be able to make your mermaid hair look very real realistic and organic.
Okay, let’s continue with more sections.
It can get a little confusing, but it is important to remember that all the hair should move in 1 general direction.
In this case, I’m drawing the hair moving upwards.
Hair is lighter than the body so it can flow in any direction.
Once you’re happy with how your hair shape looks, you can start drawing the strands.
Take your time with this and do it section by section.
Make sure that the strands start from the mermaid’s scalp and move toward the ends of the hair.
Try to use long fluid and singular strokes when moving your hand across the canvas.
I’m going to go in and draw more strands.
Now, it’s time to draw the tips of the hair. I’m going to draw the tips in the opposite direction just to make the long hair look more organic and make the mermaid’s hair look like it’s floating in the water.
I feel it’s pretty much complete, so I’m going to erase all the rough lines and finalize the outline.
And now, I will go in with the same base color as before for the mermaid’s hair.
And I will draw the shadows.
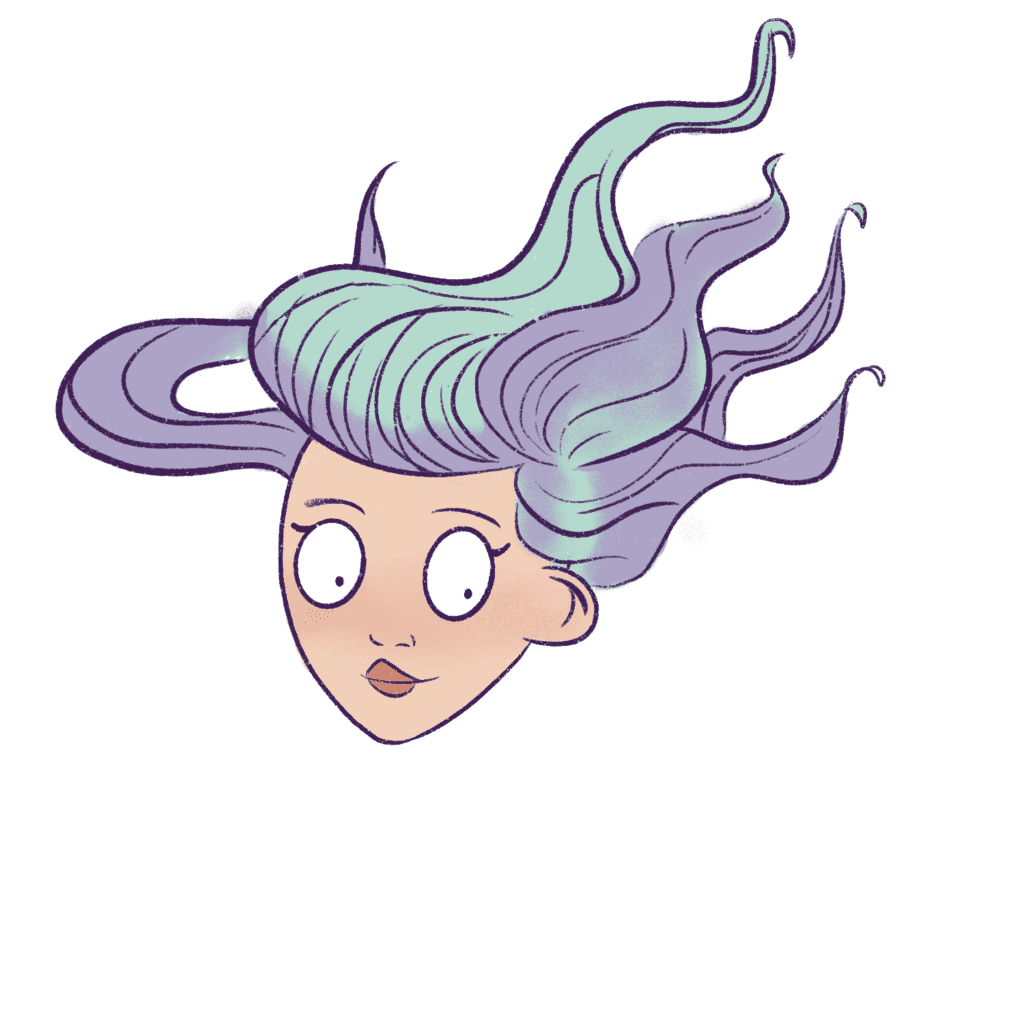
I will change the blending mode and opacity of the shadow layer.
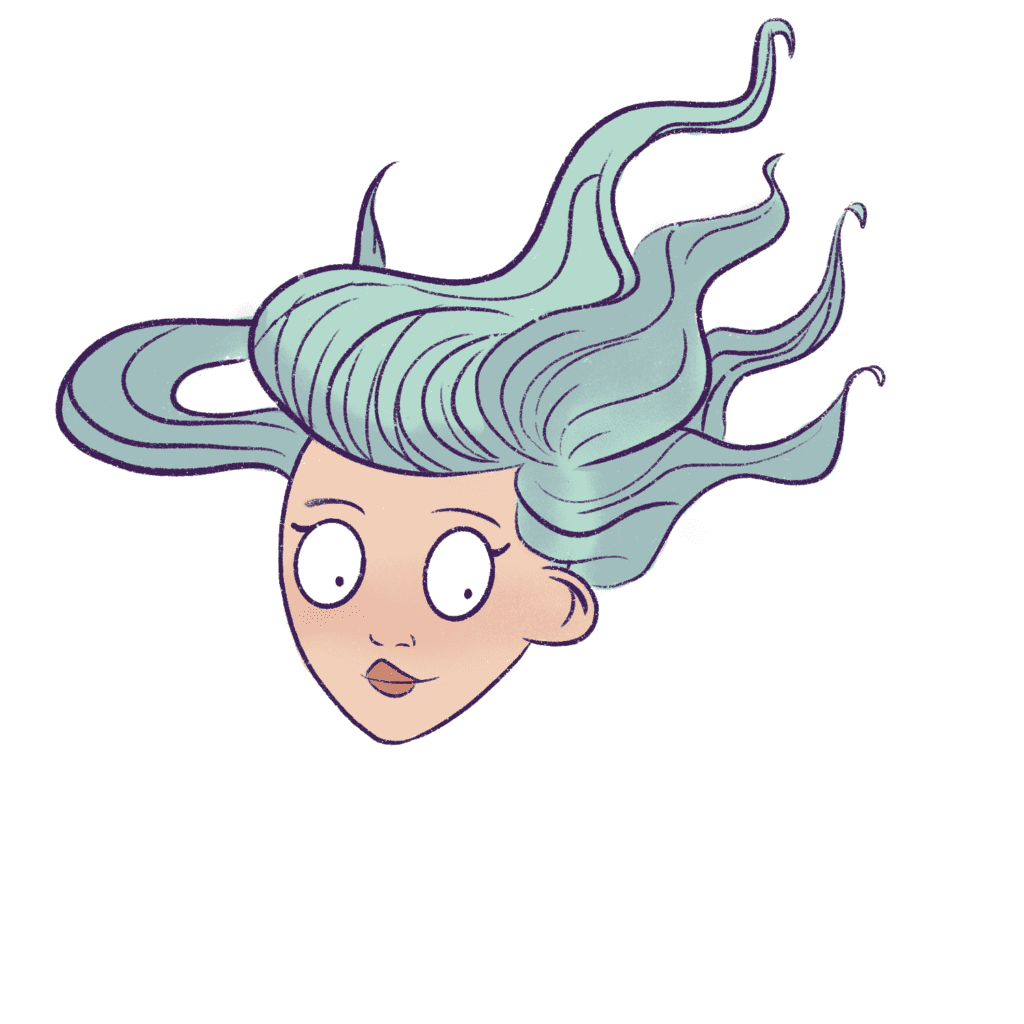
And finally, I will go in with the highlights to complete drawing this long hair underwater!
Congratulations!
You’ve just learned how to draw beautiful mermaid hair underwater.
Conclusion on how to draw mermaid hair + Resources
I hope this in-depth tutorial was helpful to you, and that you were able to learn how to draw mermaid hair.
And you can always bookmark this post if you want to use these mermaid hair drawing references for studying later.
Drawing hair can be a little challenging – especially if you are drawing mermaid hair underwater.
The physics changes so it’s an all-new learning experience.
But drawing hair does get much more manageable with more practice. Trust me. Also, drawing with references helps! You can look at stock photos of hair underwater or see illustrations of mermaids on Pinterest just to see how different artists draw hair.
One of the best parts about drawing hair in a cartoon style is that you don’t need to complicate things by adding too much texture. You just have to get the shape right and draw a few lines in the direction of hair growth.
I have a post that you can read on how to find your art style if you are keen on developing your own style of drawing cartoons.
You can make things easier by picking up this Character Drawing Toolkit.
If you want to see more tutorials on hair and people, just leave a comment down below. You can check out my other posts on drawing hair over here.
I will be adding more hair drawing tutorials to this blog, so keep a lookout!
If you are looking for books on how to draw anime or how to draw anime bangs and anime hair, take a look at these:
If you’re looking to improve your drawings faster and want to really draw as a hobby or even pick up drawing professionally, I highly recommend picking up this beautiful online course that teaches you how to draw female cartoon characters.
Use code STRAYCURLS-10 to get a 10% discount!
This class will teach you how to draw a female character from scratch!
If you are just getting started with ProCreate, I highly recommend this course: Procreate for Beginners: Digital Illustration 101
You may also enjoy these mermaid drawing posts:
- How to draw a mermaid on a rock
- How to draw a mermaid’s tail
- A super cute guide on drawing a mermaid cat
- How to draw a mermaid swimming
If you enjoyed this post and would like to see more, please sign up for my blog to get free tutorials weekly!
If you want to learn how to draw hair, see these posts:


Leave a Comment