Something that almost all kids love drawing is a unicorn.
Unicorns can be tricky to draw because they almost follow the anatomy of a horse.
I’ve already written and illustrated multiple posts on drawing cute and kawaii animals that you can check out here.
In this post, I’m going to show you how to draw a unicorn with wings in this step-by-step guide so that you can learn how to draw a unicorn step by step.
Whether you’re a kid or an adult learning how to draw this unicorn, these steps are extremely easy to follow in this tutorial. So, let’s get started!

This post includes affiliate links. If you do decide to purchase something, I will make a commission at no extra cost to you. For more information, please read my entire Privacy Policy here.
I am using an iPad Pro and an Apple Pencil to create all my illustrations.
But you can use any tool – a pen and paper or Copic markers or Photoshop because the drawing method remains the same.
Table of Contents
How to draw a unicorn with wings – Easy Step by step instructions
Step 1: Drawing the head of the cute unicorn
Let’s start with the face of the cute unicorn.
Just start with a nice big “C” shape. This is going to be the mouth and nose and mouth of the unicorn.

I’m drawing this unicorn in a cartoon style. If you’re looking for a book to teach you how to draw a kawaii unicorn and other animals in a kawaii style, there is no better book than this!
Now, we continue with the mouth, drawing a gentle curve. It is a little tricky, but please remember you can erase and redraw this curve till you are comfortable with how it looks.

Next, I’m going to draw the nose of the unicorn. This is a super easy step.
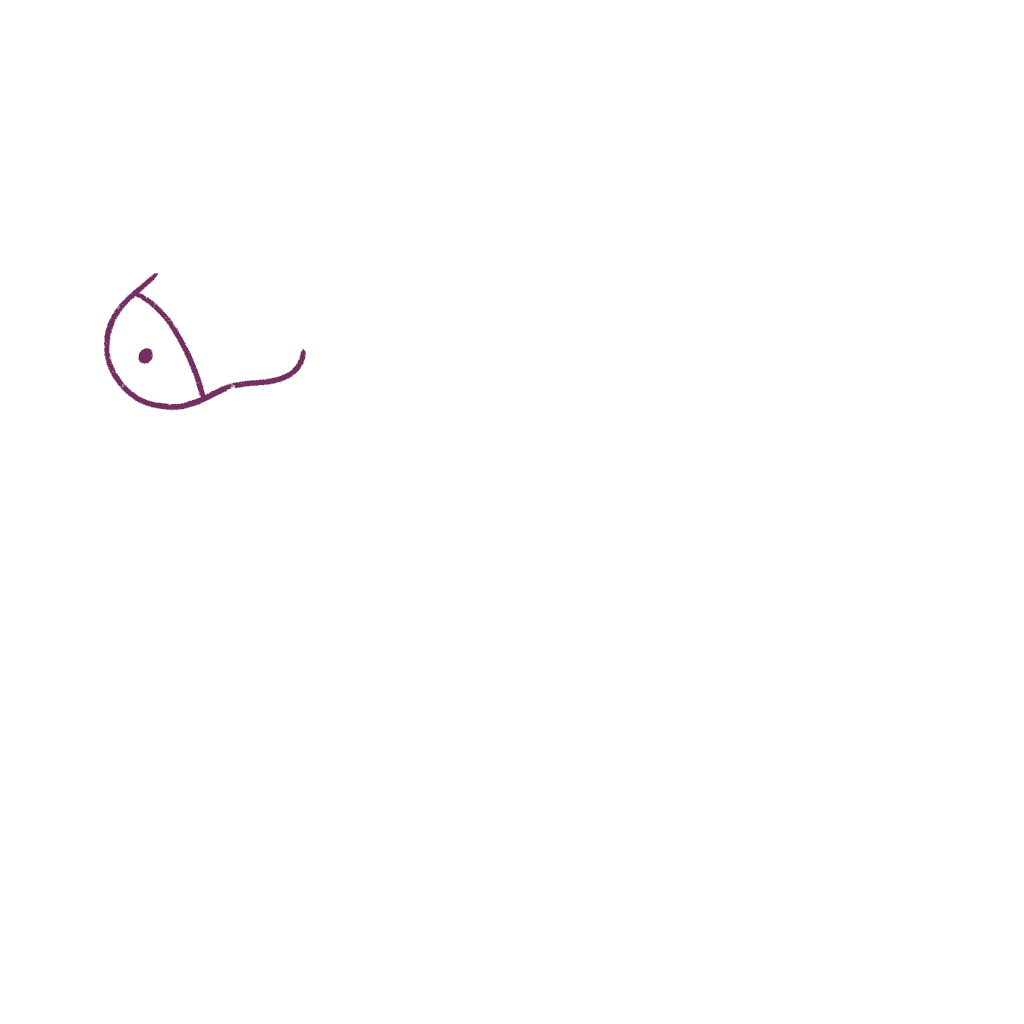
Next, I’m going to draw the eyelid and the eyelashes of the unicorn. It’s a simple U shape with 3 more straight strokes for the eyelashes.
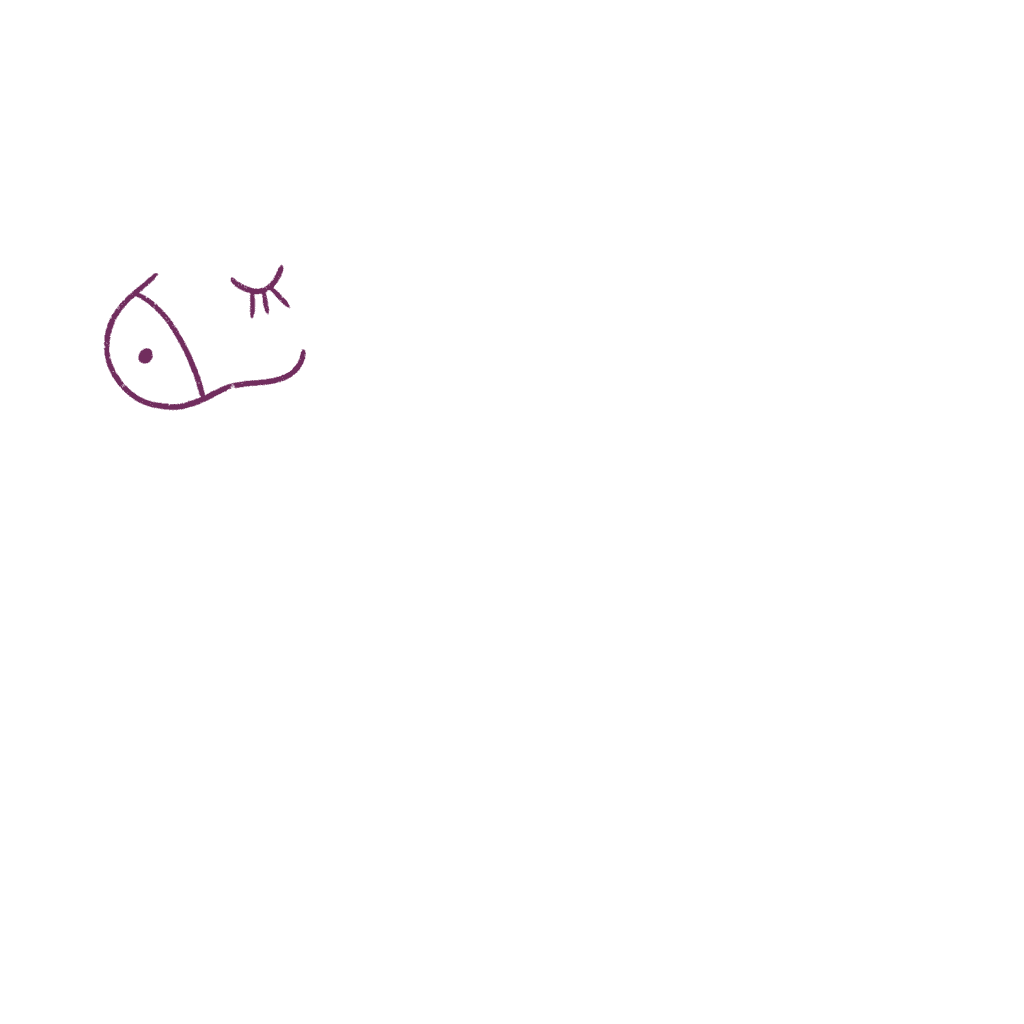
Next, we’re going to draw the mane. It’s really easy; we’re going to draw 1 section at a time. Let’s start with a teardrop shape on top of the head of the unicorn.
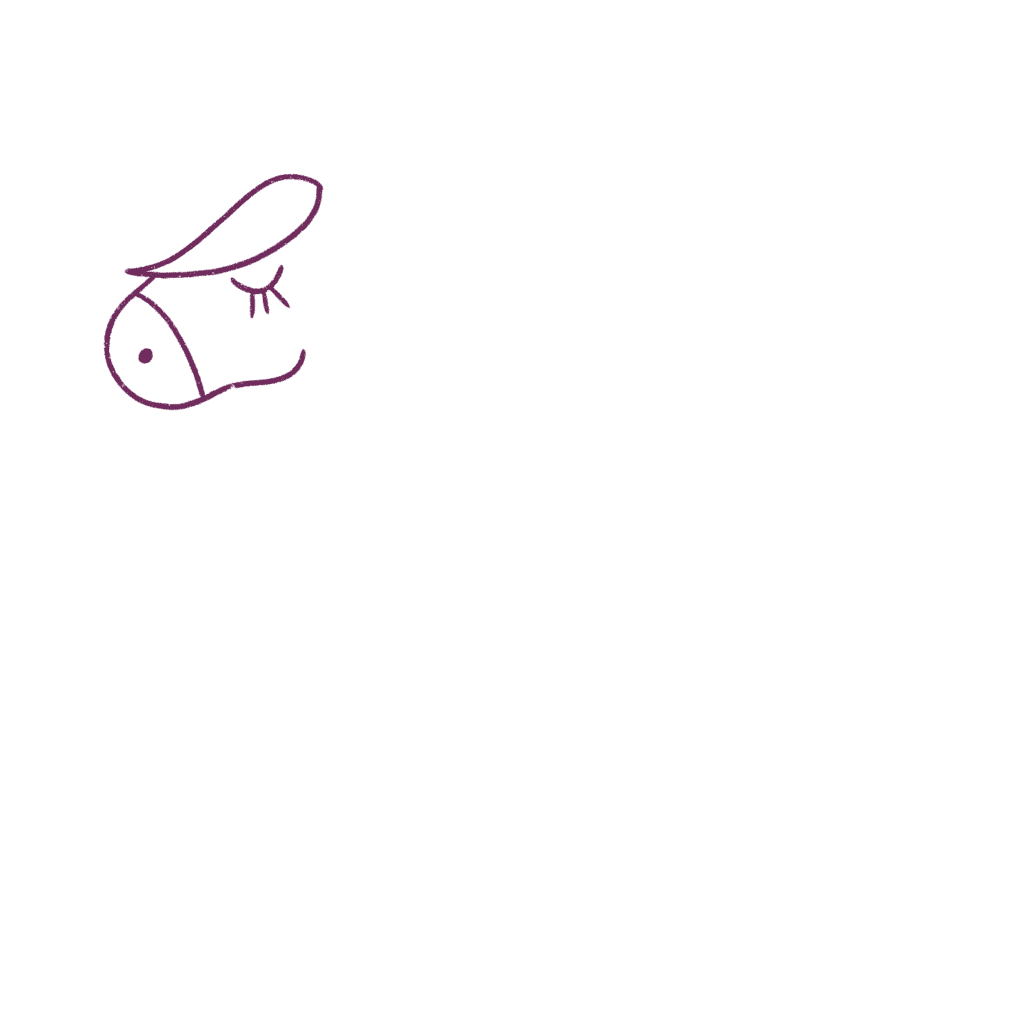
Now, let’s draw another teardrop shape behind this section.

And the face is nearly done.
We just have to draw the horn and it’s really simple.
Just draw a small pointy triangle on top of the head behind the front part of the mane.
The horn is the main feature of the unicorn that differentiates a unicorn from a horse. So, do not forget this step!

Next, we have to draw the ear and the bottom part of the mane.
So let’s draw a small ear and then a long curve. The curve will be in a long “S” shape.
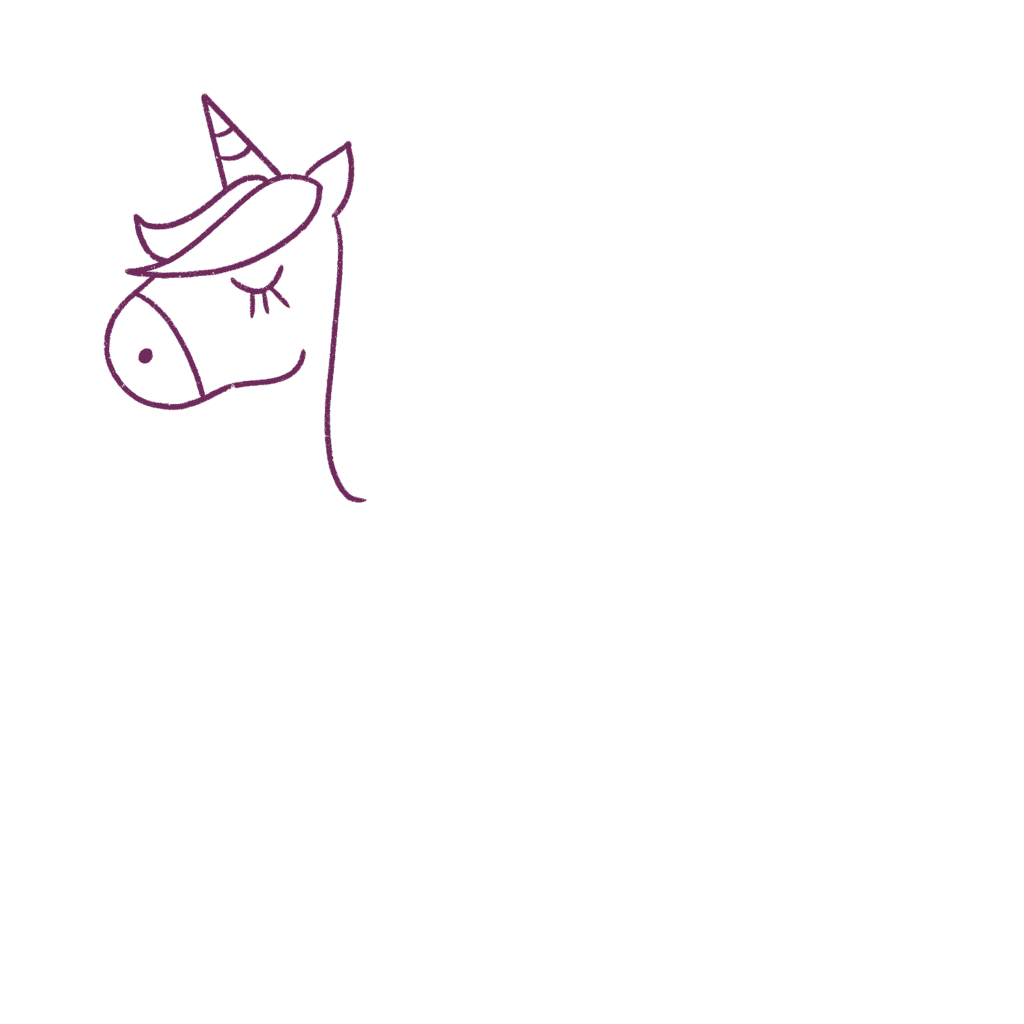
Now, draw three more long curves. This will become the mane of the unicorn.
It is slightly tricky so take your time with this.
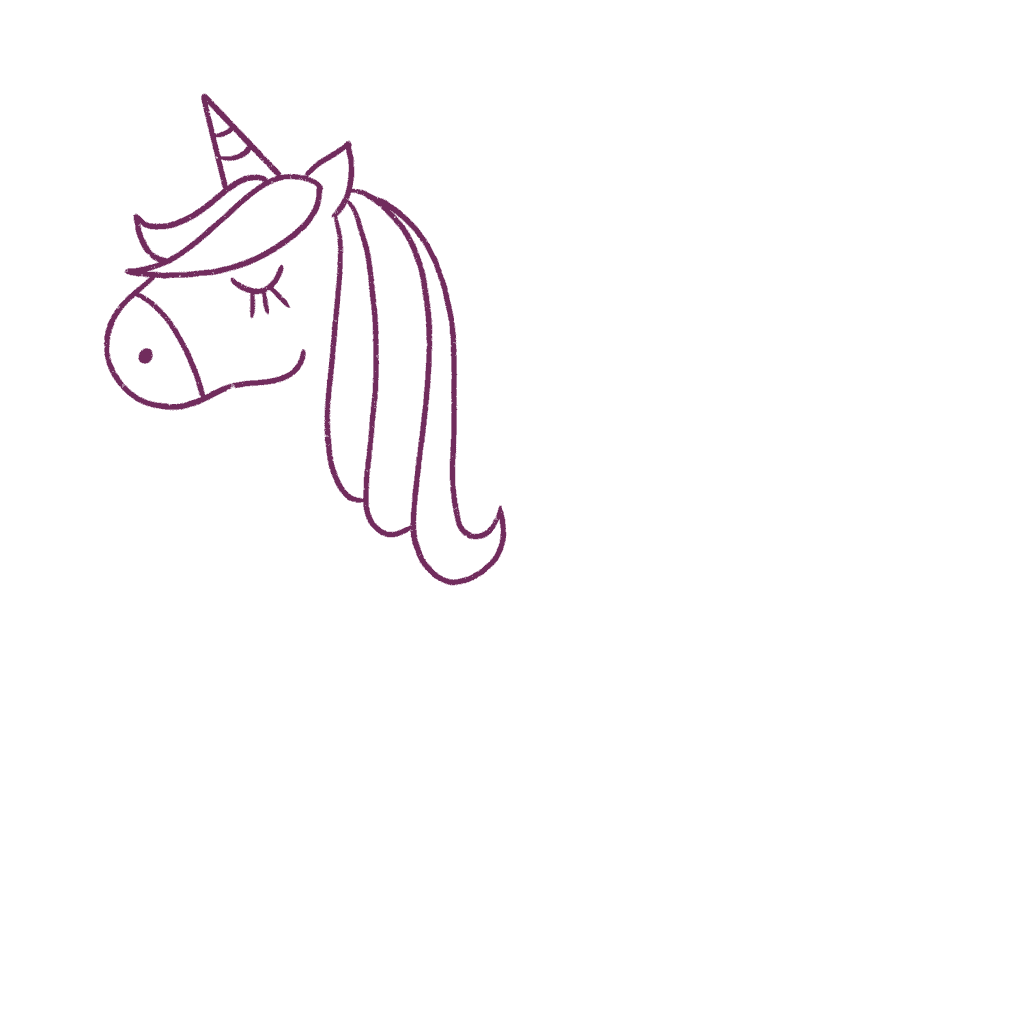
Each section of the mane is longer than the previous section.
And once you’re done, you’ve officially finished the head of the unicorn.
Step 2: Drawing the body of the cute unicorn with wings
The head was by far the most challenging part.
Once you’re done with the unicorn head drawing, you’re safe. Because now, it just gets simpler!
Let’s start by drawing the leg of the unicorn. It’s going to be a long S shape.
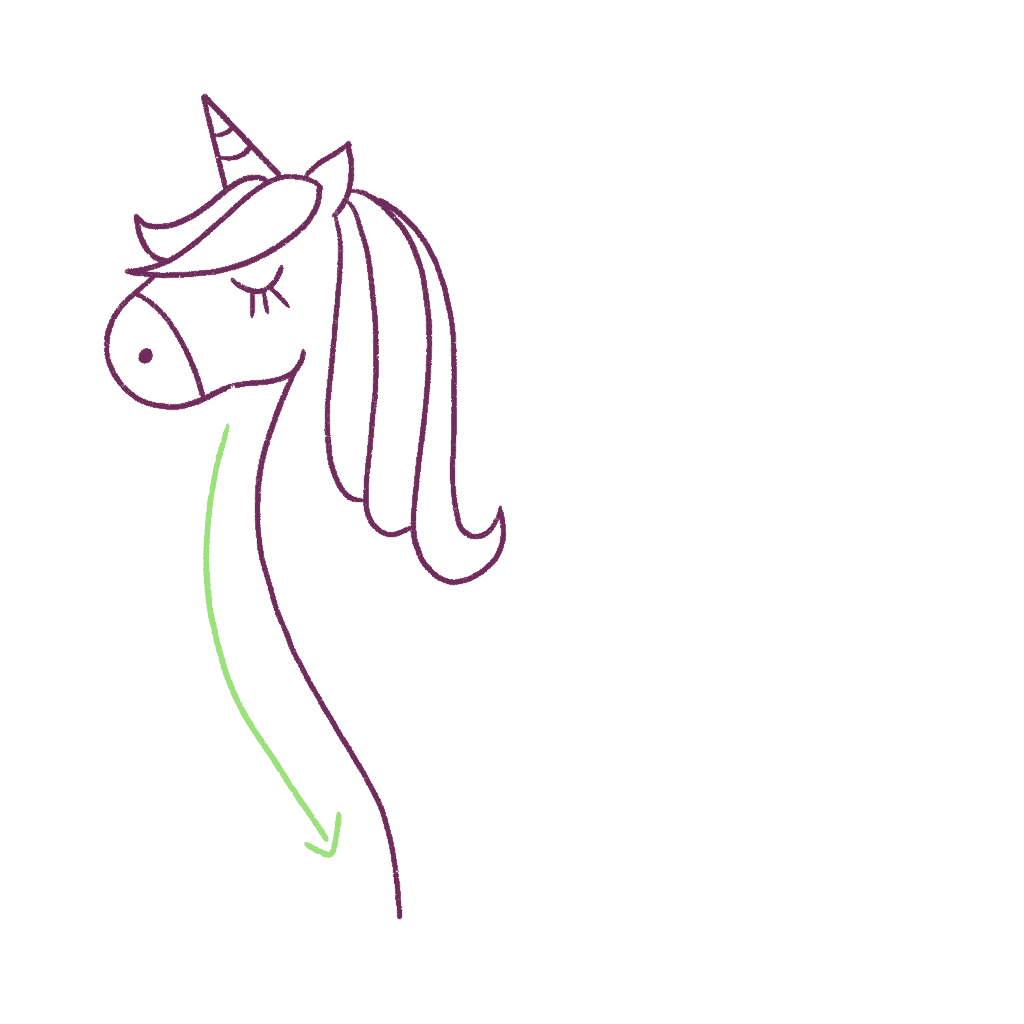
Complete the leg of the unicorn now.

Next, let’s draw the tummy of the unicorn.
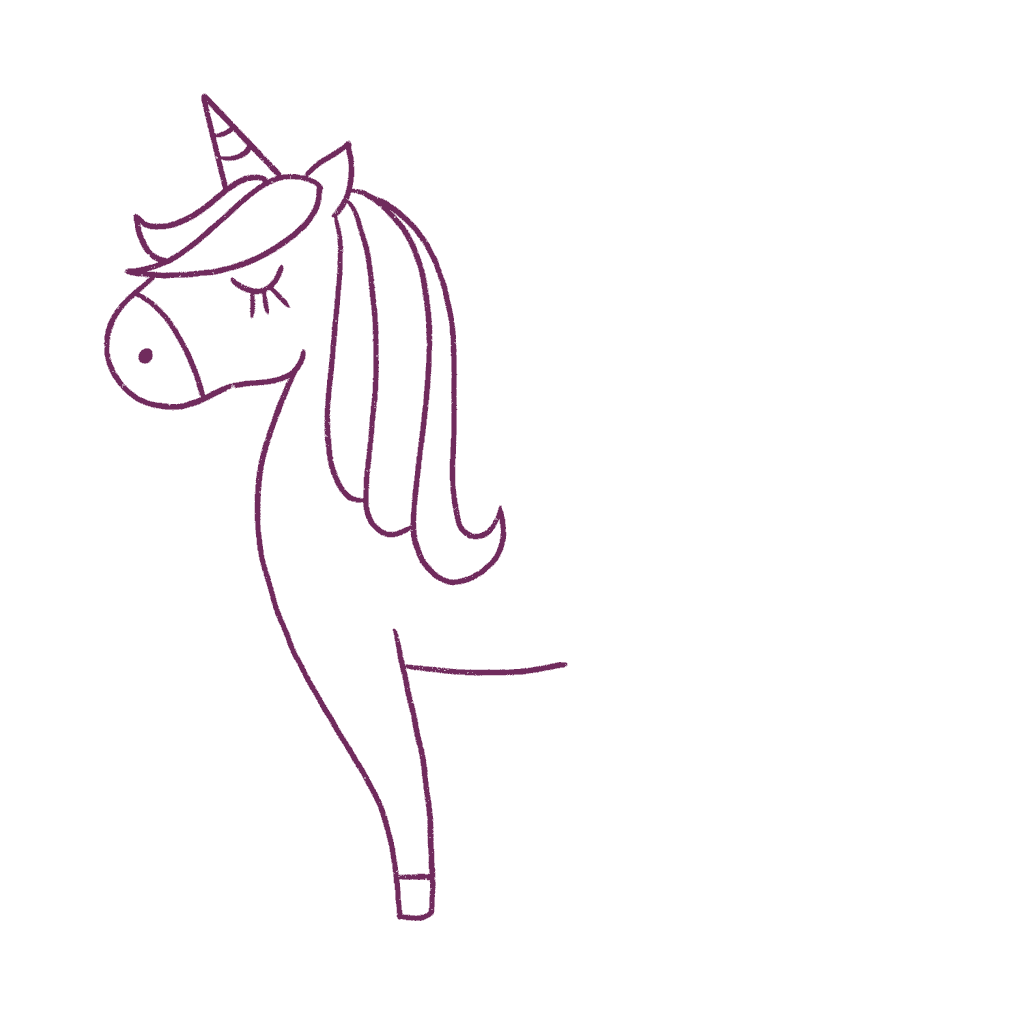
Now, let’s add the back leg of the unicorn. It resembles the digit 7 since it includes the thigh and the calf of the unicorn.
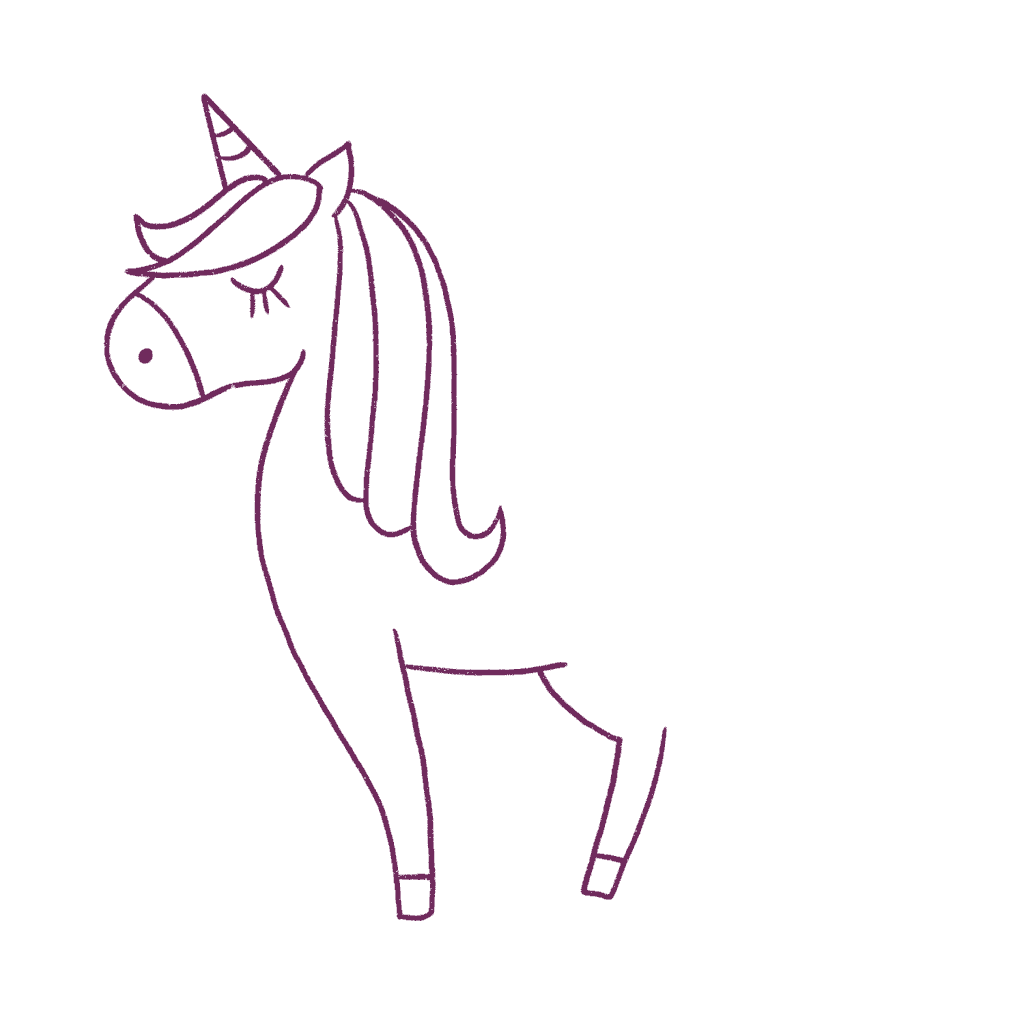
And let’s draw the other back leg of the unicorn.
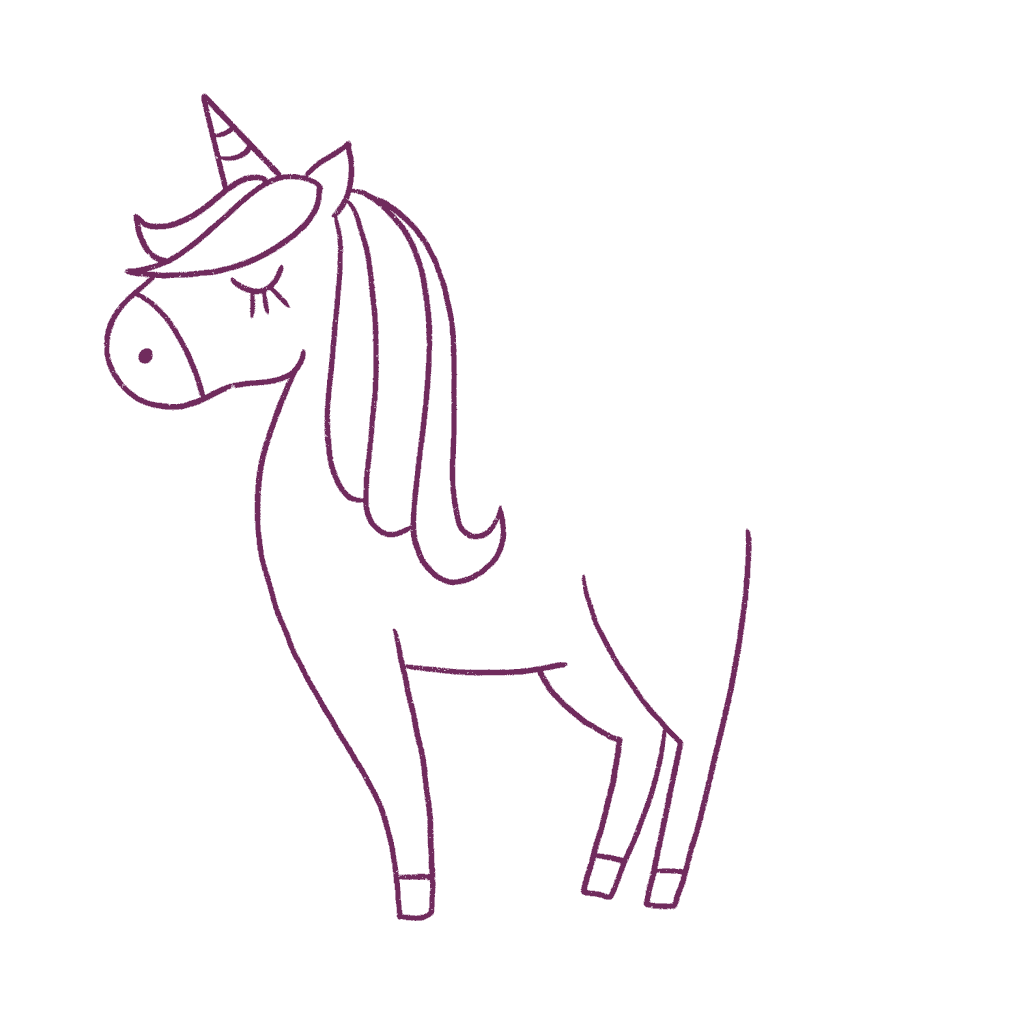
I’m going to draw the bottom and the back of the unicorn. We just have to draw a simple curve and connect it to the neck of the unicorn.
Super easy!
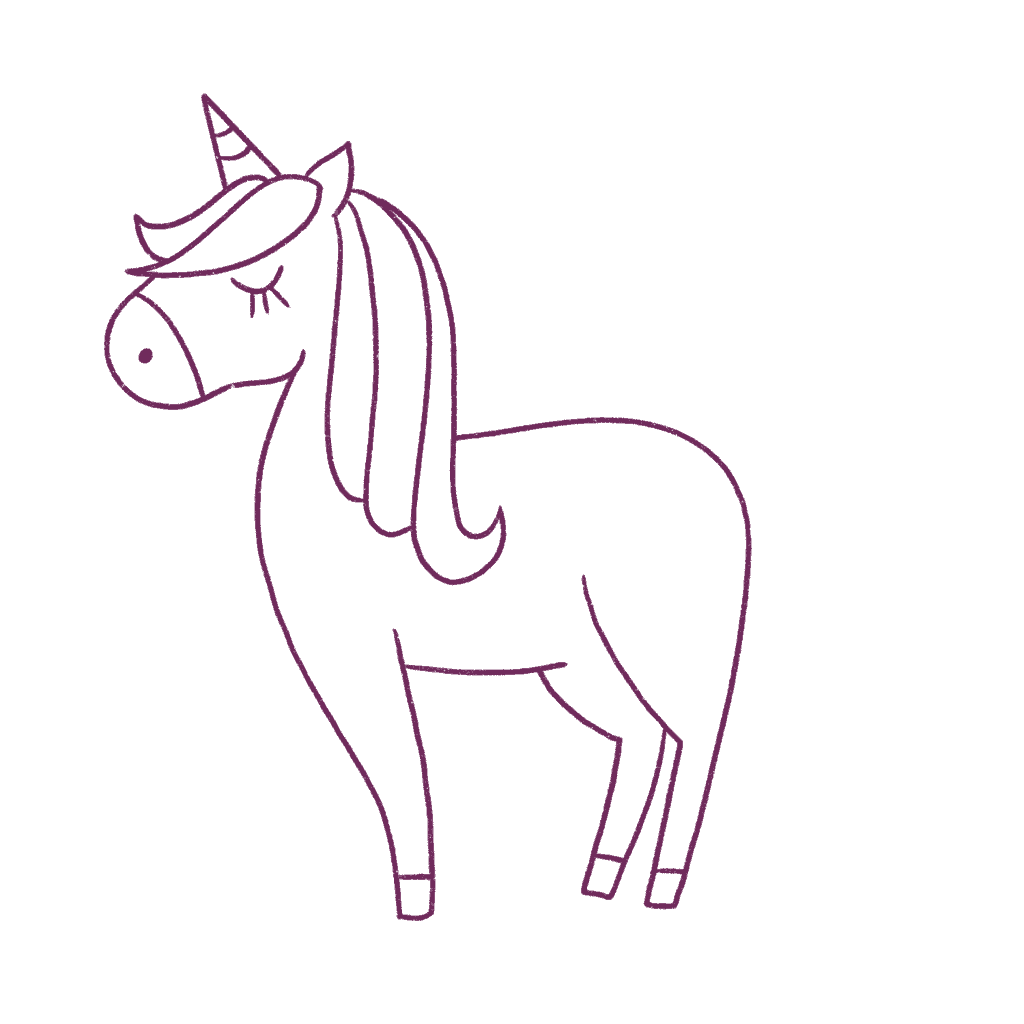
The body is almost done. We only have to draw the front leg of the unicorn.
This one is lifted and so take your time with drawing this leg.

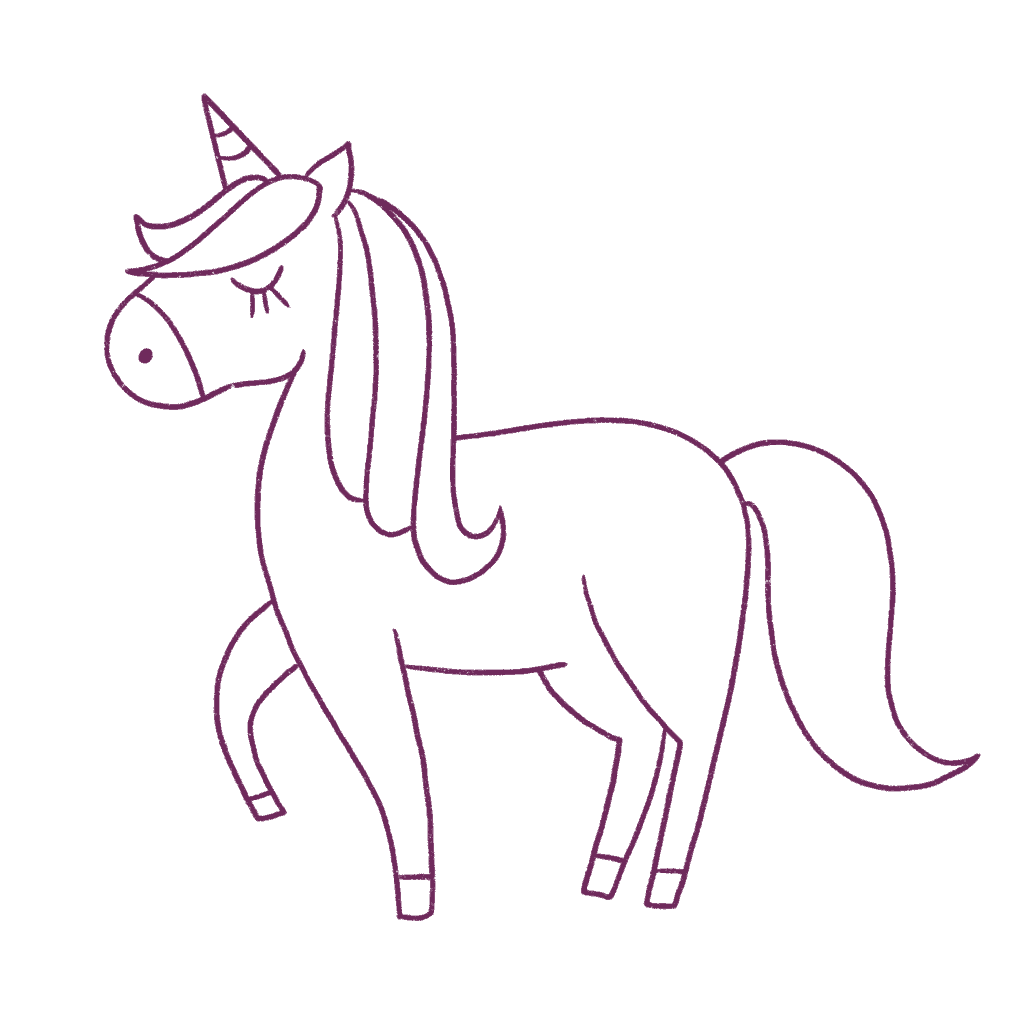
Now, all that’s left is to draw the tail.
Just like the mane, we gotta draw one simple tear drop shape on the back of the unicorn.
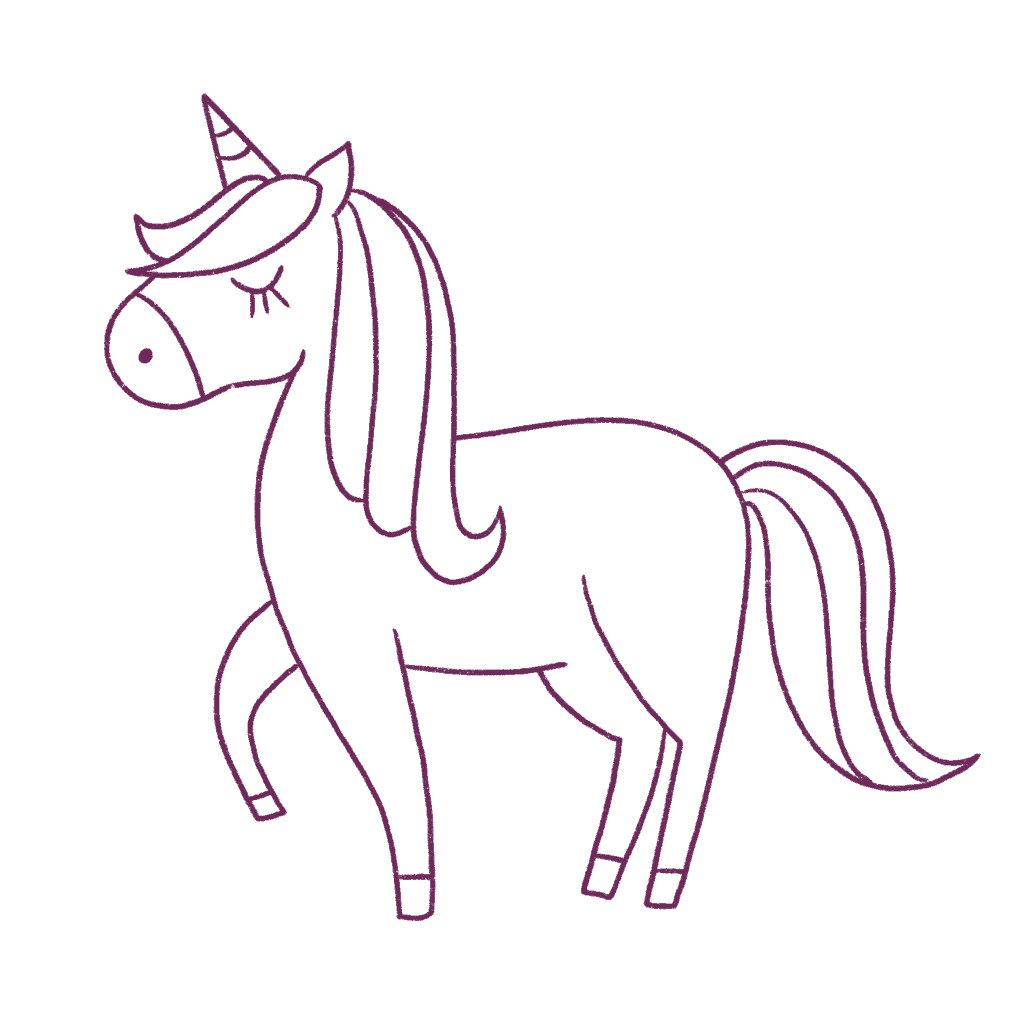
Now, let’s divide the tail into simple sections!
Remember, the tail and the mane add personality to the unicorn. And it’s also insanely fun to color!
But we’re not done yet!
We still have to add the wings!
You can skip this section if you feel the unicorn is perfect and doesn’t need wings. But if you want to add the unicorn wings, just add a few U shapes to the back.
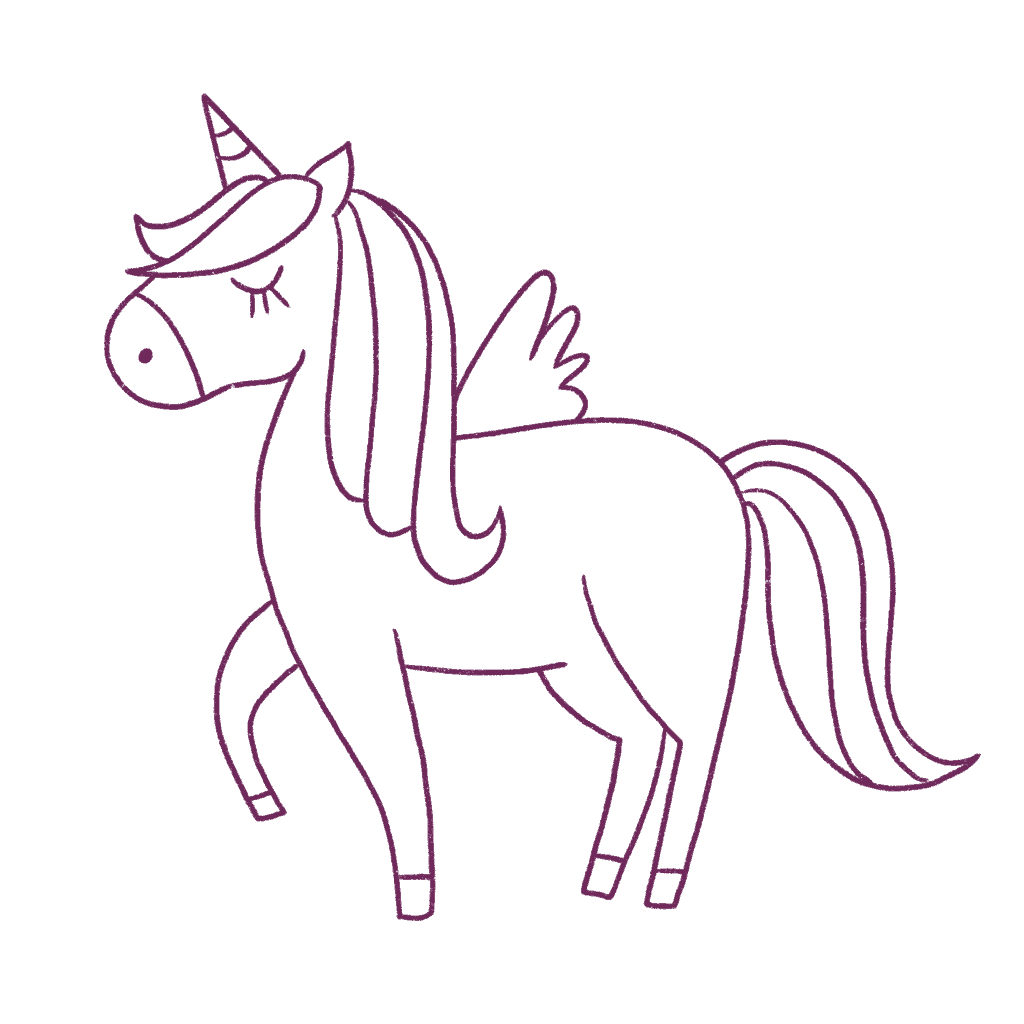
Add the other wing to the unicorn now.
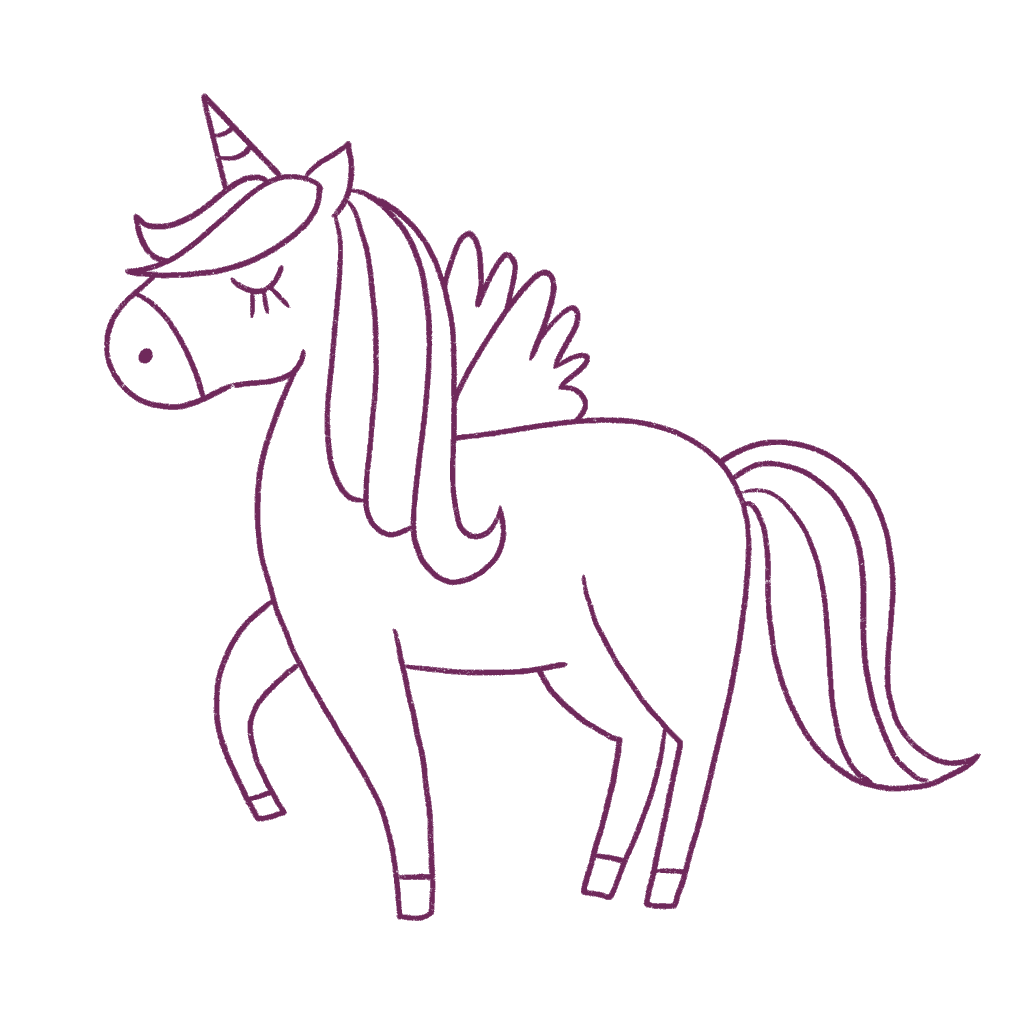
And voila!
We’ve finished drawing a unicorn with wings. Now, we just have to color it!
Step 3: Coloring the cute unicorn with wings!
I’m going to begin by coloring the unicorn body light pink. I have to admit I like a girly unicorn!
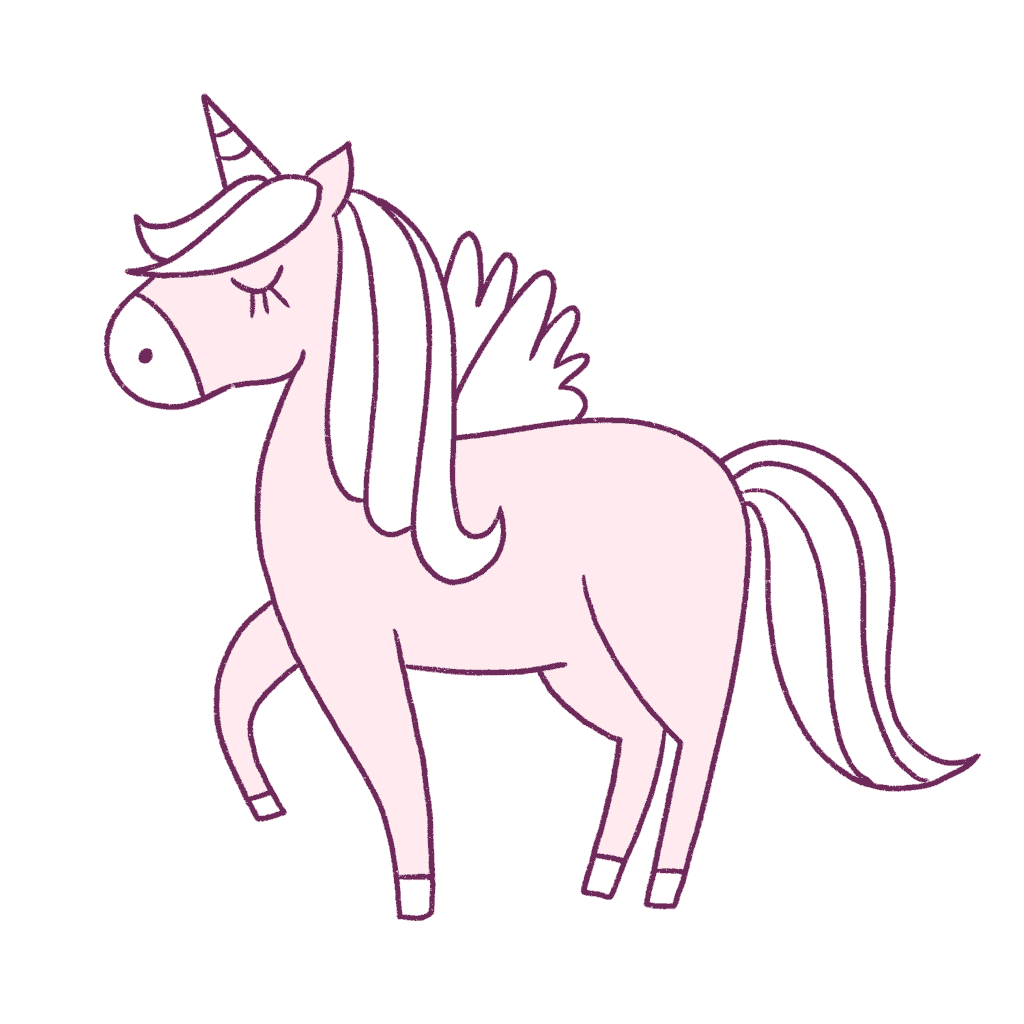
Next, I’m going to color the mouth and feet a little dark pink.

We’ve finished the body of the unicorn. Let’s start by coloring the mane.
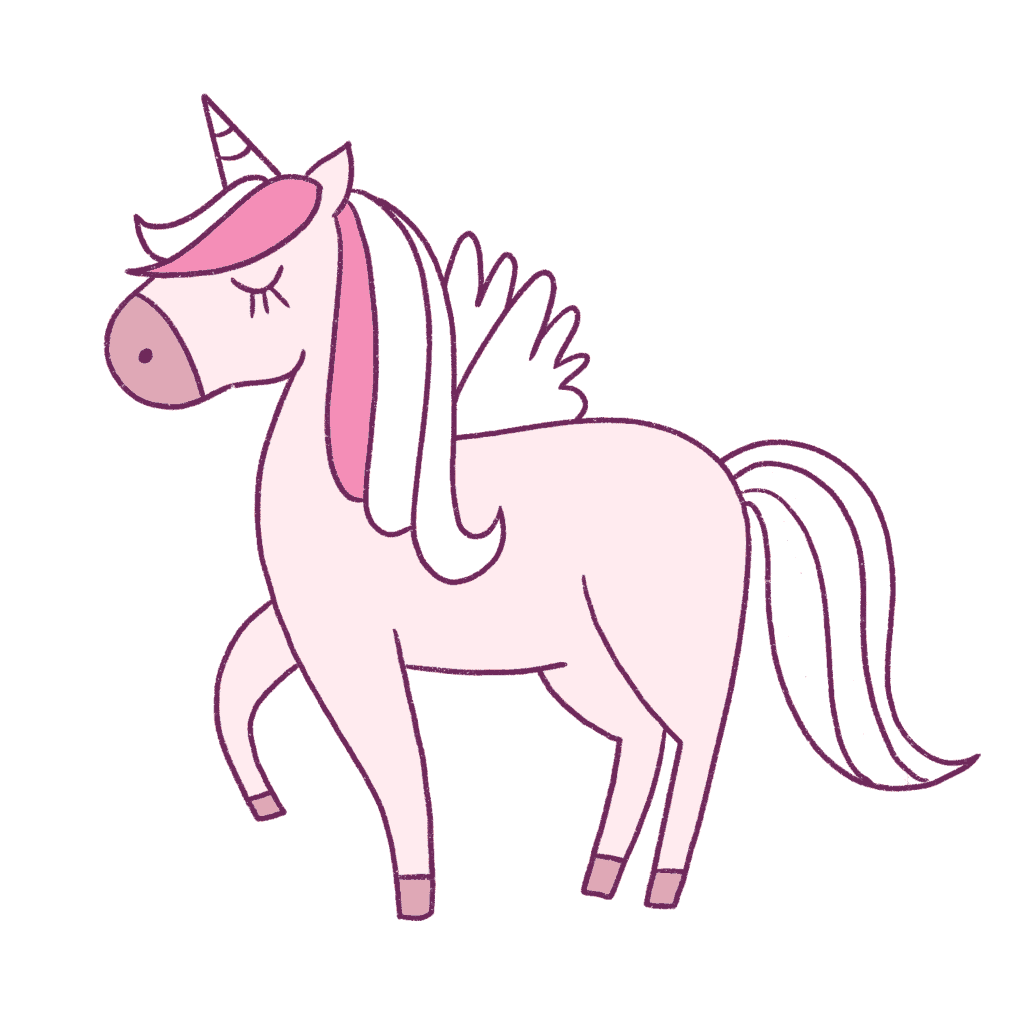
Next, I’m going to add a purple color to the mane. Remember, go wild!
You can color the unicorn any color you wish!
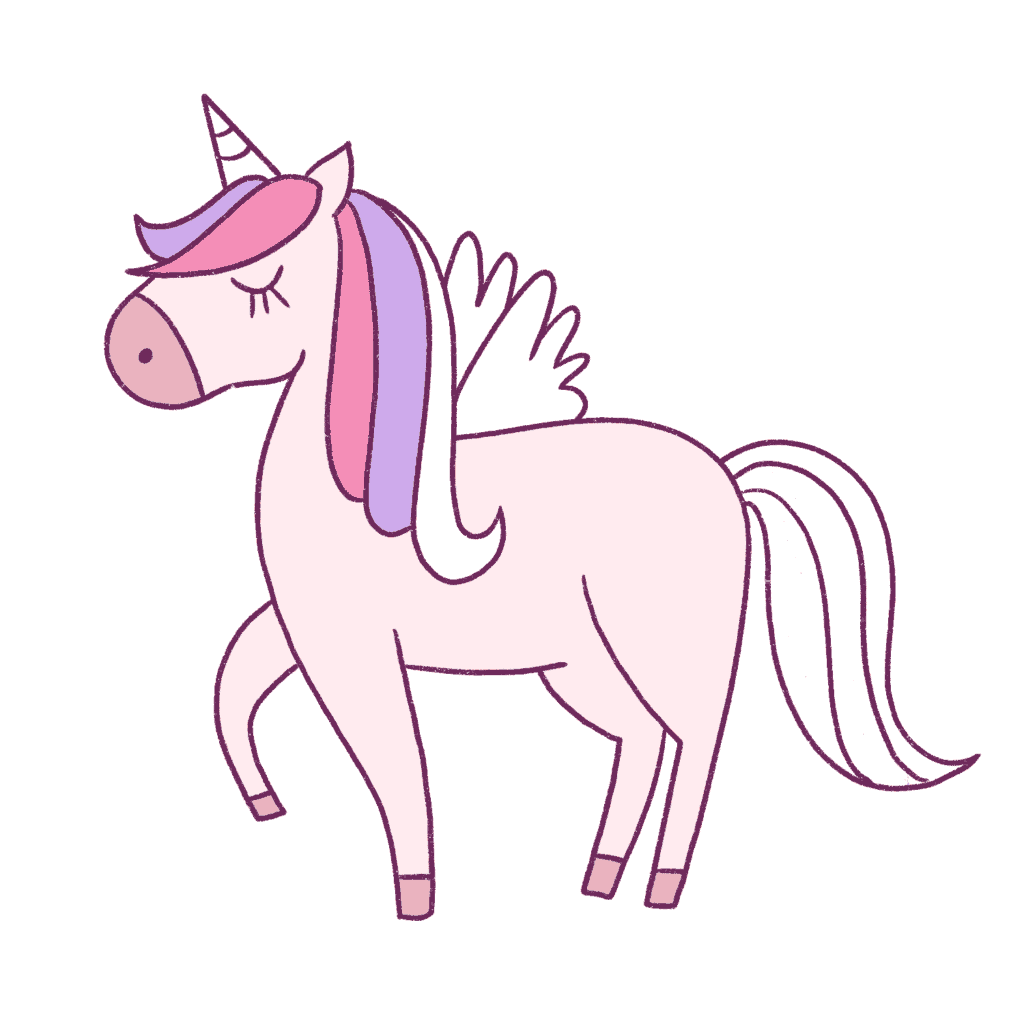
Next, I’m going to add a bluish green to the mane just to balance all the pinks and purples.
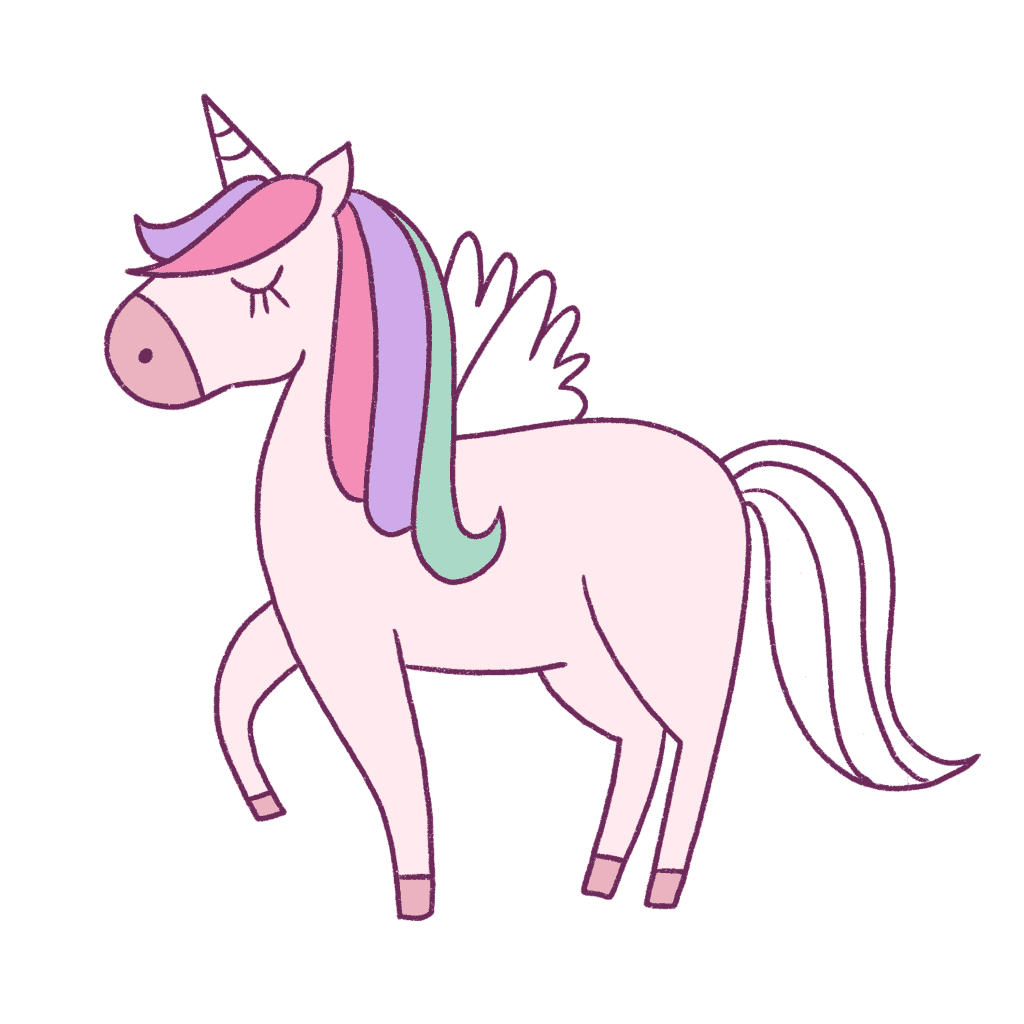
Next, let’s color the tail and the horn. I’m going to use the same colors to provide some uniformity.
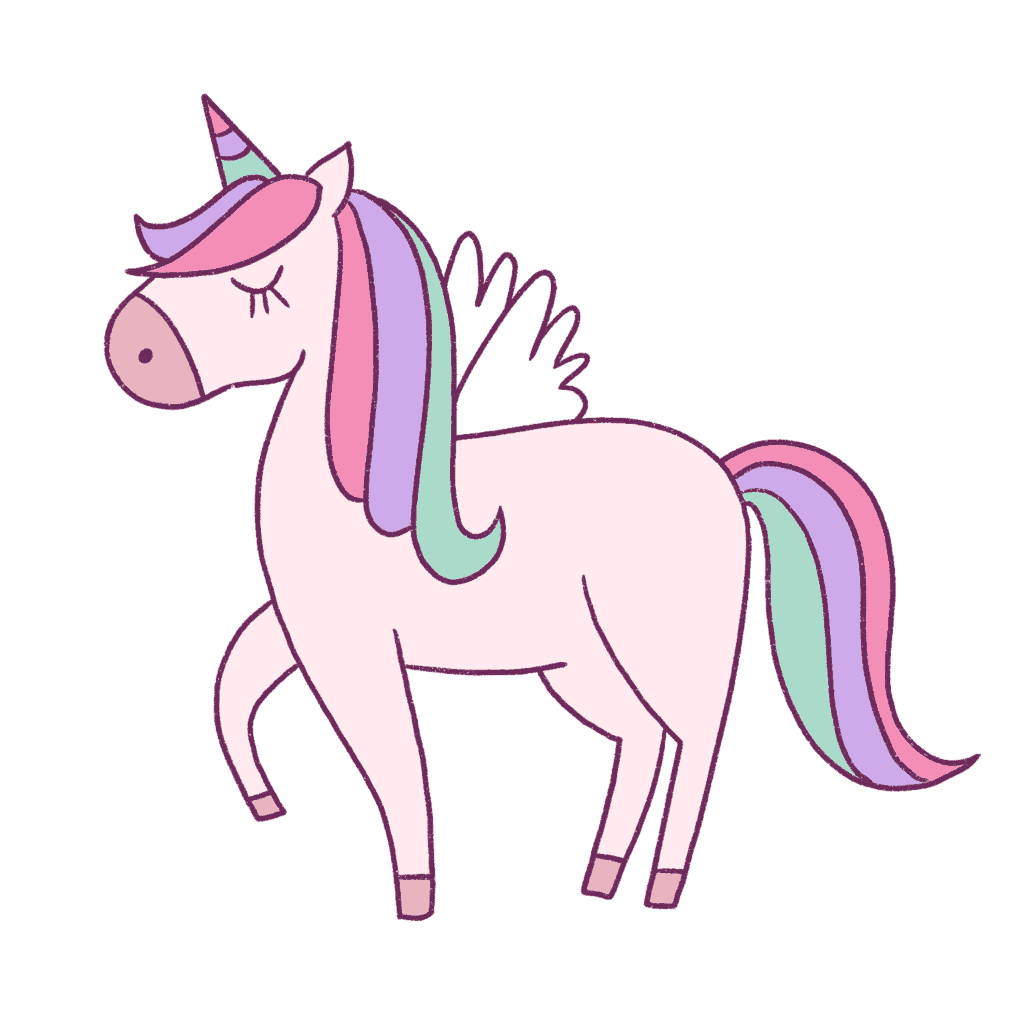
Lastly, color the wings of the unicorn.

And voila! We’ve just learned how to draw a unicorn with wings and color it!
Conclusion of how to draw a unicorn with wings + Drawing Resources
I hope this tutorial was really helpful to you and you were able to draw a cute unicorn with wings.
I understand that drawing animals can sometimes be a little tough but the more you practice, the easier it gets!
If you’re really interested in drawing more kawaii animals, take a look at this book, please!
If you want to see more tutorials on drawing kawaii animals and kawaii things, please comment below on what you’d like to see next!
I will be adding more kawaii drawing tutorials (animals and things) to this blog, so keep a lookout!
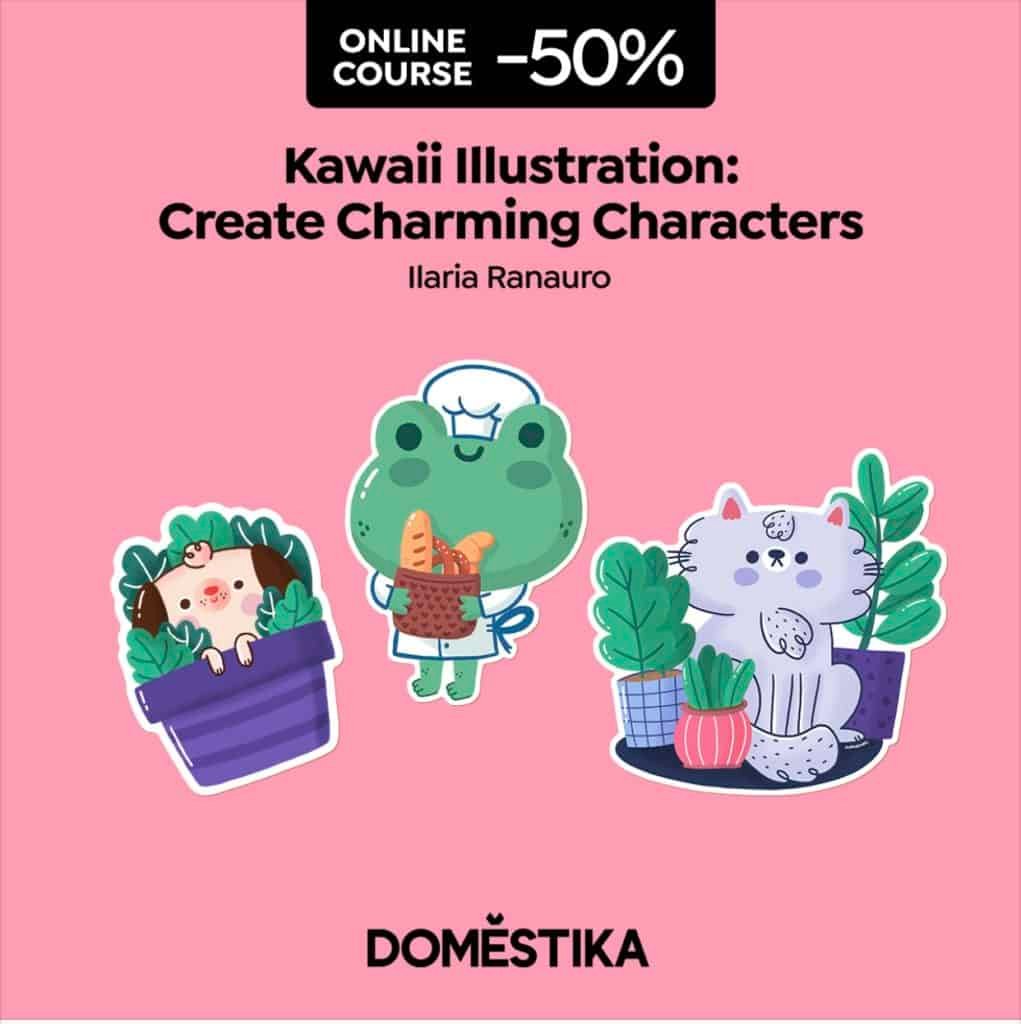
If you are interested in drawing anything in a kawaii style and then selling stickers online, check out this amazing course that will teach you to draw in a kawaii style and make stickers!
My old Instagram bud Ilaria created this cute online course!
And believe it or not, there is not 1 single good online course (I’ve found) about learning how to draw kawaii art and then making physical stickers on the internet. I’ve been looking for a course like this for a long, long time.
And it’s finally here.
You can create your own stickers and print them and sell them on Etsy or any space! She goes into detail about how to draw the characters.
This is by far one of the best courses I’ve taken that is so cute and so educational.
What do you need?
You will need a sketchbook, Photoshop, and a graphic tablet so that you can draw the kawaii characters. If you want to make stickers, you’ll need a printer and sticker sheets.
Even if you don’t want to make stickers and just draw kawaii characters, this course is perfect!
Use code STRAYCURLS-10 to get a 10% discount!
If you are just getting started with ProCreate, I highly recommend this course: Procreate for Beginners: Digital Illustration 101




Leave a Comment