These types of drawings are super cute to add to any journal or planner. And they make great drawing projects for kids and adults.
I’ve already done a lot of tutorials on drawing cute and kawaii animals that you can check out here.
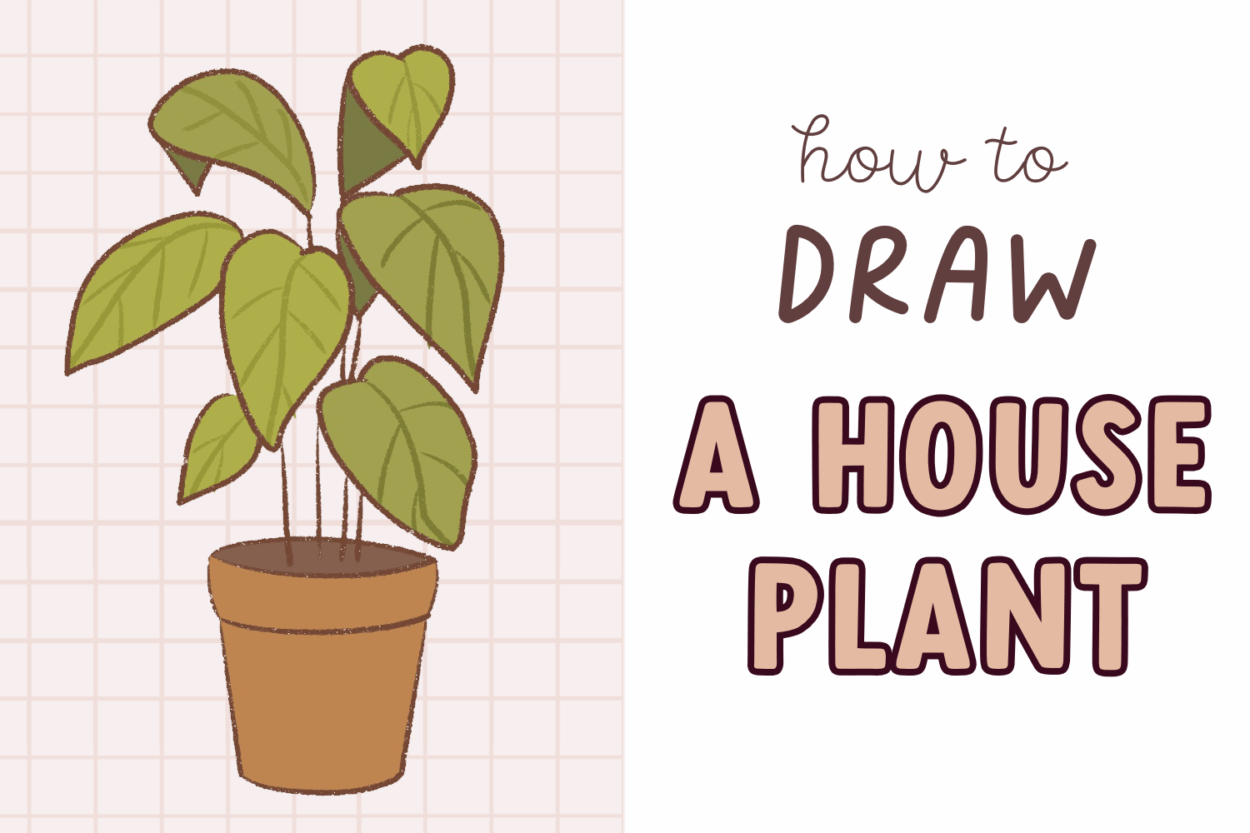
In this post, I’m going to show you how to draw a simple house plant in this step-by-step guide. If you’re looking for something similar to draw, check out this post on how to draw succulents.
You can also check this post on how to draw hanging plants.
This is what you will be learning to draw:

This post includes affiliate links. If you do decide to purchase something, I will make a commission at no extra cost to you. For more information, please read my entire Privacy Policy here.
I am currently using an iPad Pro and an Apple Pencil to create my digital art.
But you can use any tool – a pen and paper or color pencils or Copic markers or Photoshop because the drawing method remains the same.
Table of Contents
How to draw a simple house plant – Easy Step by step Guide
It’s not difficult to draw a house plant.
And because I recently got a few plants for my desk, I was inspired to create this tutorial.
So, we will be using very easy shapes.
There is just 1 thing to keep in mind:
- A standard leaf is always tapered towards the ends
- Sometimes you see part of the leaf when you’re viewing a house plant from the front so the you will be seeing half of the leaf and the rest is behind.
Let’s begin by drawing the pot
Step 1: Draw the pot
I’m going to start by drawing a pot.
There are so many kinds of pots you can draw – but I’m going to keep things simple and draw the rim of the pot first.

Next, I’ll draw the base of the pot. Remember, the pot has to be big if you’re drawing a big house plant.
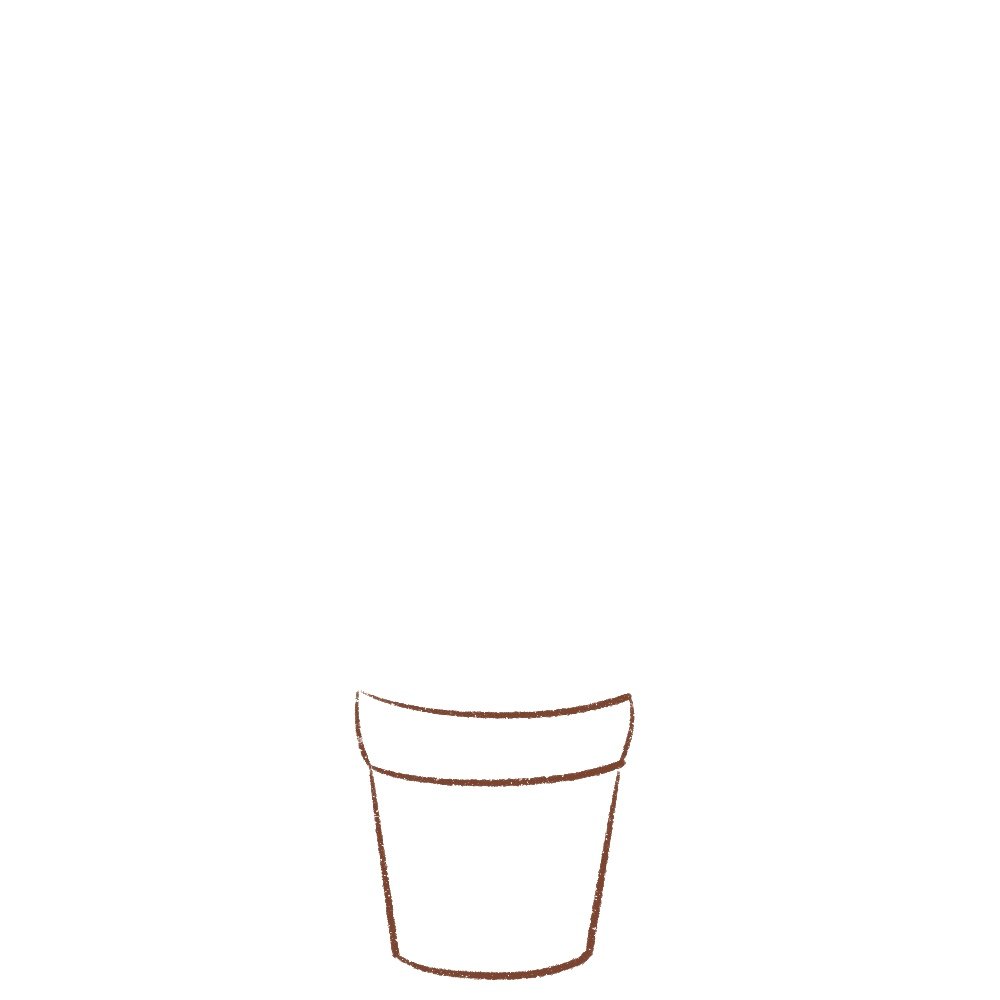
Next, draw the inner edge of the pot by drawing a small curve on the top of the rim like this:

And we’re done drawing the pot. Now comes the main bit – drawing the house plant.
Step 2: Draw the plant
We’ll start by drawing a leaf folding outward like this.
Right here we can see the middle portion and one end of the leaf.

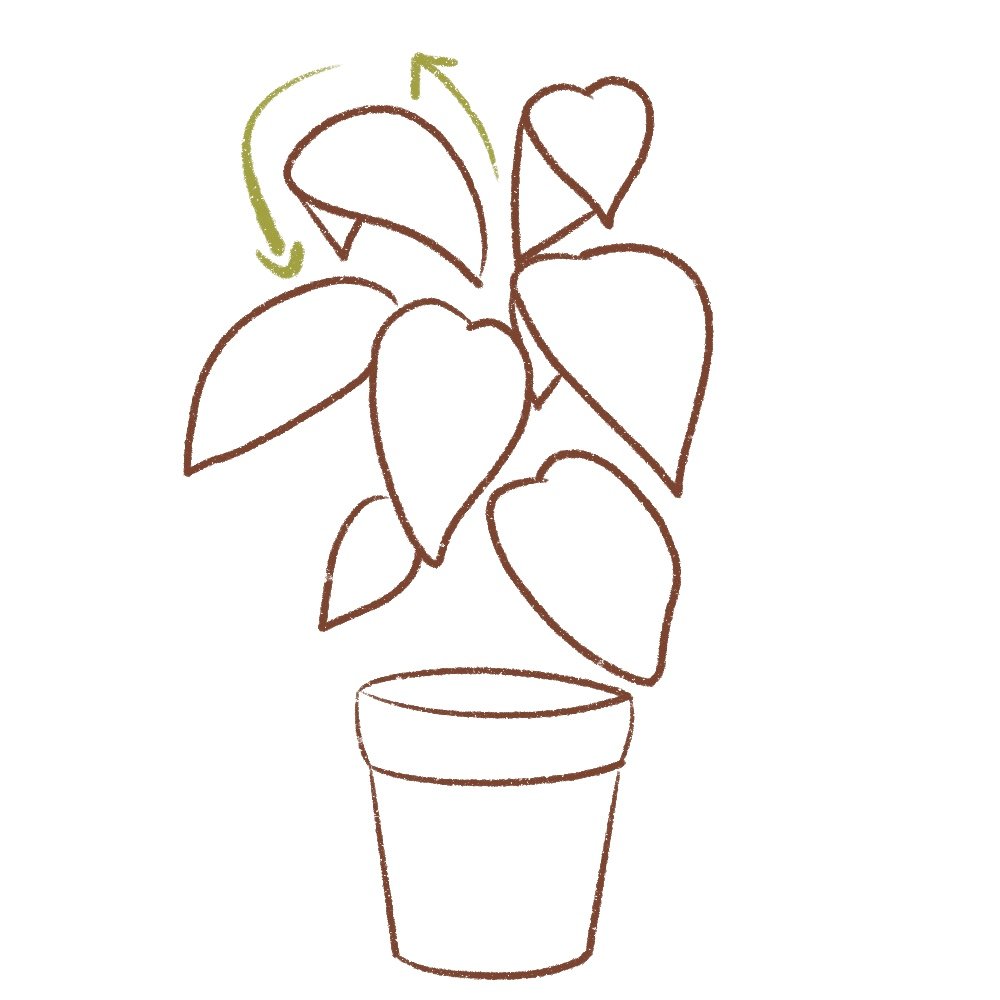
Let’s draw another. It’s important to know which side the leaf is growing – this will help us draw the leaf. So, note the arrows to understand the direction of growth.

Next, I’m I’m going to draw more leaves.
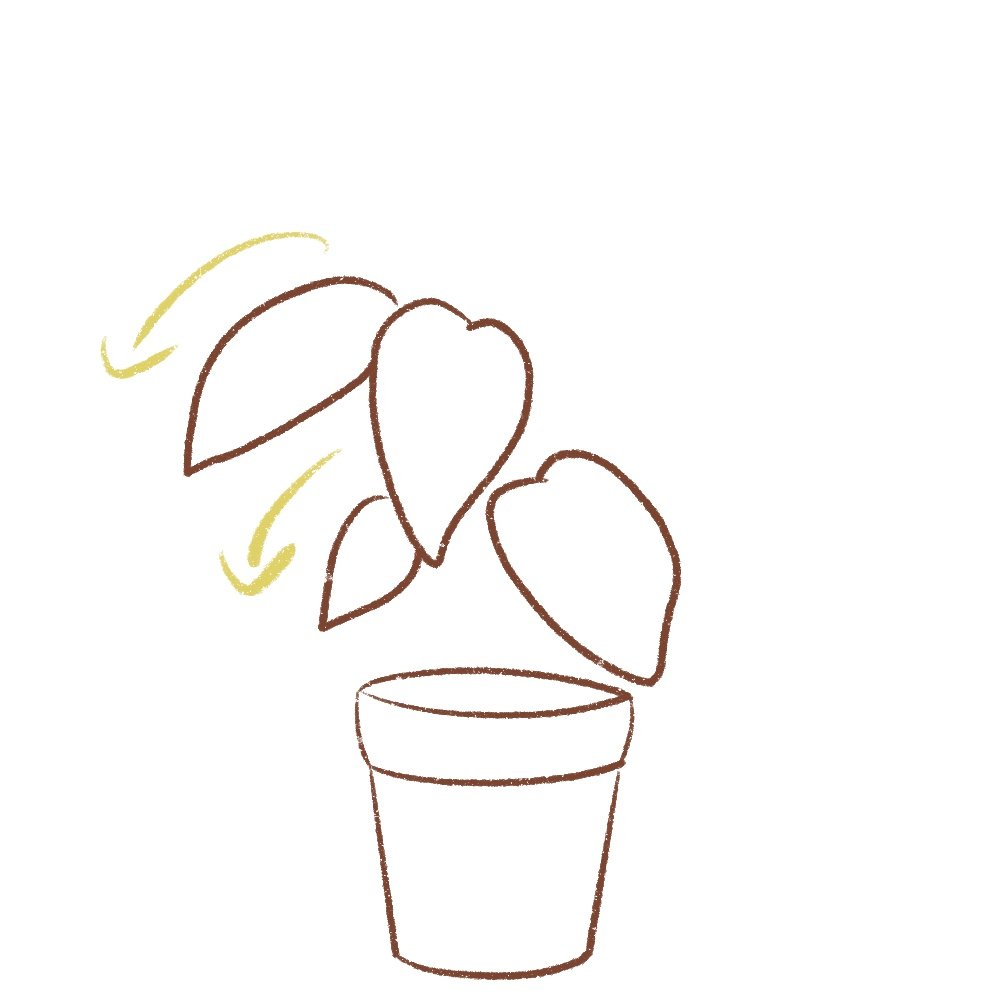
Remember to vary the size and shapes of the leaves a bit – this will make your houseplant look more natural and organic.
Now, I’ll draw another leaf near the top.
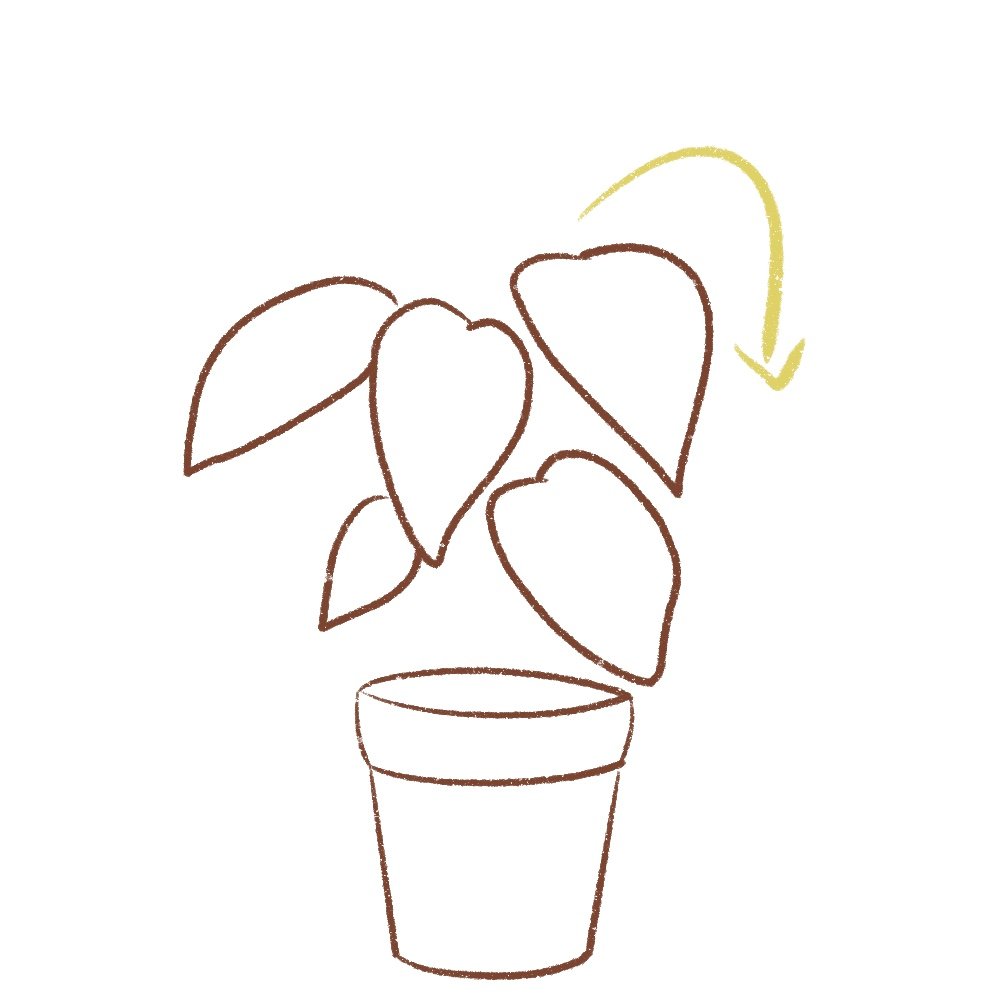
You can draw the bottom part of the leaves too! Just remember that it is tapered just like the other end.

I’m going to draw more leaves like this:

You can also draw leaves facing the back. In that case, remember to draw the behind portion of the leaf on the other side.
As long as you understand the direction of growth, you can draw leaves pretty easily.

And we’re done drawing the house plant.
Now, we can move toward coloring the house plant.
Step 3: Color the house plant
First, color the pot of the plant.
You can color the pot any color, but I’m going to go for a standard brown.

Next, color the leaves of the houseplant.

You can color some leaves darker than the others. Remember to color the behind portions of the leaves slightly darker.

Next, draw the midribs of the plants like this:
And we’re done!
We’ve learned how to draw and color a simple house plant.
Drawing Resources
I hope this tutorial was helpful to you and you enjoyed drawing this simple house plant.
If you want to see more tutorials on drawing kawaii animals and kawaii things, please leave a comment below on what you’d like to see next!
I will be adding more kawaii drawing tutorials (animals, food, and lots of things) to this blog, so keep a lookout!
If you are interested in drawing anything in a kawaii style and then selling stickers online, check out this amazing course!

Becky who was inspired by the Kawaii culture in Japan started drawing insanely cute things and she created this course for anyone who wants to draw adorable things!

The course is in English, and it’s amazing!
What do you need?
A sketchbook, Photoshop or Procreate, and a graphic tablet so that you can draw the kawaii characters. If you want to make stickers, you’ll need a printer and sticker sheets. I explain how to make stickers on Procreate here.
This course is perfect even if you don’t want to make stickers and just draw kawaii animals!
Use code STRAYCURLS-10 to get a 10% discount!
If you are just getting started with ProCreate, I highly recommend this course: Procreate for Beginners: Digital Illustration 101
You may also enjoy:
- How to draw a kawaii dog
- How to draw a cute chibi mushroom
- How to draw a kawaii cat
- How to draw a cute hamster
- How to draw a kawaii unicorn
- How to draw a cute mermaid cat
- How to draw a cute dinosaur
- How to draw a cute long neck dinosaur
- How to draw a chocolate bunny
- How to draw cute boba tea
- How to draw a cute succulent
- How to find your art style
- How to draw hanging plants

thank you
You’re most welcome!