If you’ve been following me for a while, you’ll know that I absolutely love drawing hair.
I even had a comic page on Instagram solely focused on drawing hair.
However, drawing hair can be really hard – and it took me some time to get the hang of it.
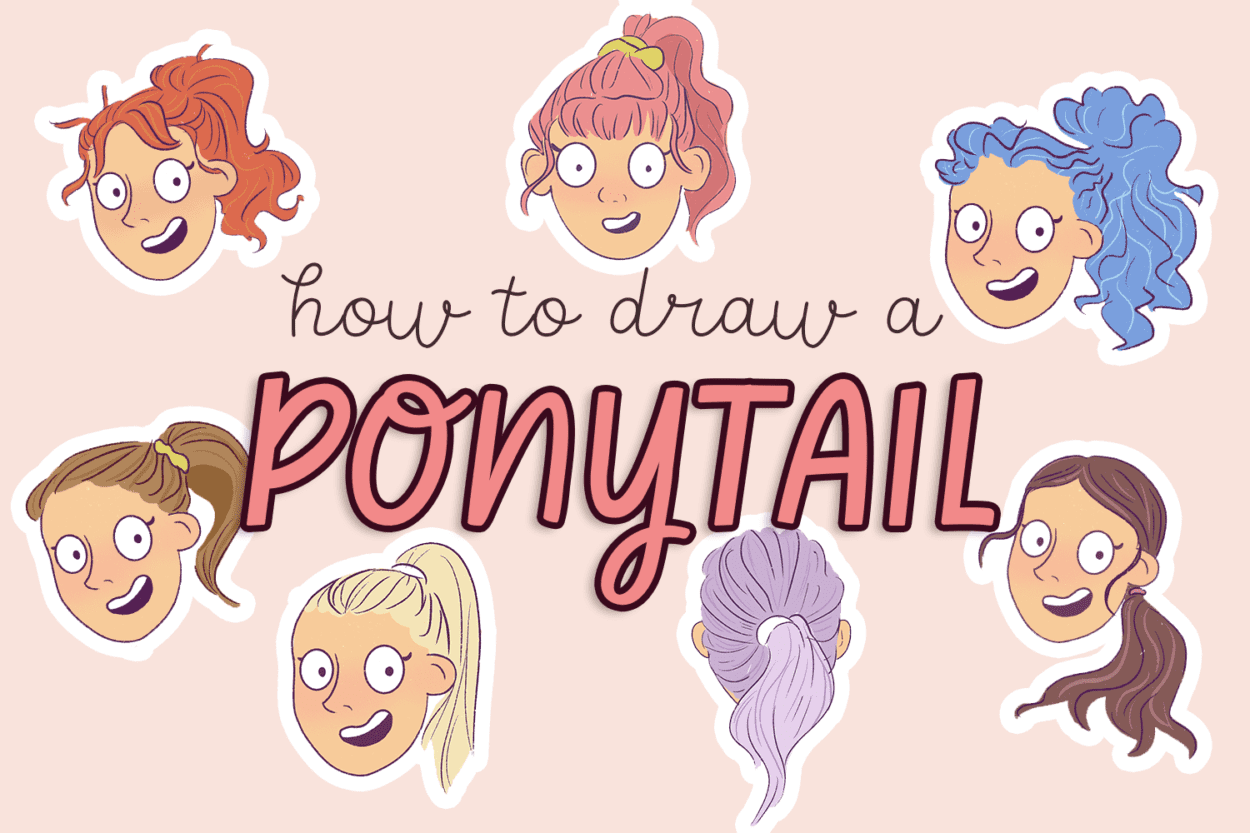
In this post, I’m going to break down how to draw a ponytail in a step-by-step way so that you can draw hair and ponytails quickly!
You can check out my other hair tutorials here.
It doesn’t matter if you’re a kid or an adult beginner, the steps are extremely easy to follow, and as long as you follow the tutorial step by step, you should have no difficulty following it.
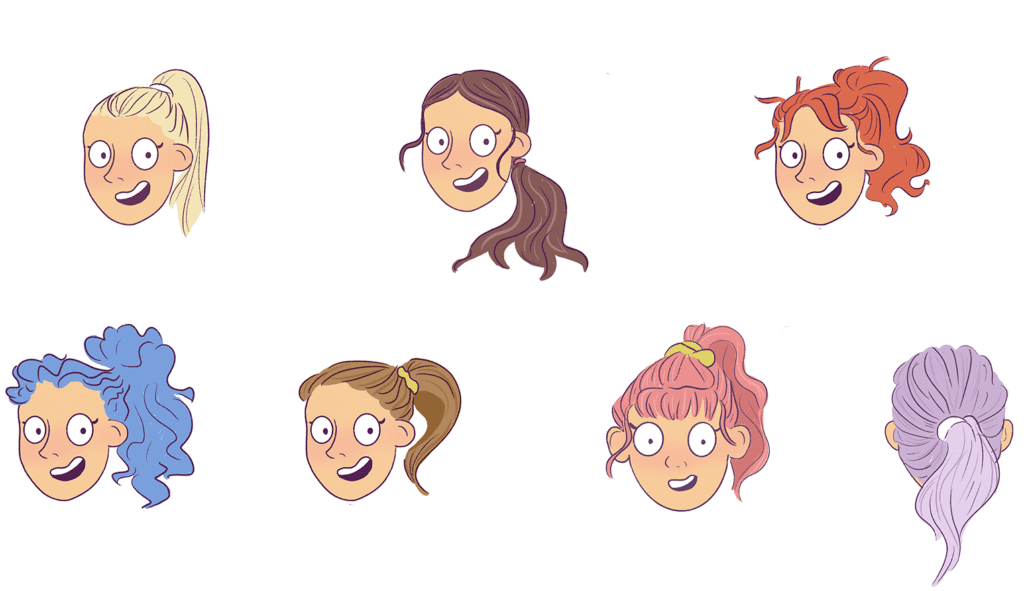
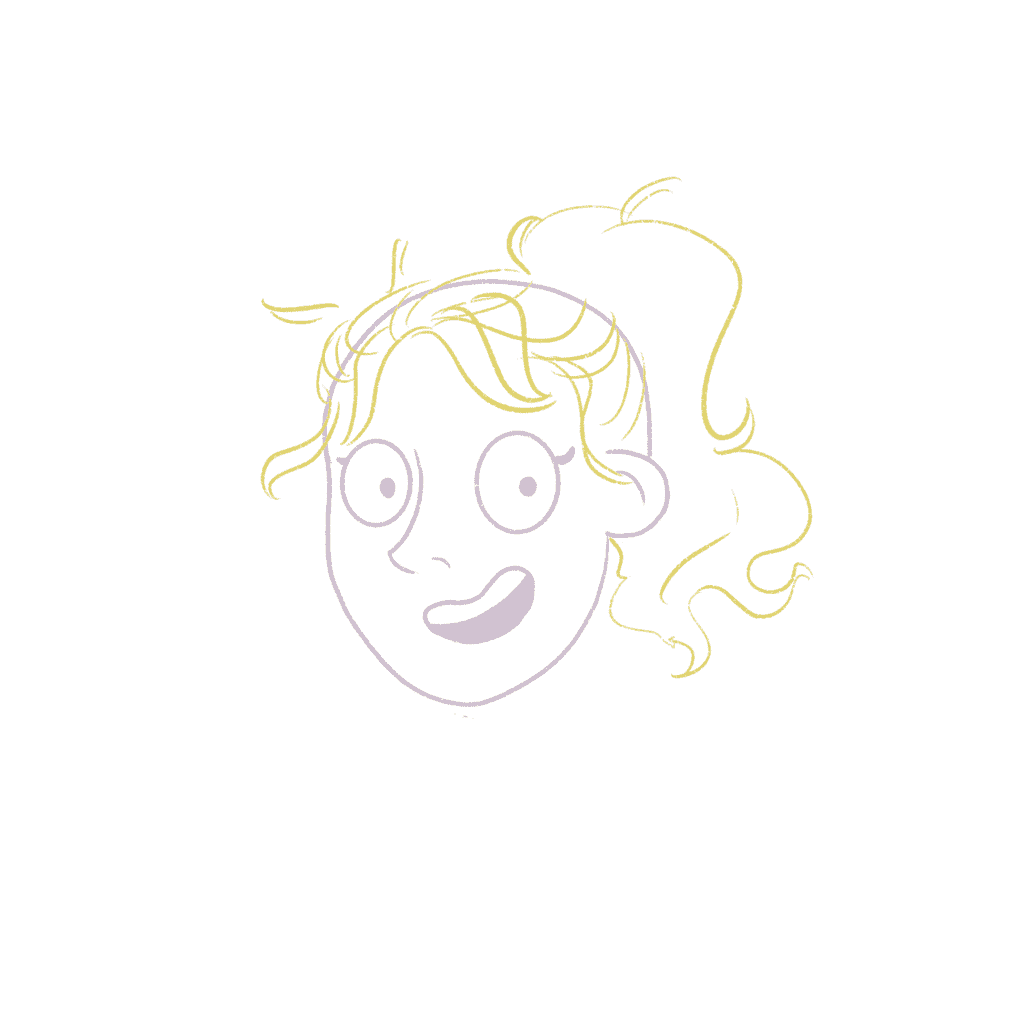
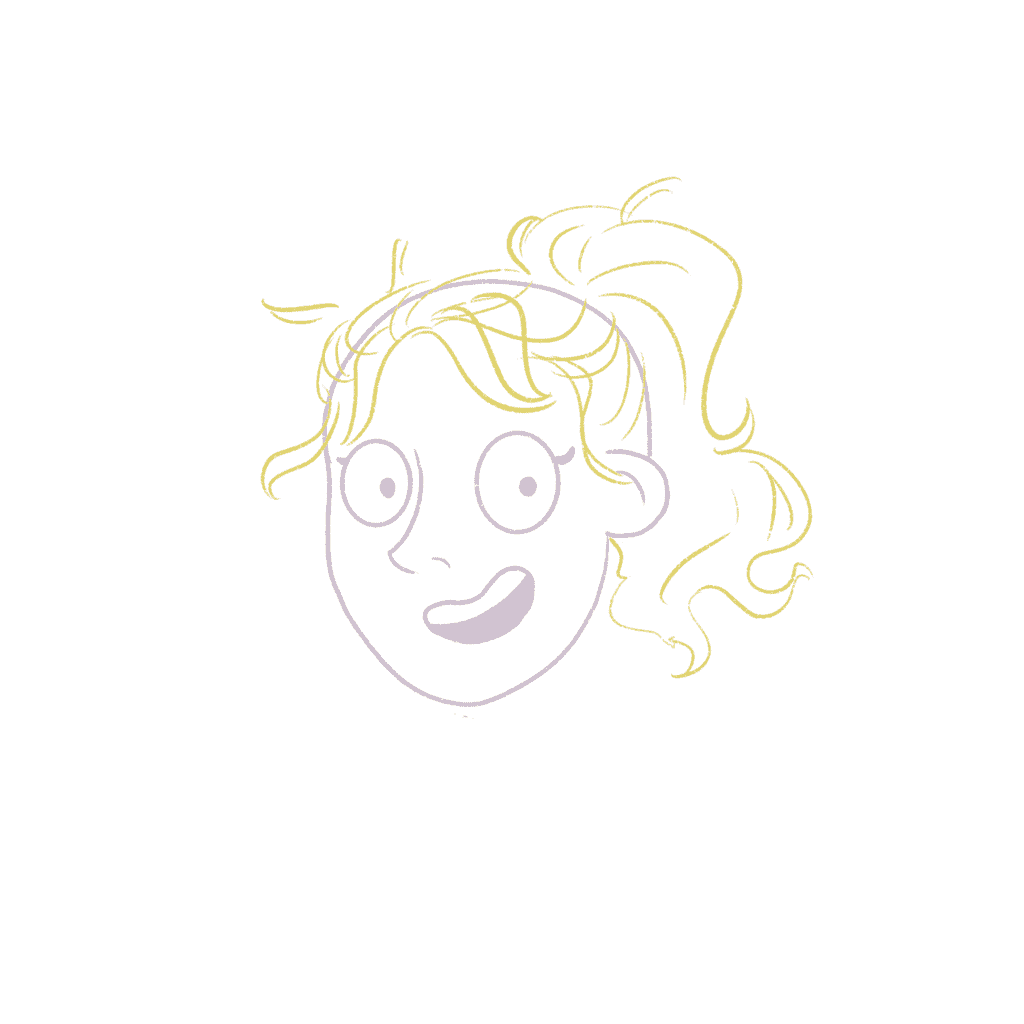
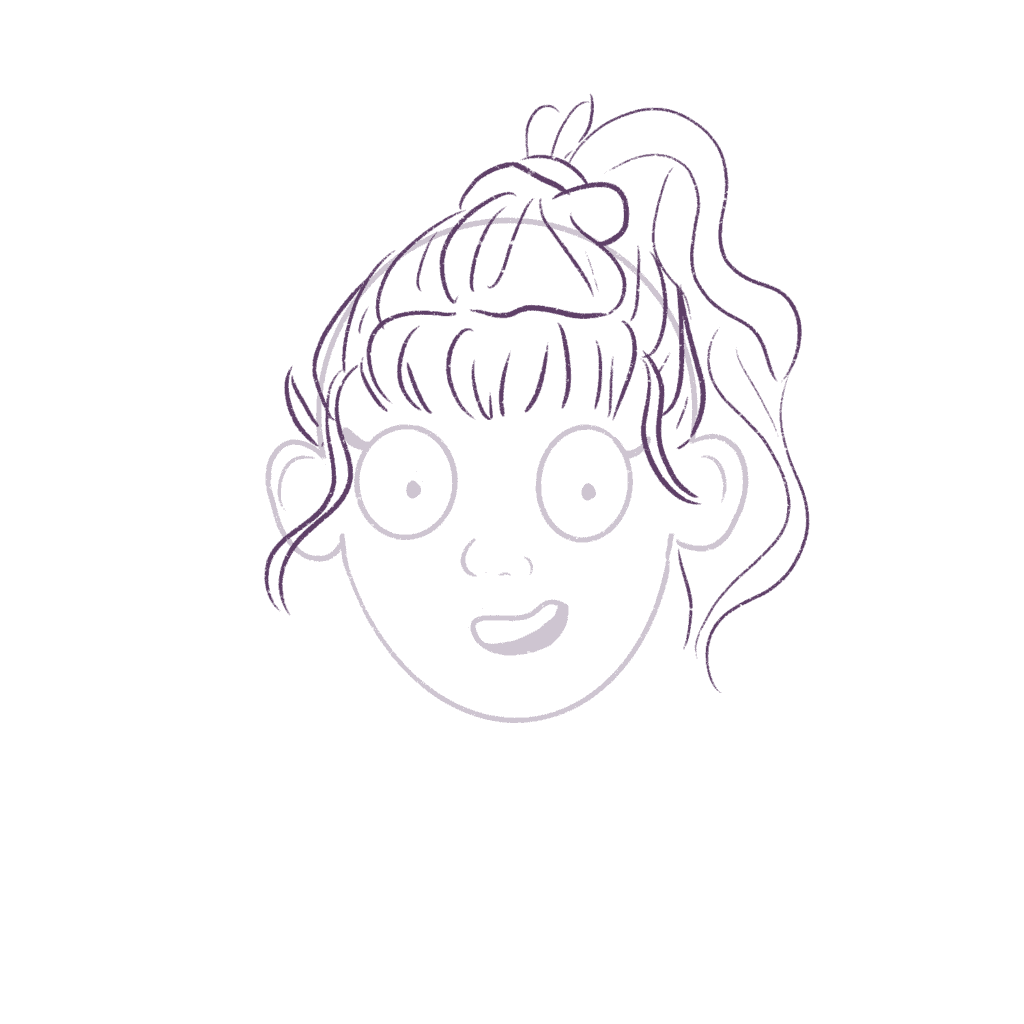
These are all the types of ponytails we’ll be drawing today – including drawing the ponytail at different angles.
This post includes affiliate links. If you do decide to purchase something, I will make a commission at no extra cost to you. For more information, please read my entire Privacy Policy here.
I am using an iPad Pro and an Apple Pencil to create all my illustrations. But you can use any tool – a pen and paper or Photoshop because the drawing method remains the same.
I’m going to cover multiple types of ponytails and even cover 2 different angles – including how to draw a ponytail from the front and how to draw a ponytail from the back, so feel free to skip to a section that you are most interested in.
Table of Contents
How to draw a ponytail – An easy guide for beginners
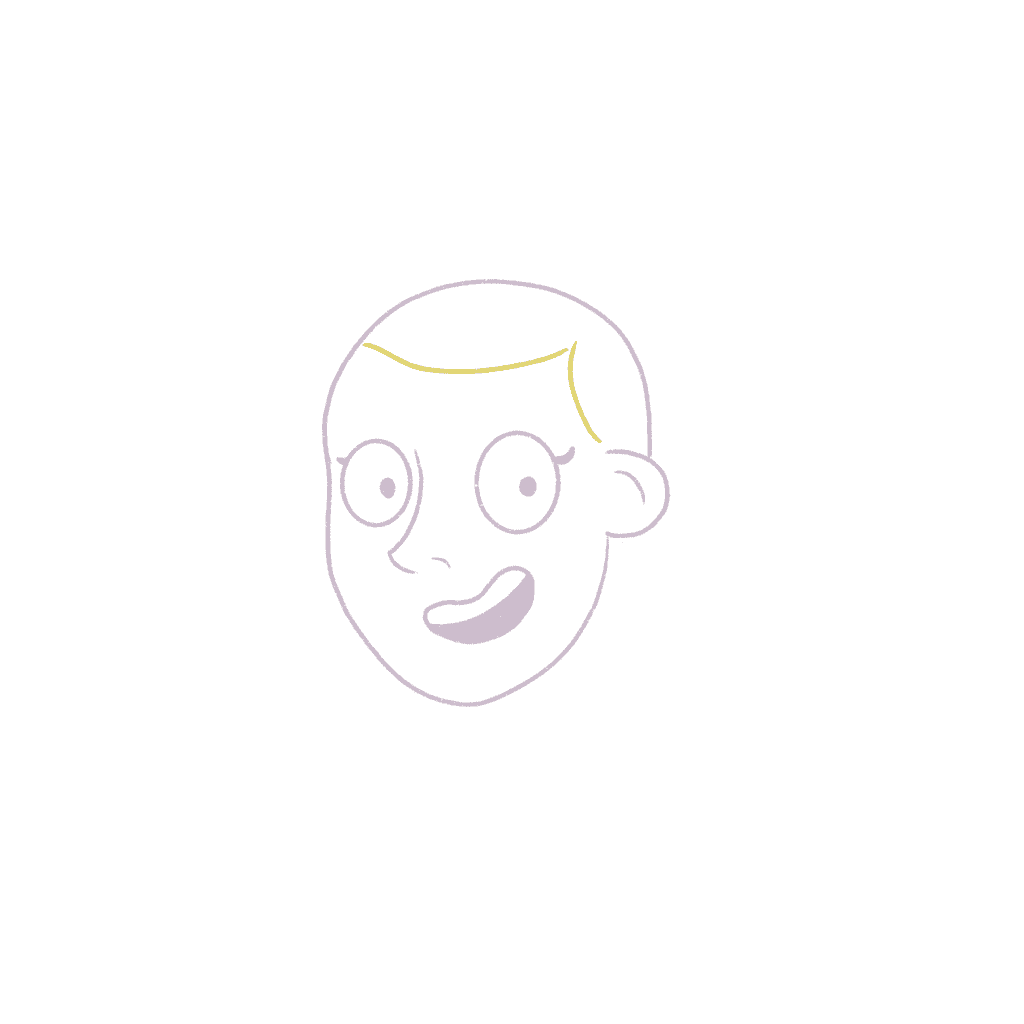
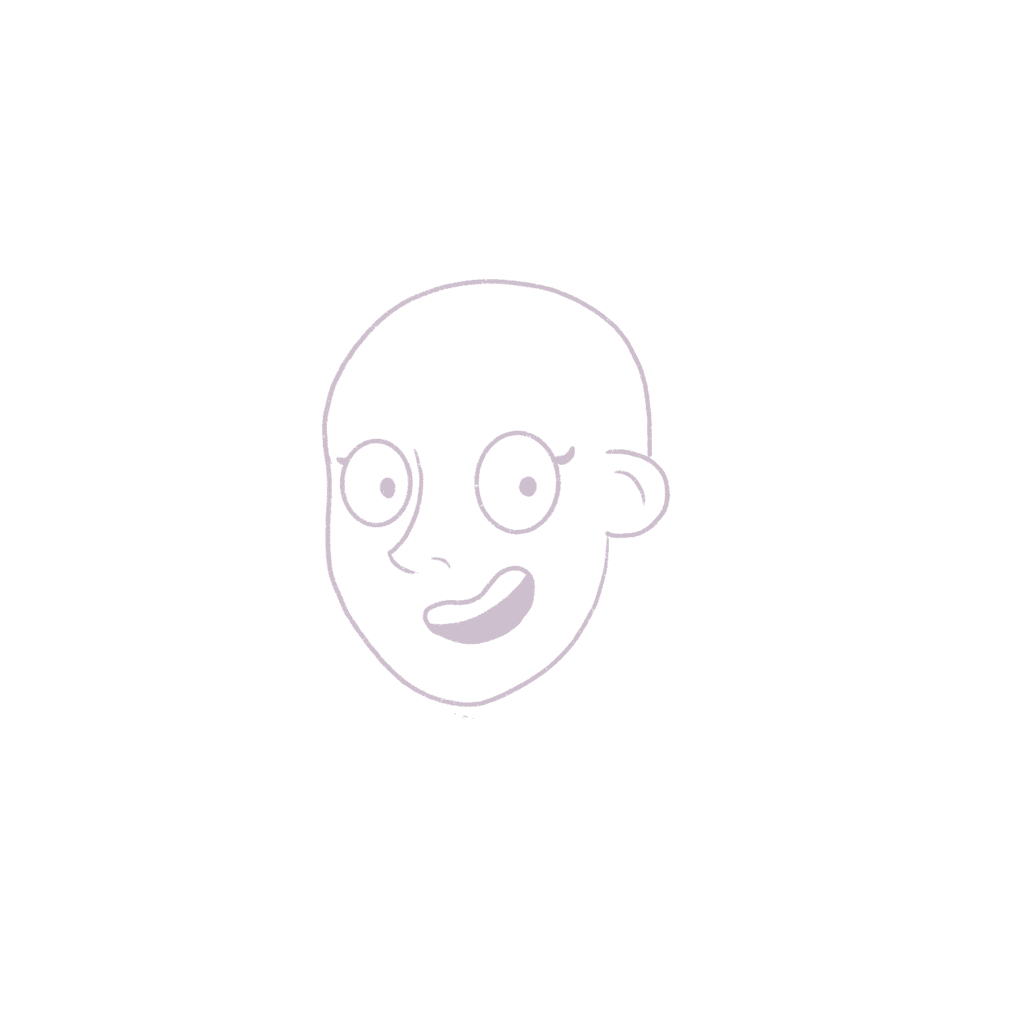
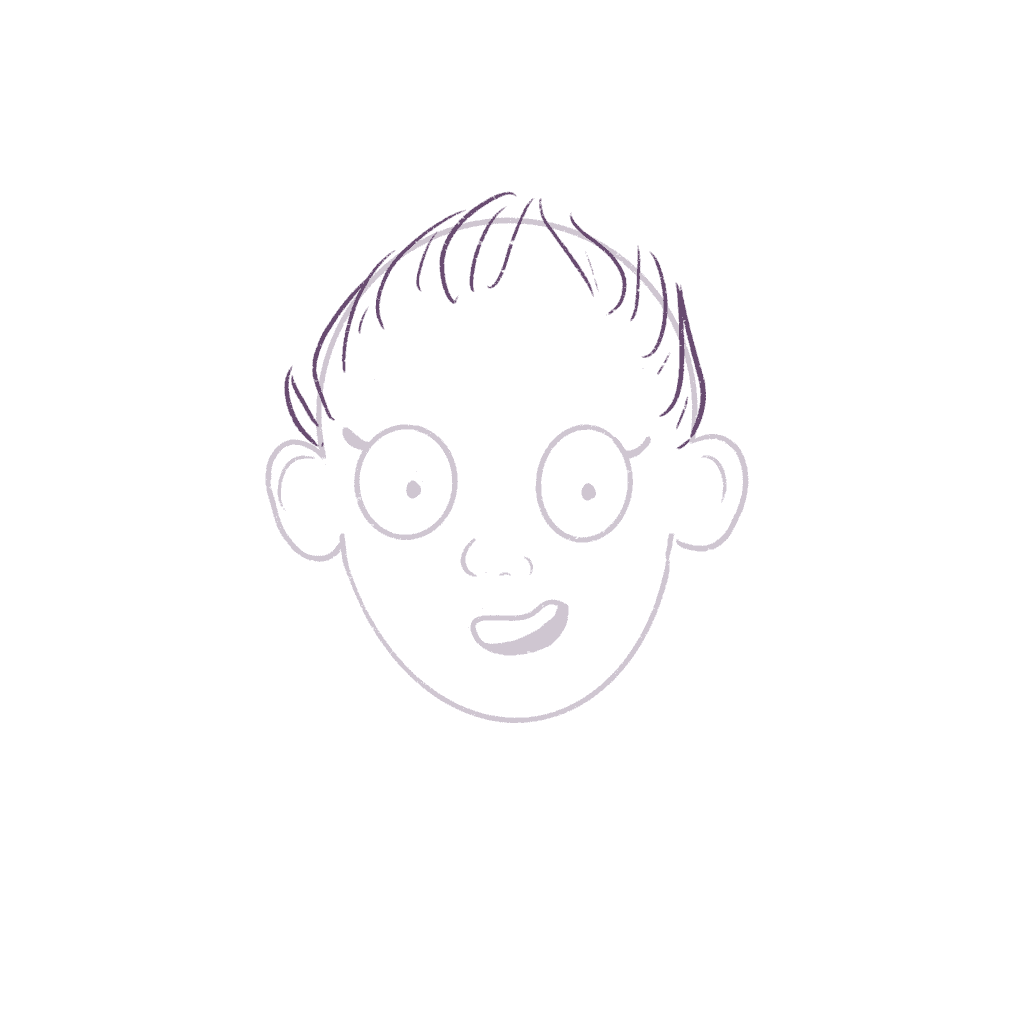
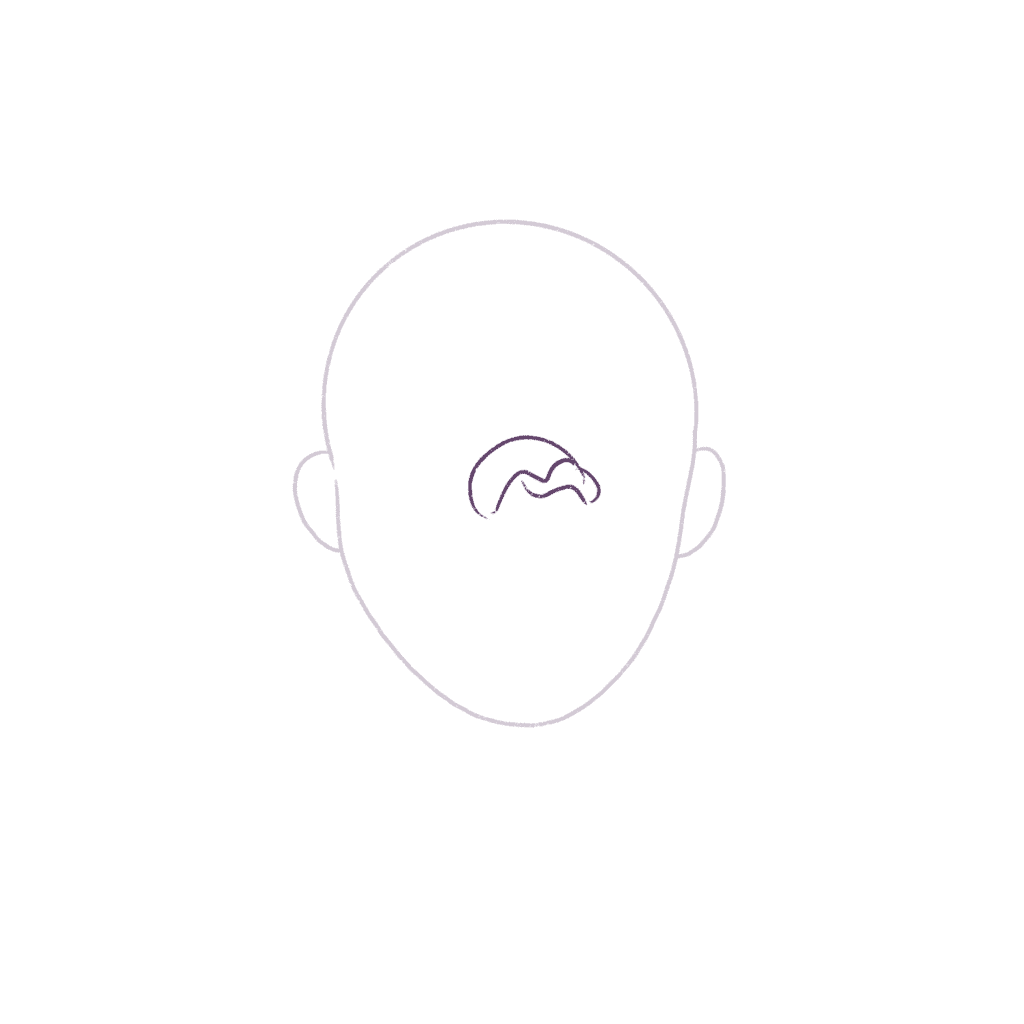
Before anything else, let’s begin by drawing the head. We can’t have hair without a head now, can we?
Let’s just draw a simple head shape.
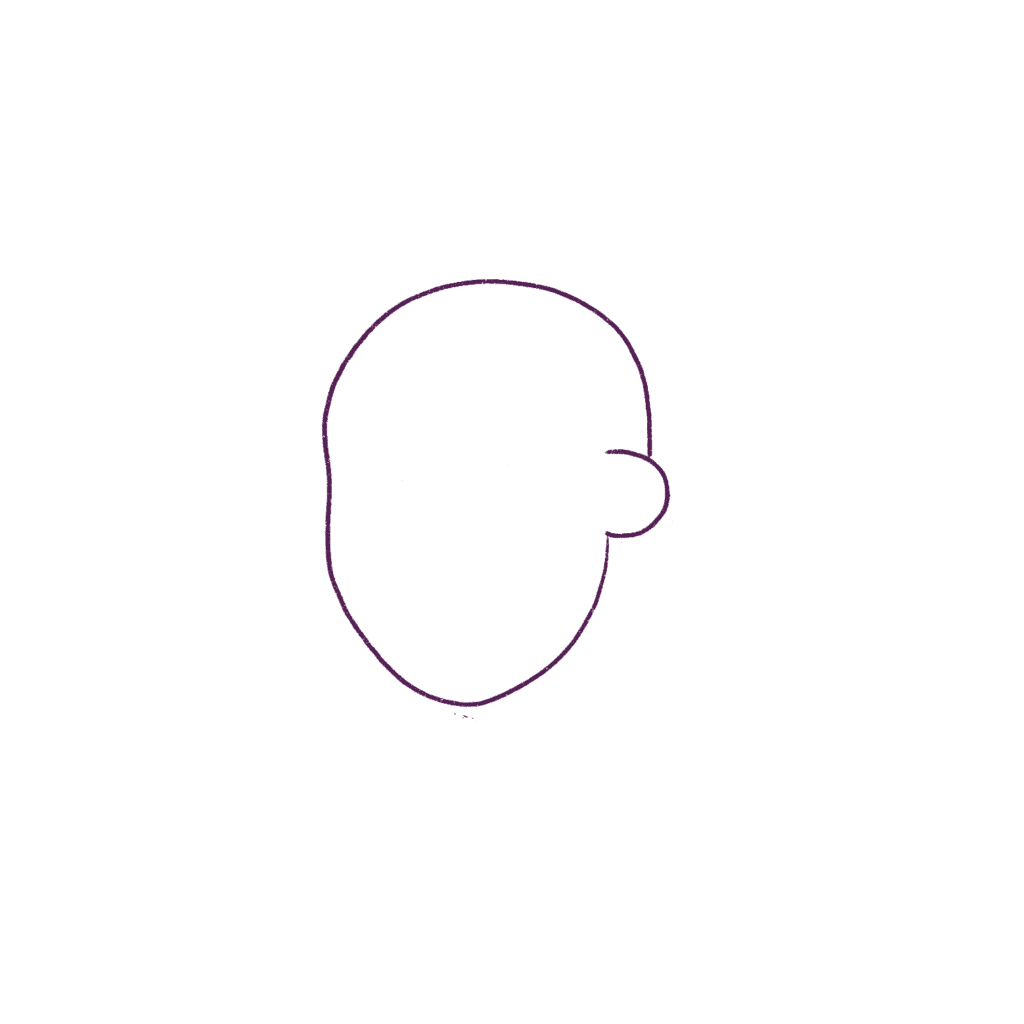
I’m drawing the head in a cartoon style of course. You can draw any shape you feel comfortable with but I highly suggest you pick up this book if you’re looking for a good book to teach you to draw in cartoon style.
Now, let’s draw the features on the face. I’m going to draw just the eyes, nose, and mouth.
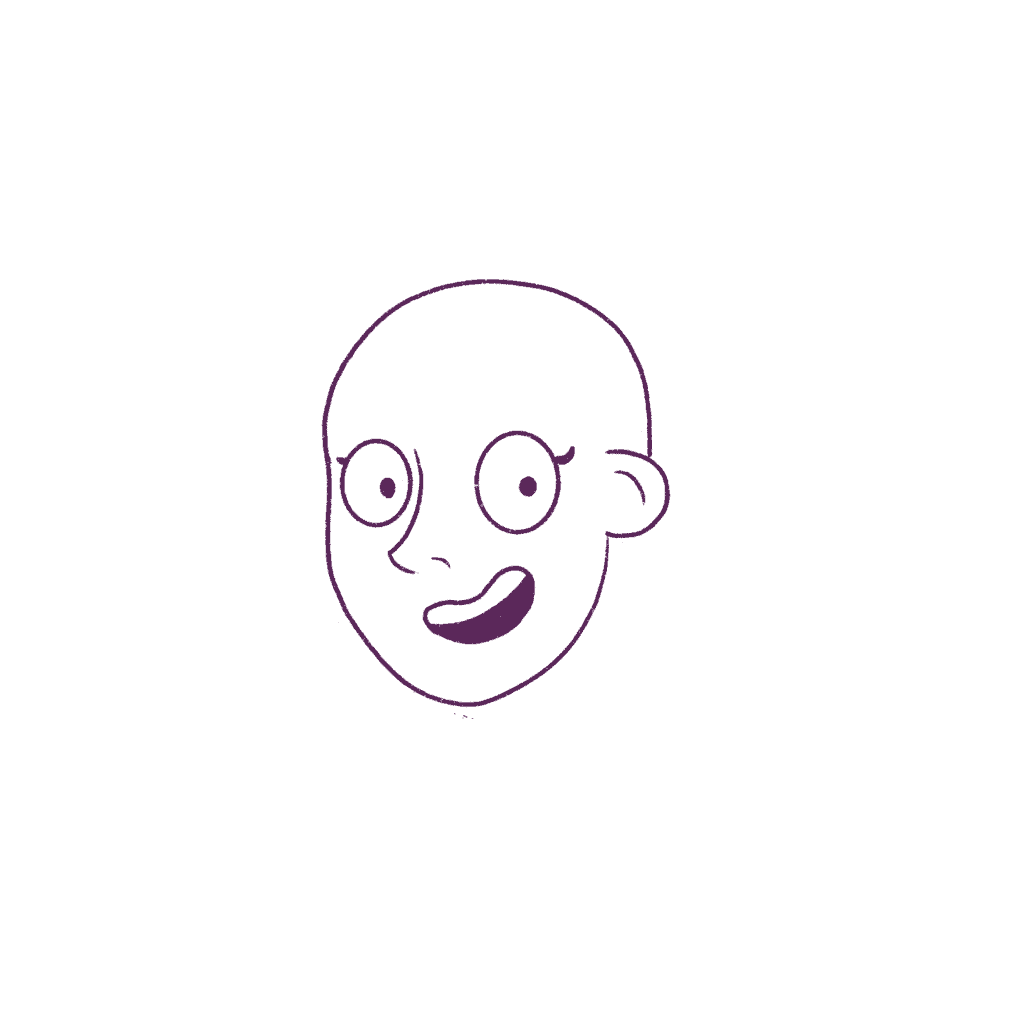
Ah, the face looks great. Now, let’s move on to drawing a ponytail.
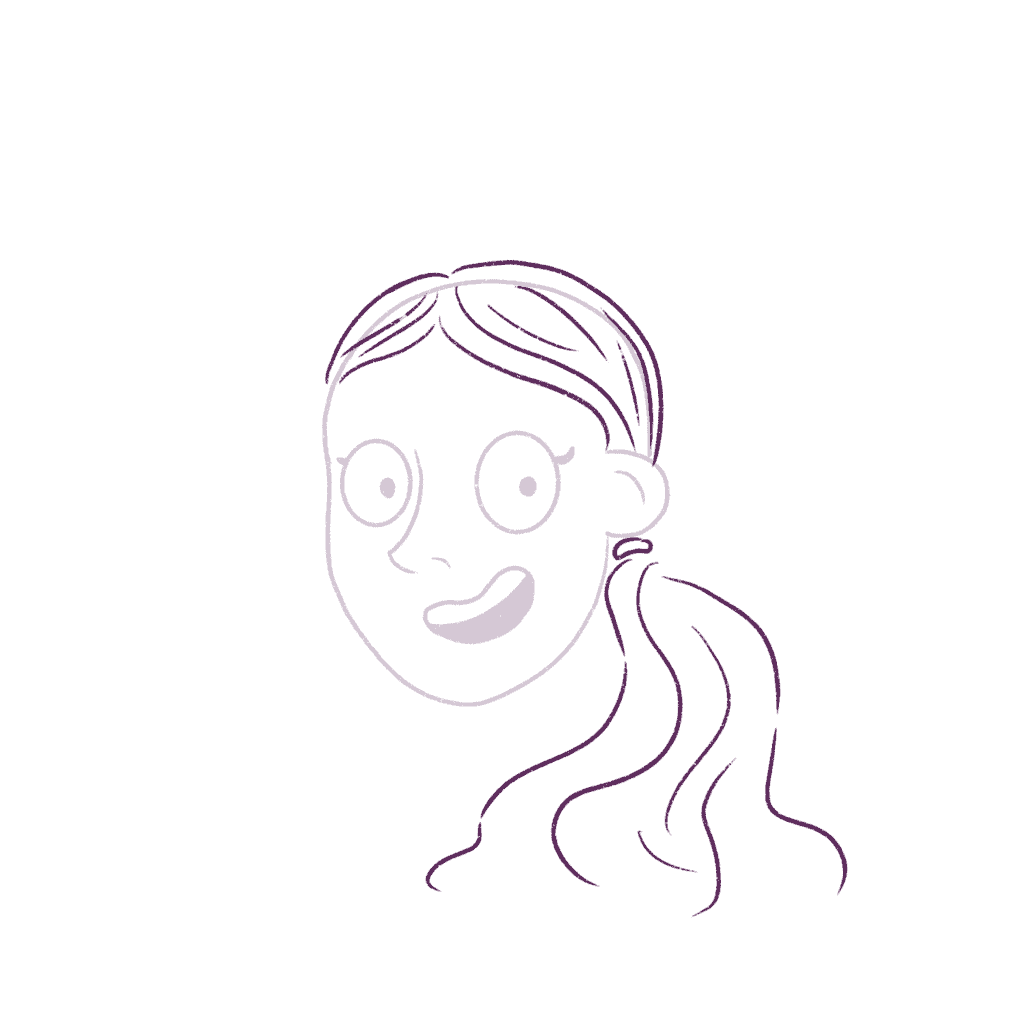
1. How to draw a slick back ponytail
A slick back ponytail is basically a very tight ponytail, in which you draw your hair tightly into a neat, high ponytail in the back.
The hair appears to stick to the head and gives you a very fashionable and chic look and it’s sported by runway models.
Let’s learn how to do this!
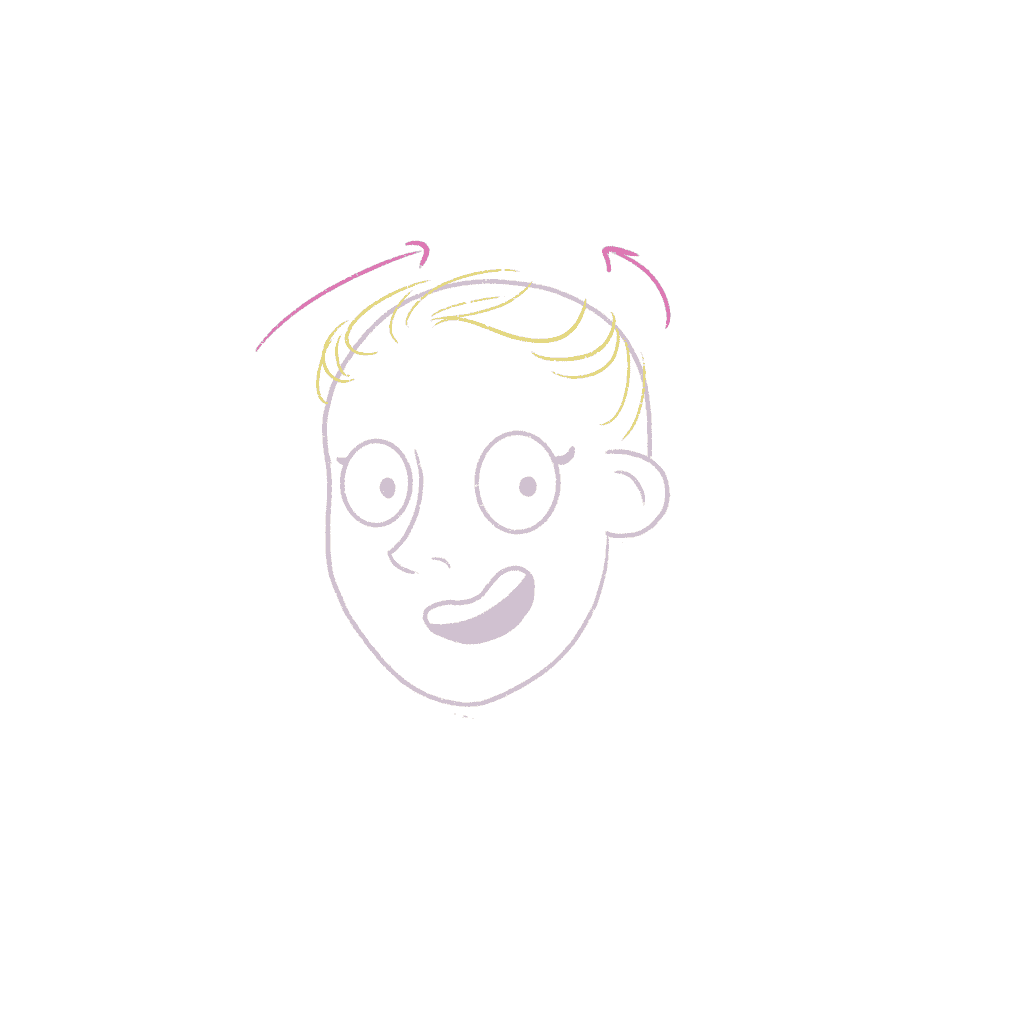
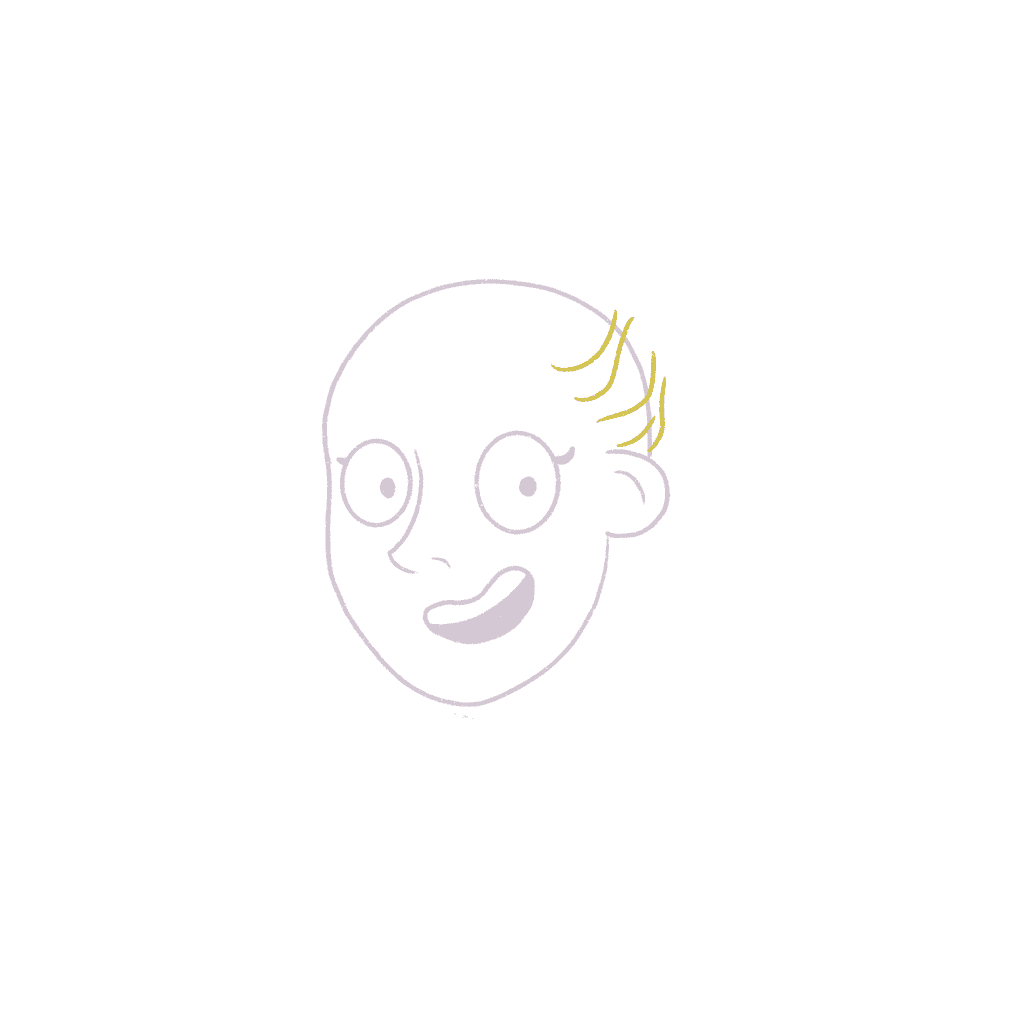
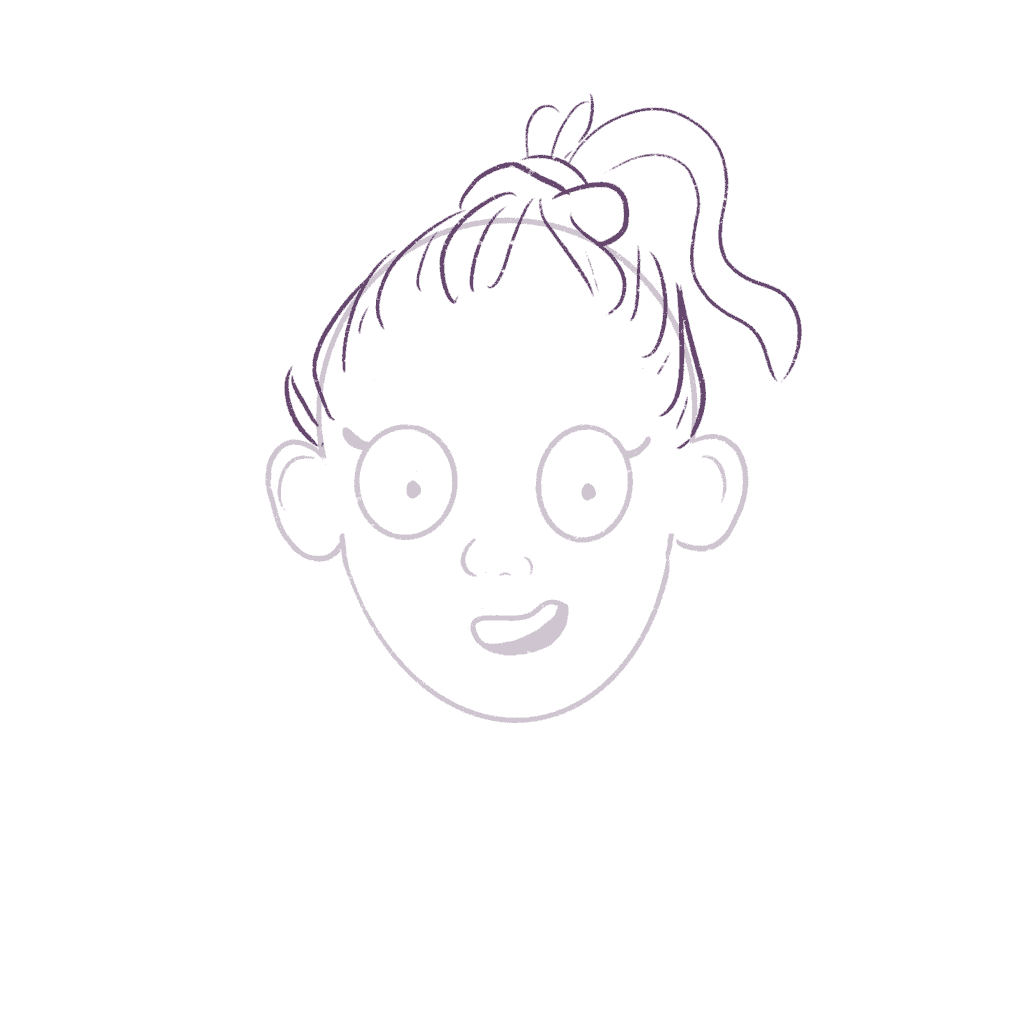
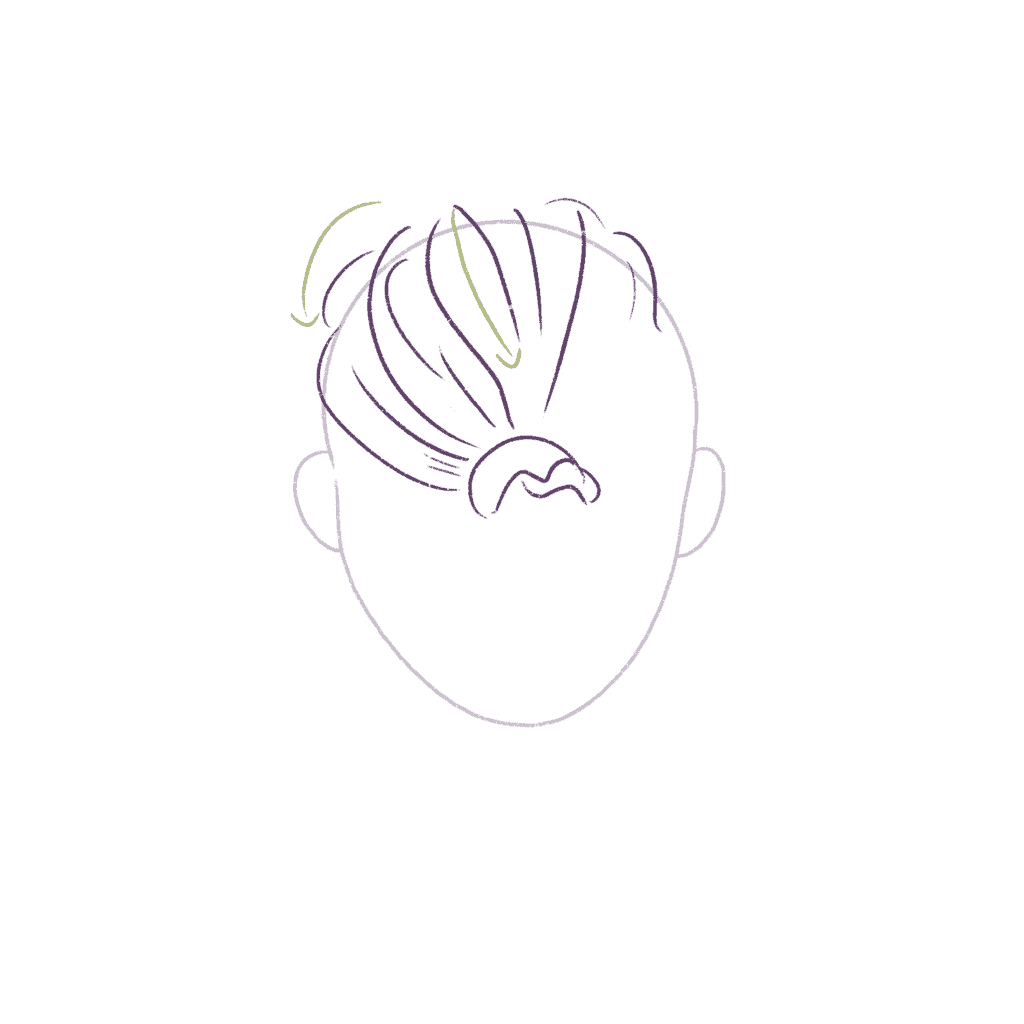
I’m going to start by drawing the hairline first so that it’s easy for me to draw the ponytail.
Then we slowly draw the strands, remember to draw the lines very close to the head because there is almost no gap between the hair and the scalp. We need to convey a tight ponytail!
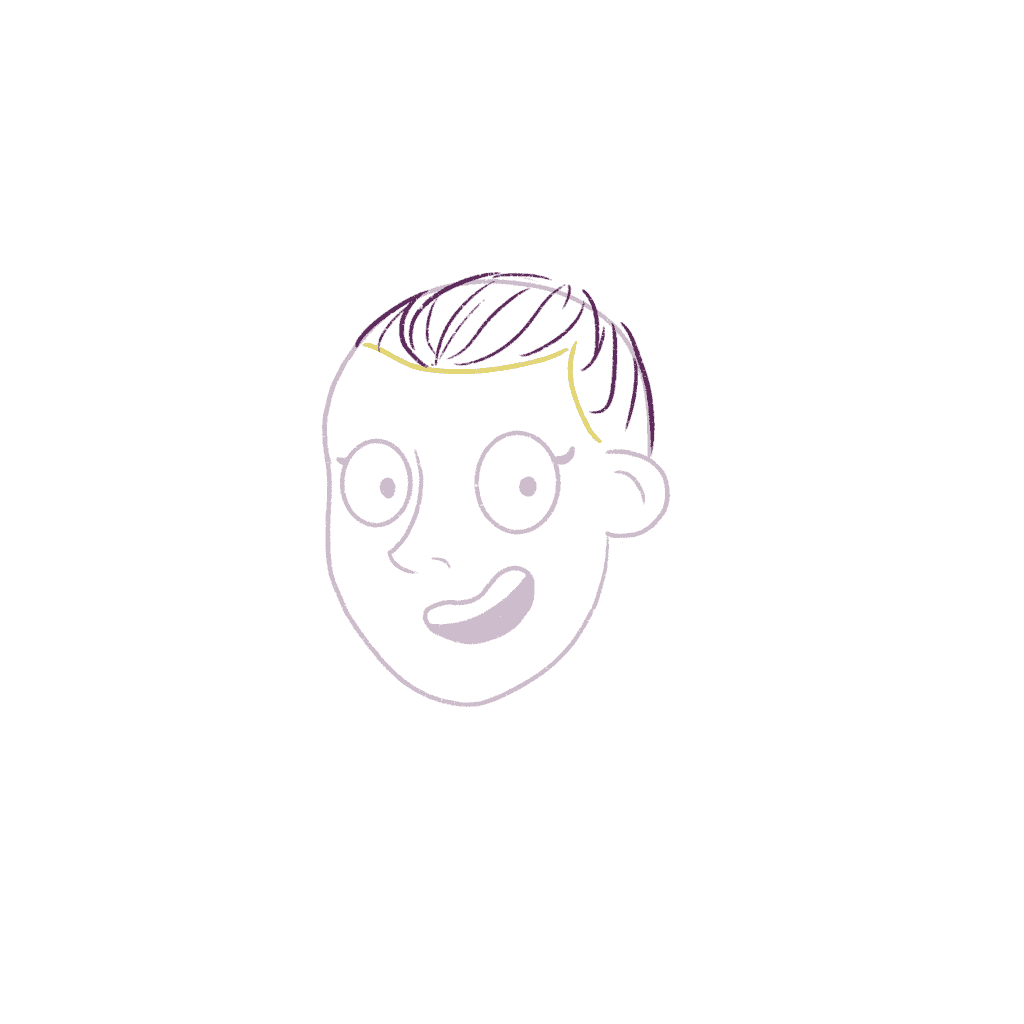
The lines need not be parallel but they need to move in the direction of the hair growth. Thicken the lines as you grow closer to the ponytail or the top of the head.
Quick lines work best, but if you’re unable to do this, don’t worry… you’ll get better with practice!
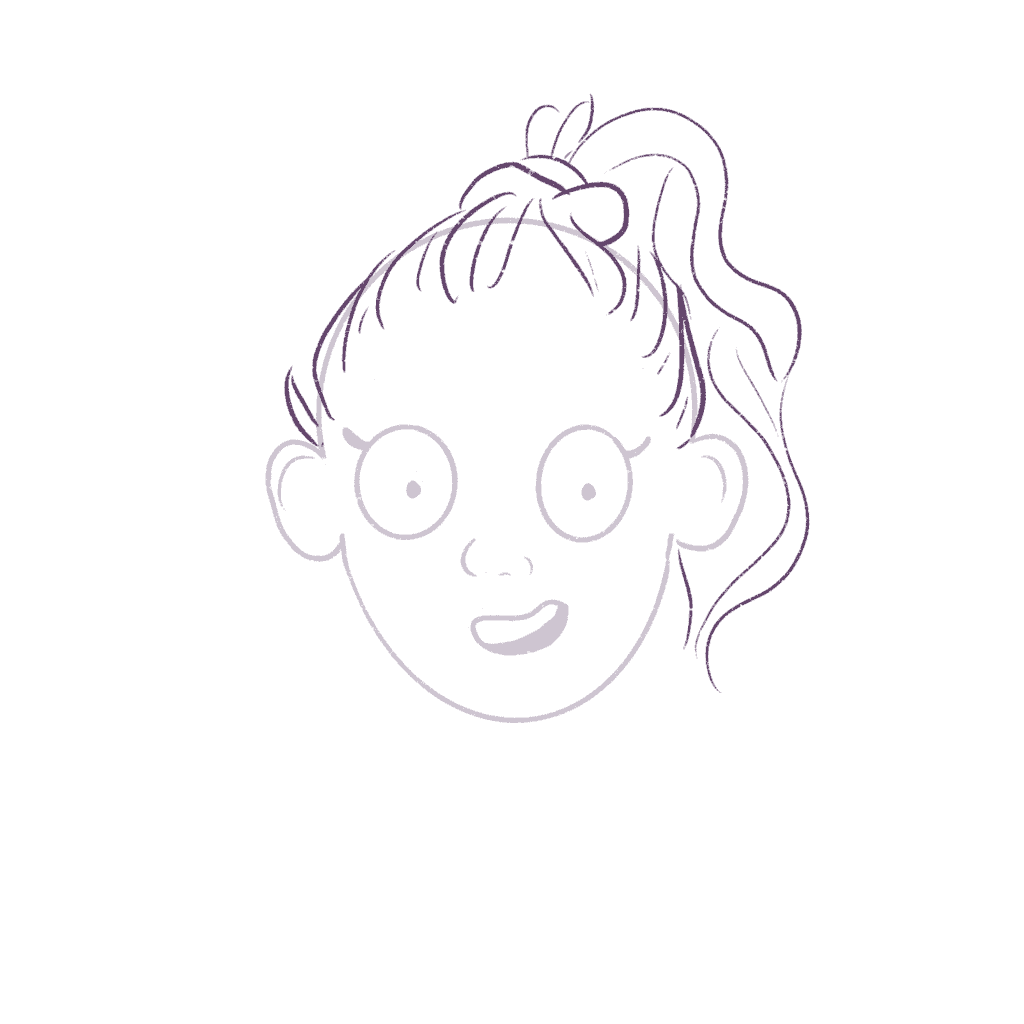
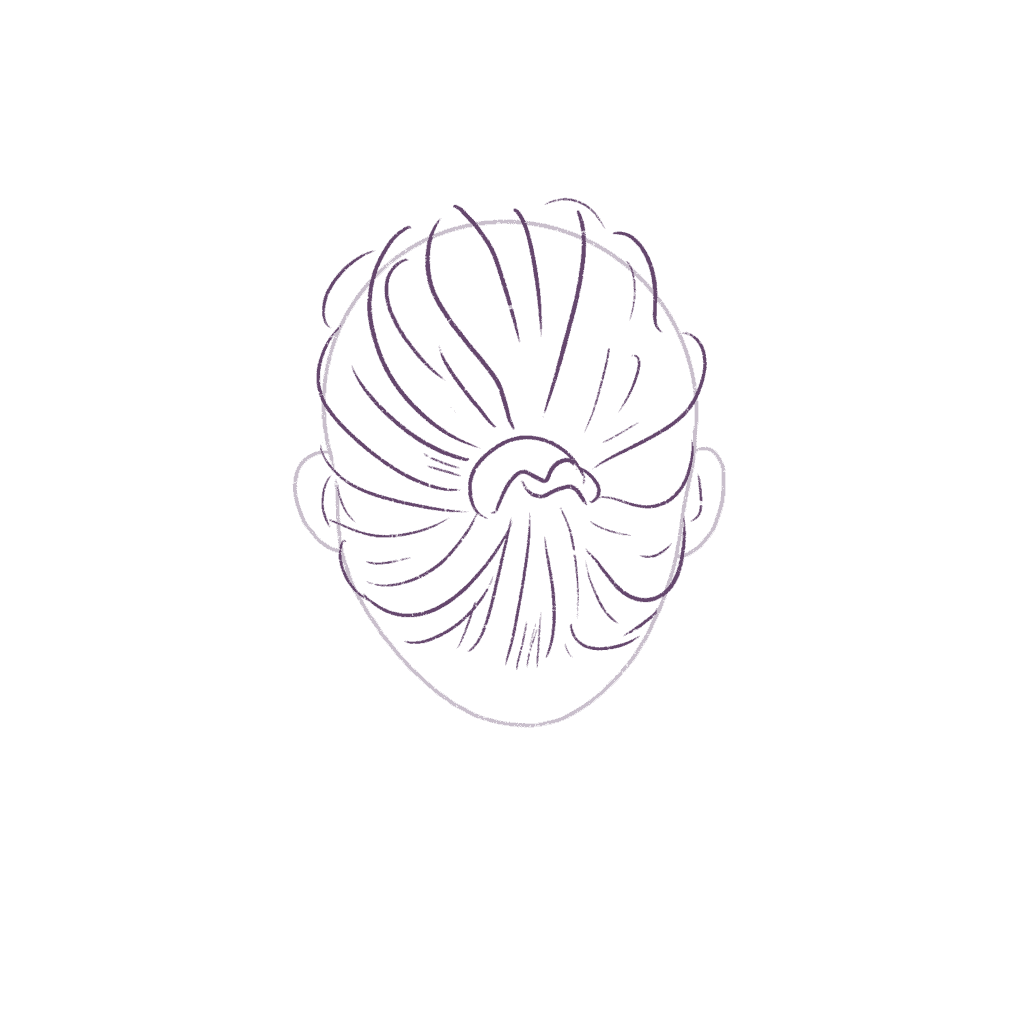
Now, draw a quick line from the top which becomes the ponytail.

The ponytail becomes limper towards the bottom so it loses its springiness.
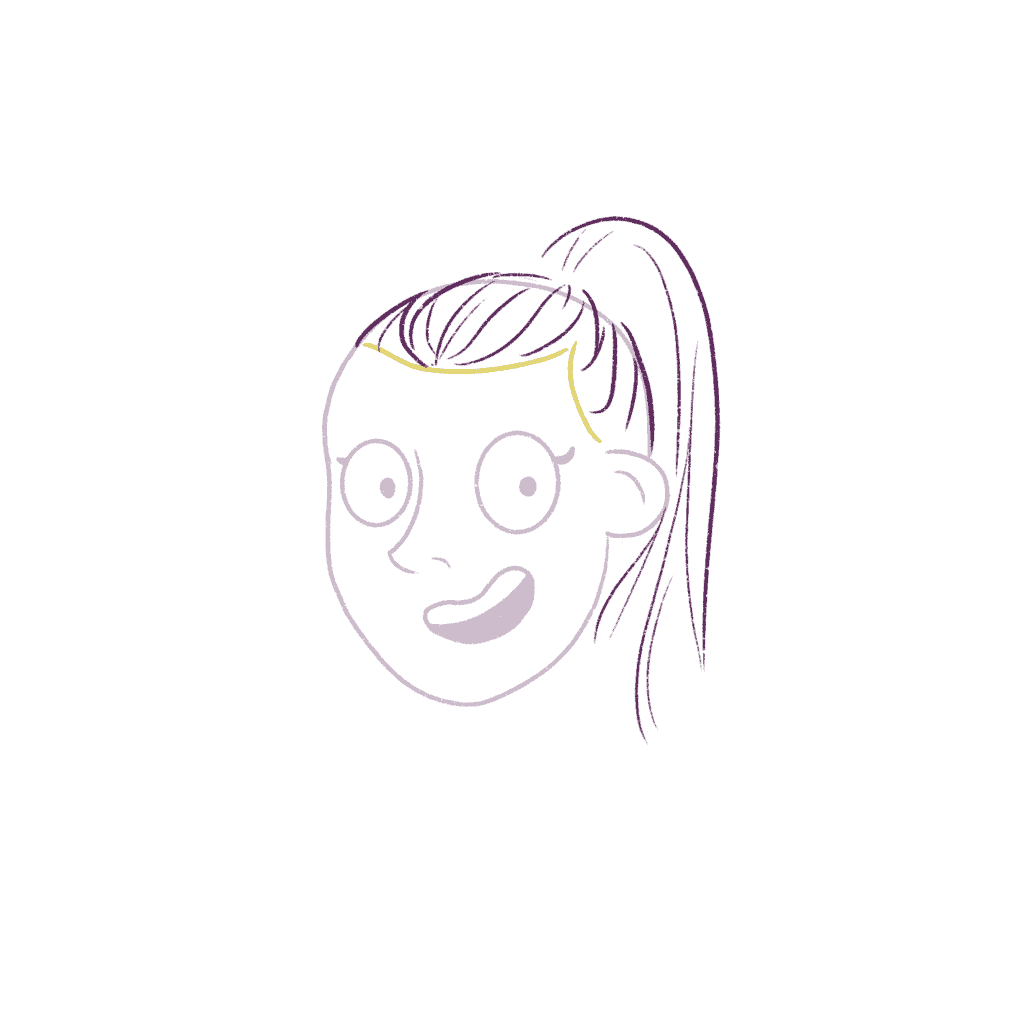
Draw some loose lines to indicate the strands in the ponytail. It’s okay to be messy. Again, don’t draw parallel lines.
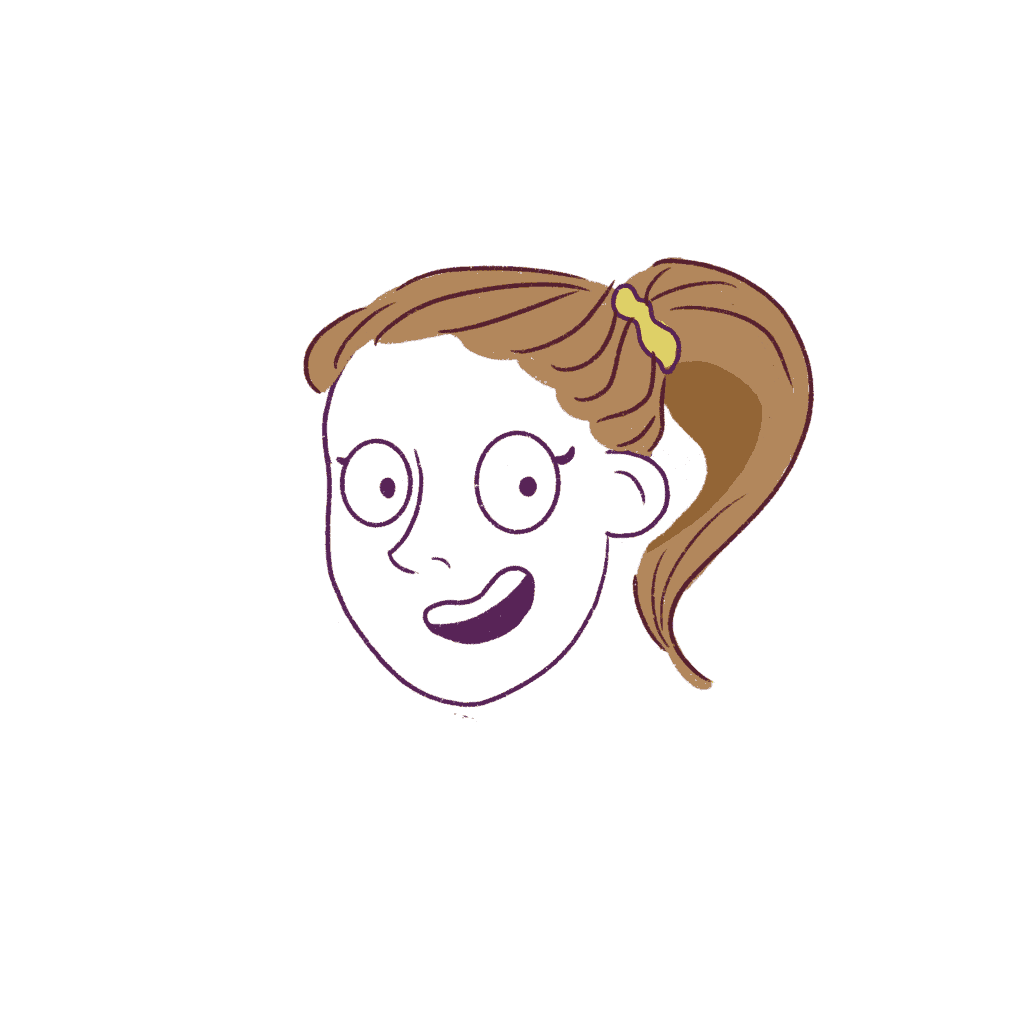
Now, draw the hairband that looks like the hair is fastened at the top.

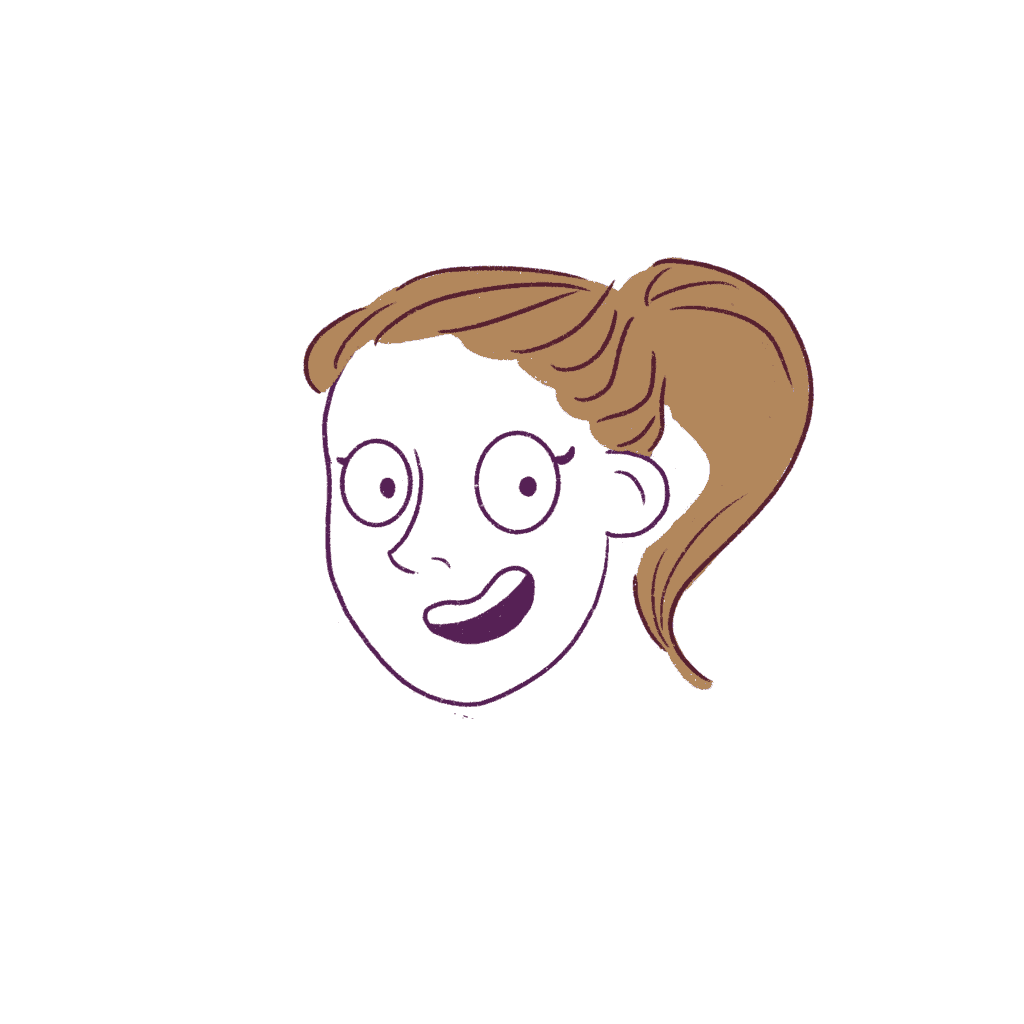
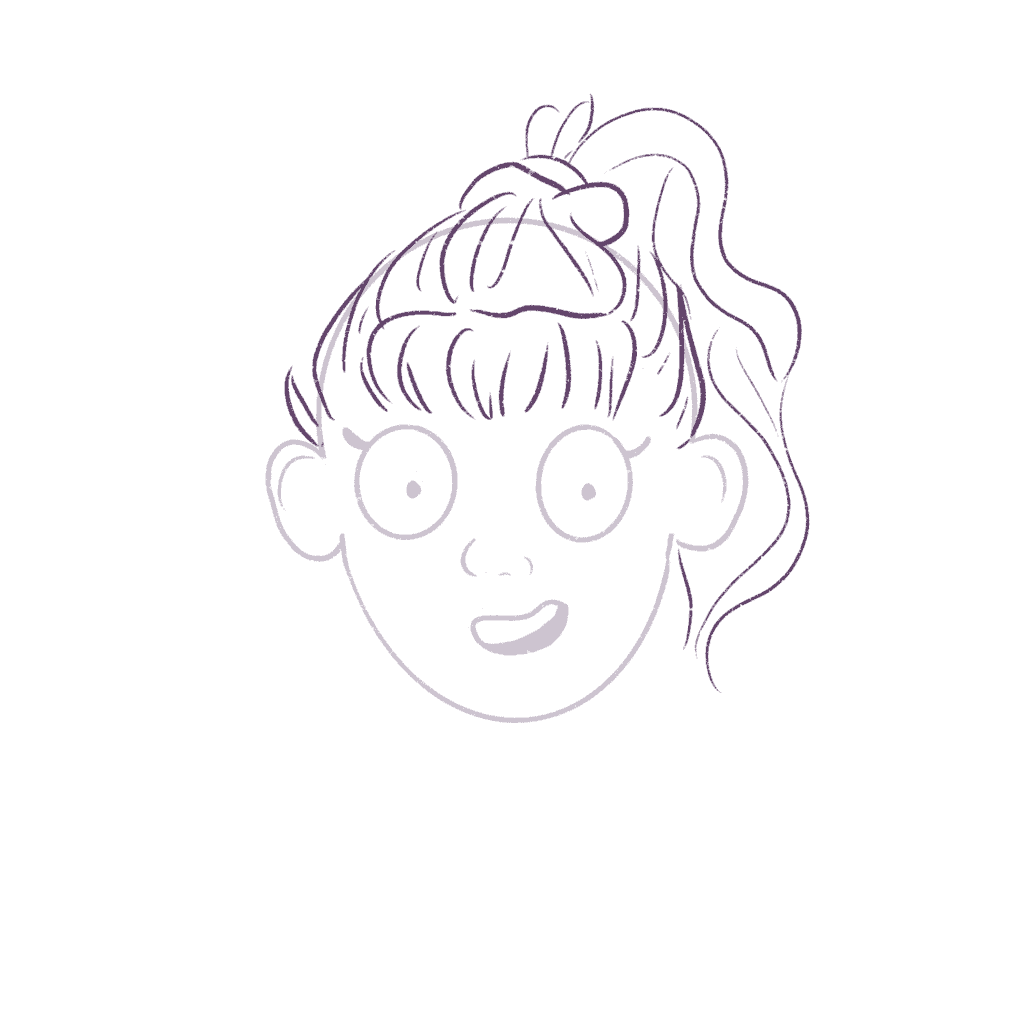
Now, let’s edit the hairline to make it look more natural. Remember, no one’s hairline is perfect.

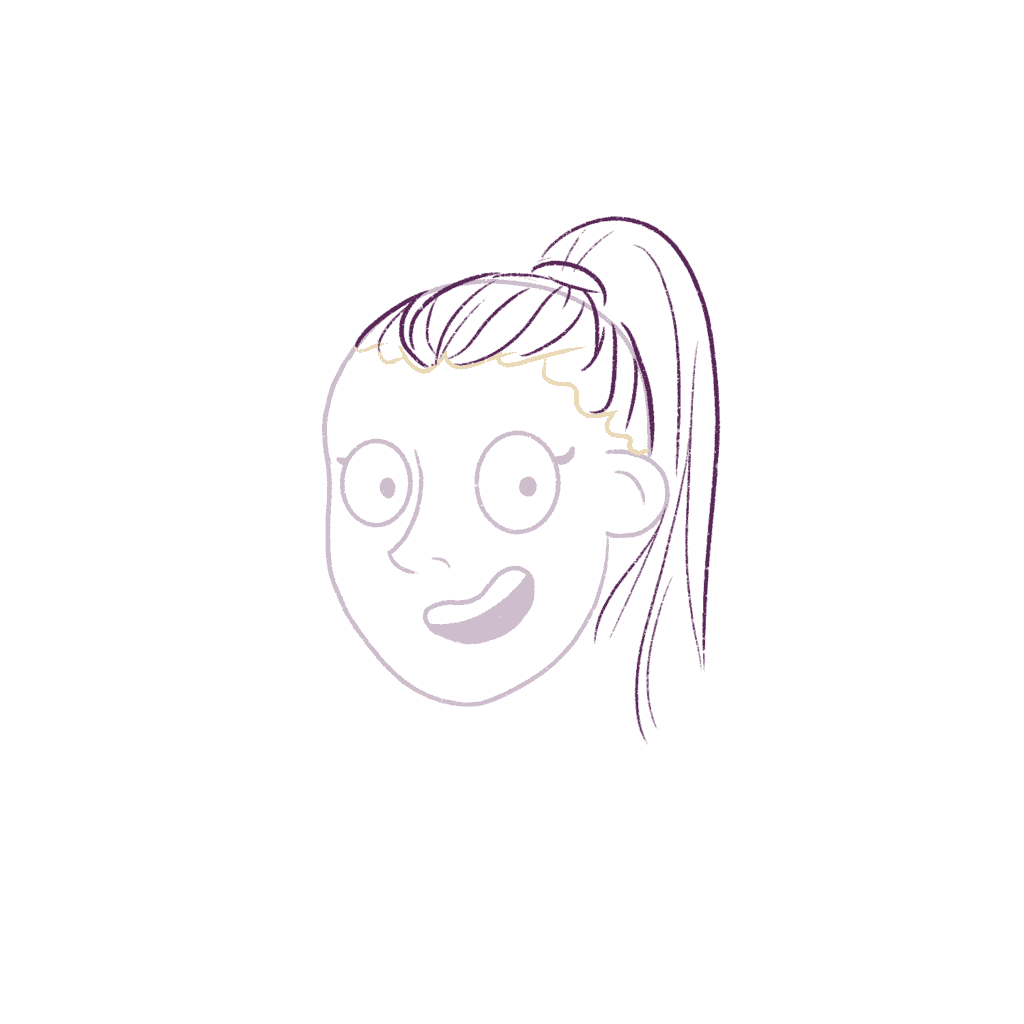
Doesn’t it look more natural?
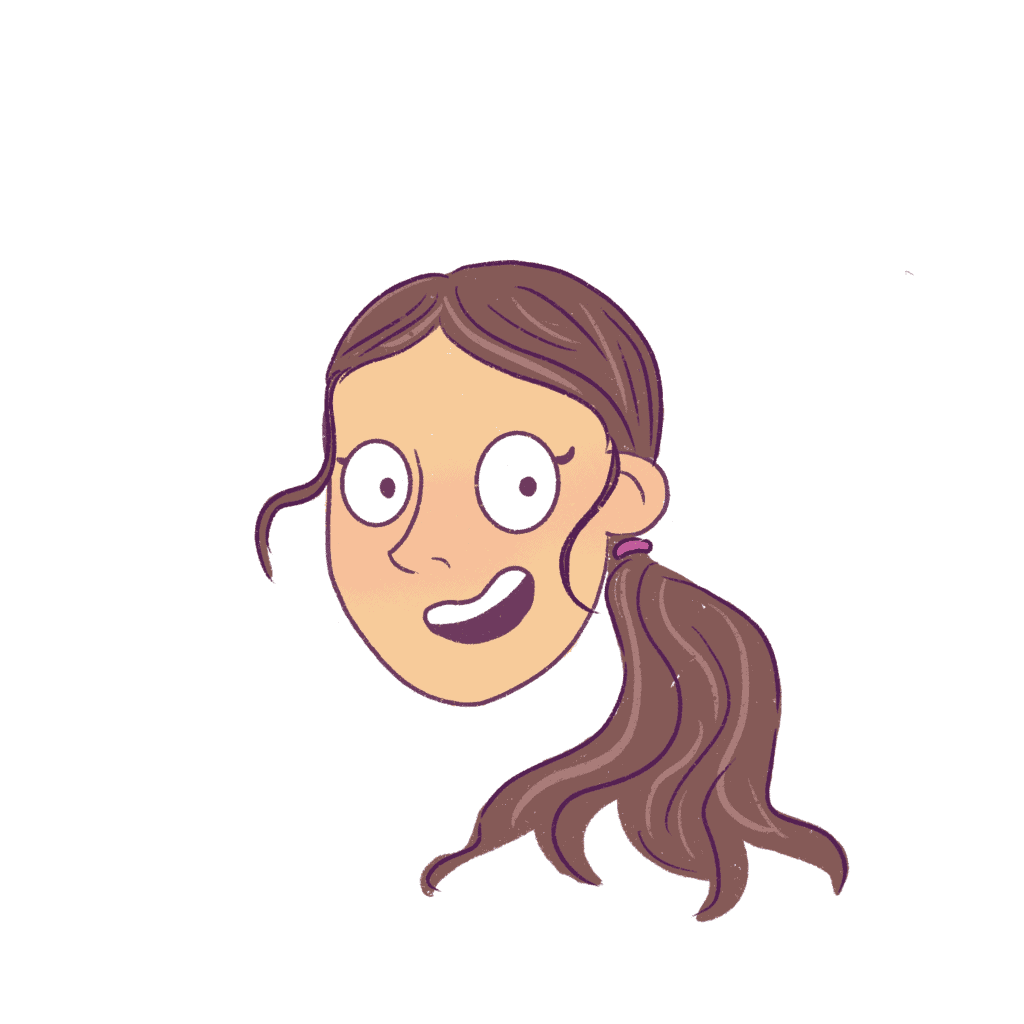
Let’s add the base colors to the illustration with the ponytail. I’m going to color the ponytail a nice light blonde to give her an exotic look!
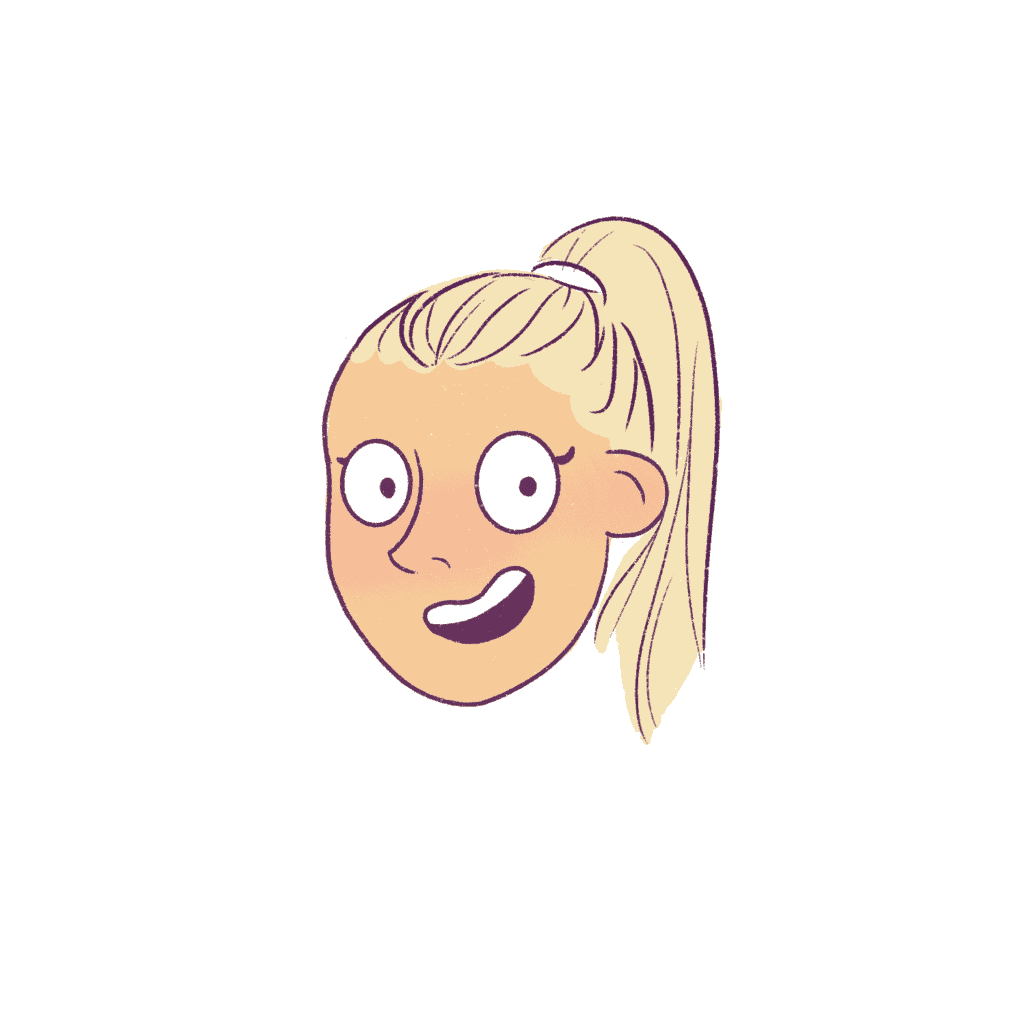
And once that’s done, let’s color the hairband. I’m going to go with turquoise.
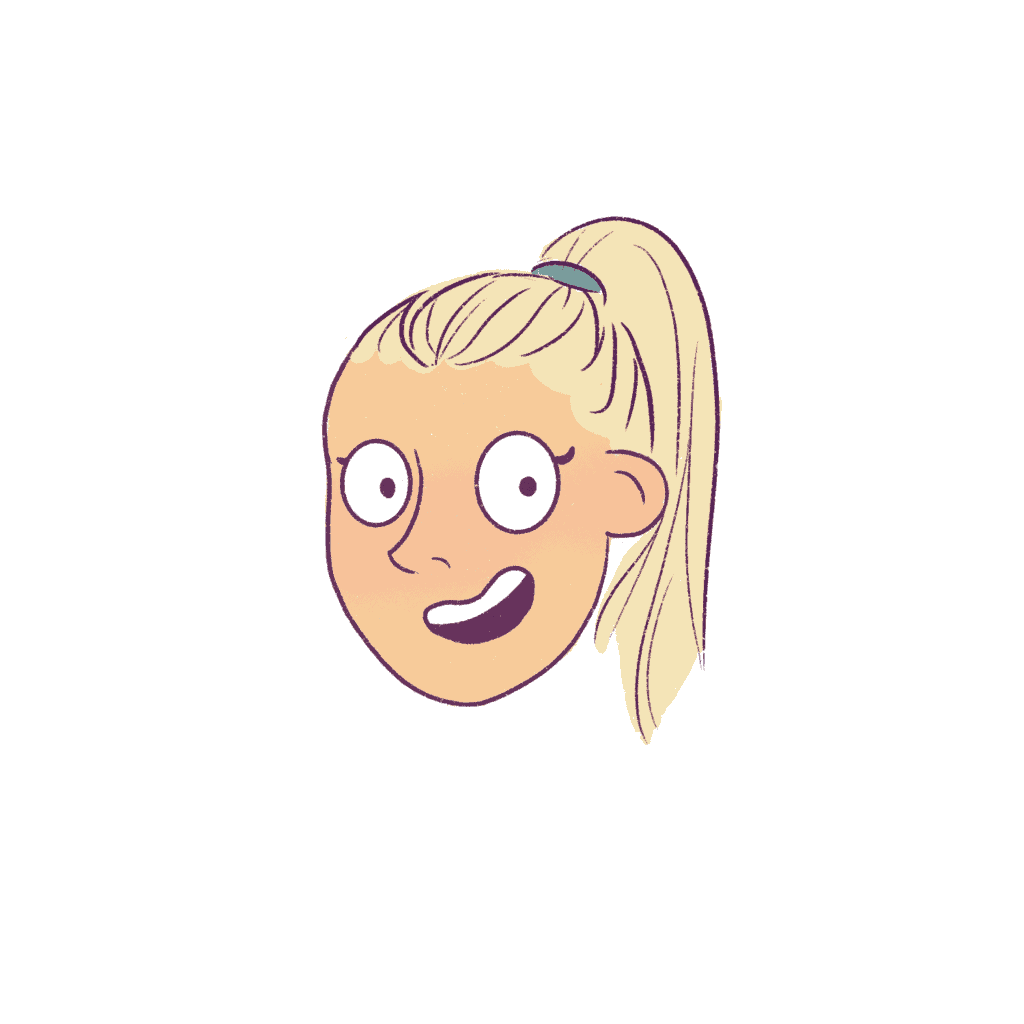
And voila! We’ve finished learning how to draw a slick back ponytail.
1. How to draw a high ponytail
A high ponytail is a ponytail at the top of the head. It can be tight or loose, it doesn’t matter.
Since we’ve already covered a tight, high ponytail in the previous drawing tutorial, let’s do something different! I’ll teach you how to draw a loose, high ponytail – maybe with wavy hair!
Okay, we begin with the head shape as usual.
If you’re having difficulty drawing head shapes, pick up these great character builder brushes from Procreate.
Okay, let’s begin the high ponytail by drawing loose strands in “S” shapes towards the back of the head.
Now because the hair is loose, it doesn’t need to be tight.
Remember to draw the strands in the direction of the hair growth.
Now, let’s draw the ponytail. I’m going to draw a wavy hair ponytail. Remember to keep the lines loose and fun.
Since it’s wavy, it’s more voluminous.

I’m going to add some bangs and stray hair to the high ponytail to make it look messy and more natural-looking.
Now, I’m going to add some strands to the high ponytail. Since you’re drawing wavy hair, make sure the lines are scattered. Draw some lines at the top of the ponytail and the bottom!
Now, let’s clean up some of the lines. I’m going to erase all overlapping lines to make the outline look more neat.

And now, let’s add the base color to the high ponytail illustration. I’m choosing copper-red to give her that raggedy Anne look.
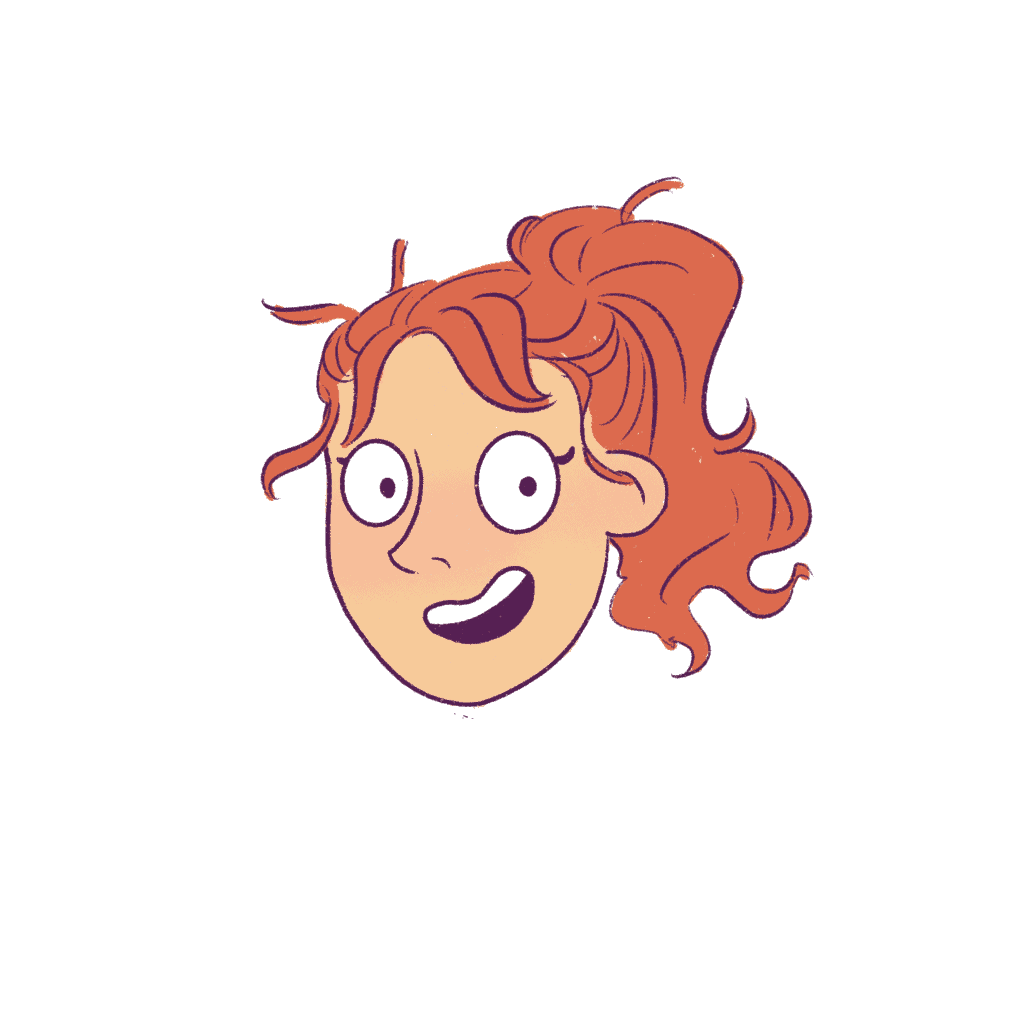
I’m going to add some strands to this illustration. When adding highlighted strands to hair, you can go for a lighter or darker color. I’m going to go with a lighter orange so that it stands out in the red hair.

And voila! We’ve learned how to draw a high ponytail!
3. How to draw a low ponytail
A low ponytail is a ponytail that’s somewhere near the neck at the bottom of the head.
It’s a common look on the red carpet and people often wear a low ponytail with a middle parting.
I’m going to begin with the same head shape and start with the ponytail first.
I want to draw waves this time, so let’s start by drawing the hairband and a low ponytail with loose “S” shapes.
Now, I’m going to draw the hairline. I’m going to go with a nice middle parting. You can do a side parting as well! It’s completely up to you.


Now, let’s slowly draw the hair strands. Remember to draw the hair in the direction of the hair growth and the low ponytail.
The trick to drawing hair is to vary the thickness of the line. Taper it as you end the strand. This makes it look more natural!
I feel like something is missing so just to add more texture, I’m going to add 2 sidelocks to frame the sides of her face.

And now, I’m going to color the low ponytail a nice chocolate color and define the hair with lighter brown hair strands.
And tada! We’ve learned how to draw a low ponytail.
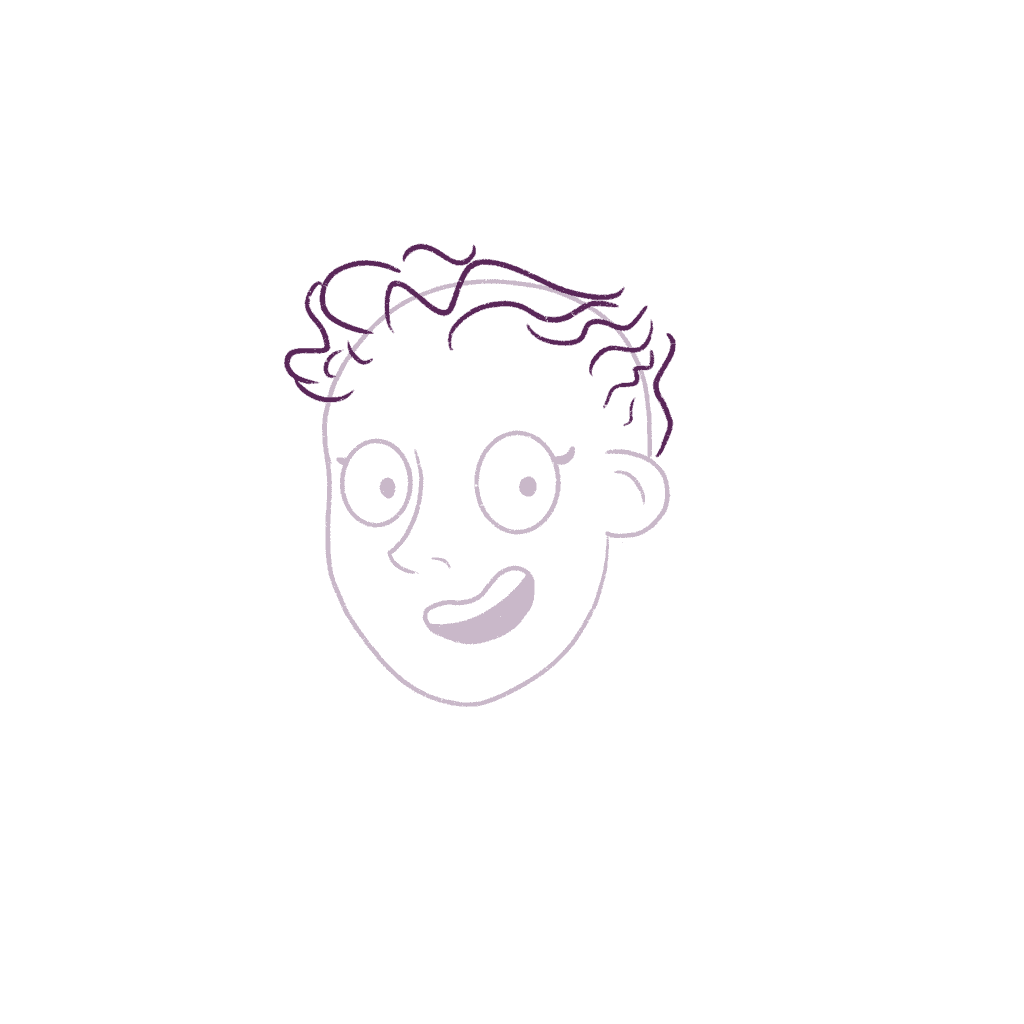
4. How to draw a curly hair ponytail
As we saw in an earlier post about drawing bangs, drawing curly hair can be a little tricky.
Curly hair doesn’t really adhere to gravity. It is dense and springy and moves in all directions.
But with enough practice, you’ll get the hang of it rather quickly.
Let’s draw a curly hair ponytail now.
Remember that curly hair is not uniform. Curly strands have varying curl textures so feel free to draw some tight curls and some loose curls. With curly hair, anything goes!
When drawing the curls at the top of the head, I’m going to make it more loose so that it looks like the hair is thick!
Now let’s draw the curly ponytail.
Similar to the wavy ponytail, I’m going to draw short quick lines to indicate the curls. Remember, the lines need not be perfect in any way!

And now, let’s add the base color. I’m going to go wild and color the curly ponytail a bright blue!

I want the curls to be more defined, so I’m going to add some light blue strands to the curly ponytail.

And we’ve just learned how to draw a curly ponytail!
Now, moving on to something super easy…
4. How to draw a side ponytail
A side ponytail is very similar to a high ponytail but it’s on the side of the head.
A side ponytail gives the cartoon character a very retro look. It can also make a character look extremely young!
Let’s begin by drawing the hair strands first. I’m not going to make it too tight.
Then draw the remaining strands. Remember to draw the hair in the direction of the hair growth and towards the side ponytail.

Now let’s draw a simple ponytail shape – nothing too complicated.

Let’s add the hairband and some hair strands. When drawing the hair strands, draw strands only close to the beginning of the ponytail and towards the end.

Now, I’m going to color it a nice, light brown color. She’s gonna look like the girl next door!
You can add more definition and texture by drawing a shadow on the side ponytail.

Next, we add the hairband to the side ponytail.
And lastly, let’s color the rest of the illustration and add the final details!

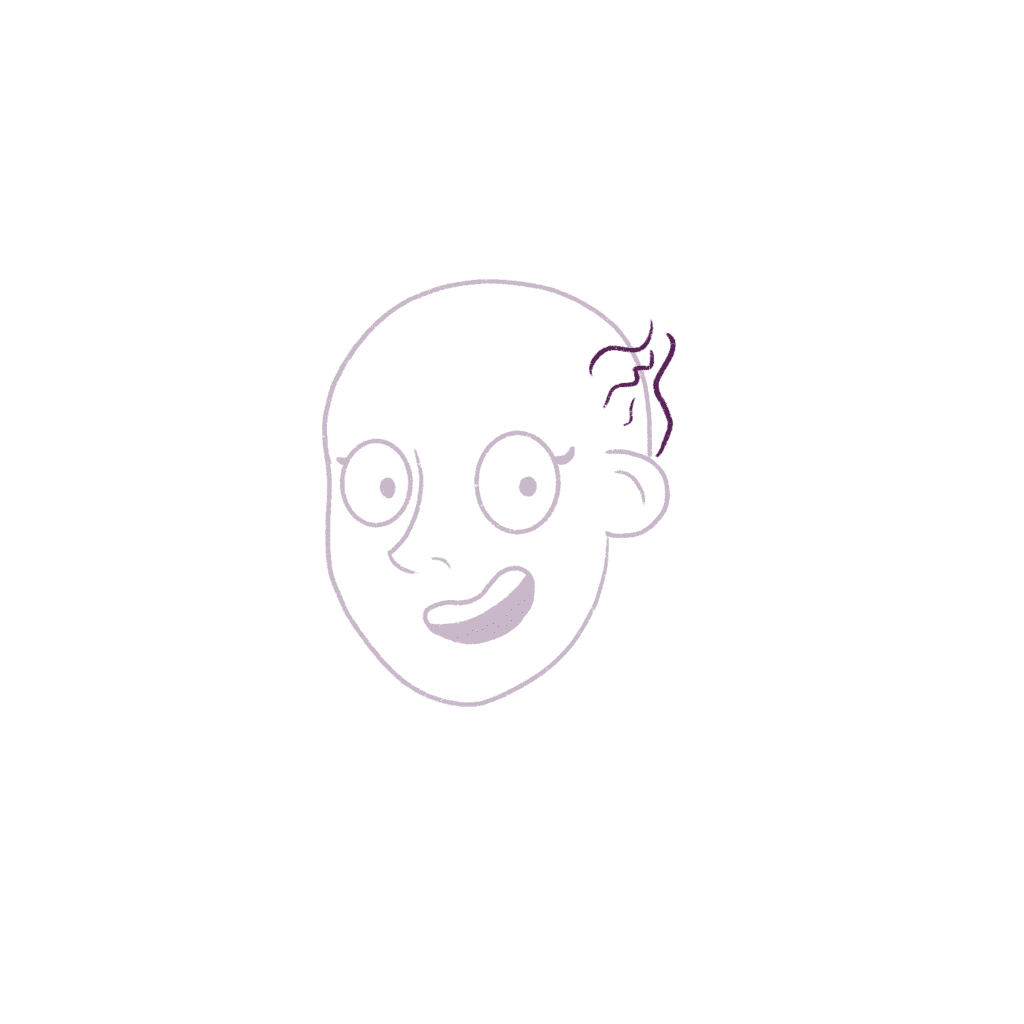
2. How to draw a ponytail from the front
It’s somewhat easier to draw a ponytail when the character is 3/4th.
But it can be a little tricky to draw the ponytail from the front because the ponytail is right behind the head and you can hardly see the hair at all.
However, if we draw the ponytail from the front step by step, it won’t be that hard.
Let’s get to it!
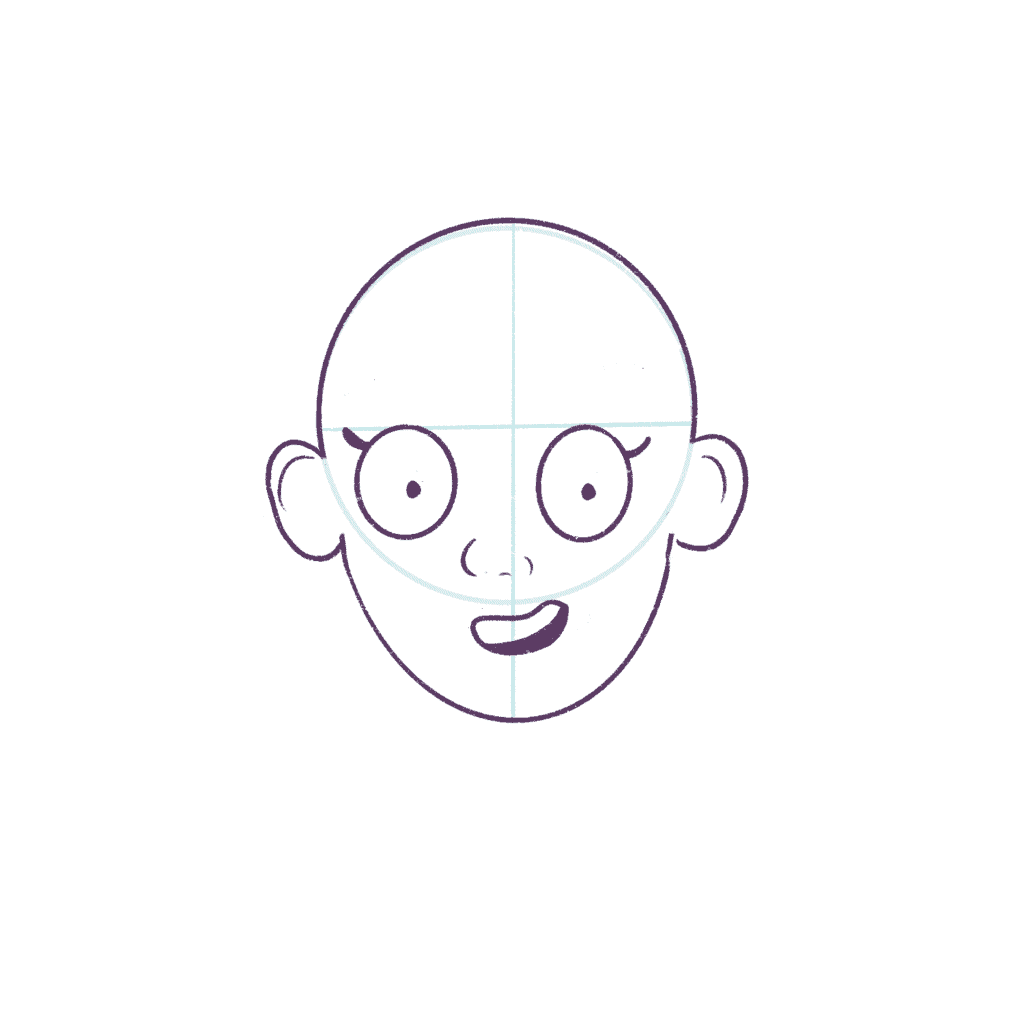
Let’s begin by drawing a simple circle and a cross in the middle of the circle. This is going to help us draw the head from the front very easily.

Now, let’s draw the head shape, we’ll go for a simple head shape and draw the expressions again.
Let’s begin drawing the hair. Remember to draw loose lines to the back of the head. It doesn’t need to stick to the head.
You don’t need to make the lines parallel. Remember to keep the lines loose and varied – this will make the hair more natural-looking.
Now, let’s draw the hairband.

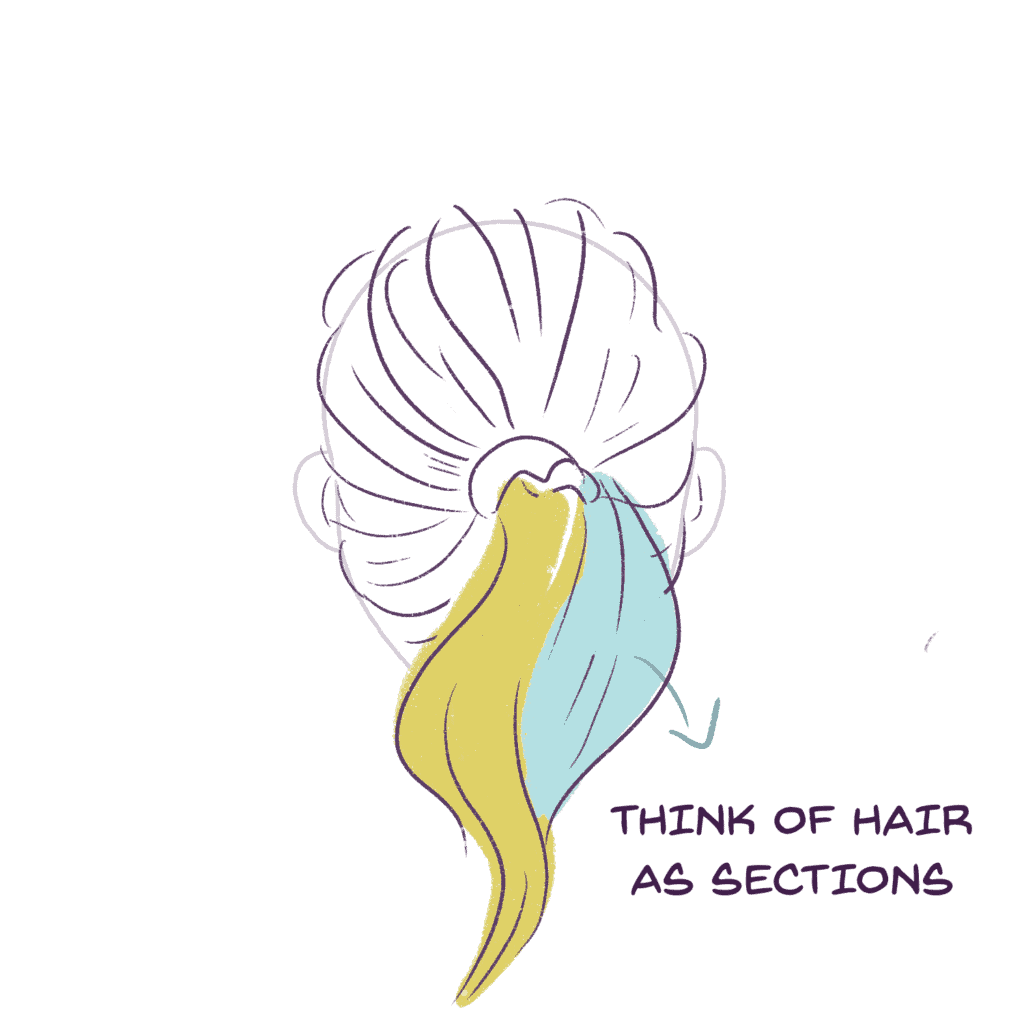
After drawing the hairband, start by drawing the ponytail. Remember, we are drawing the ponytail from the front, so we need to draw the hair a little to the side.
Think of hair as sections. It becomes easier to draw. Now, let’s draw the remaining ponytail. Maintain the same loose lines.
The illustration looks a little incomplete because we are drawing the ponytail from the front, so let’s add some bangs to the face to frame the face.
Remember, adding bangs also makes the character look younger – a neat tip to remember when drawing cartoon characters. We can make the character look younger by adding sidelocks to her face as well!
And now, let’s add the base color and the strands to complete the illustration.

And tada! We’ve finished drawing a ponytail from the front.
And now, for the final tutorial… let’s learn how to draw a ponytail from the back.
3. How to draw a ponytail from the back
Now, drawing hair from the back is obviously different from all the other hair tutorials we’ve done, but it’s just as easy if we do it step by step.
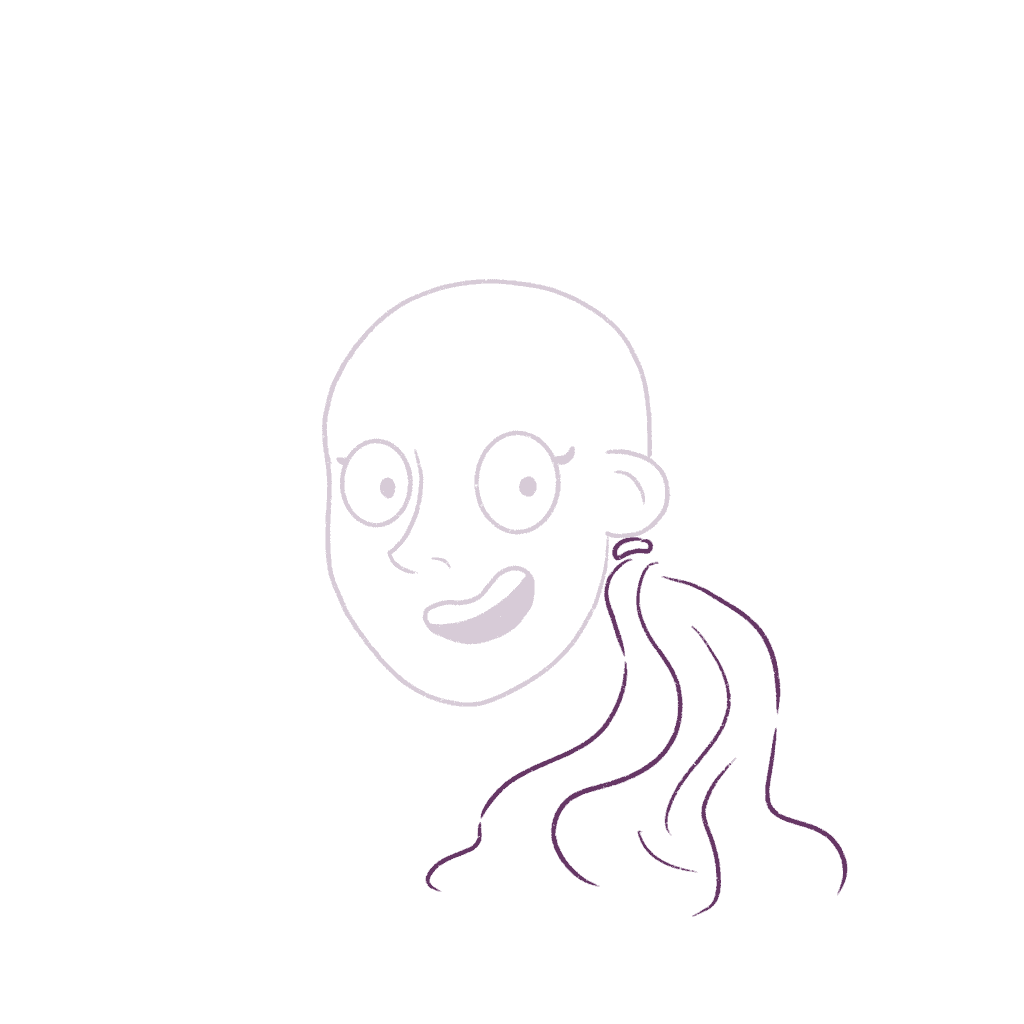
We’re going to start with a head shape first – no need to draw any facial features because we’re drawing the ponytail from behind.

I’m going to draw the hairband first as it makes everything so much easier!
Let’s start by drawing the hair strand by strand. Remember, each strand has to make its way to the ponytail so draw your strands in that direction.
Be loose and free with your lines when drawing the ponytail from behind.
Continue to draw the remaining strands. Remember, leave a little gap at the bottom, because the back of the head ends a little above the chin.
Now, I’m going to erase a portion and draw the ponytail.

A simple way to draw a hair is to think of it as sections.
Then, let’s add the base color to the hair. I’m going to go for a nice lilac just for fun!

And then I’m going to add some dark purple strands all throughout the hair for more definition!
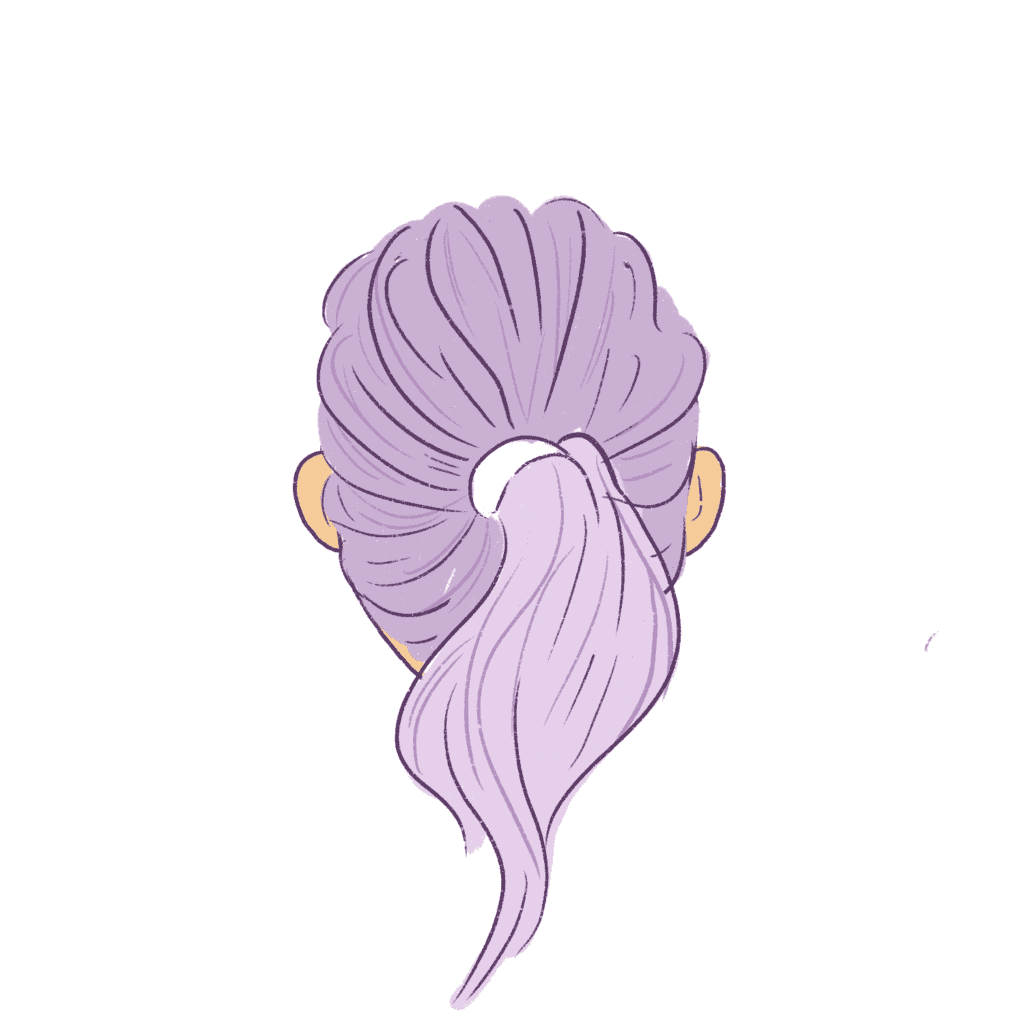
And voila! We’ve finished learning how to draw a ponytail from the back!
Conclusion + Resources
I hope this in-depth tutorial was helpful to you, and that you were able to learn how to a ponytail.
I know drawing hair can be super challenging at times.
But drawing hair does get much easier with practice. Trust me.
You can make things easier by picking up this Character Drawing Toolkit.
If you want to see more tutorials on hair and people, just leave a comment down below. You can check out my post on how to draw bangs next!
You can see other hair-drawing tutorials here.
I will be adding more hair drawing tutorials to this blog, so keep a lookout!
If you are looking for books on how to draw anime or how to draw anime bangs and anime hair, take a look at these:
If you’re looking to improve your drawings faster and want to really draw as a hobby or even pick up drawing professionally, I highly recommend picking up this beautiful online course that teaches you how to draw female cartoon characters.
If you are just getting started with ProCreate, I highly recommend this course: Procreate for Beginners: Digital Illustration 101


Leave a Comment