Learning how to draw hair definitely takes some time.
But the dynamics of drawing wet hair are completely different.
I honestly love drawing hair.
And I recently covered drawing mermaid hair in this post.
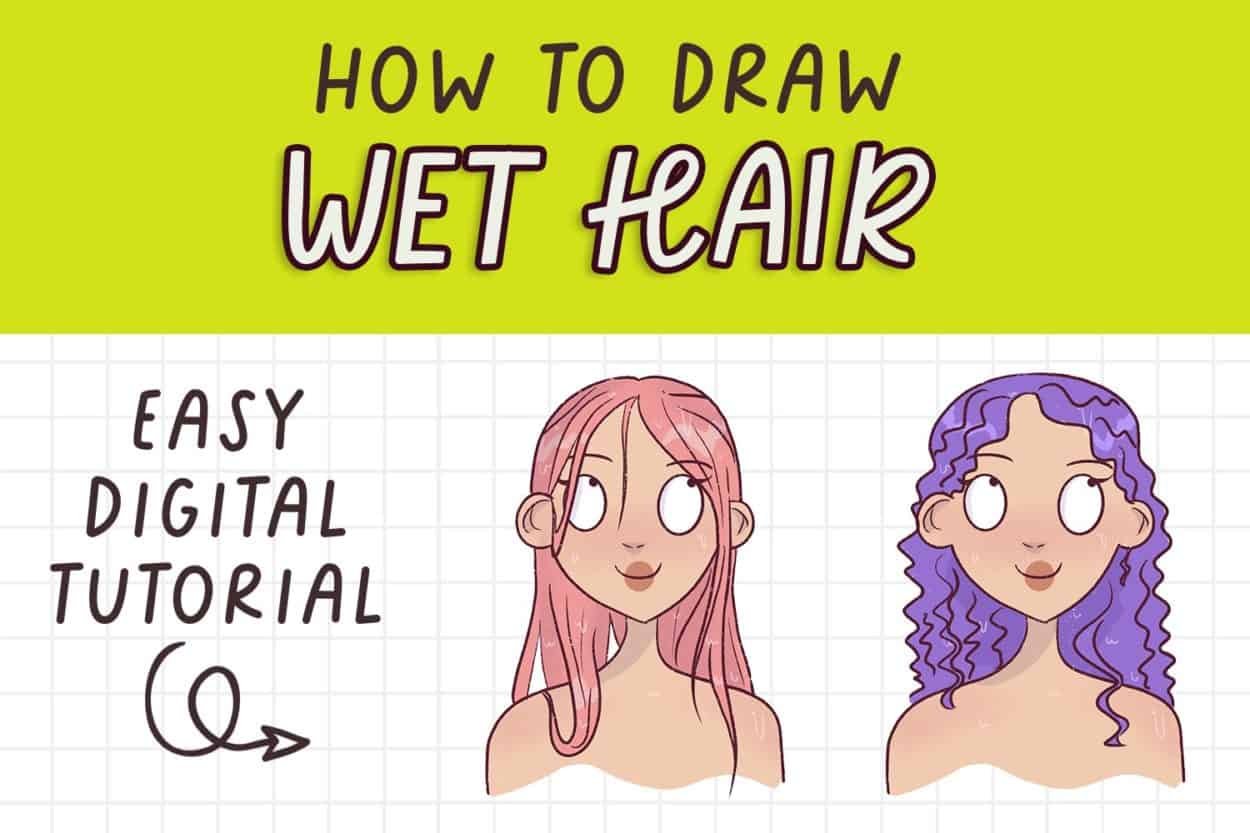
I thought I’d create a more detailed post explaining how to draw wet hair digitally.
This is a very easy tutorial aimed at beginners and intermediate artists looking to understand how to draw wet hair.
I will be teaching:
- How to draw wet straight hair
- How to draw wet curly hair
And I’ll even show you how I color it using Procreate.
This post includes affiliate links. If you do decide to purchase something, I will make a commission at no extra cost to you. For more information, please read my entire Privacy Policy here.
Table of Contents
How to draw wet hair digitally – step by step easy hair tutorial for beginners
Okay, before I start the tutorial, you should know what tools I am using for my digital art.
I’m currently using:
And I’m using the Procreate software.
It’s a one-time fee of $10.
And that’s it.
You can draw on it forever for free after that. You can check out this basic Procreate course if you need help getting started with Procreate.
Please note that you can use absolutely any tool – pencils and paper, Copic markers, watercolors, Photoshop, anything!
I’m merely showing you the technique of drawing hair.
Let’s begin!
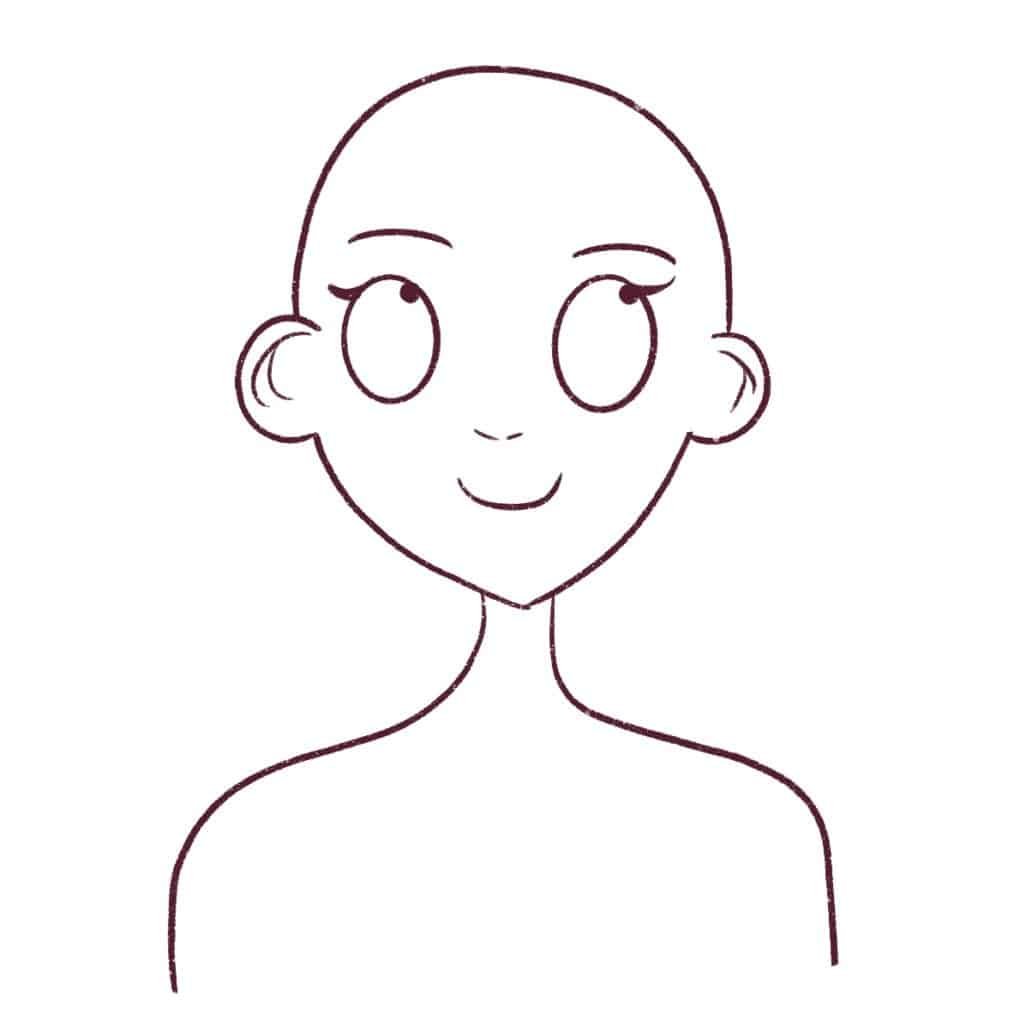
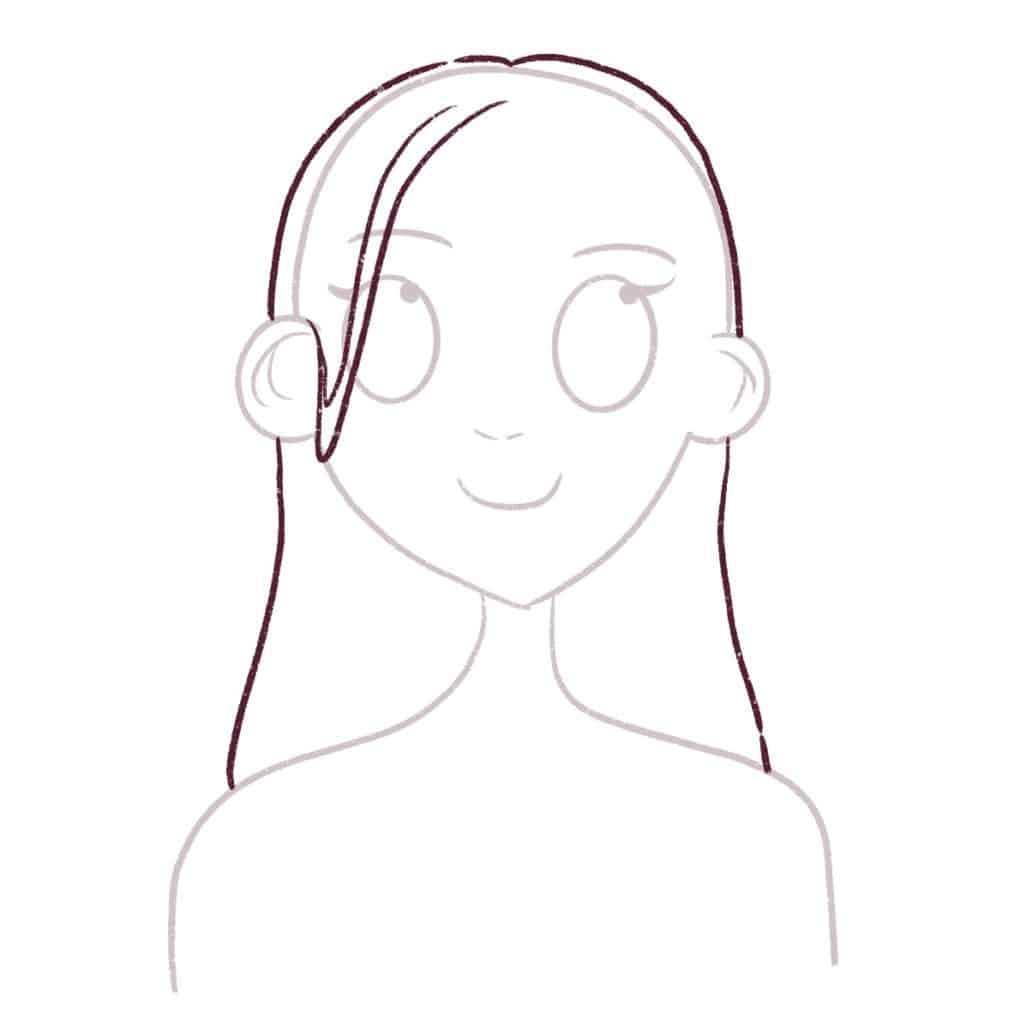
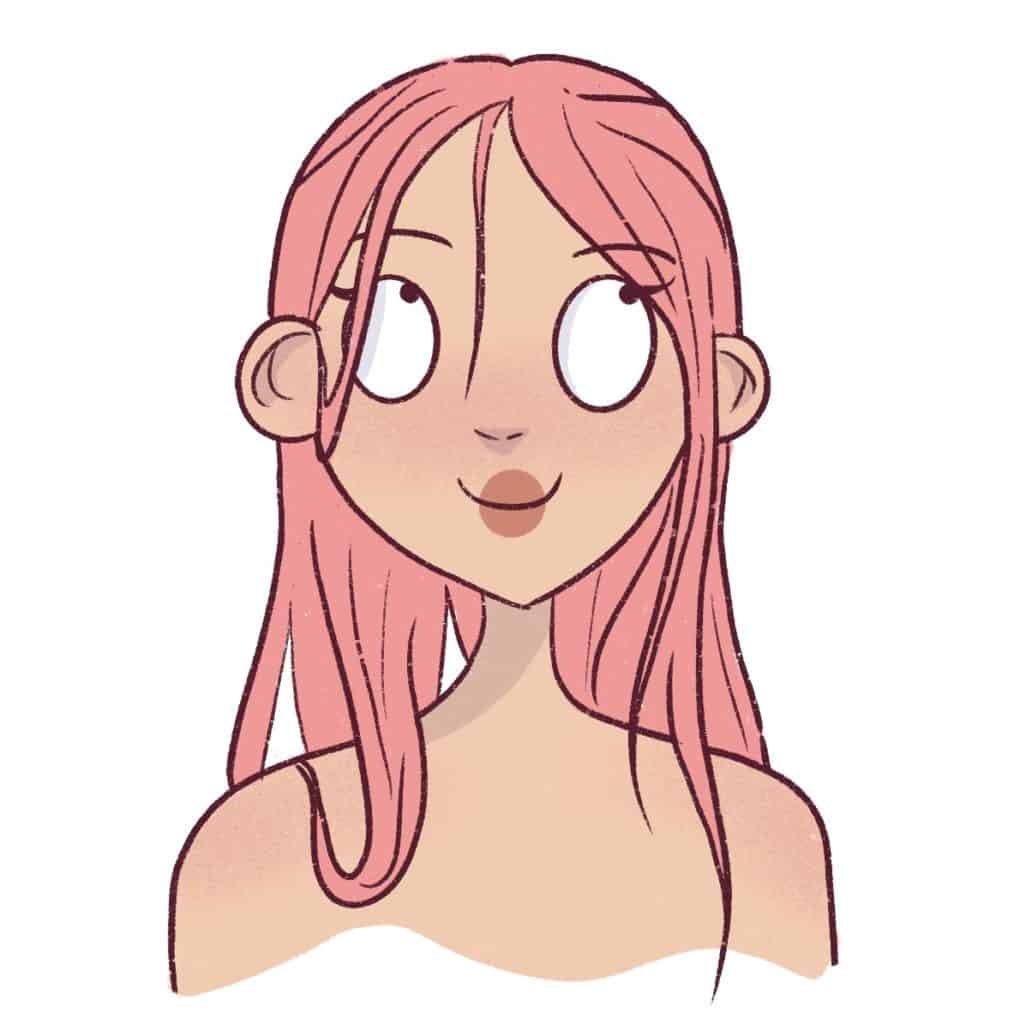
First, we will start with the basic figure of a woman’s head and shoulders.
I’m using the dry ink brush (comes free with Procreate) to do all the outlines and coloring.
I won’t be going into detail about drawing cartoon faces because there are so many books out there you can get that teach you to do this like this one.
1. How to draw wet straight hair
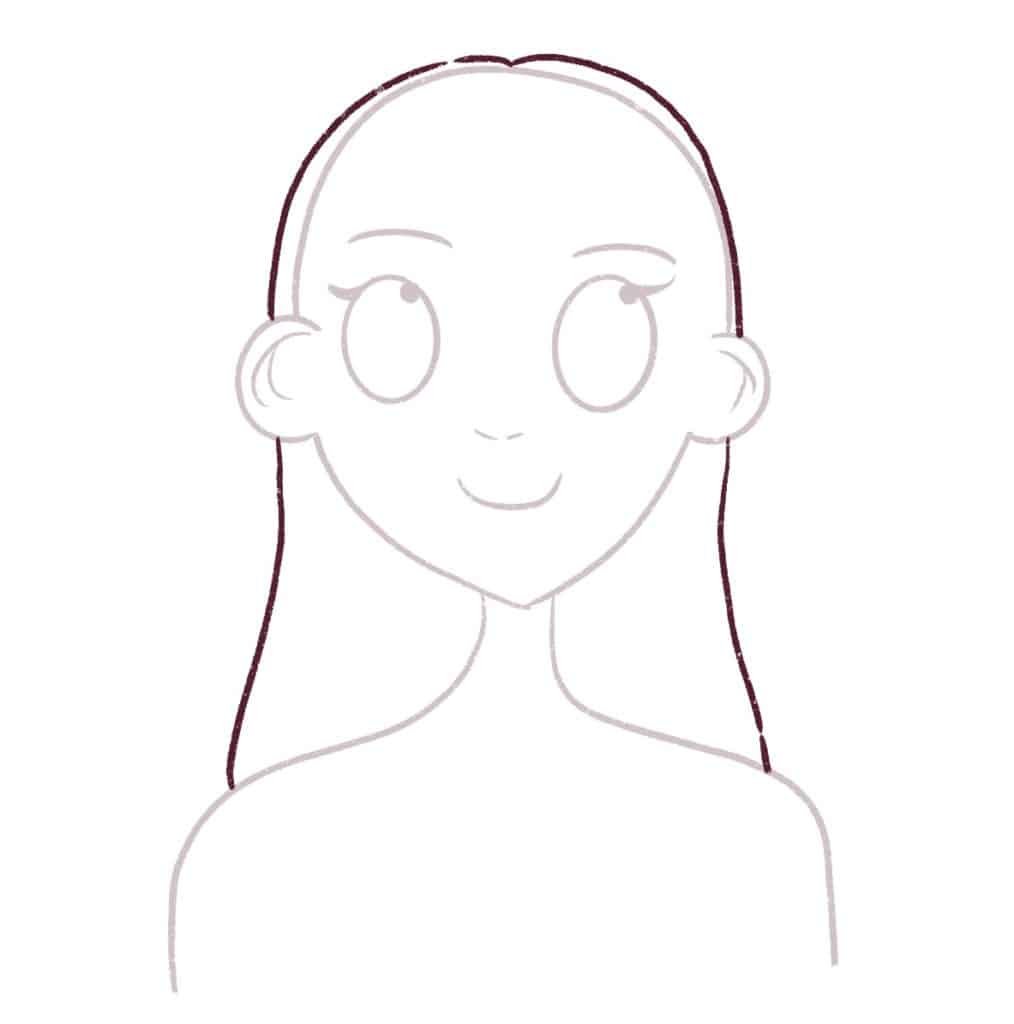
Straight hair loses its volume when it’s wet.
It sticks to the scalp.
So remember when drawing the outline of the wet straight hair, to draw it close to the skull.
As it flows down, it moves downward and is very heavy.
You can spread it out a little as it is getting to the shoulders.
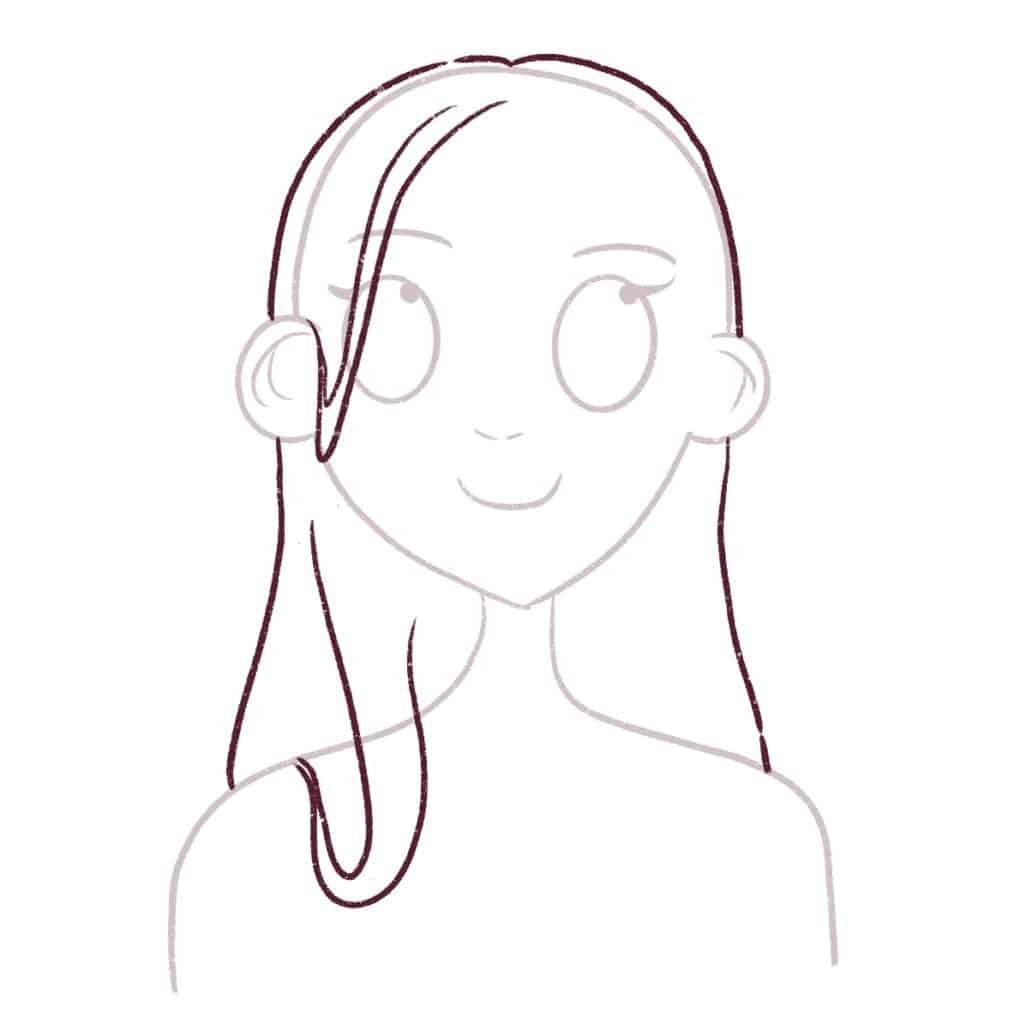
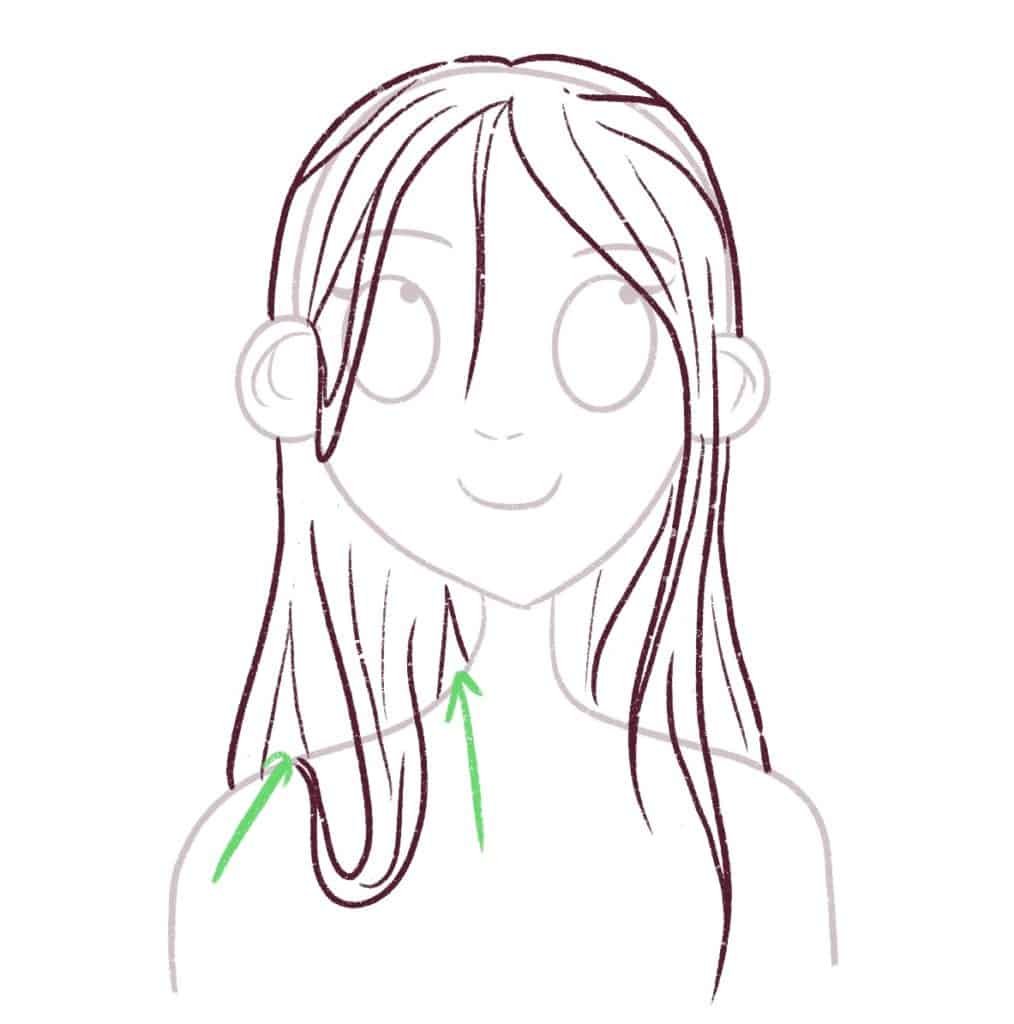
The trick to drawing straight hair when it’s wet is to draw a few strands loosely hanging in front of the ear and the shoulder.
This loopy strand makes the hair looks wet.
Let me show you what I mean: Just draw two strands using a long-flowy hand movement.
Make sure that the hair strand narrows down as you get to the end of the strand.
Let’s try another!
I’m going to do one more on the shoulder like this:
Remember to make the hair strand very narrow as you loop it behind the head.
This will give your wet straight hair a very organic look.
Now, on the right side of the girl’s face, I’m going to add heavy wet strands that are just dropping straight to her shoulder.
I’ll draw 2 strands in front of her ear.

Use long flowy-hand movements when drawing straight wet hair.
It’s okay if it doesn’t come out right – this gets better with practice.
Next, I’m going to draw one singular strand in front of her forehead just to add more detail to her straight wet hair.
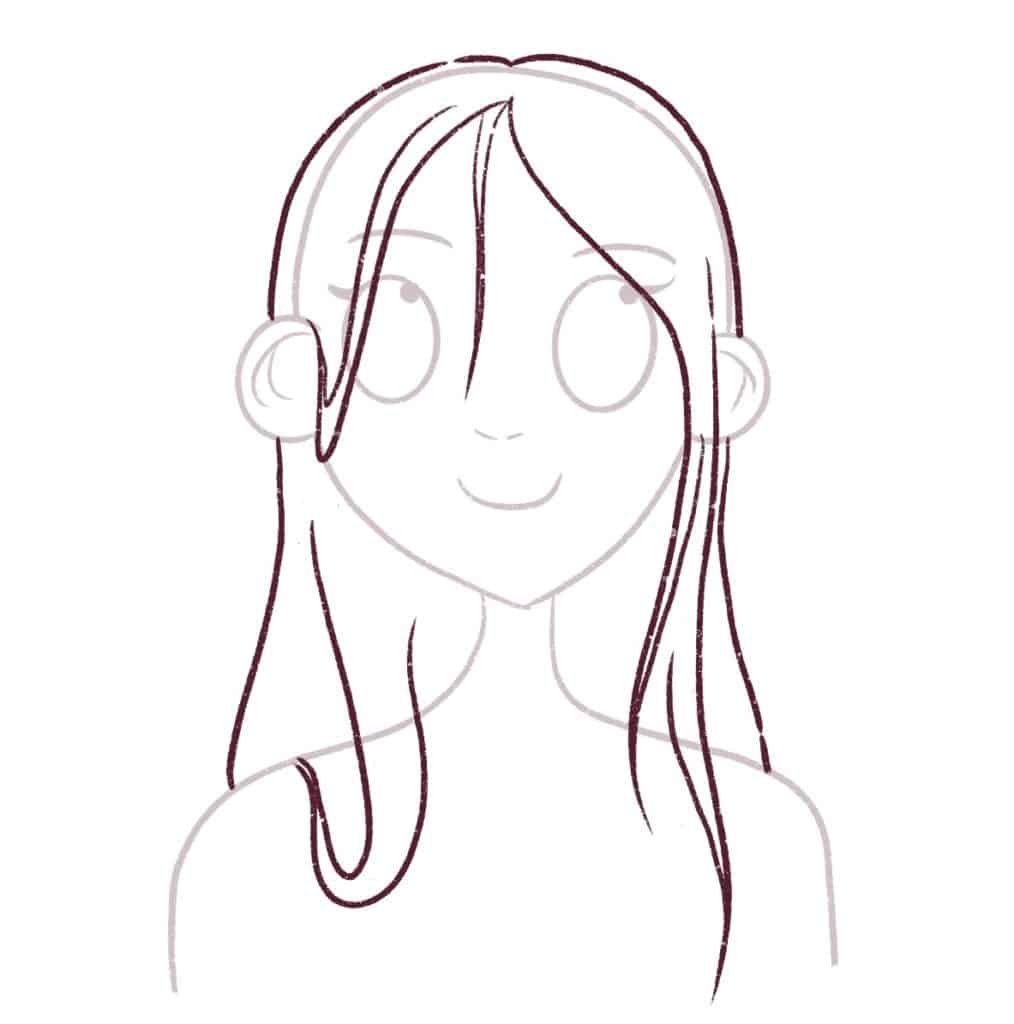
The hair is beginning to take shape.
Now, we need to divide the hair into sections.
We can do that by drawing strands in the direction of the hair growth.
Refer the arrows below to see how I do this.
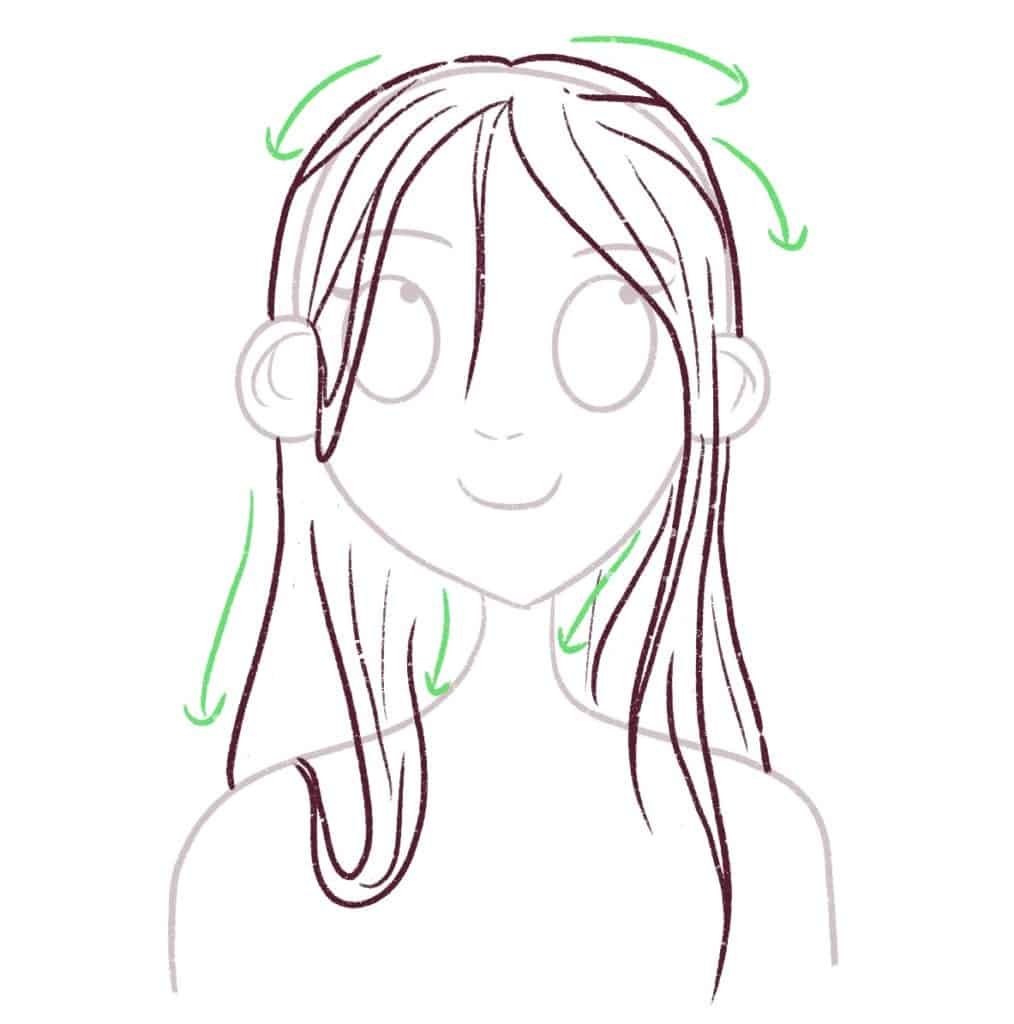
Remember to vary the line thickness and the length of the strands to make the hair look more organic.
Wet hair clings together.
So, we need to draw some spaces in the hair. I’m going to add 2 spaces in the hair.
Just draw upside-down “V” shapes to do this. See the arrows below.
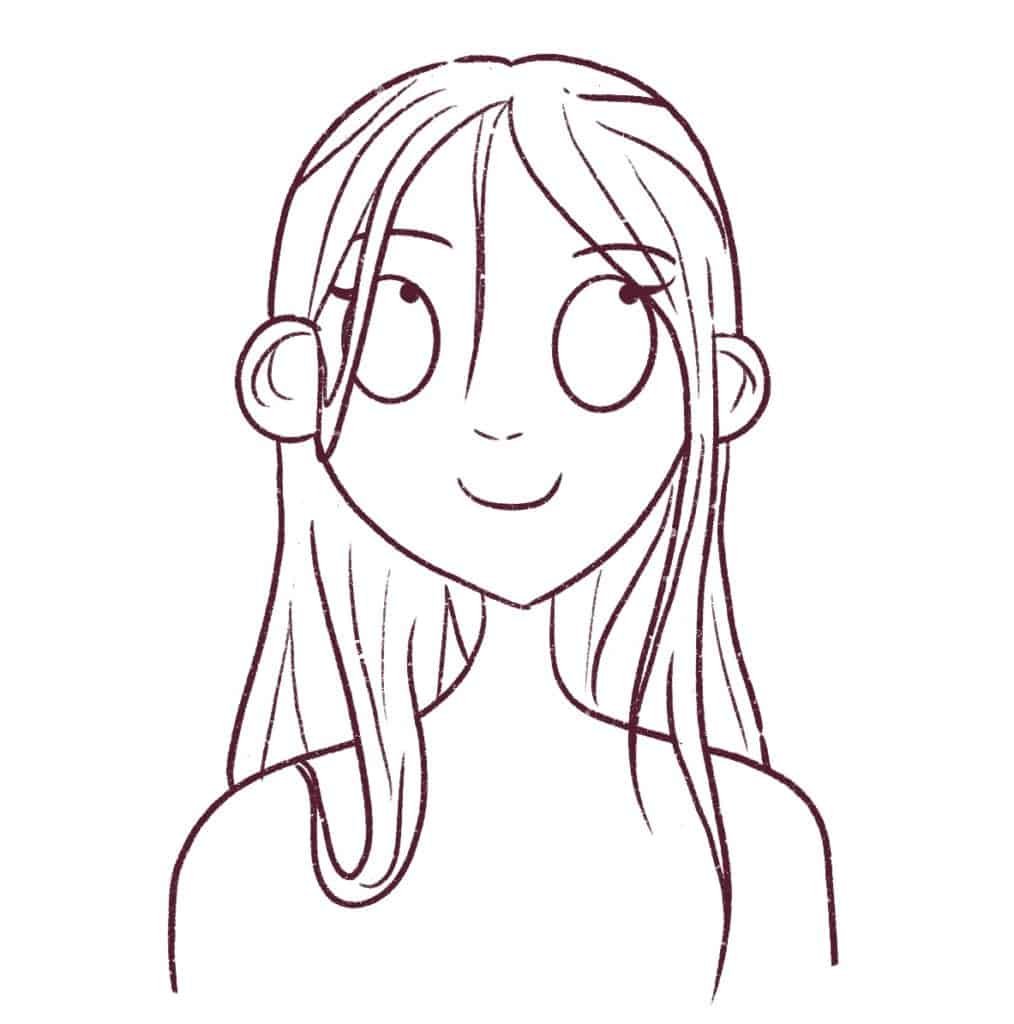
Now, it’s time to clean up the lines.
I’m just going to erase all the overlapping lines to get a clearer picture.
And I am happy with what I see.
Let’s color the girl and the straight wet hair.
I’m going to start with the skin.
I will color her skin and lips first.
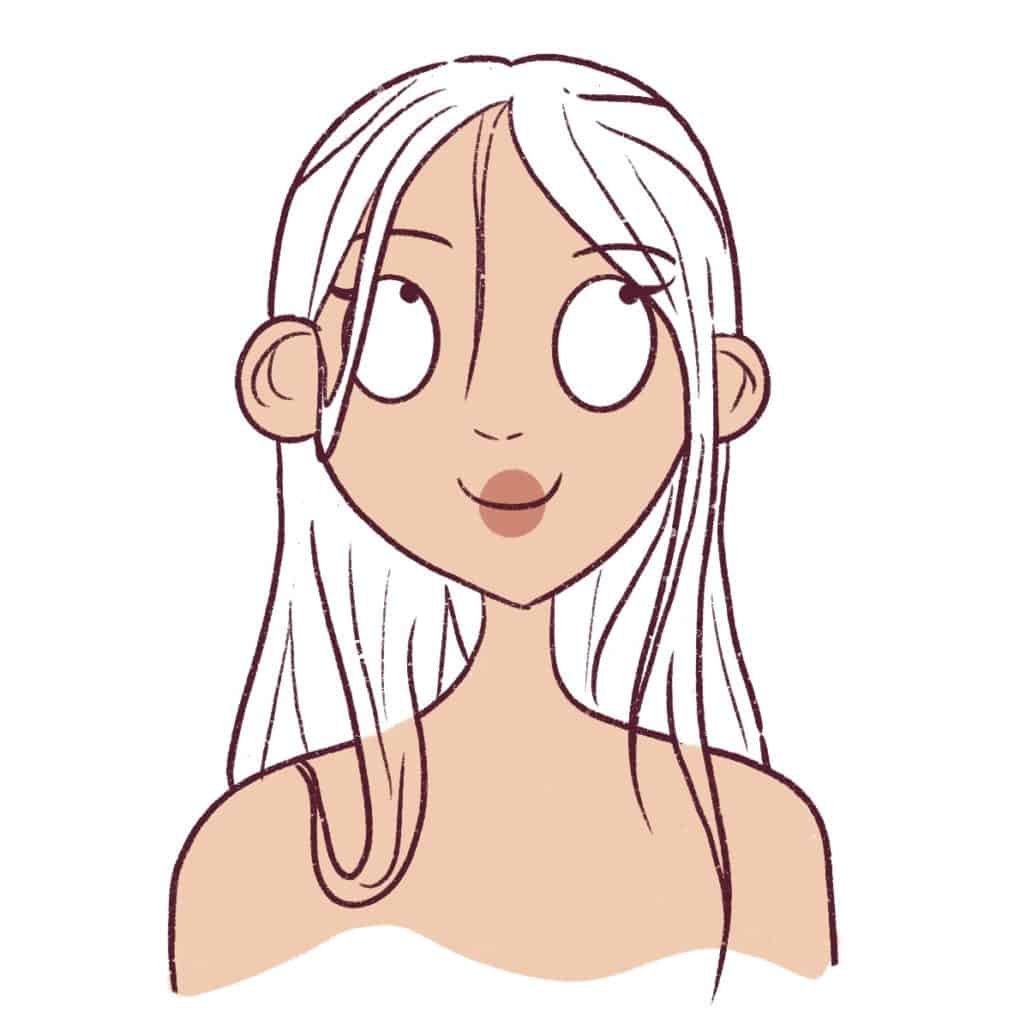
Next, using the bonobo chalk brush (which comes free with Procreate), draw some blush to her cheeks, ears, and shoulders lightly.
If you’re confused about how to go about this, check out the whole process as to how I color my digital art.
I’ll also add some basic shadows to her face.
Using a medium purple, I will add shadows on a new layer and then change the blending mode to “Multiply” and decrease the opacity to 35%.
I’ll get something like this:


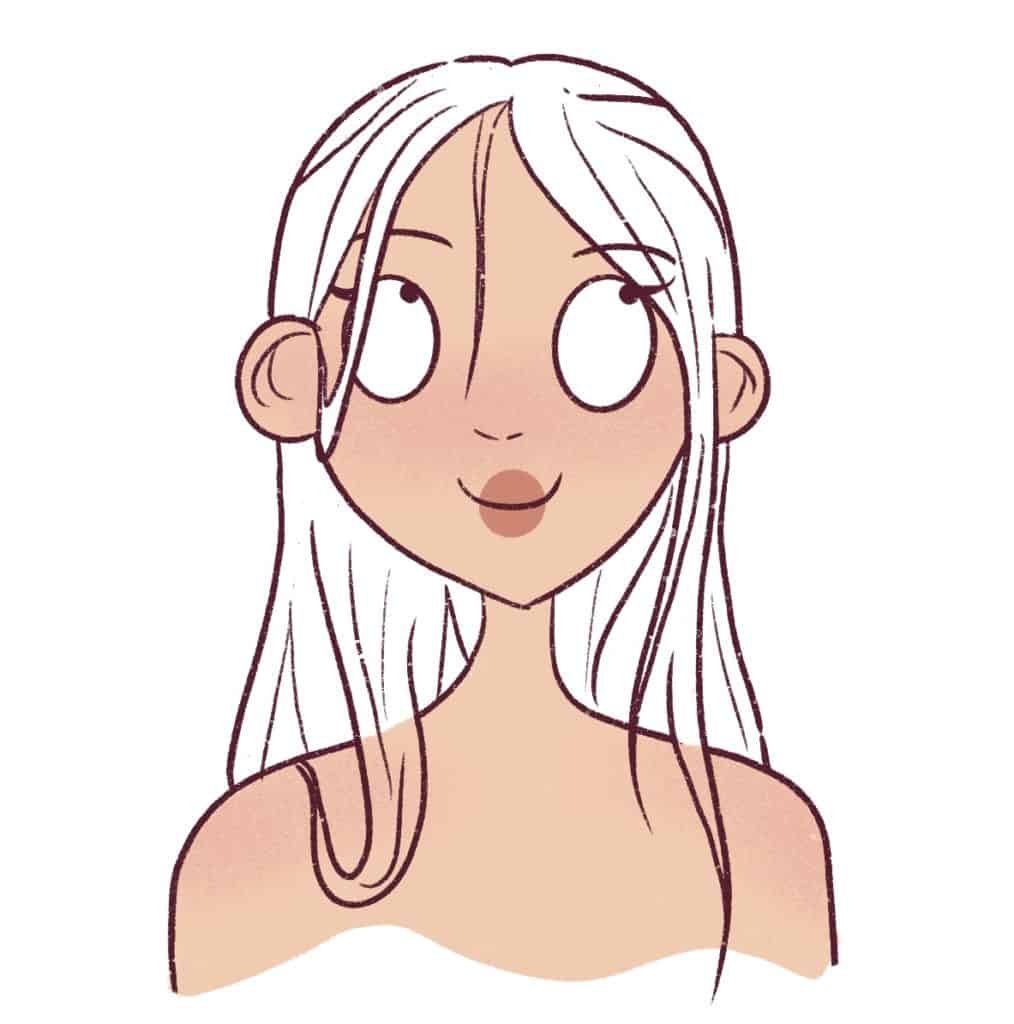
Next, I will color her hair with a base color.
You can color her hair any color you like, but I will go with a light rose pink today.
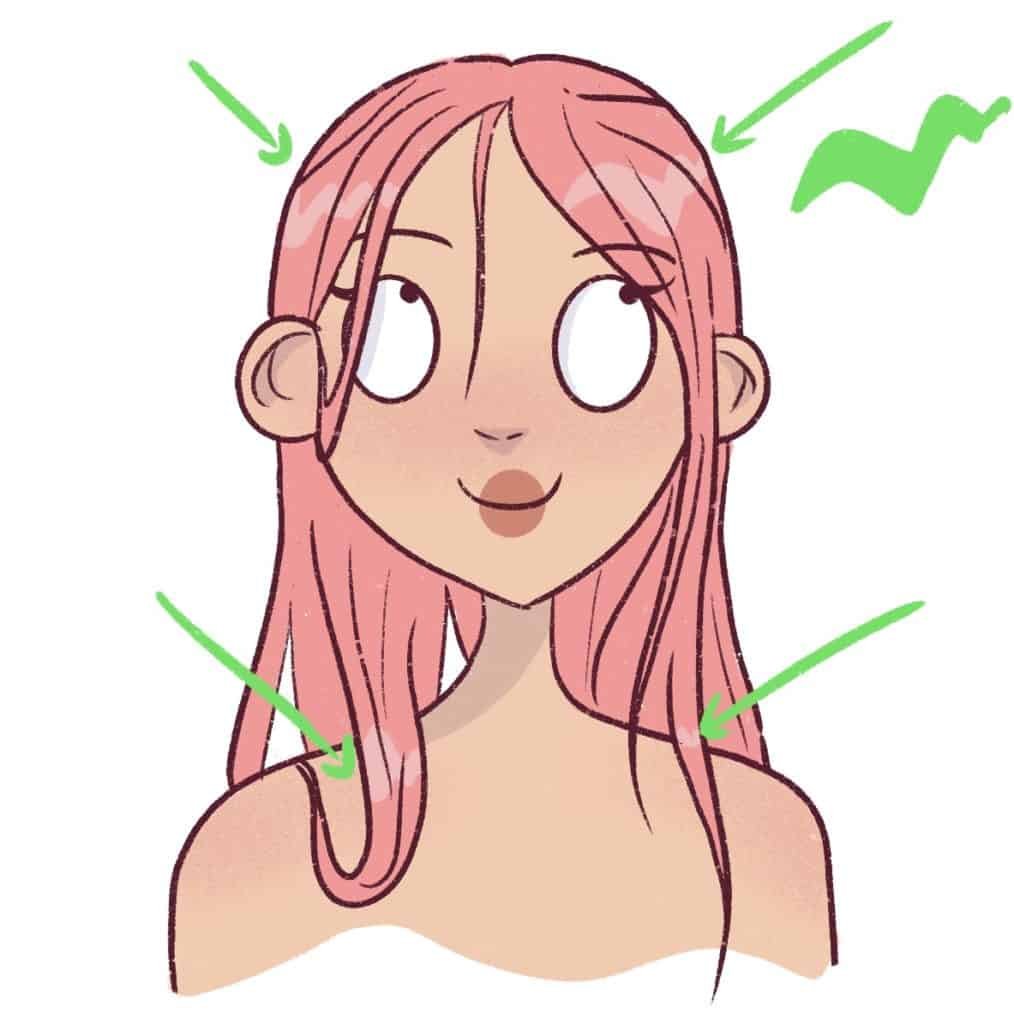
Now, it’s time to add the highlights.
It is important to remember that you need to really think about where the light is hitting her hair when adding highlights.
Straight her is very glossy, more so when it’s wet.
So, I’m going to add highlights to the top of her head and her hair strands that come in front of her shoulders.
See the arrows to understand where and how I draw the highlights.
Next, we want to add shadows to the wet hair.
With a medium purple tone, draw the shadows on the parts that are behind.
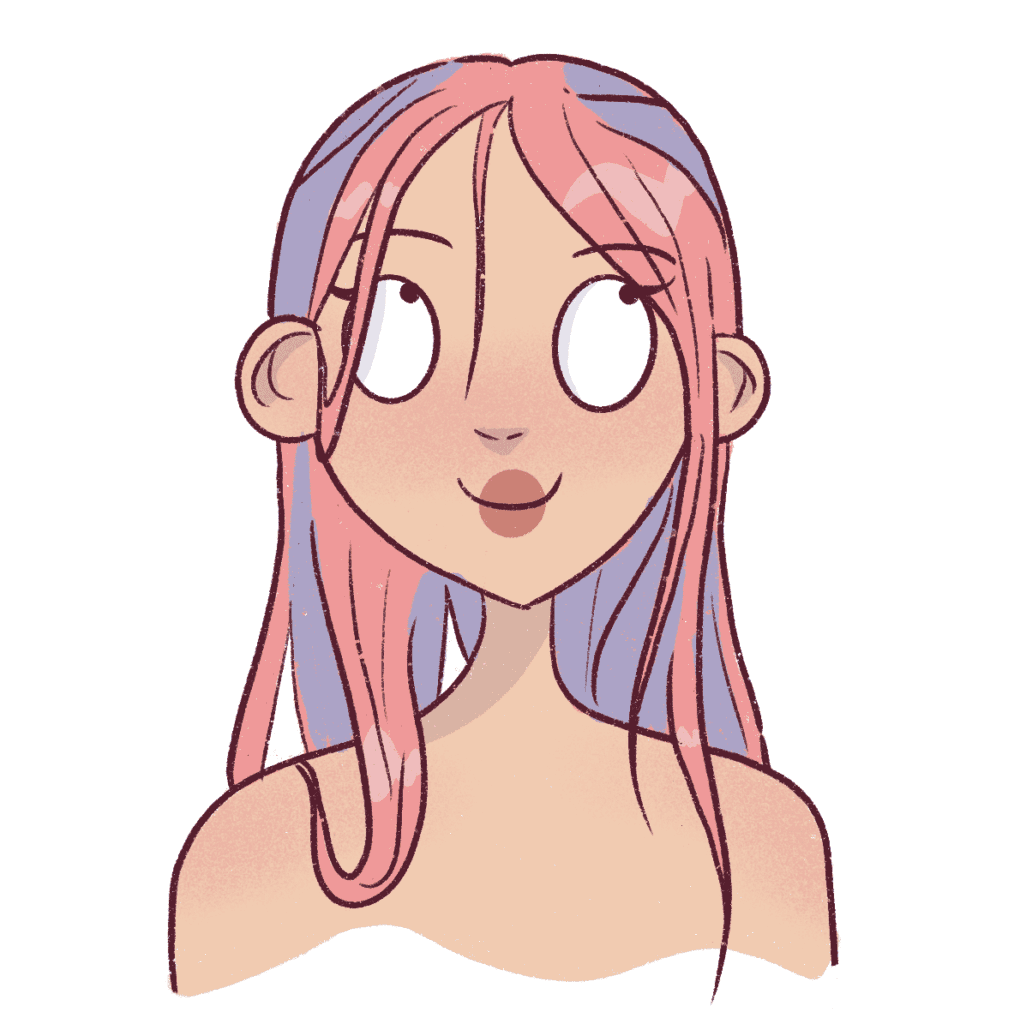
Now, just like how we added shadows to the skin, change the blending mode to Multiply and decrease the opacity to 30%.
You can also use the smudge tool to blend the shadows a bit so it’s not too harsh.

Next, using the color white, I’m going to add tiny droplets of water using “U” and “W” shapes on a new layer.
Once I’m happy with how it looks, I will decrease the opacity of the drops to 45%.
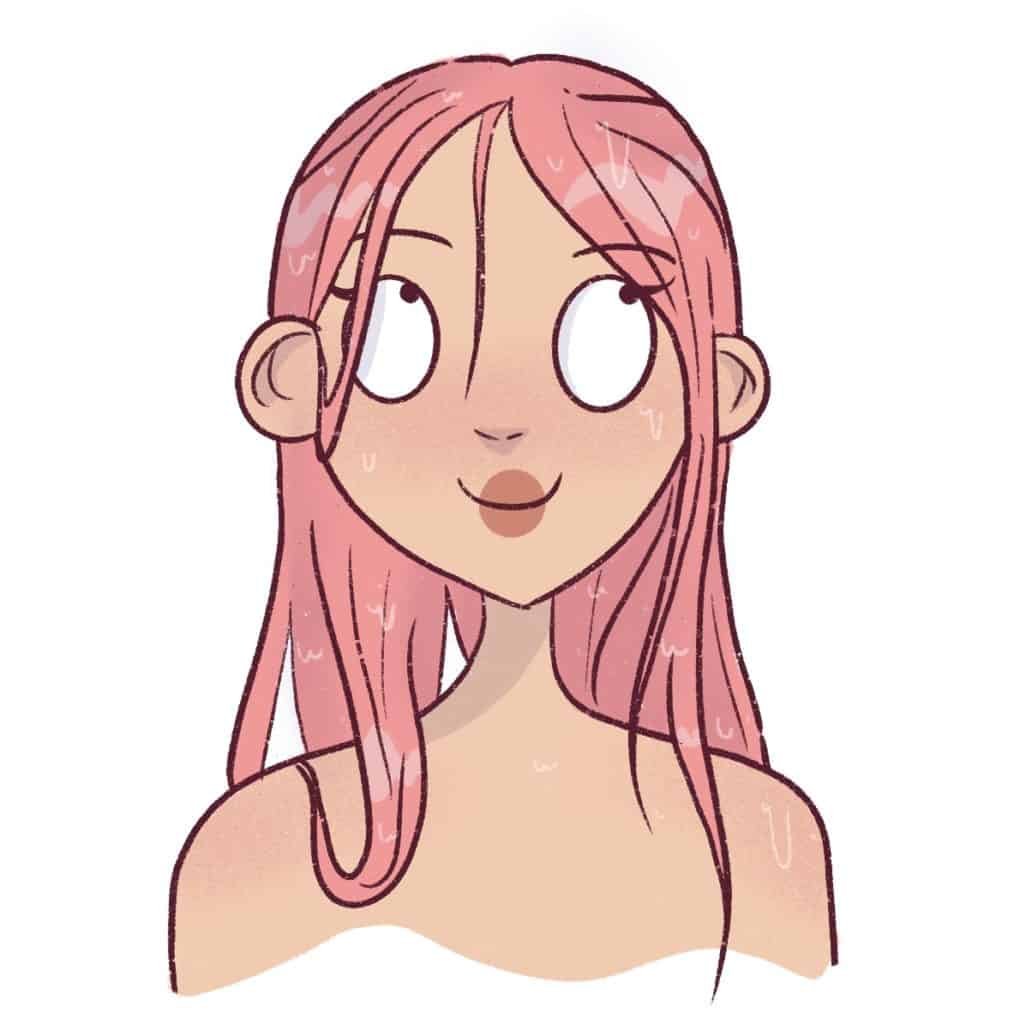
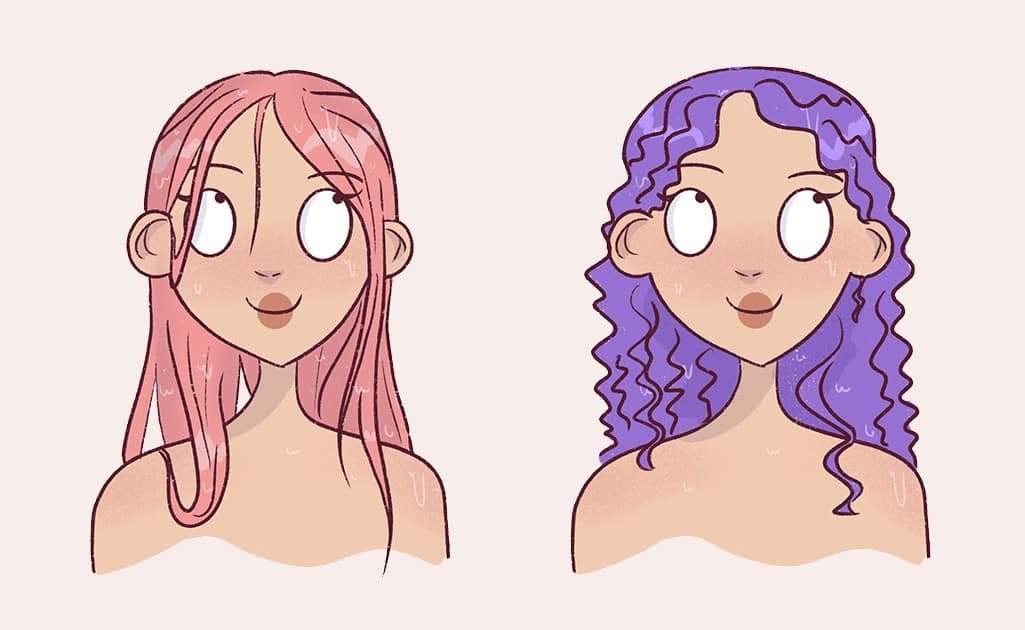
There you go!
You just learned how to draw straight wet hair digitally.
Okay, let’s move on to learning how to draw wet curly hair.
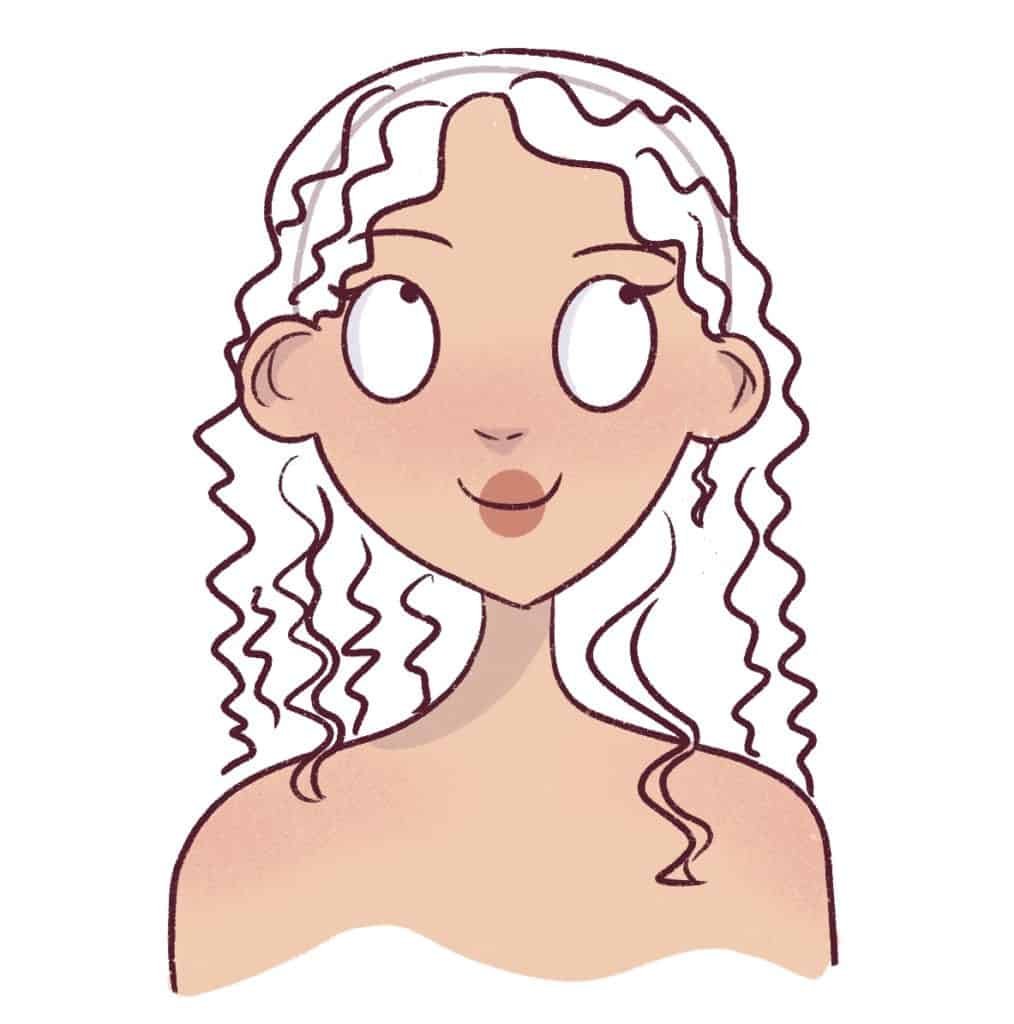
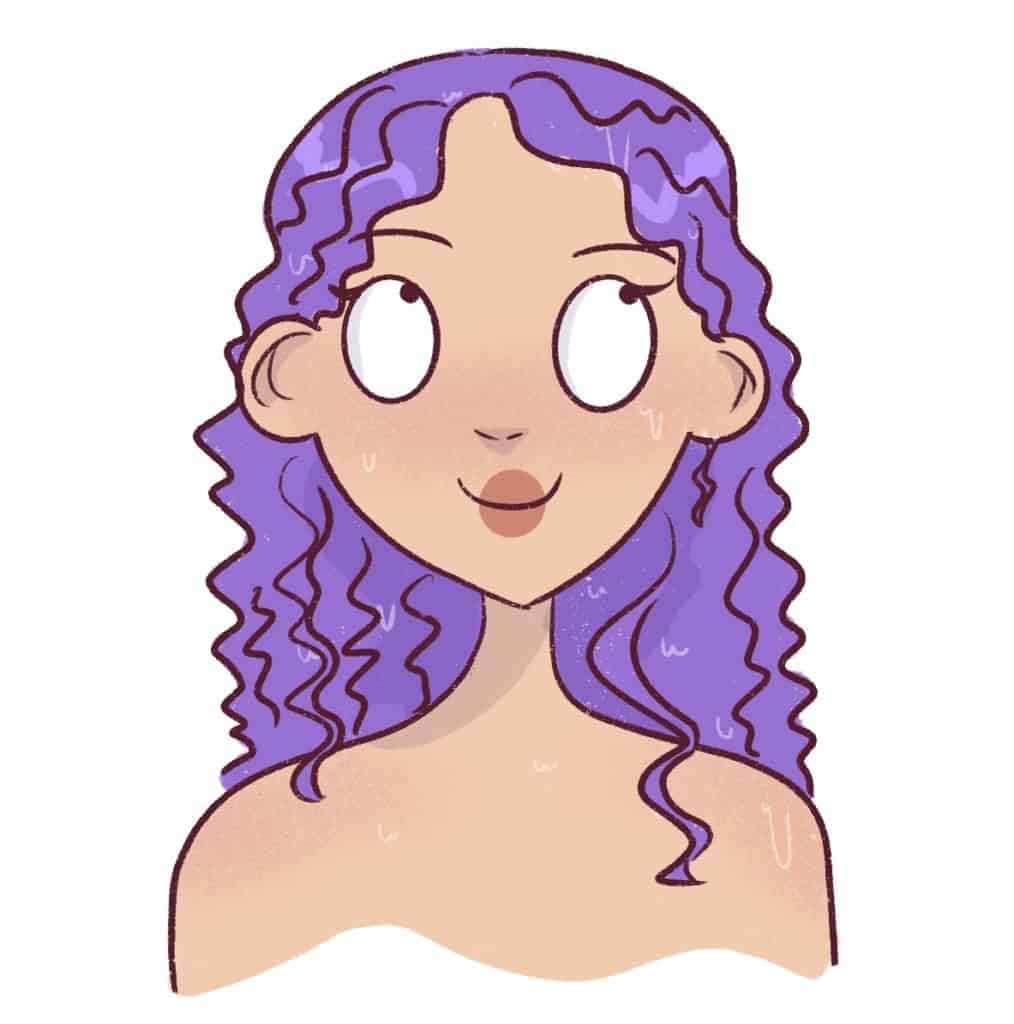
2. How to draw wet curly hair
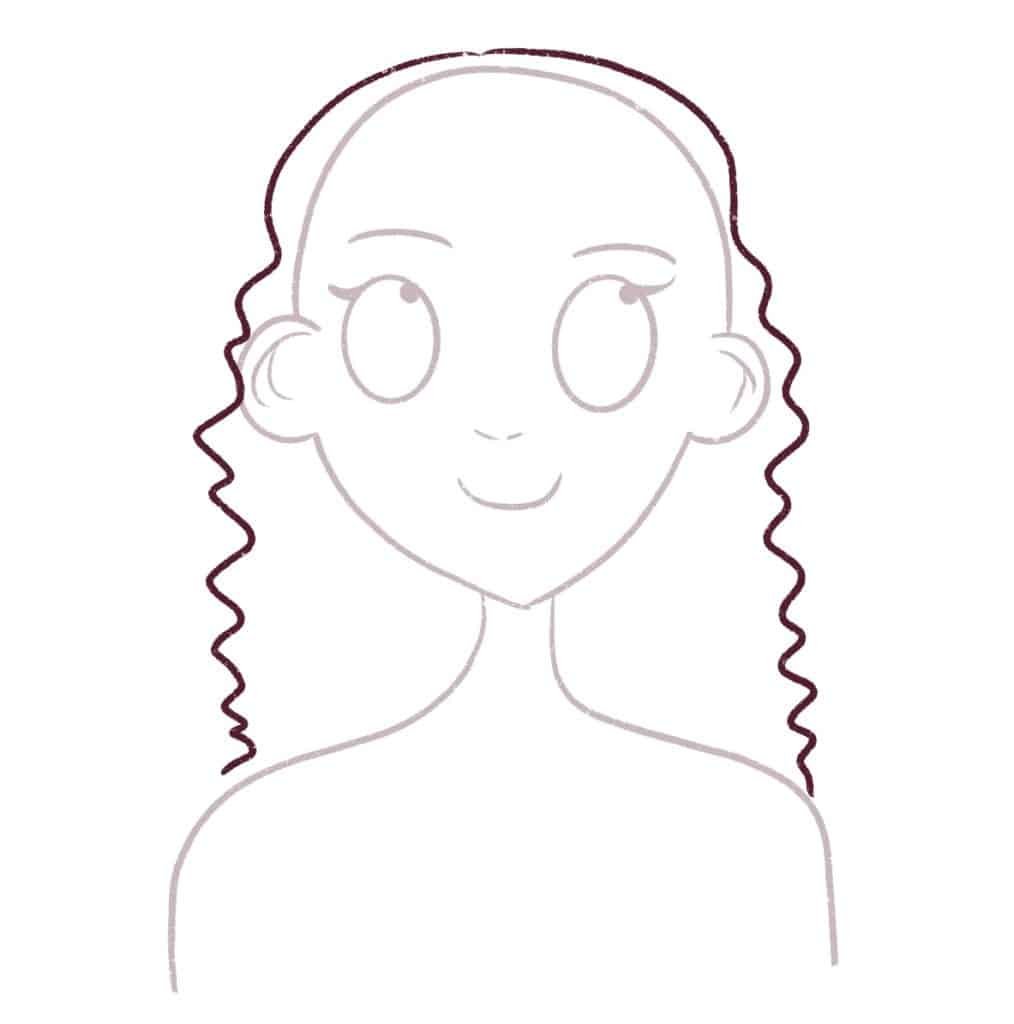
We’re going to start with the same head and shoulders template and draw squiggly curl lines around the head.
Curly hair also sticks to the head when wet but as it falls down, it starts to curl.
Think of it like warm-pressed instant noodles.
It follows the same structure.
Wet curly hair is more voluminous than wet straight hair, obviously. So, keep that in mind when drawing the shape of wet curly hair.
Now, I’m going to add one curly strand in front of her.
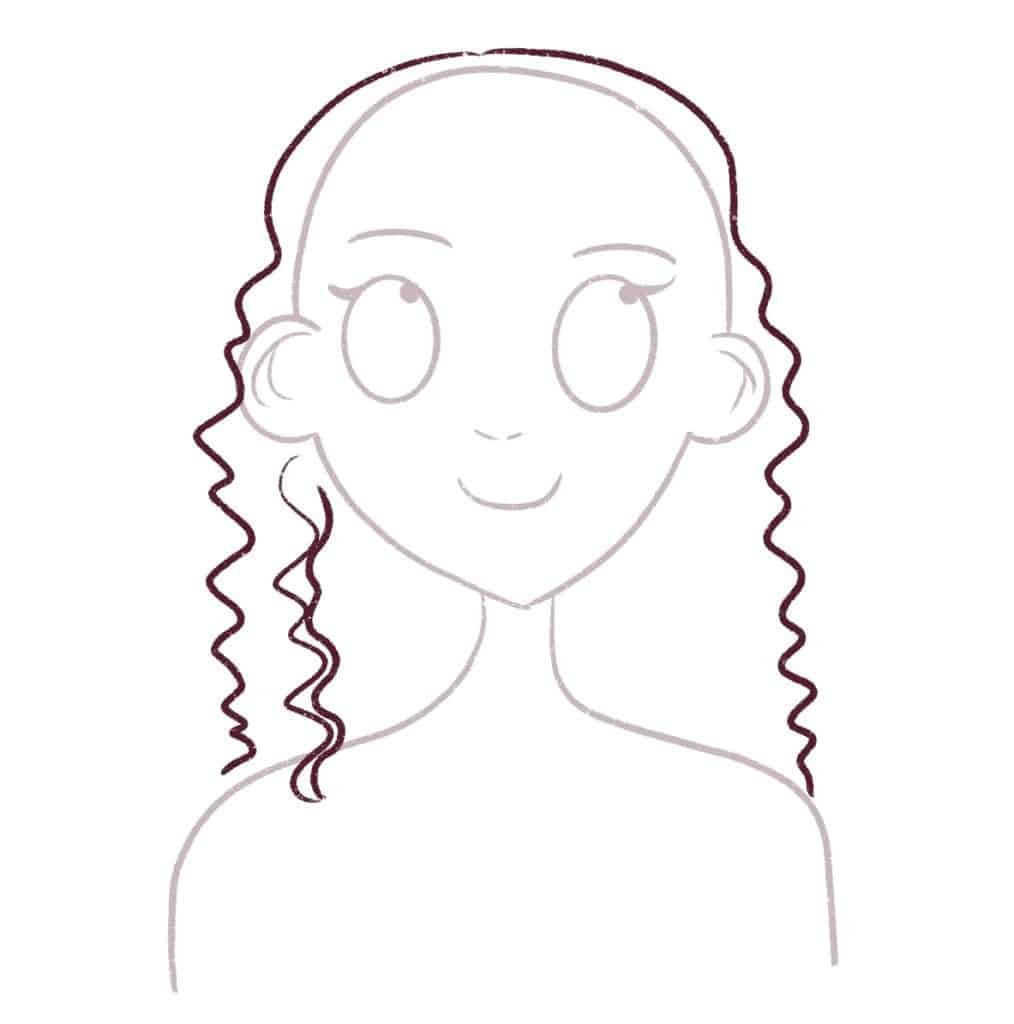
And I’ll do the same all over her hair.
You can vary the intensity of the curls because curly hair usually has different curl patterns.
You can also vary the length of the curls.
Draw as many as you like. Remember to use swirly lines that are tight or loose.
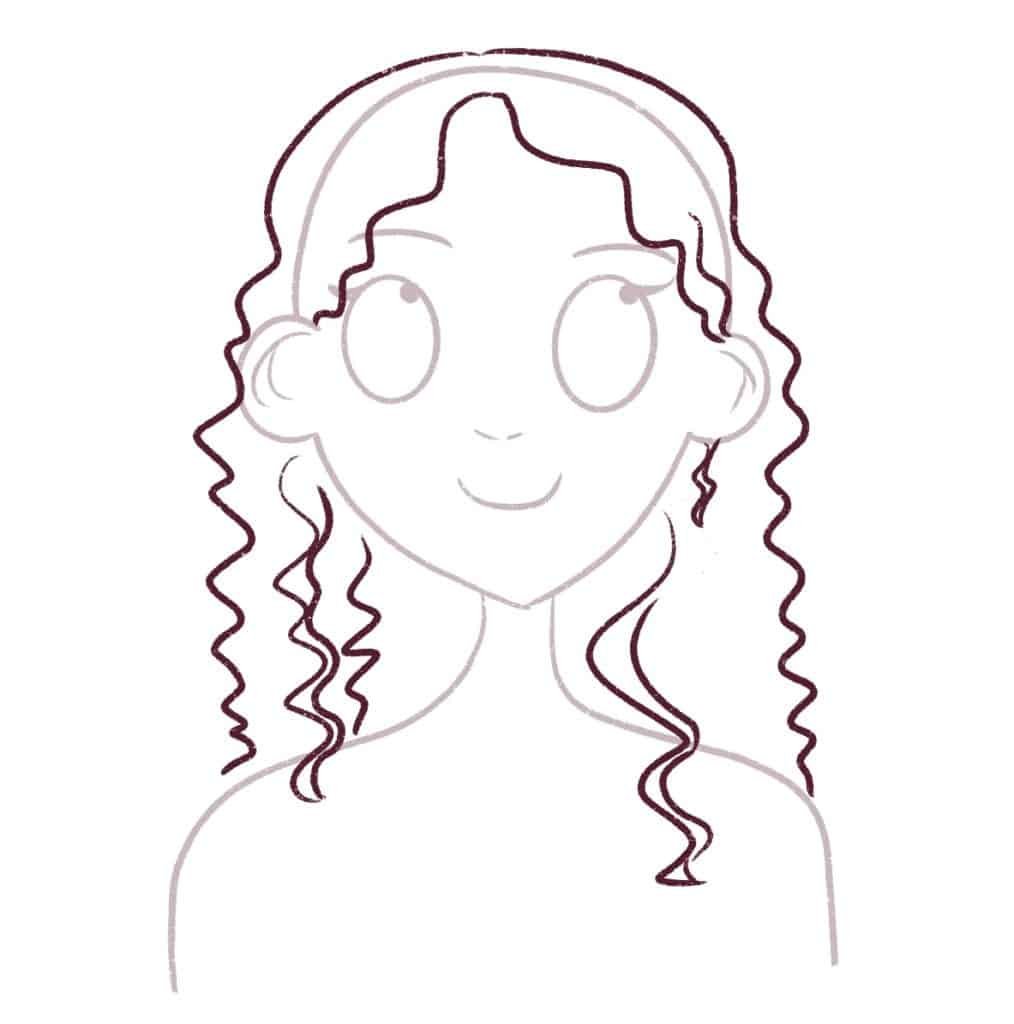
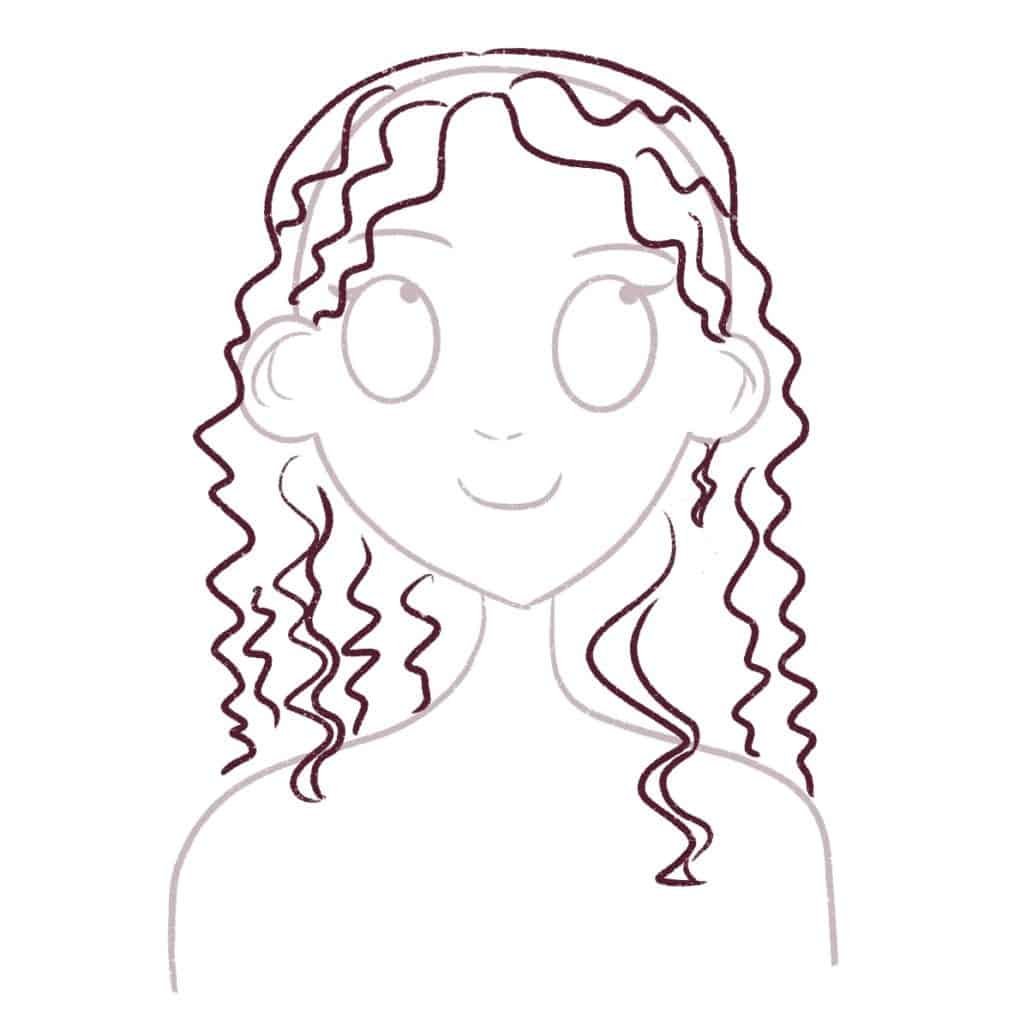
Now, it’s time to draw the individual strands.
Simply draw curly strands in the direction of the hair growth like this:
We are going to color the skin now.
Just repeat the same process as before. If you’re having issues coloring the skin or adding shadows, please refer this post to understand how I color my digital art.
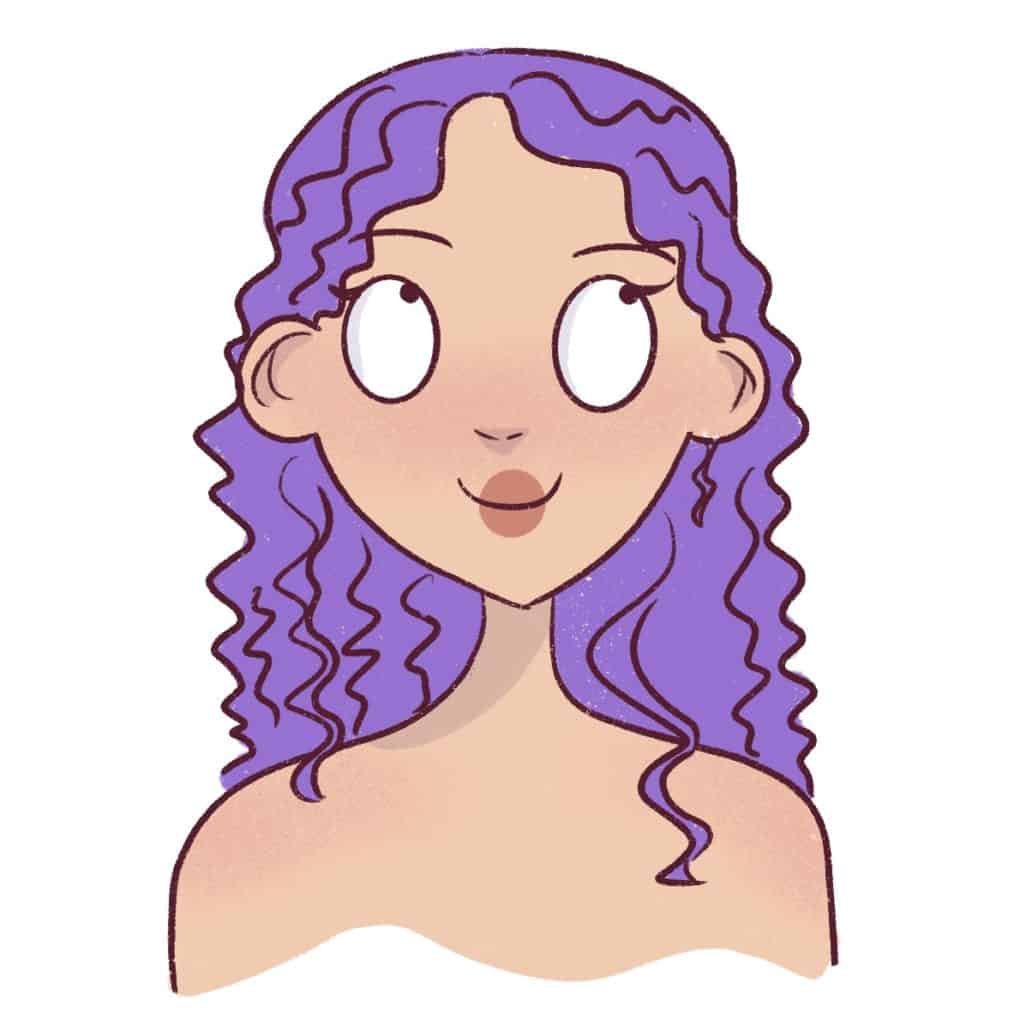
And then, I will color her hair with a base color.
For this tutorial, I’m going to color her wet curly hair a bright purple – just for fun.
Please feel free to use any color you like.
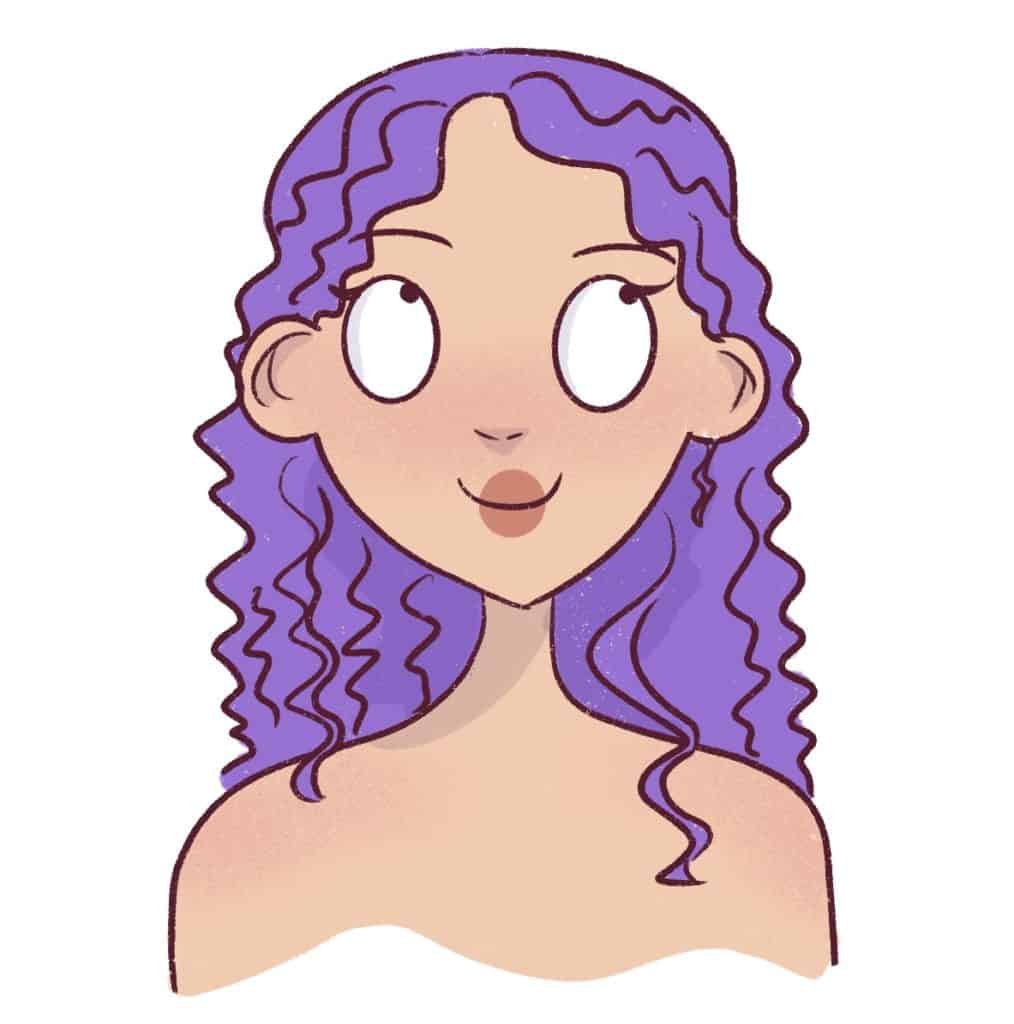
Next, it’s time to add the shadows.
Drawing wet curly hair is easier than drawing wet straight hair.
Draw a shadow at the back of the curls just to add more texture to the curls.
Remember to add curves to the shadows as well!
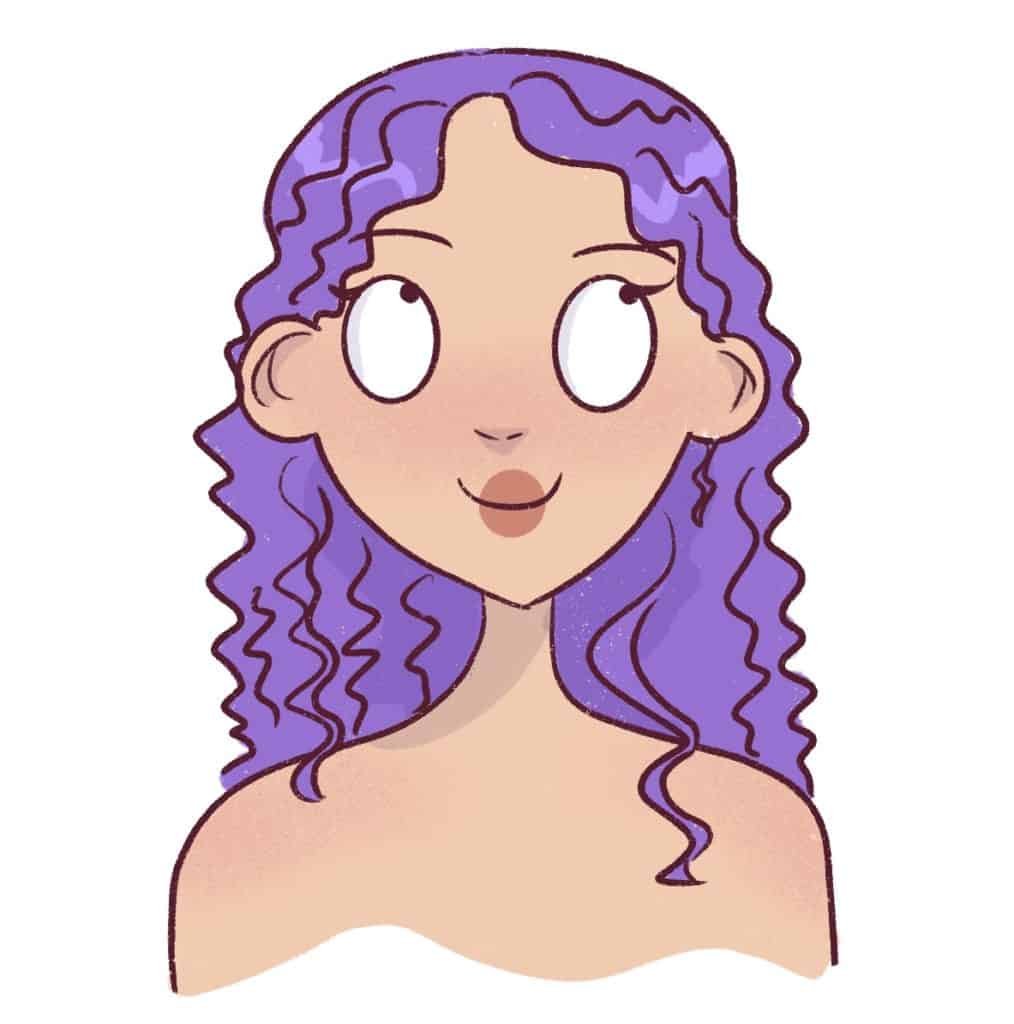
Now we can move on to the highlights.
Just like before, I’m going to use a bright blue to draw the highlights.
Curly hair absorbs a lot of light because it’s textured.
There aren’t that many highlights and it doesn’t look as glossy as straight hair.
So, I’m only going to add highlights to the top of the head.
Make sure that the highlights are very squiggly like this:

Next, change the blending mode to “Add” and change the opacity to 10%.
You should get something like this:
Once you’re happy with your drawing, it’s time for the final step: Adding water droplets to the character and the character’s hair.
So, with white color, just add U and W shapes to the entire character.
Once you’re done, change the opacity of the layer to 45%.
And you’ve officially learned how to draw and color curly wet hair too!
Conclusion
I hope you enjoyed this tutorial and found it easy to learn how to draw wet hair.
Drawing hair can be super challenging in the beginning, I am aware of that.
But with practice it gets so much easier, I promise.
Keep drawing different hairstyles till you get the knack of drawing hair. You can check out all my other hair drawing tutorials here.
I draw a lot of hairstyles for my characters daily, and I love experimenting with hair.
And you can always bookmark this post if you want to use this wet hair drawing reference for studying later.
One of the best parts about drawing hair in a cartoon style is that you don’t need to complicate things by adding too much texture. You just have to get the shape right and draw a few lines in the direction of hair growth.
I have a post that you can read on how to find your art style if you are keen on developing your own style of drawing cartoons.
You can make things easier by picking up this Character Drawing Toolkit.
If you want to see more tutorials on hair and people, just comment below.
I will be adding more hair drawing tutorials to this blog, so keep a lookout!
If you are looking for books on how to draw anime or how to draw anime bangs and anime hair, take a look at these:
If you’re looking to improve your drawings faster and want to really draw as a hobby or even pick up drawing professionally, I highly recommend picking up this beautiful online course that teaches you how to draw digital cartoon characters.
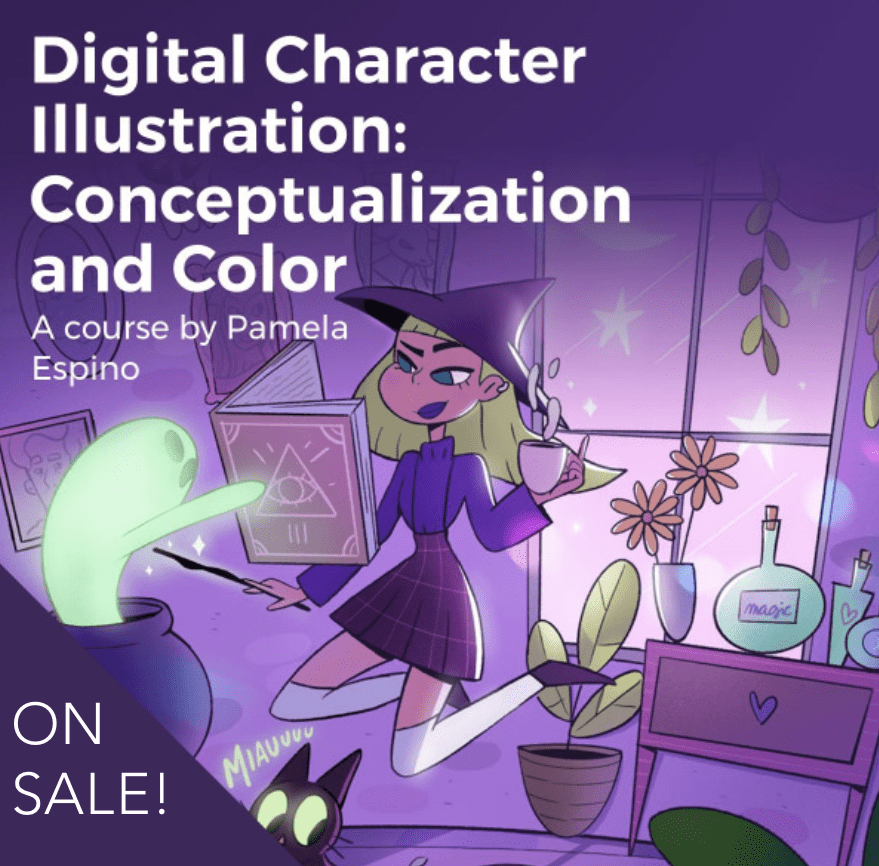
Use code STRAYCURLS-10 to get a 10% discount!
The course is in Spanish but comes with subtitles and is beginner-friendly. I’ve taken several courses on Domestika and I honestly feel it has improved my drawing and illustrating skills immensely.
This course will specifically teach you how to draw and color illustrations on your Procreate app or Photoshop app.
If you are just getting started with ProCreate, I highly recommend this course: Procreate for Beginners: Digital Illustration 101
If you enjoyed this drawing tutorial, you might enjoy these other hair drawing tutorials:
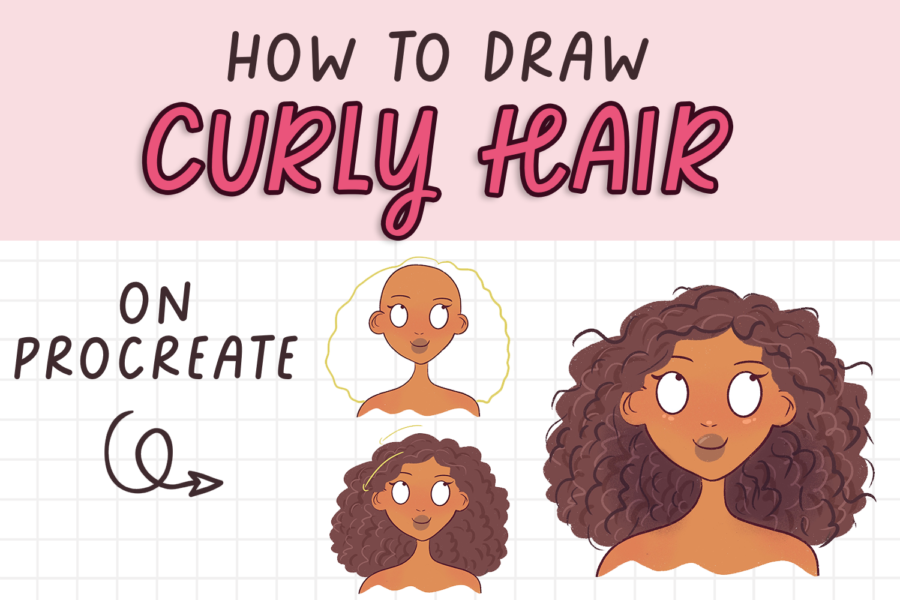
- How to draw straight and curly hair on Procreate
- How to draw bangs
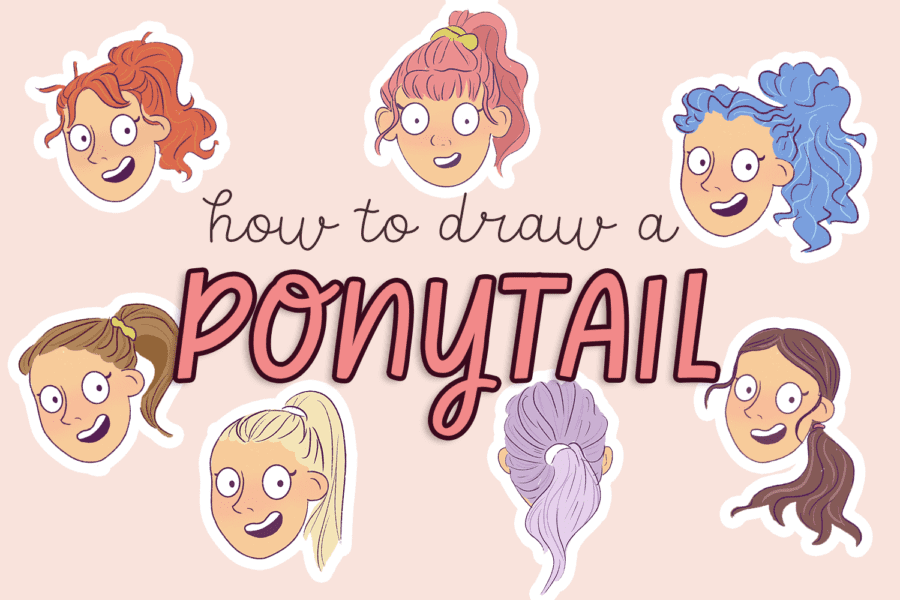
- The Ultimate Guide to drawing ponytails (different types and angles)
- How to draw afro hair (4A, 4B and 4C)
- How to draw mermaid hair (in different conditions)
- How to draw a mullet – front and side view
- How to draw space buns
Before I wind up, I also want to cover some resources that helped me grow as an Illustrator and shorten my learning curve.
Resources to help you draw better:
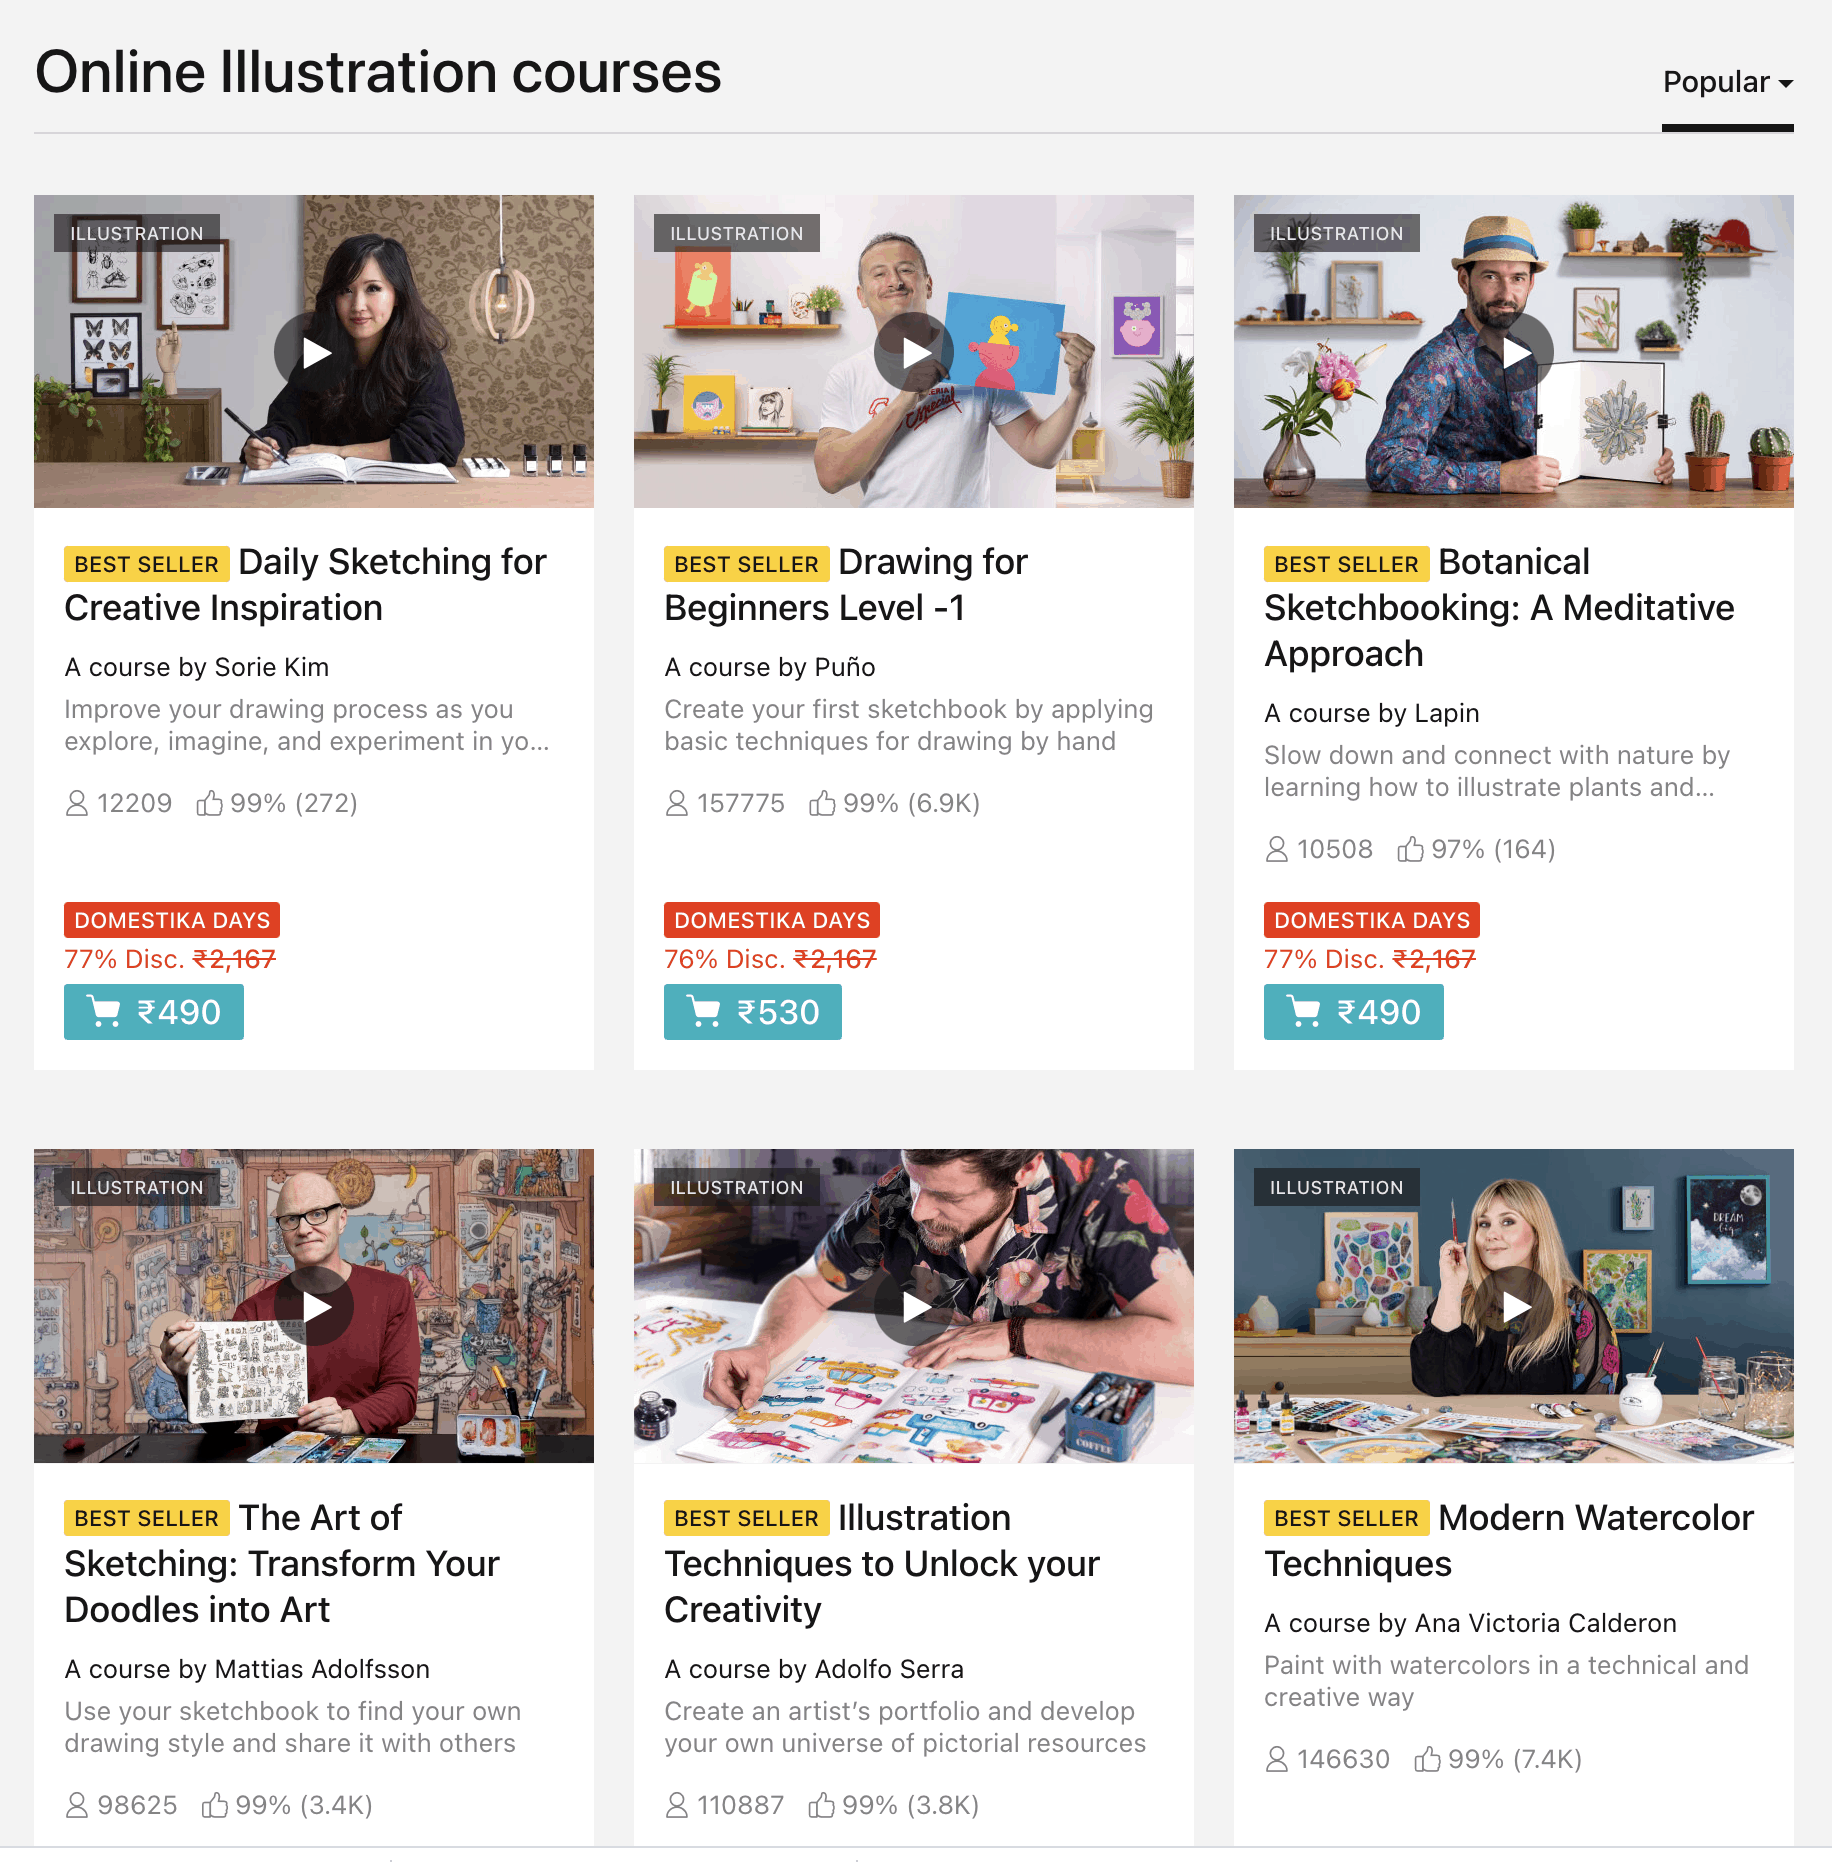
Courses for Artists
I highly recommend checking out Domestika’s Courses because they have courses on almost anything you want to learn, and they’re structured beautifully.
It’s very well organized, and their website is super fast.
Their app is lovely too.
You can download the classes and watch them offline, and the best part? Once you buy the course, you own it forever!
Use STRAYCURLS-10 during checkout to get an additional 10% off!
And if you’re using Procreate, here are some fantastic tools:


Leave a Comment