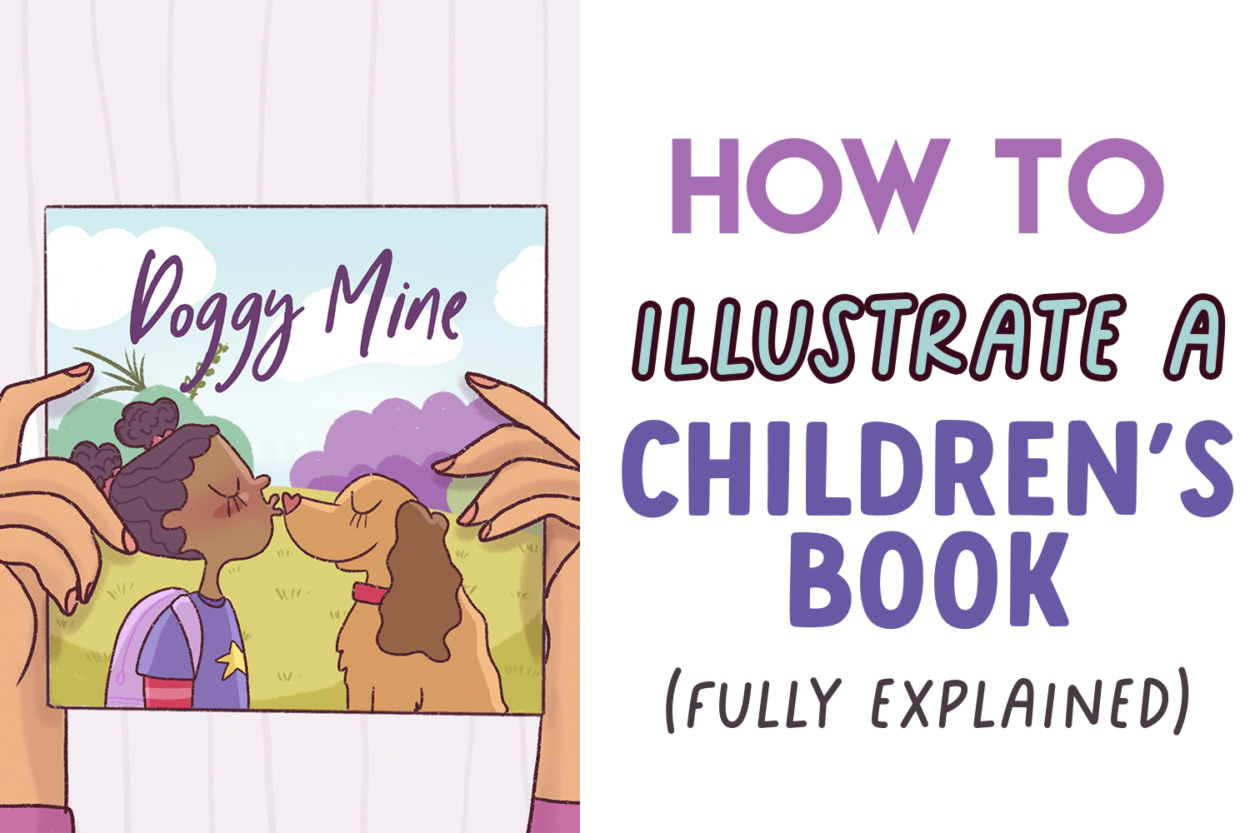
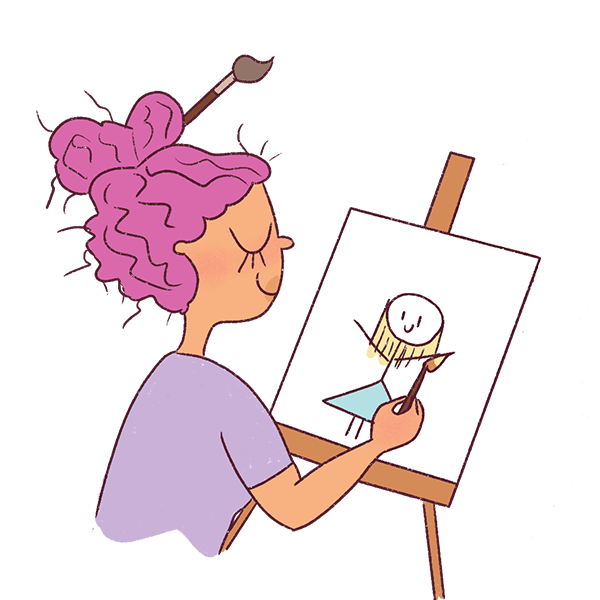
Whether you’re an Artist or a Writer, there will come the point in time where you will feel like writing a Children’s book.
And if you’ve been wondering how to illustrate a children’s book when you don’t have any experience drawing or publishing, and at the same time you don’t want to hire anyone because it’s a bit out of your budget, then this post will help you get started!
It is very easy to get overwhelmed when undertaking a project of this size.
But don’t fear.
Just make sure you go about it step by step so that you can break the enormous task of illustrating a children’s book into tiny steps so that it’s super-duper doable.
Let’s begin!
But before I get into the post, please take a moment to subscribe to my weekly newsletter, where I send all kinds of drawing tutorials, drawing worksheets, and drawing resources like courses and books:
It’s the perfect opportunity to get inspired and be consistent with drawing!
[convertkit form=3083431]
This post includes affiliate links. If you do decide to purchase something, I will make a commission at no extra cost to you. For more information, please read my entire Privacy Policy here.
Table of Contents
How to illustrate a children’s book – Step by Step
1. Do your research
This will involve you going to a book store and buying a couple of children’s books that catch your eye.
Take your time with this. Feel free to open the books and take only what you really like.
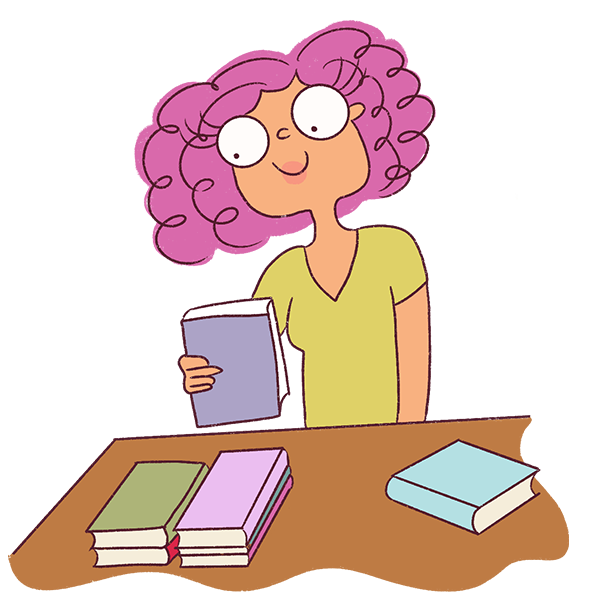
The key to creating a good children’s book is researching what goes into it first.
Once you’re done buying 5-10 books, analyze them.
Apart from the covers, look at the layouts. Here are a few things you can make a note of:
- What drawing style stands out to you? Is it easy to replicate?
- How does the text complement the illustrations?
- How do the sentences and images go together?
- How does the story eventually pan out?
Keep a time limit on your research phase but don’t miss this step.
Researching children’s books will allow you to understand what goes into creating one and give you the confidence to move forward with your project!
2. Get the details in order
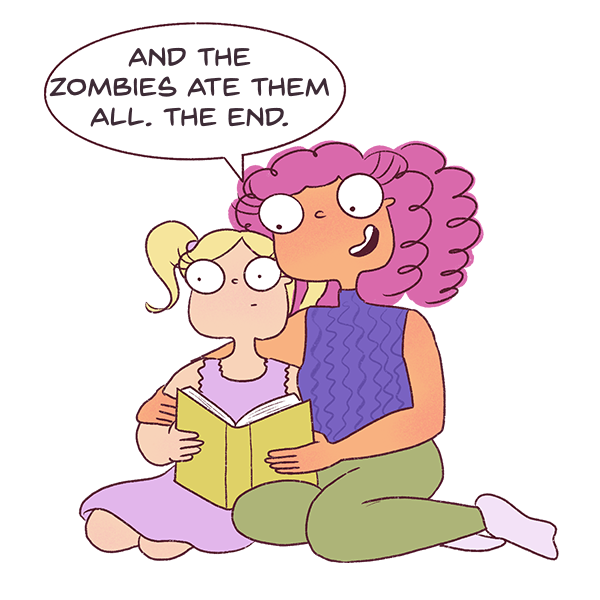
Before you go about writing the story or drawing your main characters, decide who this book will be for.
Yes, your audience will be children, but narrow down the age range so that you can form the storyline more clearly.
The book you write for a toddler will be very different from a book you write for a child in preschool.
You have to write a story that’s very appropriate for the age range you’re aiming for.
Ask yourself what topics you are interested in covering. To understand what is selling well, you can look at the best-seller children’s books in your local bookstore.
One of the best suggestions I can make is to go to the Book Section on Amazon and see which children’s books dominate the space.
Read the comments to understand what teachers and parents are talking about and what they love most about the books.
Note all these points down.
These are all the ingredients you will be using to write and illustrate your children’s book!
Here are some notes to remember:
- An ideal children’s book has only 32 pages (including the Title Page, Introduction, Copyright section, etc.)
- Your whole book should ideally be within 500 words. (This will help you get a publisher quickly)
3. Decide what your story is going to be about
Ask yourself if there was ever a story you wanted to tell the world.
Think about what means a lot to you – morals, goals, objectives, etc. Is this something you could weave into a colorful story for kids worldwide to enjoy?
Ask yourself what the outcome of the book should be.
Do you want it to build character? Should the book inspire the child to become more environmentally friendly? Or should the book teach a valuable skill to the child?
Ask yourself what message you want the child to walk away with and what emotions or feelings you want to bring out in the reader.
This will help you get a better perspective of the story you want to write.
Open your laptop and get cracking on a rough draft. The story needn’t be perfect at this point.
You’re still in the editing mode.
The story should have three components:
- The Beginning: You introduce the main character to the child. Ask yourself how the main character can be relatable to the child.
- The Middle: This is where the main character is faced with a challenge that they need to overcome.
- The End: Here, the main character will have resolved the issue, and all will be well in the world again.
4. Come up with the main character
Remember, you’re still working on the story, so nothing is finalized!
But you have to come up with the main character.
The character needs to be cute to appeal to children, undergo some difficulty or challenge throughout the book, and have 2-3 redeeming qualities for which children will love them.
At this stage, you can even doodle a few rough sketches of the character on a random notepad. It doesn’t need to be perfect.
One of the best ways to get children to identify with the protagonist is by making the protagonist a child.
But feel free to go wild with the description.
Perhaps the child could have big red glasses, wear a beanie to school, or checkered green overalls.
Create a character that is wild, imaginative, and colorful!
Take Ruby’s Worry, for instance. The protagonist is super memorable with her big chunky ponytails and bright blue dress.
Thanks to the bright yellow background, she also stands out on the cover!

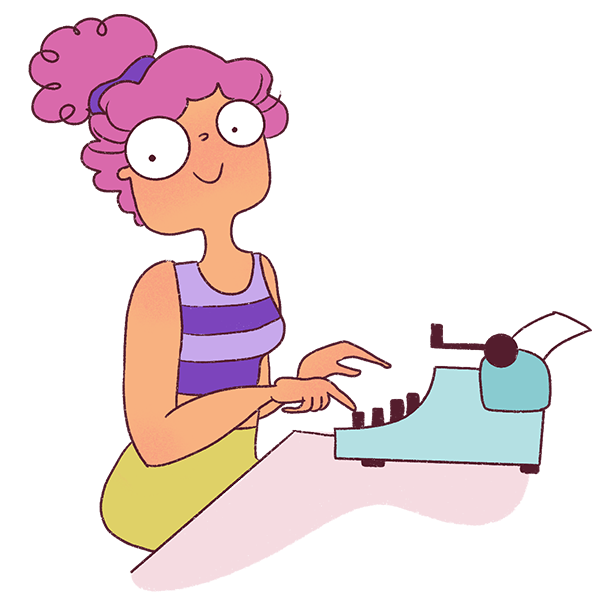
5. Write the story
Now that you have a rough draft, it will be easier to write the story.
Remember that you have to fit the whole story within 500 words.
Take your time to re-write the story as many times as you like till you are happy with the final draft.
But keep a deadline for when you want to finish writing your story.
Ideally, you can take about 45-60 days to write and illustrate your story.
If you’re struggling with this, then you can look for a children’s book writer on Fiver or PeoplePerHour.
If you’re going to be hiring a writer for your children’s book, here are a few points to keep in mind:
- Go through their portfolio to see whether they’ve written stories for the age group that you have in mind.
- See whether their stories are similar to the theme you want.
- Ask them what their rates are for the story you have in mind.
- Make sure that they’re okay with the deadline you give them.
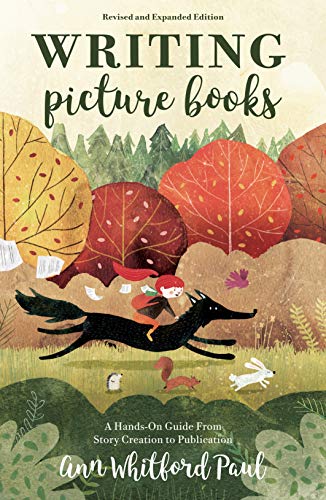
Alternatively, you can check out these amazing resources, so you have a better idea about writing and illustrating your children’s book


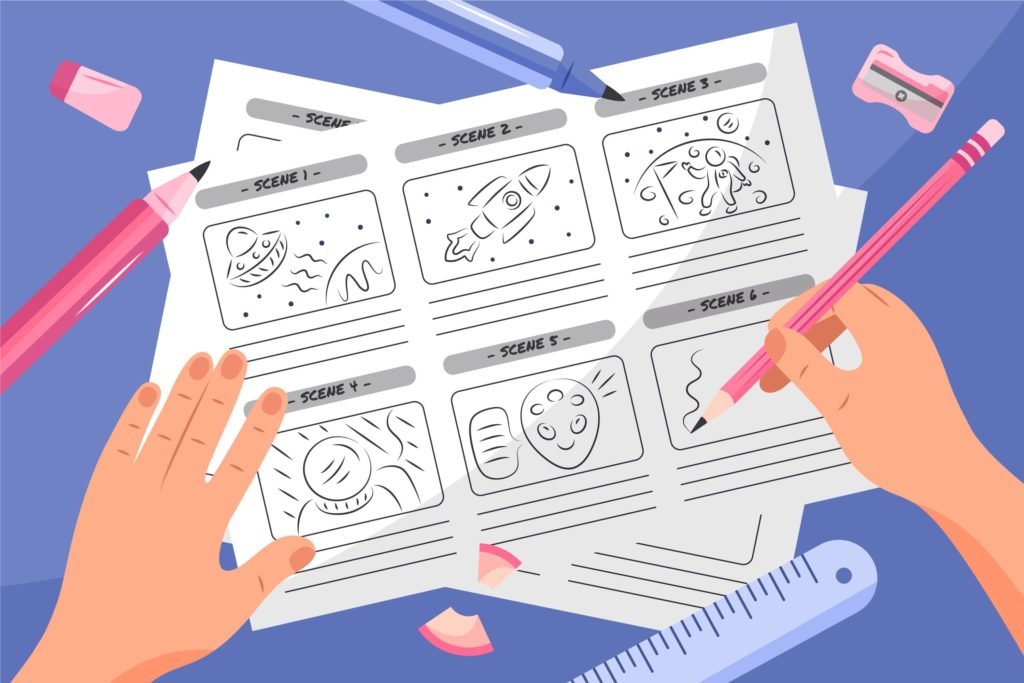
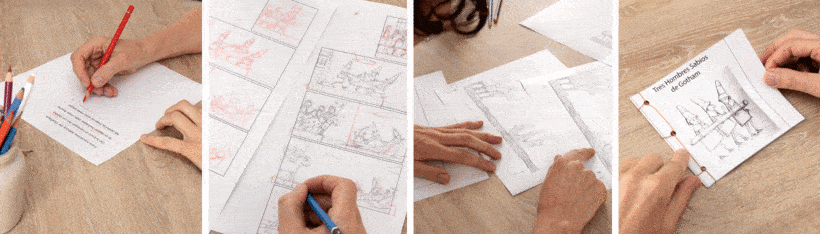
6. Create a rough storyboard
You’ll be forming the layout for your children’s book at this stage.
You can do this on an app like Canva or Photoshop. Or you can take a few pages, staple them together and use them as your rough storyboard.
Each page will be a mockup of the page in the book. So if your book is going to have 32 pages, you should have 32 mockups or page layouts.
Now, roughly attach the text to each page (either by pasting the text via tiny pieces of paper or writing it out)
You can now draw rough illustrations on each page to have a sample idea of what the book will be like.
If you’re looking to learn how to plan and create a children’s picture book from scratch while developing a storyboard, here’s an excellent online course you can take!
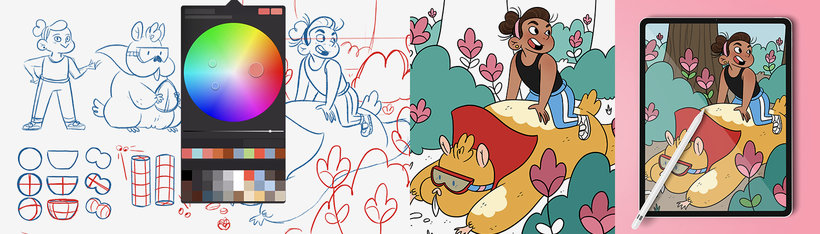
7. Illustrate your children’s book
You can find a children’s book illustrator on Fiverr or People Per Hour, or you can do it yourself.
If you’re looking to become an Illustrator or want to get started with illustrating, please read some of my tutorials that discuss how you can improve your drawing skills:
- 9 Best Drawing Books for Beginners
- How to get better at drawing for beginners
- How long does it take to learn how to draw
- 13 easy ways to make money as an artist
If you’re wondering how to illustrate a children’s book when you can’t draw – I got you covered.
If you decide to do it yourself, I would recommend a very simplistic art style if you don’t have much experience drawing.
Nowadays, most children’s books are created digitally because it’s much cleaner and faster.
If you’re looking to learn how to illustrate a children’s book from start to finish, I highly recommend buying this beautiful book – How to Be a Children’s Book Illustrator: A Guide to Visual Storytelling.
Divided into a series of lovely sections, each created by individual illustrators, this book tells the story of how to depict narrative and compel an audience through visual art successfully.
This book will help you understand how you can create suspense and how color, visual hierarchy, and symbolism can tell a powerful story.
Additionally, if you’re looking at shortening your learning curve, you can check out this excellent online course on becoming a children’s book illustrator!
I highly recommend using Procreate to create your illustrations because it’s really easy to pick up.
I’ve not attended any formal training or taken any physical classes or courses to learn to draw.
I’ve learned digital art via books and online courses.
And it’s super easy to pick up because you can keep replaying the videos to learn faster.
If you’re looking to use ProCreate to create your characters for a children’s book, then this course will help you:
Additionally, if creating characters is posing a challenge for you, then get this simple character toolkit that will help you create characters from scratch using pre-made templates using ProCreate.
8. Create the cover
Once your illustrations and story have been completed, it’s now time to create the most crucial part of the children’s book – the Cover.
The cover will make or break your sales because everybody judges a book by its cover.
Your book cover should draw everyone’s eyes to it, and it should stand out from other books. Remember, your book will be placed with several others in bookstores or on Amazon’s Book page.
Here are a few characteristics of a good children’s book cover:
- It should be colorful and attractive to draw parents and children to it
- It should convey what the story is about in a nutshell (use your title and illustration to do this)
- It needs to stand out from other book covers. This will ensure that your book is picked up by many people!
- Your title should be big and bold.
If you are using ProCreate, I highly recommend getting some nice brushes to draw a beautiful book cover.
9. Assemble your book
Create your book digitally using a simple app like Canva so that you can flip through the pages and make modifications quickly.
Once you’ve assembled your book, save it as a PDF and get a sample printed.
Share your PDF with parents or teachers and show the printed sample to kids in your locality or school.
Get their unbiased opinions and write them down in a notebook.
If you find that specific suggestions are being repeated constantly, try to enforce them and make those changes to your book.
It’s alright to take two additional weeks for this stage because people will take their time to give you their feedback. You can send them emails to request them to provide it in 3-4 days or send them gentle reminders and explain that you’re on the clock.

10. Have a deadline
Every time you start a project, create a deadline for when you’ll finish the project.
This will help you stay on track and be highly productive.
Create deadlines for researching, writing the story, creating the layout, and illustrating the book.
Conclusion
I hope this guide helped you understand how you can write and illustrate your very own children’s book.
I wish you all the best, and I hope your book is a huge success!
If you’re looking to publish your book yourself, then read this guide on self-publishing your children’s book.
Or you can check out these books that talk more about getting a book published.


If you enjoyed this tutorial, you might enjoy these other blog posts!
- How to draw without a reference
- How to get better at drawing (for beginners)
- How to find your art style when you’re a beginner artist
- 13 signs you were meant to be an artist
- How long does it take to learn how to draw? (Explained)
- How to become a full-time artist without a degree
- 13 drawing mistakes most beginner artists make
- 9 drawing books for beginners
- Fun drawing gifts for children under 10 years old
- 13 easy ways to make money online as an artist
- 13 reasons why people like drawing + drawing benefits!
Before I wind up, I want to cover some resources to help you!
Resources to help you draw better:
Here are a few online courses that will help you create your Children’s book:
- Creating Characters for Children’s Stories with Procreate
- Creation of a Children’s Picture Book
- Illustration and Character Design for Children’s Stories
Courses for Artists
I highly recommend checking out Domestika’s Courses because they have courses on almost anything you want to learn, and they’re structured beautifully. It’s very well organized, and their website is super fast. Their app is lovely too. You can download the classes and watch them offline, and the best part?
Once you buy the course, you own it forever!
Use my personal coupon code STRAYCURLS-10 during checkout to get an additional 10% off!
Let me know if you have any questions, and I’ll be more than happy to help you out!


Leave a Comment