Drawing hair is tricky.
Drawing hair is a whole different science.
It is easy to draw non-complex hairstyles – but throw in something like pigtails or a mullet, and we feel flustered as artists.
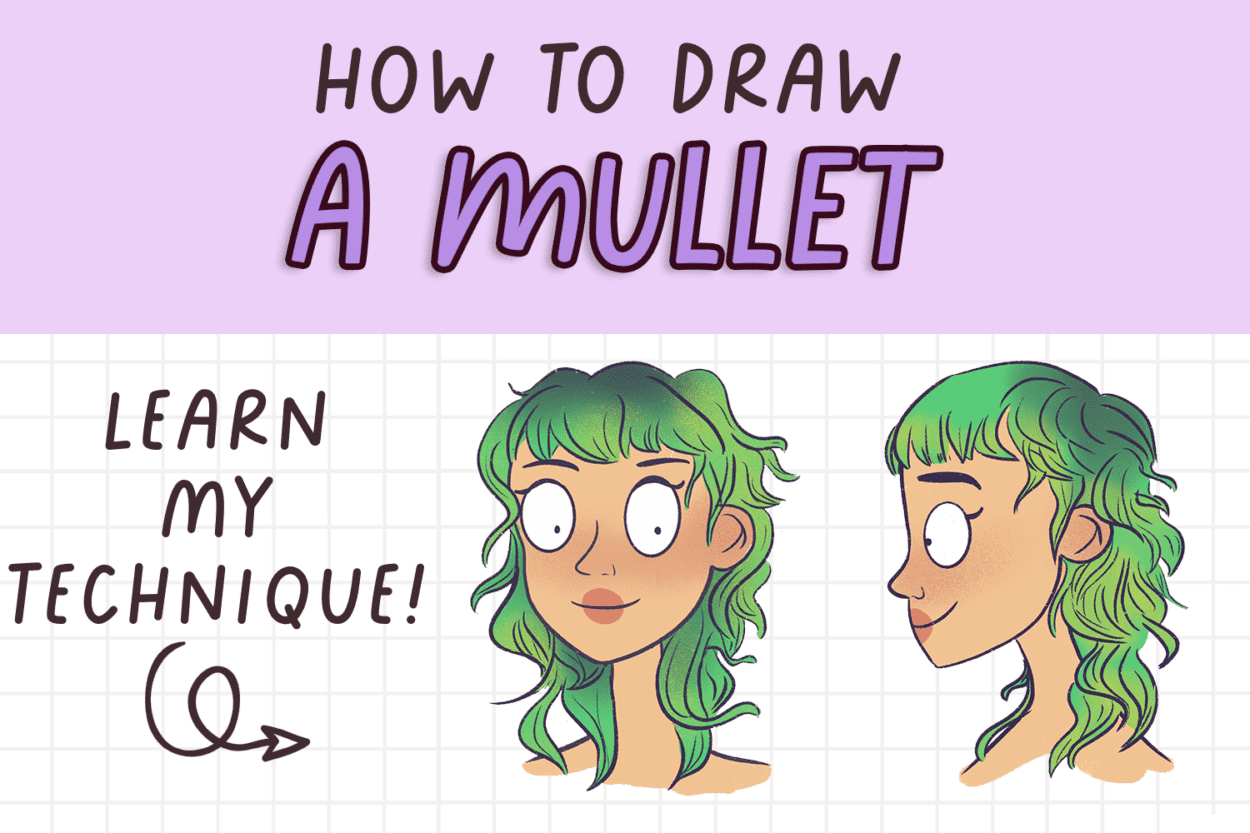
That’s why I compiled this super simple hair drawing tutorial, and I’m going to teach you how to draw a mullet.
You can check out all my other hair tutorials here.
But whether you are a kid or an adult, you’ll be able to draw a mullet by the end of this post.
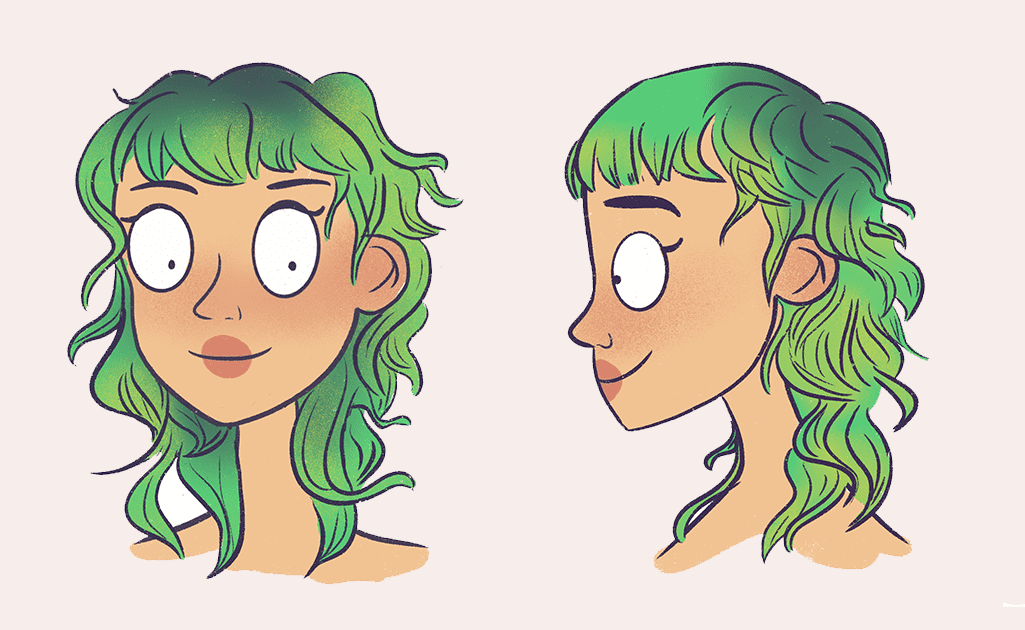
You will learn to draw a mullet from the front view and the side view like this:
This post includes affiliate links. If you do decide to purchase something, I will make a commission at no extra cost to you. For more information, please read my entire Privacy Policy here.
Table of Contents
How to draw a mullet – step by step easy hair tutorial for beginners
Okay, before I begin the tutorial, I need you to know what I’m using to make my illustrations.
I’m currently using:
And I’m using the Procreate software.
It’s a one-time fee of $10. And that’s it.
You can draw on it forever for free after that. You can check out this basic Procreate course if you need help getting started with Procreate
Please note, that you can use absolutely any tool – pencils and paper, Copic markers, watercolors, anything.
I’m merely showing you the technique of drawing hair.
Let’s begin!
How to draw a Mullet (Front view)
I’m going to start with the front view of the mullet first because it’s easier.
Before we get into drawing a mullet, let me first explain what the mullet actually is.
What is a mullet?
It is a hairstyle in which the hair is cut short in the front and the sides but the hair in the back is grown long.
It was a hairstyle that originated in the 1980s and was quite popular back then. People still have mullets today, but they’re definitely more modern.
After seeing Billie Eilish’s mullet hairstyle, I was inspired to draw a mullet and create this tutorial!
Whenever you find a hairstyle confusing, look at pictures online (Google Images) to see what the hairstyle actually looks like. This helps me a lot when I’m drawing hair.
Let’s dive in.
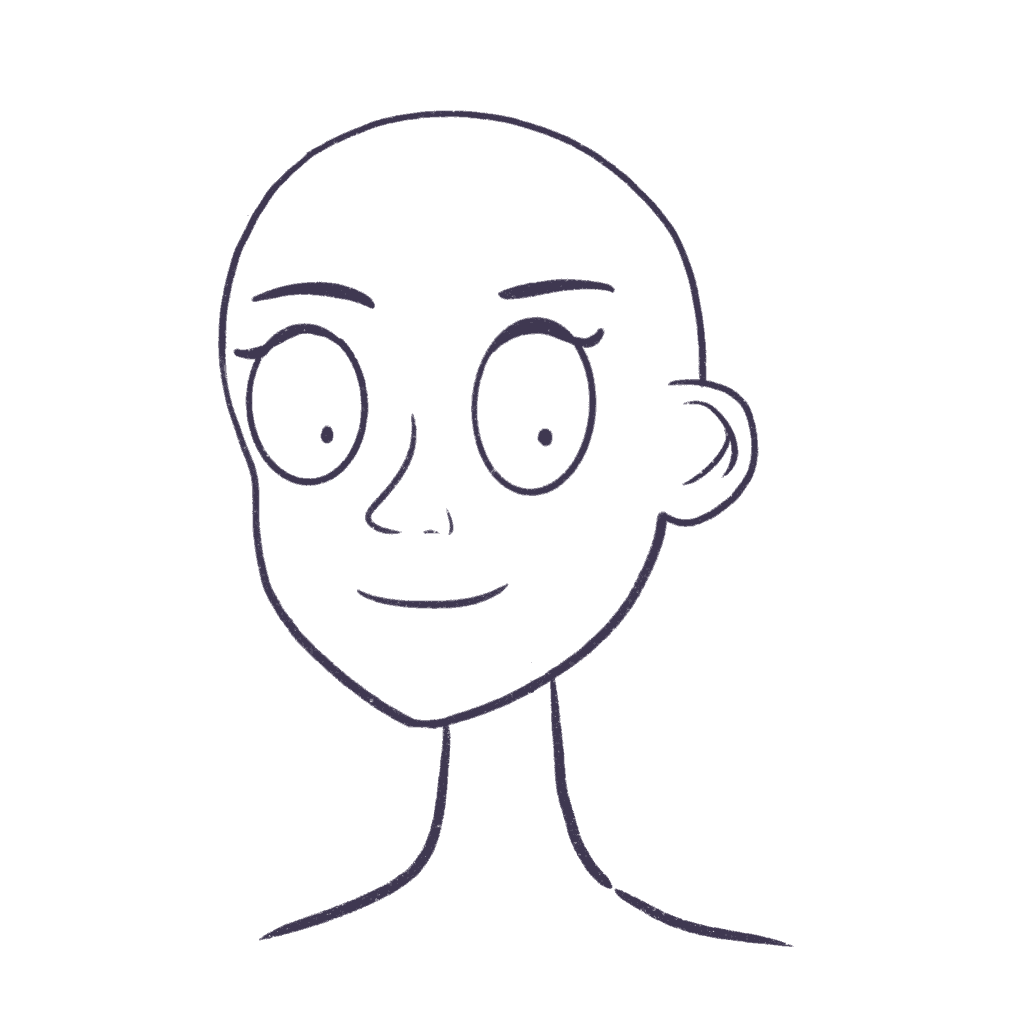
1. Draw the head
I always start with a nice outline of the head.
I use the Dry Ink brush (free on Procreate), which is on an entirely new layer.
You want to draw a cartoon head because you need the shape of the head to draw the hair. It makes the overall condition of the hair more realistic.
I won’t go into detail about drawing cartoon heads, but here’s a book that covers drawing cartoon heads.
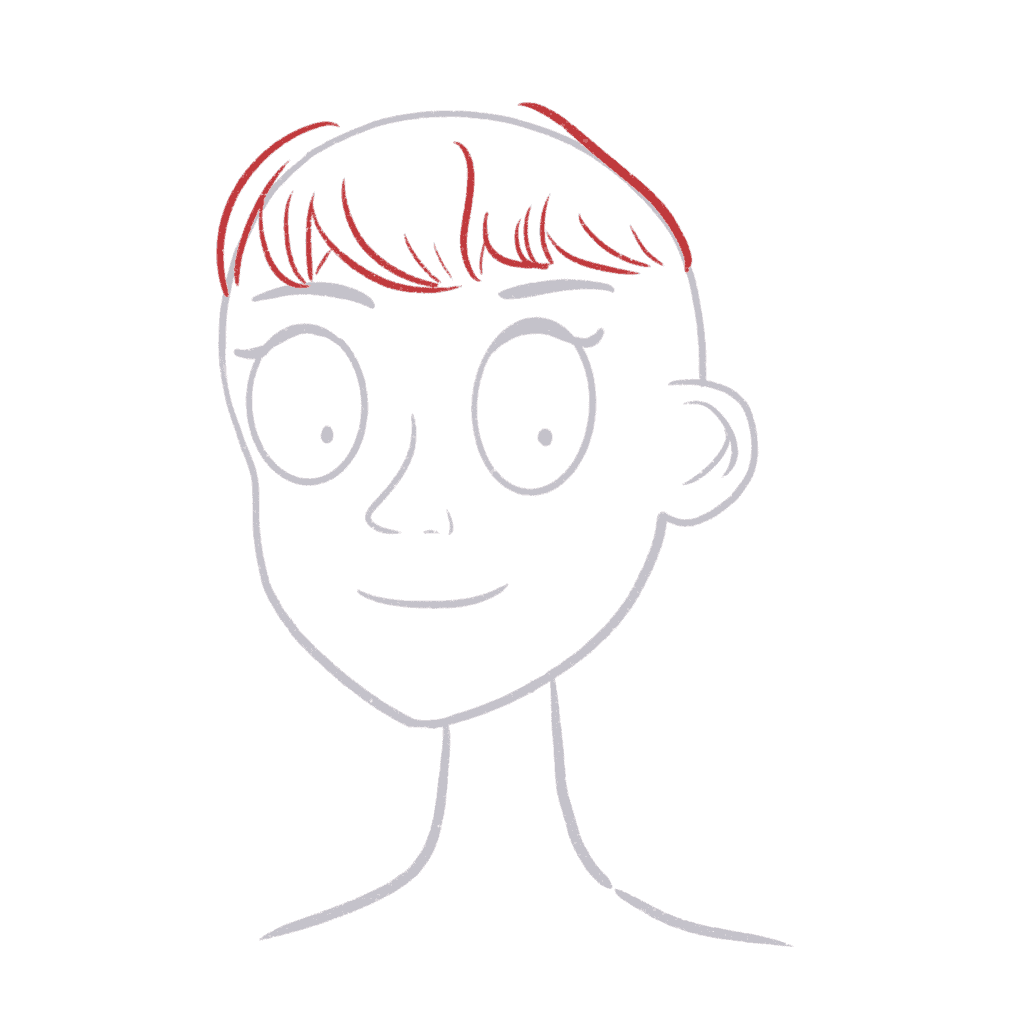
2. Draw the bangs of the mullet
Remember how I told you a mullet has short hair on the front and on the sides?
So, we need to draw extremely short hair on the front of the head – preferably above the eyebrows.
I’m going to draw the hair on a new layer over the head layer. Always draw items on a new layer so that erasing and manipulating the layers becomes easy – that way you won’t be messing around with other parts of the art.
I’m going to draw quick bangs on the front.
Note: When drawing hair, remember to vary the line thickness, the line length, and even the distance between lines. This will make your hair look more organic and less forced.
3. Draw the side locks of the mullet
Okay, once the bangs are done, draw the hair on the top of the head and the locks of the mullet.
Drawing hair can be tricky, but don’t despair if it doesn’t look perfect. It becomes easier with practice. Just keep drawing!
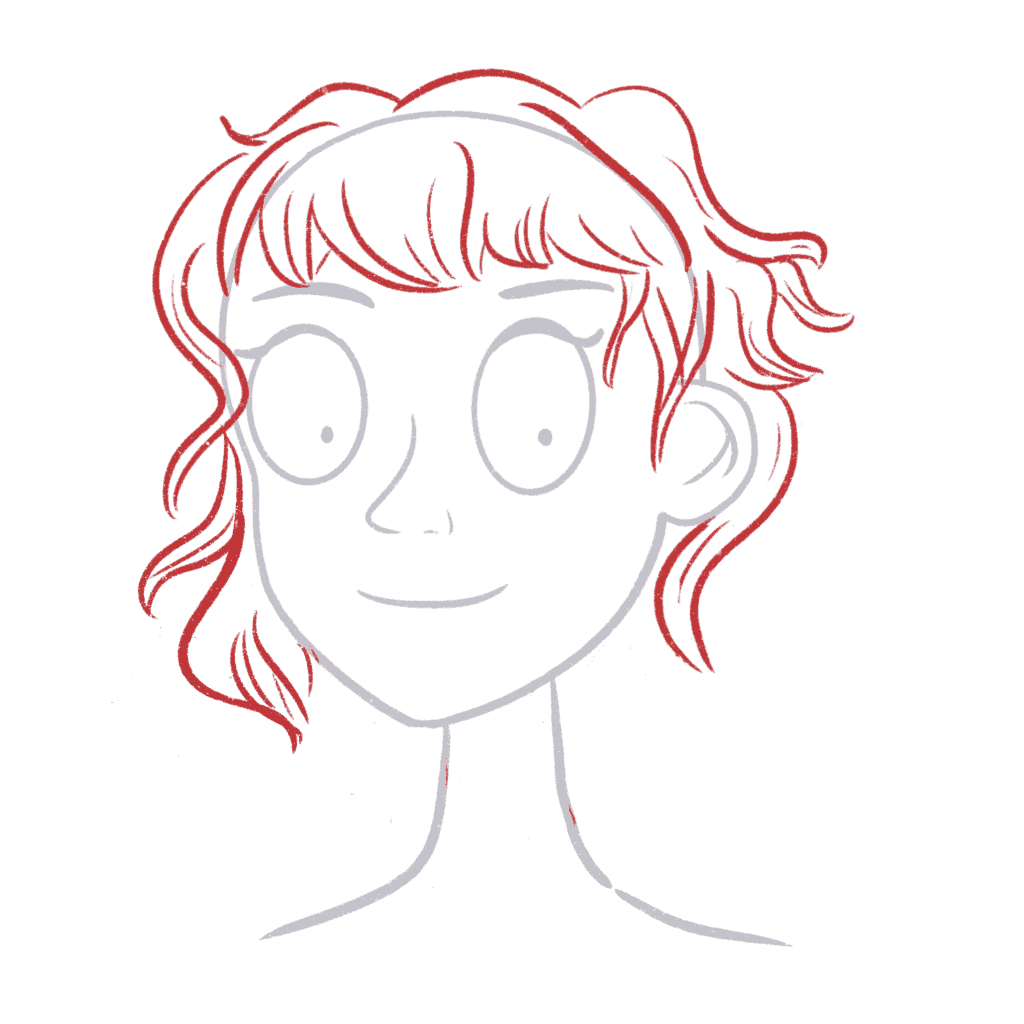
Notice how I’m using simple “S” shaped strokes for most of the hair.
Draw one section at a time, and if one section of hair is overlapping another, you will have to erase the section that is behind the current one.
Keep things as simple as possible by drawing a few sections first.
4. Draw the rest of the hair of the mullet
Now, I’ll draw the rest of the mullet.
Remember, the hair on the back of the head is longer, so draw longer sections that slowly overlap the neck and shoulder.
Try to keep these sections very fluid – it is essential to use long strokes to draw straight hair.
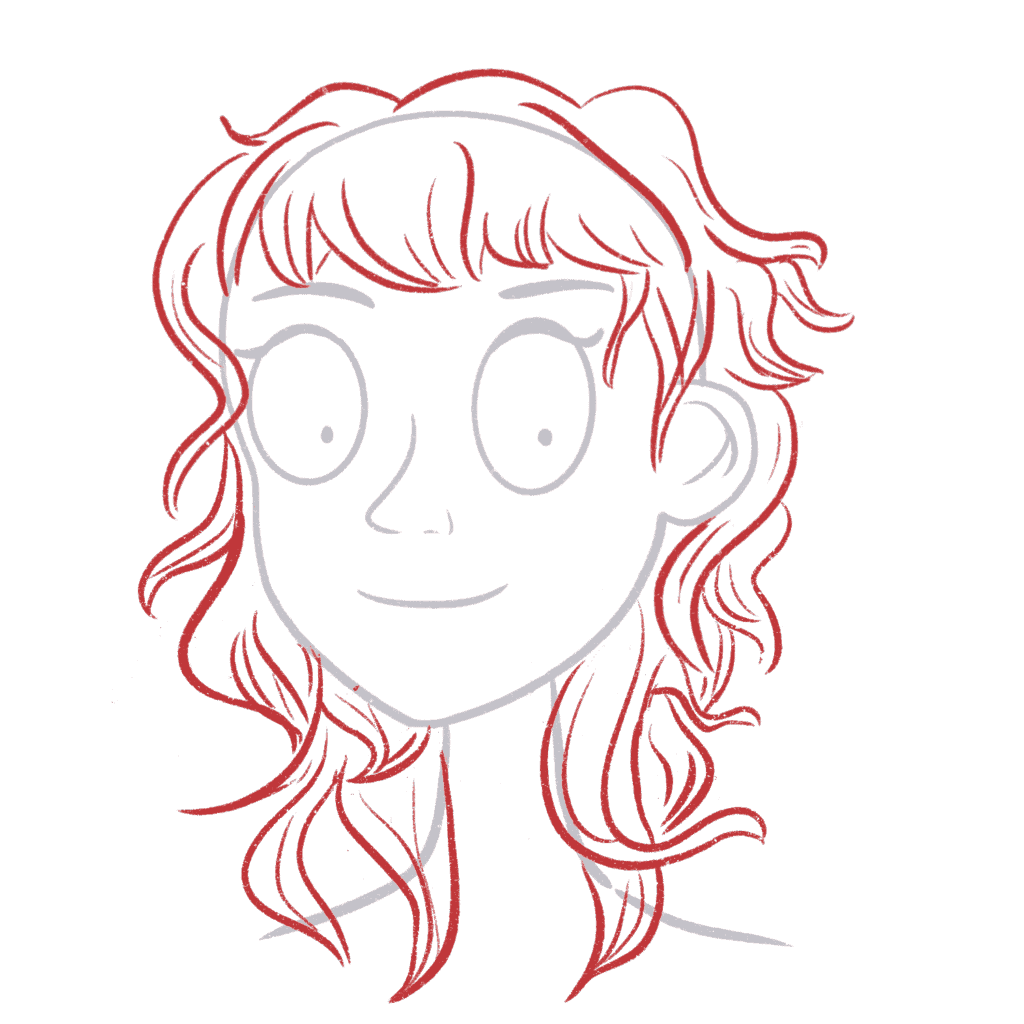
Use large C and S shapes when drawing the sections of hair of the mullet.
This will make it easy for you to draw the hair.
5. Finalize the outline
Okay, I’m pretty happy with the outline, so I’m going to group all these layers into 1 group.
I will duplicate this group and flatten the duplicate copy.
Now, I’ll color this outline layer a dark blue. I’m also erasing all the rough and overlapping lines to clean up the illustration.
Note: When drawing outlines, never use black. It’s very amateurish. Use dark purple, brown, or blue – it looks better!
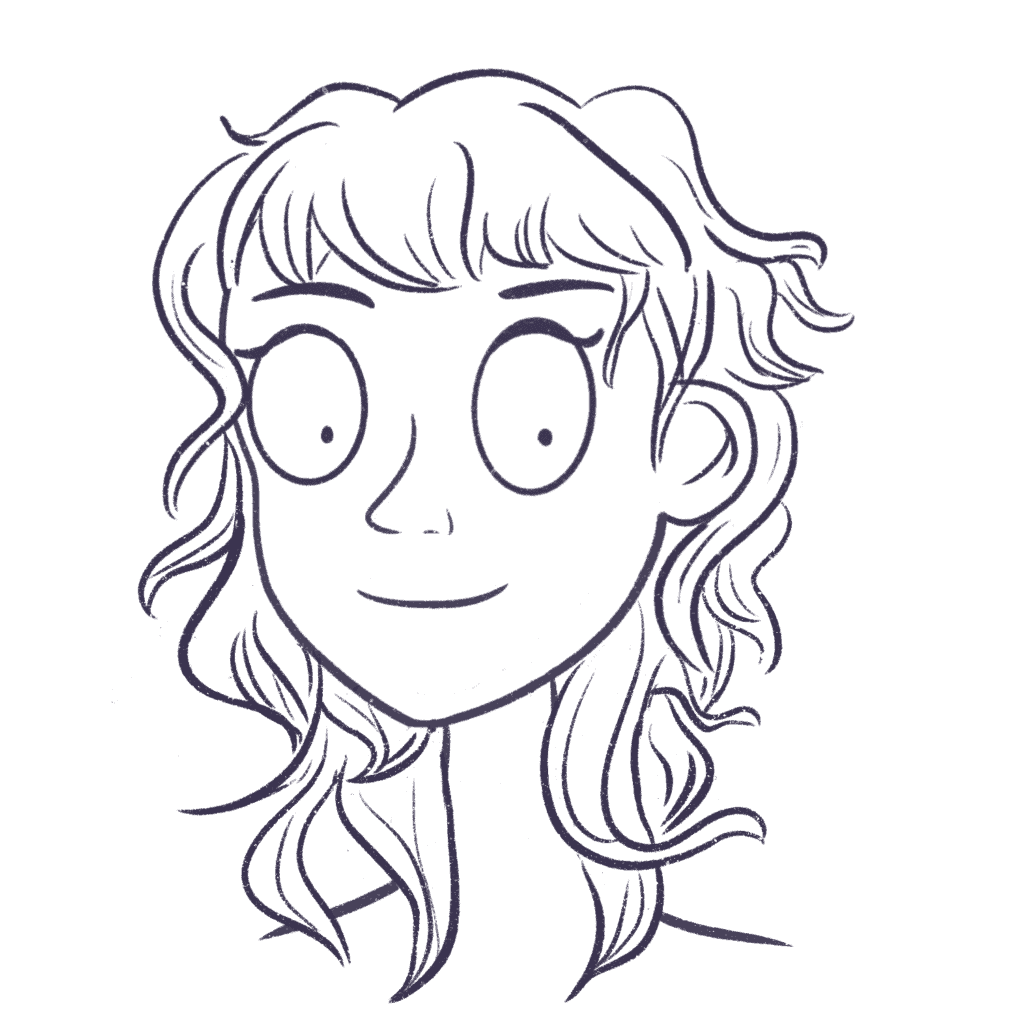
Now, this is going to make coloring so much fun!
6. Color the skin
This is super easy to do. Just make sure you’re adding a new layer for every base color.
This means one new layer for the eyes, another new layer for the skin, and another for the base hair color. I use the dry ink brush for coloring the base layers as well.
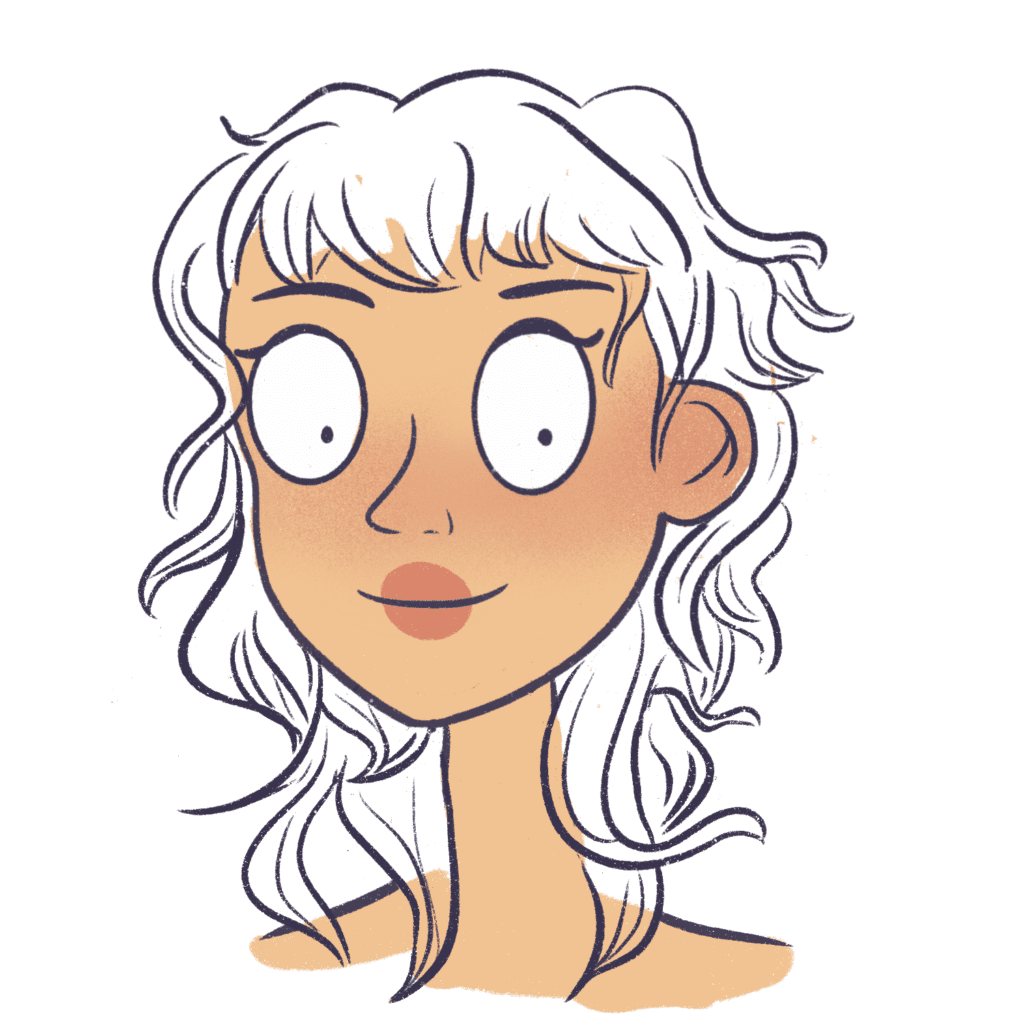
First, I’m going to color the skin, eyes, and lips.
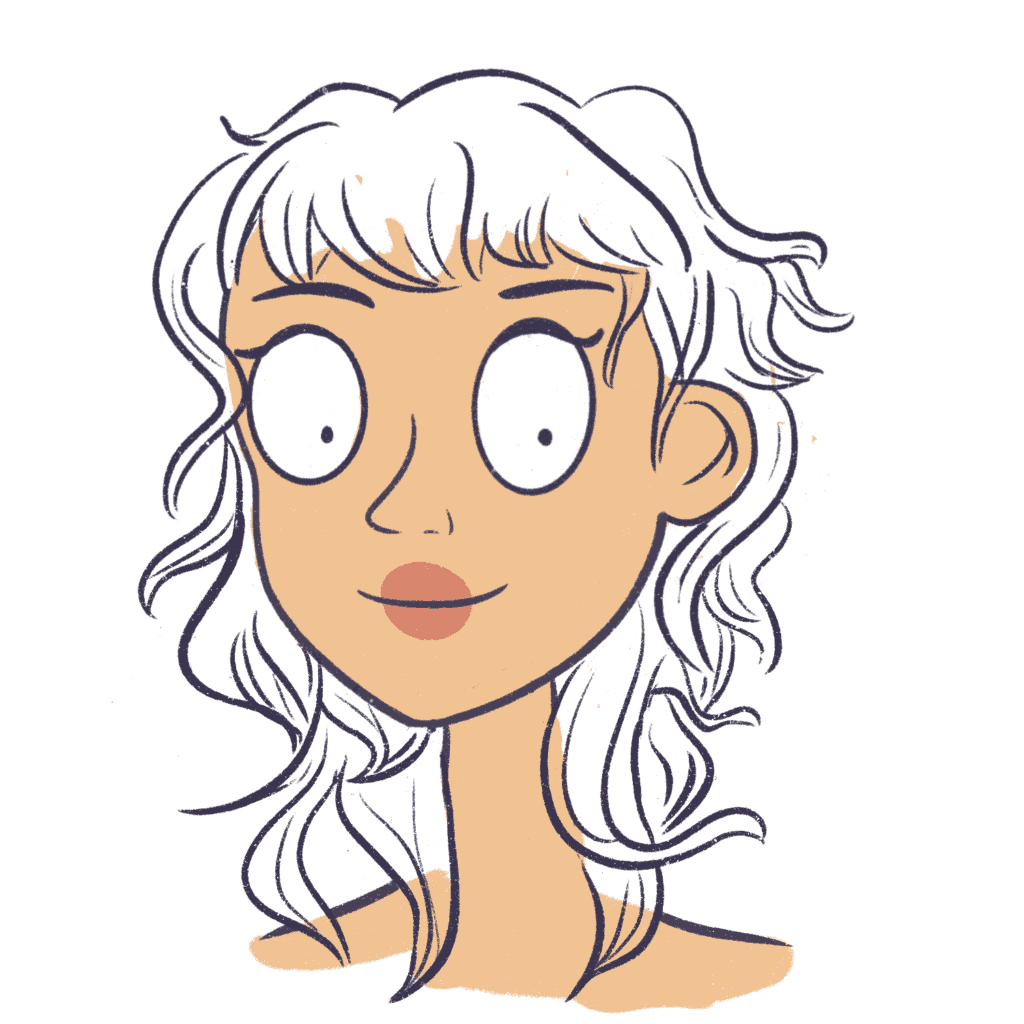
Now, using the bonobo brush (free in Procreate), I’m going to add some blush and color to her cheeks and her ear.
Next, let’s color the hair!
6. Color the mullet hair
You can choose any color you want to color her hair.
I’m going to use Billie Eilish as inspiration and use a bright parrot green to color her hair. I will do this on a new layer.
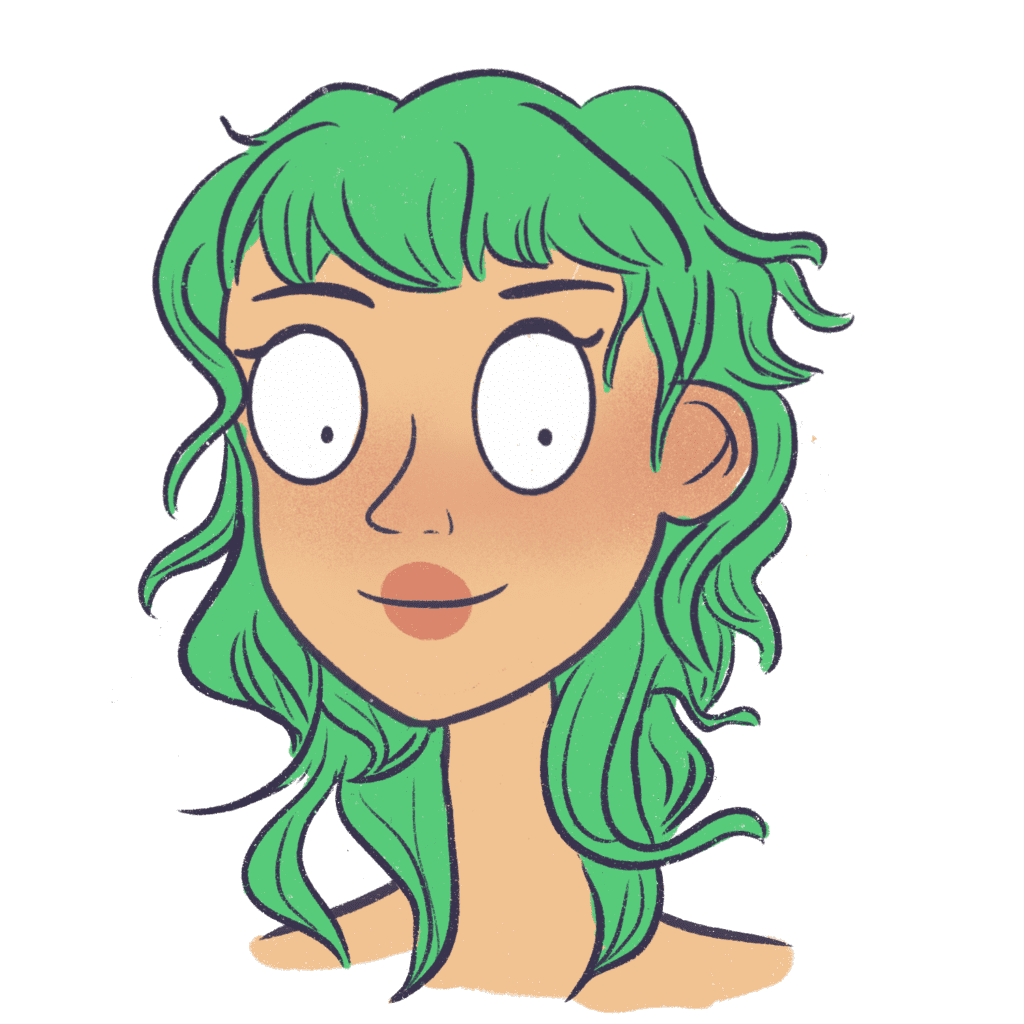
Now, her hair is obviously dyed.
So, I want to draw darker roots to make her hair look more realistic.
Create a new layer over the green color hair layer and click on it to select “clipping mask.”
So now, when we draw anything, we can only draw over the layer that is underneath. You don’t have to worry about coloring outside the area.
I’m now going to use the bonobo brush and color a few areas dark blue.

Now, using the smudge tool, I’m going to smudge the color to soften it.
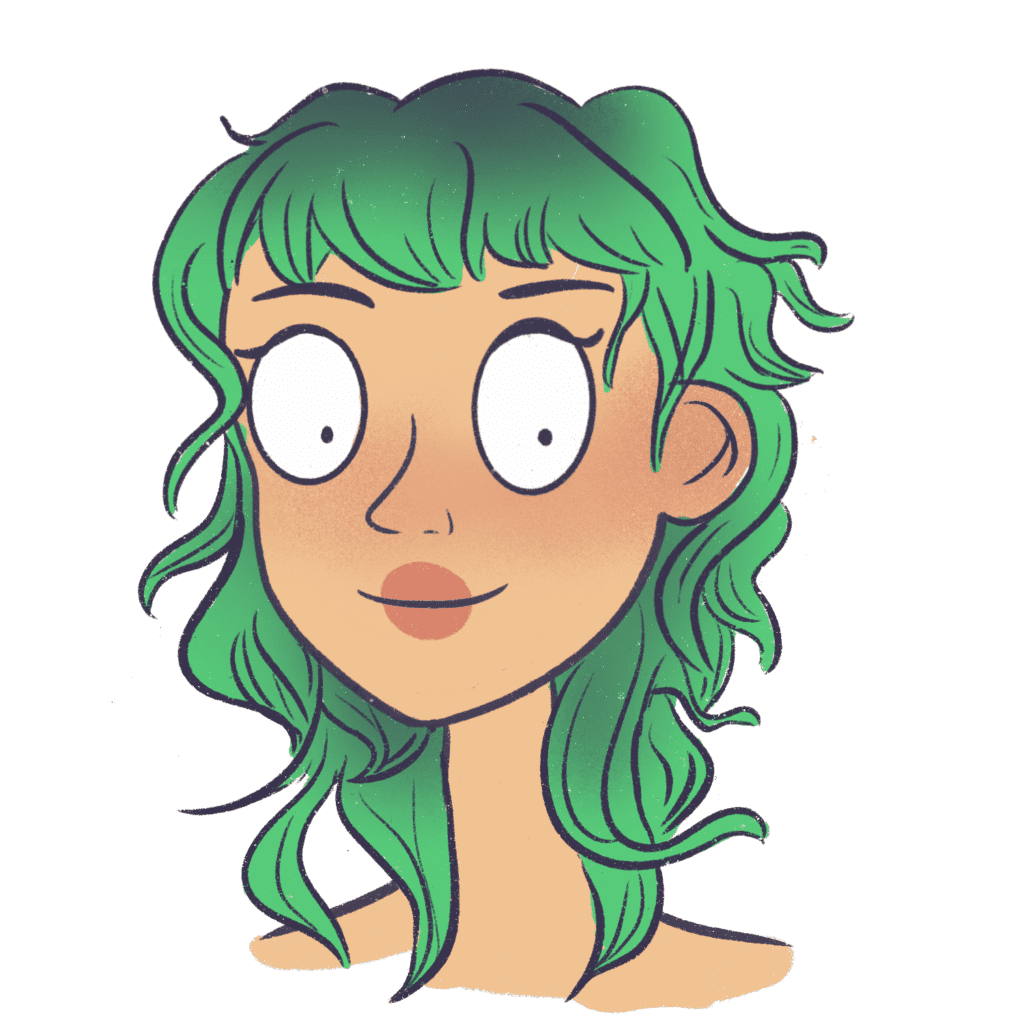
Doesn’t this look much better?
And now, I feel her hair could use more texture.
So, on a new layer, I will go in with some lime green highlights – using the same bonobo brush!


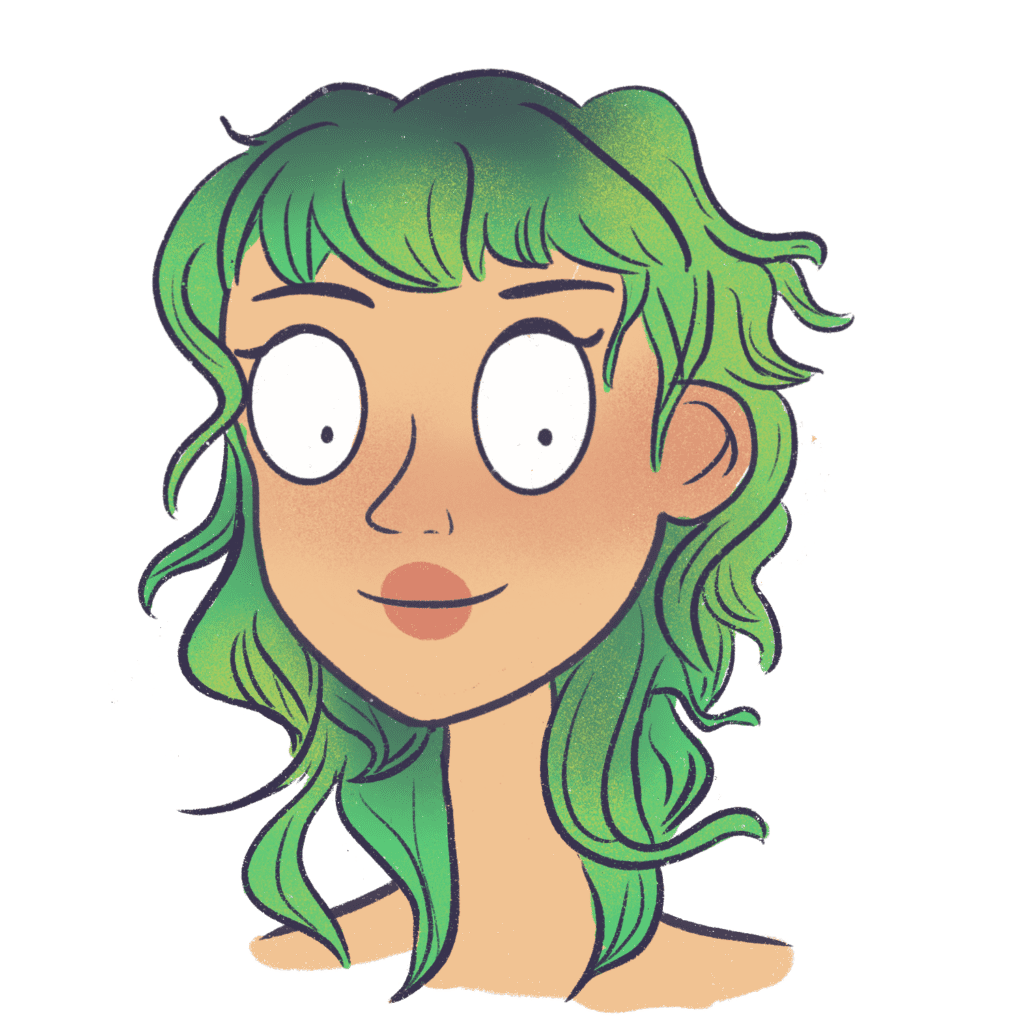
There you go!
You just learned how to draw a mullet!
Okay, let’s move on to learning how to draw a mullet from the side view.
This will make things clearer and you’ll get a better idea of how a mullet looks.
How to draw a Mullet (Side view)
1. Draw the head
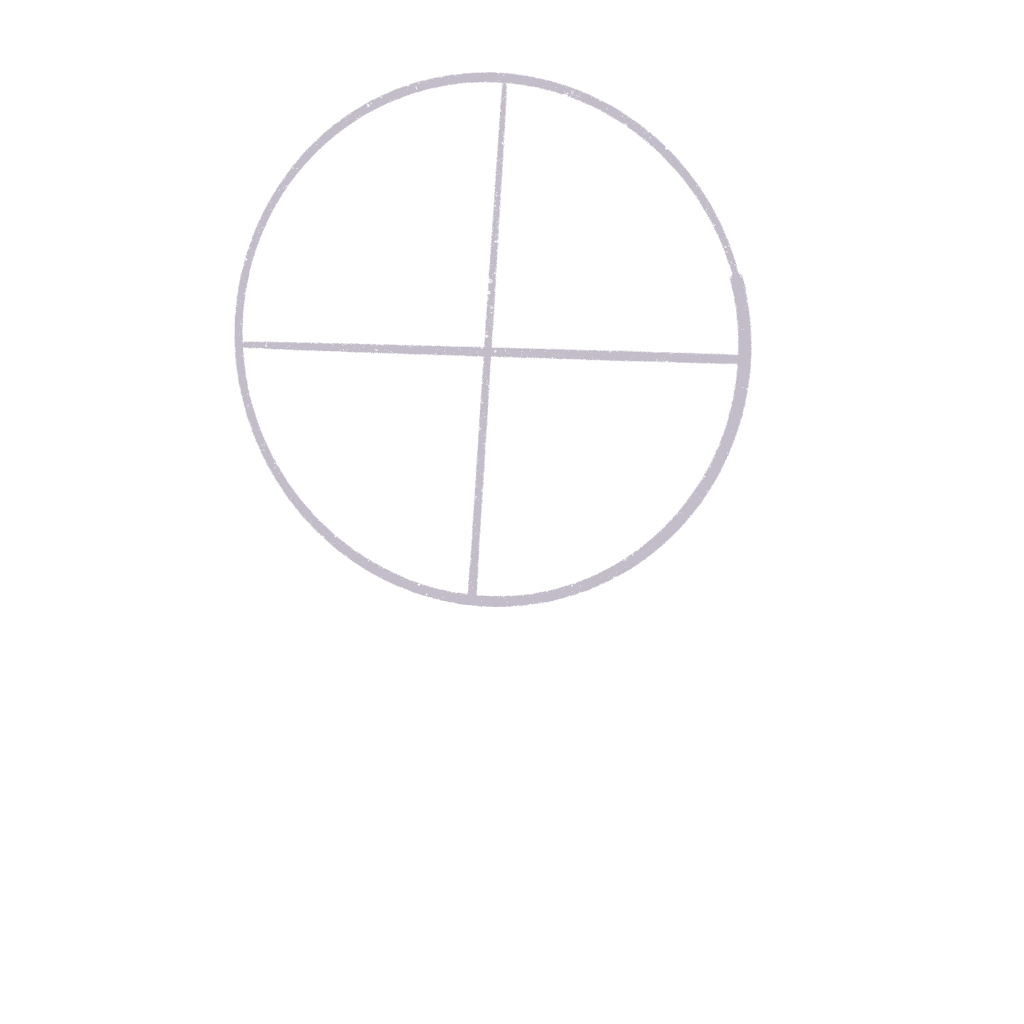
Now, just to draw the side view of the head, I’m going to draw a circle first to use as a guide.
This always helps me when I’m drawing cartoon heads.
Now, using the guide, I will quickly draw the head of the character.
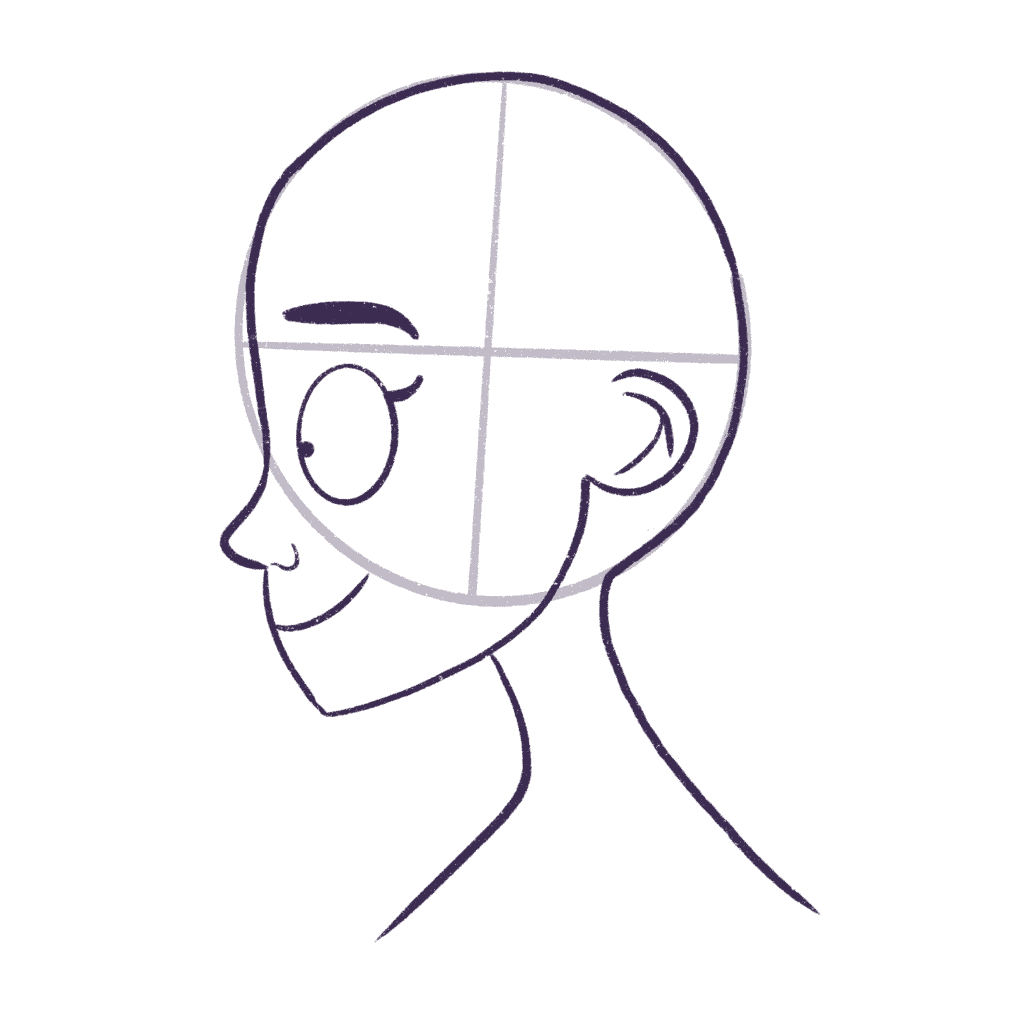
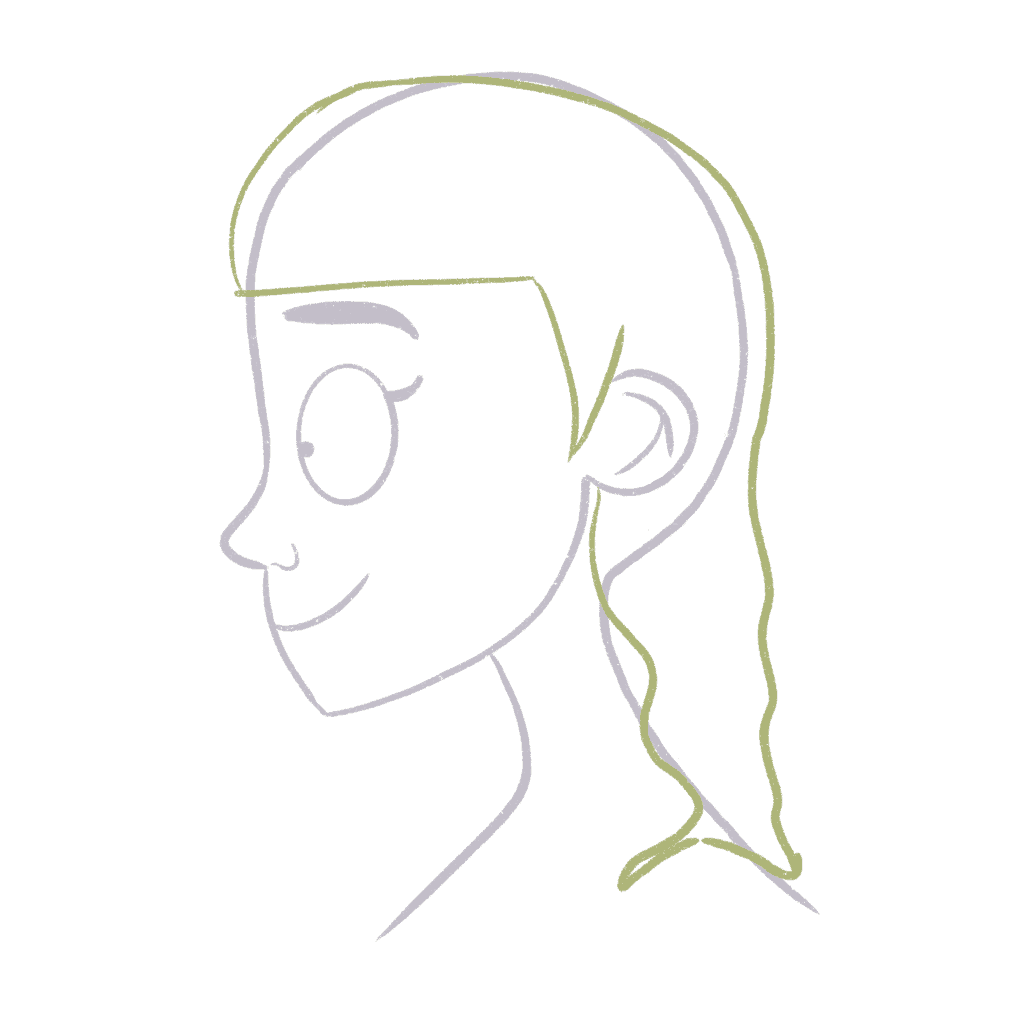
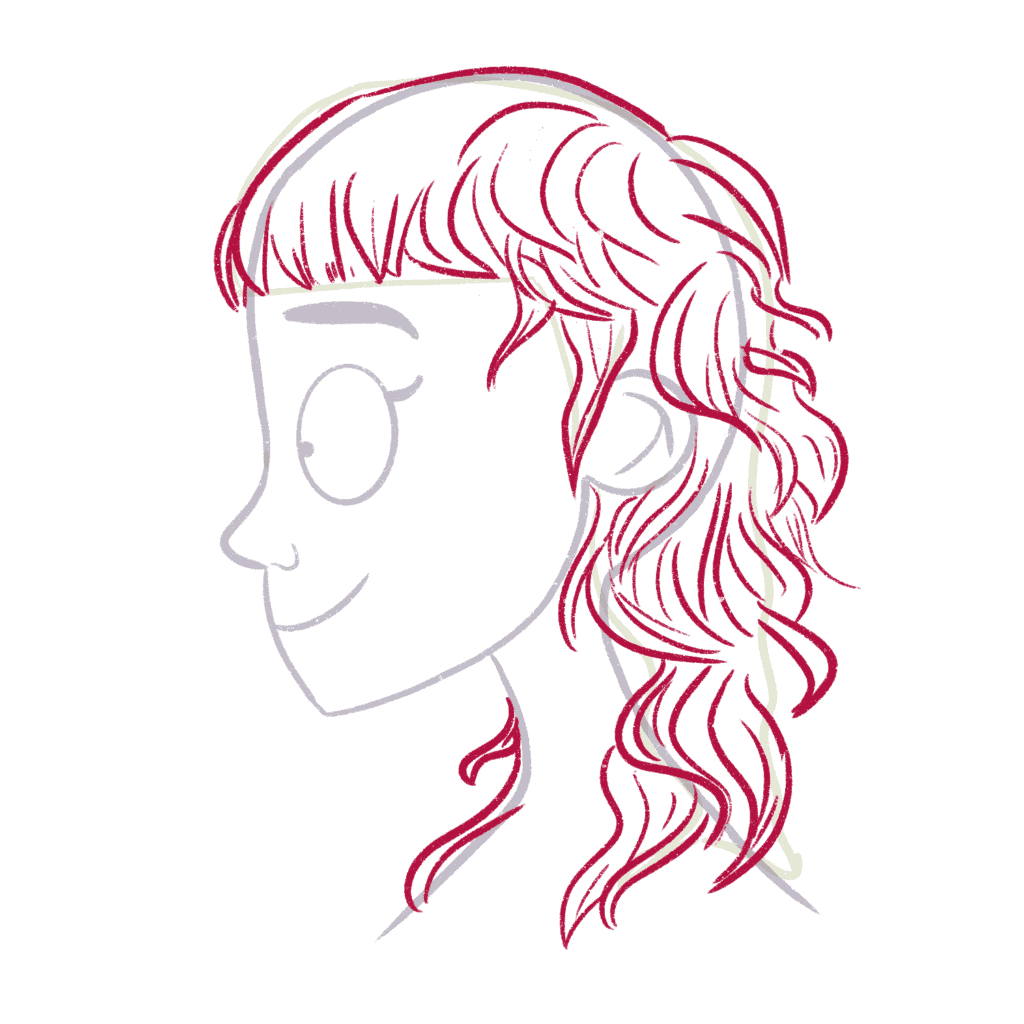
Just to make things simple, I’m going to draw a simple outline of the mullet so that I can use this as a guide to draw my hair.
Note: Whenever you have trouble drawing something – break it down into simple shapes. It’s the easiest way to draw a complex object.
2. Draw the hair of the mullet
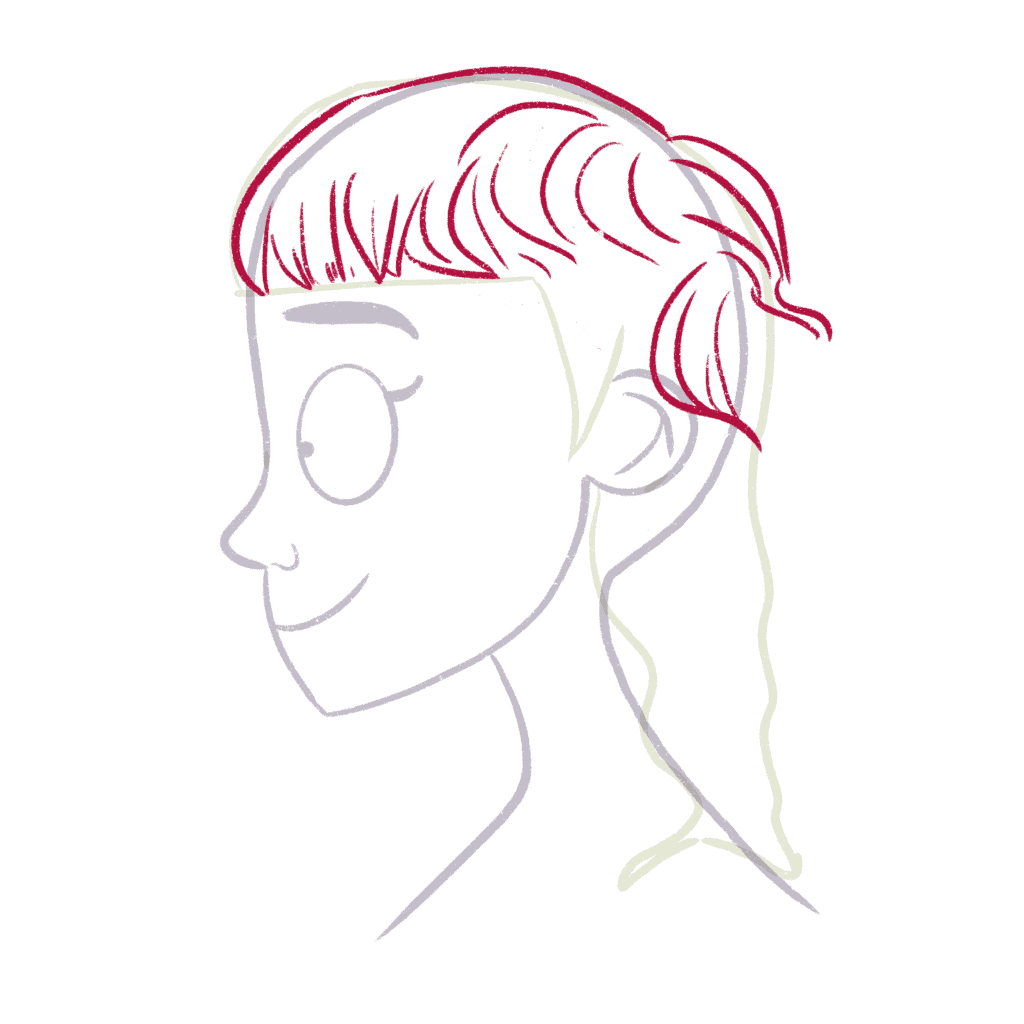
Now, using the rough guide we just drew, I’m going to go in and draw the bangs.
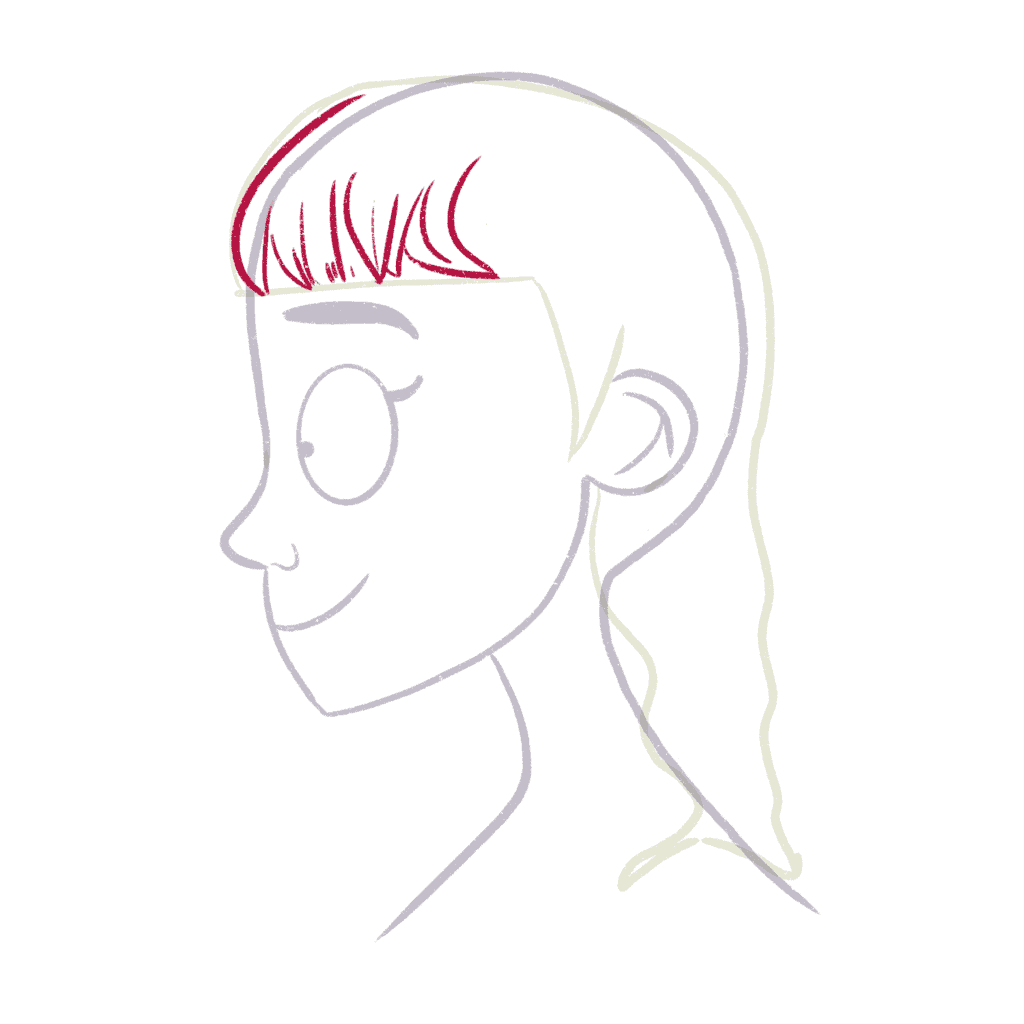
Remember to take it one section of hair at a time – this will make drawing hair a little easier for you.
I’m using the rough guide to align all the bangs in one straight line above the eyebrows.
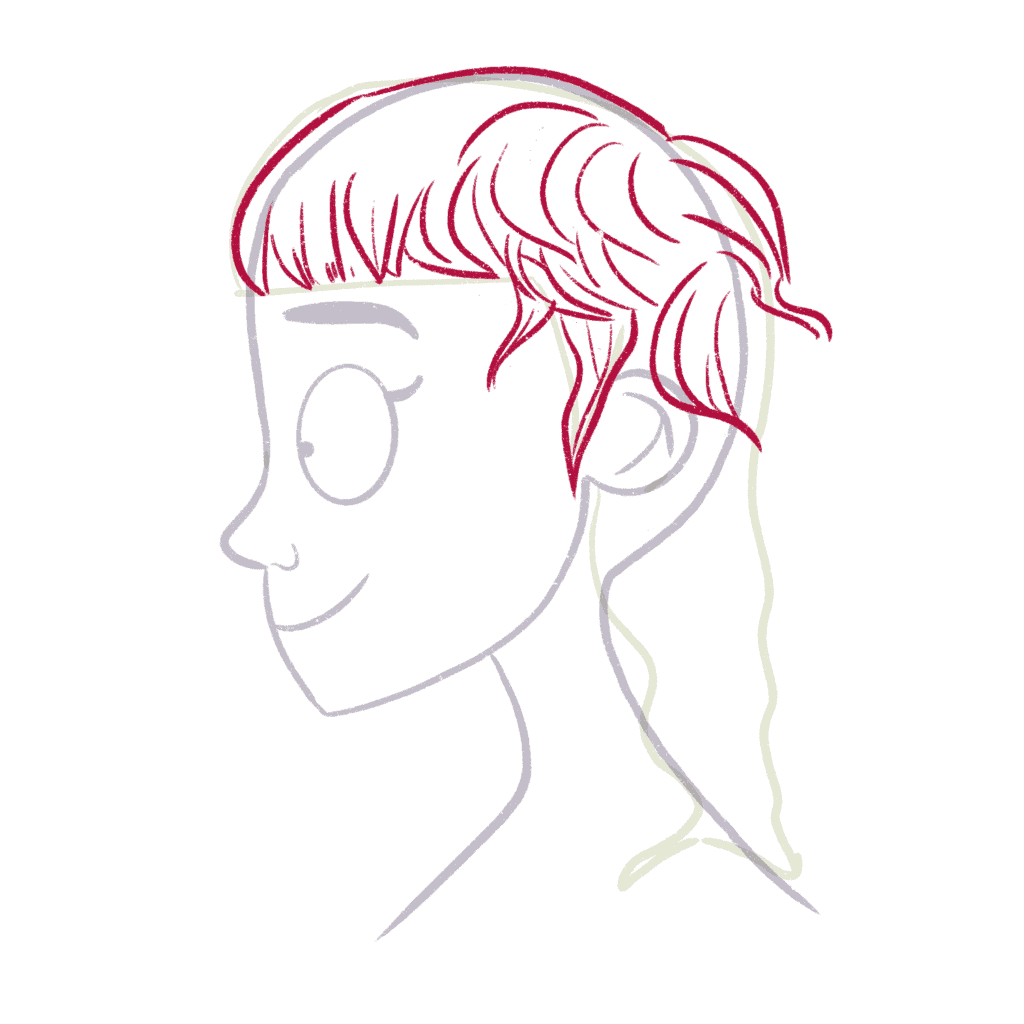
Next, I’m going to draw the hair on the top. I’m using big C and U shapes to draw this hair – remember it’s short!
Now, I’ll draw the sidelocks – the most important hair in the mullet. This section of hair really defines the mullet.
Continue drawing more sections of hair along the back of her skull.
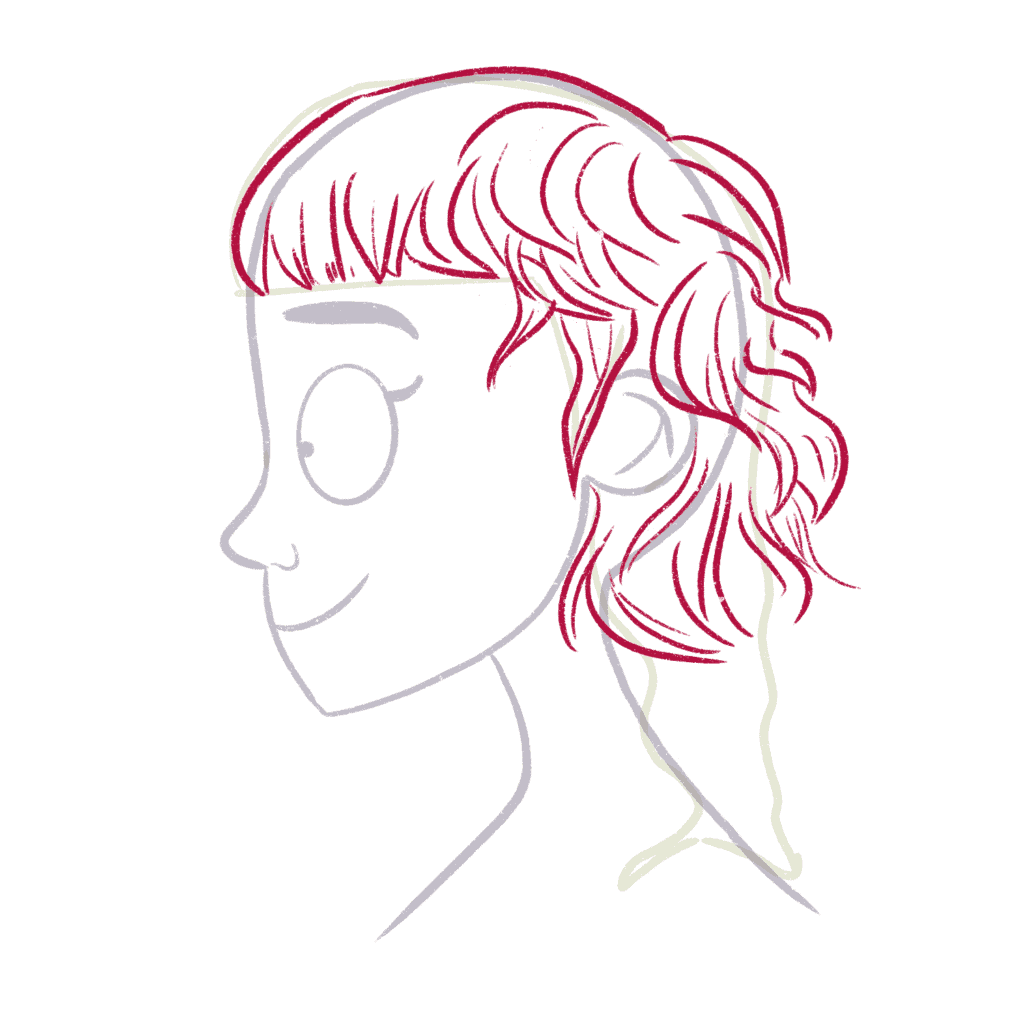
Keep varying the directions of the hair because it’s short and grows in pretty much all directions.
Use large C and S shapes to vary the hair length and direction and this will make your mullet look more organic.
Now, it’s time to draw the final part of the mullet – the long hair at the back!
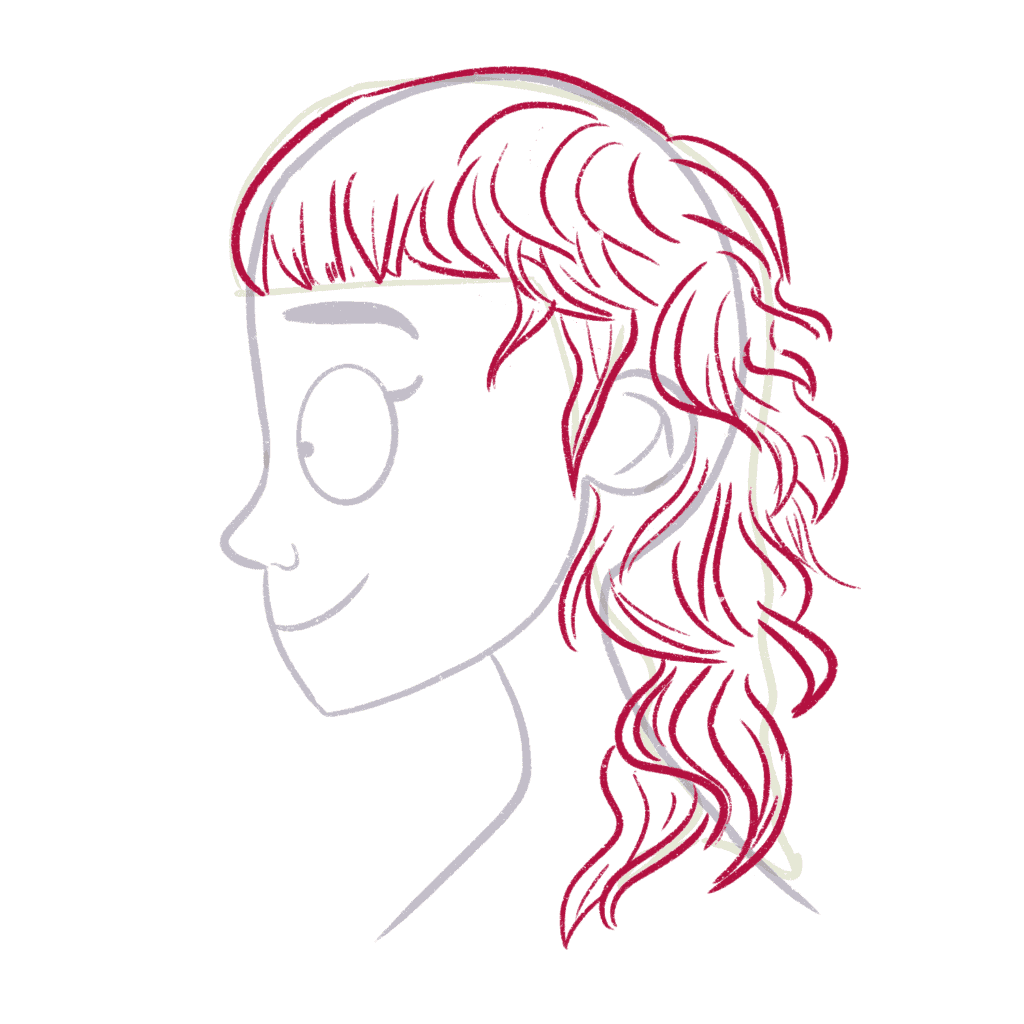
This hair is pretty long so draw longer sections when you are doing this part!
Now, we’re almost done. But it still looks incomplete.
Because we haven’t drawn the hair on the other side of her head. Let’s do that too!
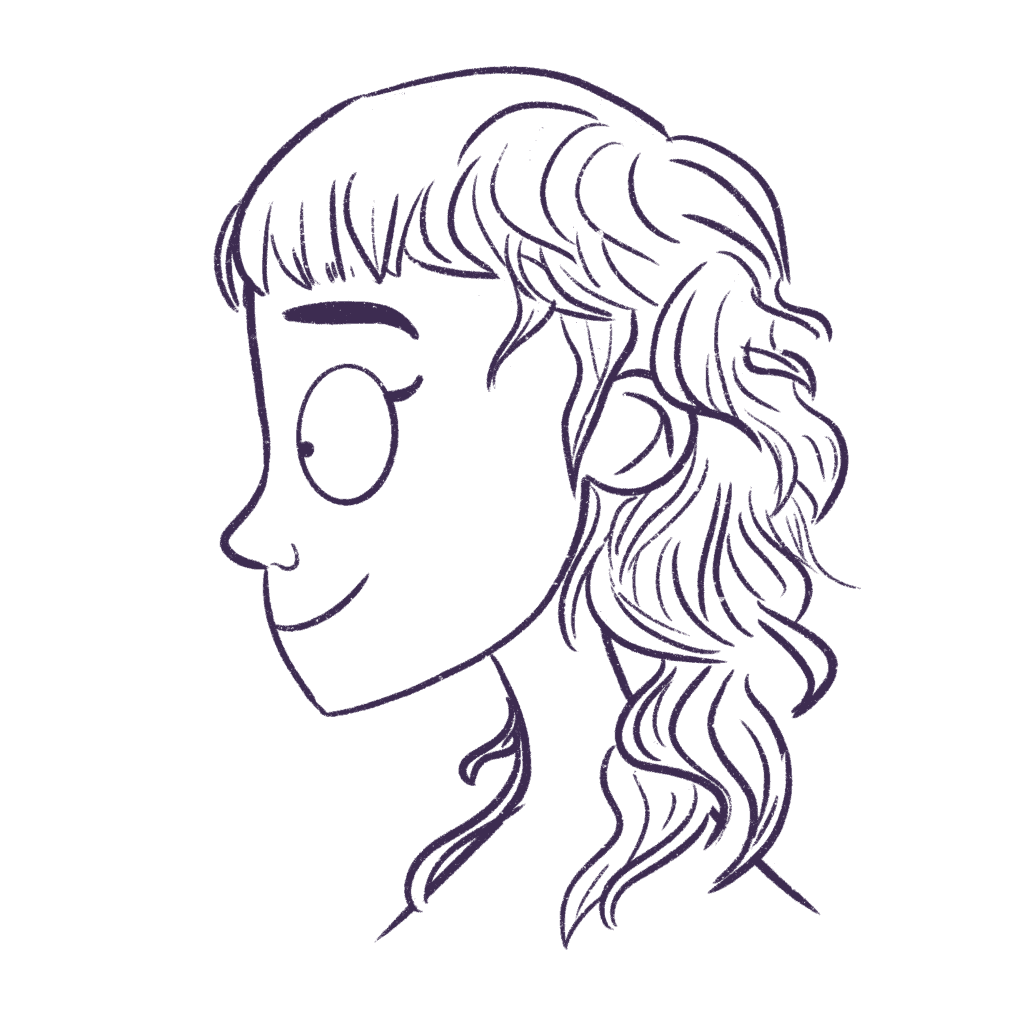
Once you’re happy with your mullet drawing, you can finalize the outline and clean up all the rough and overlapping lines.
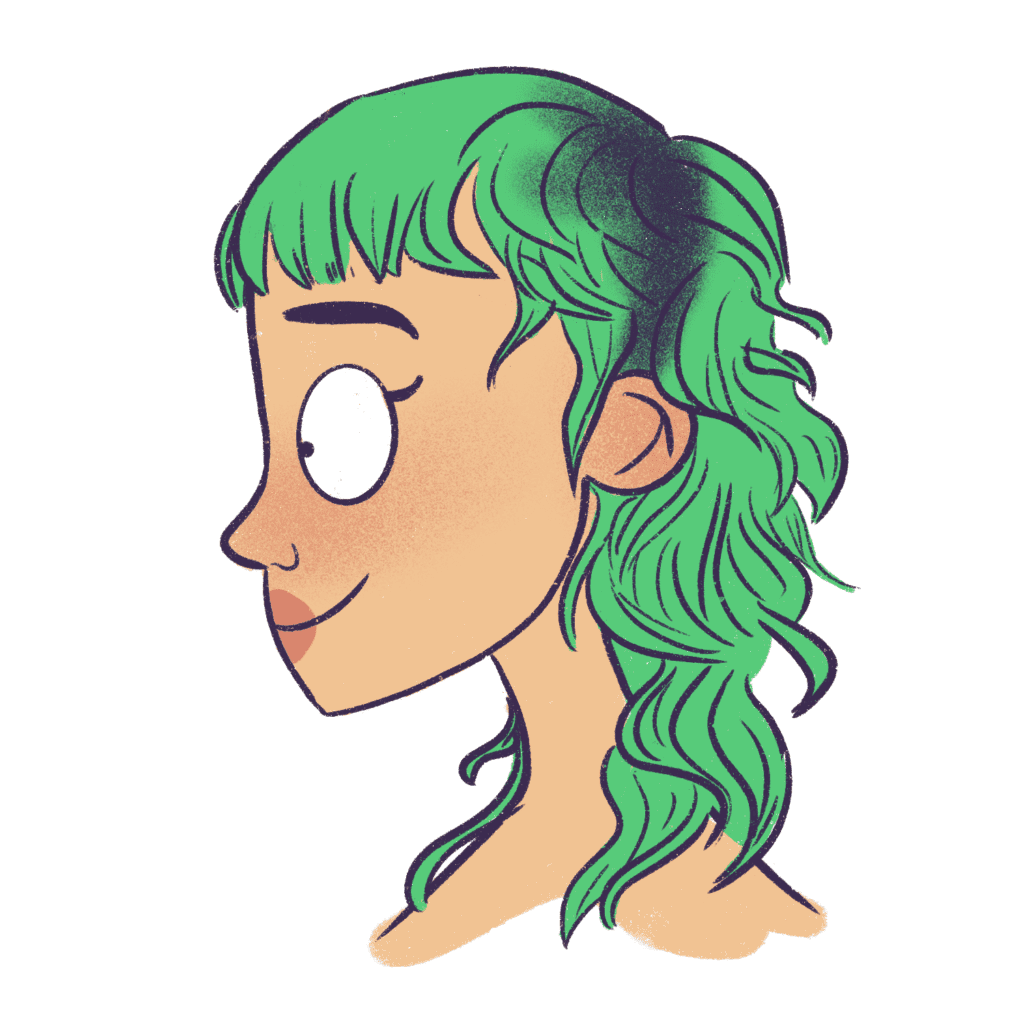
I’m going to use the same dark blue as before.
Now, it’s time to color the mullet!
3. Color the mullet drawing
First, I’m going to color the skin of the character – like before.
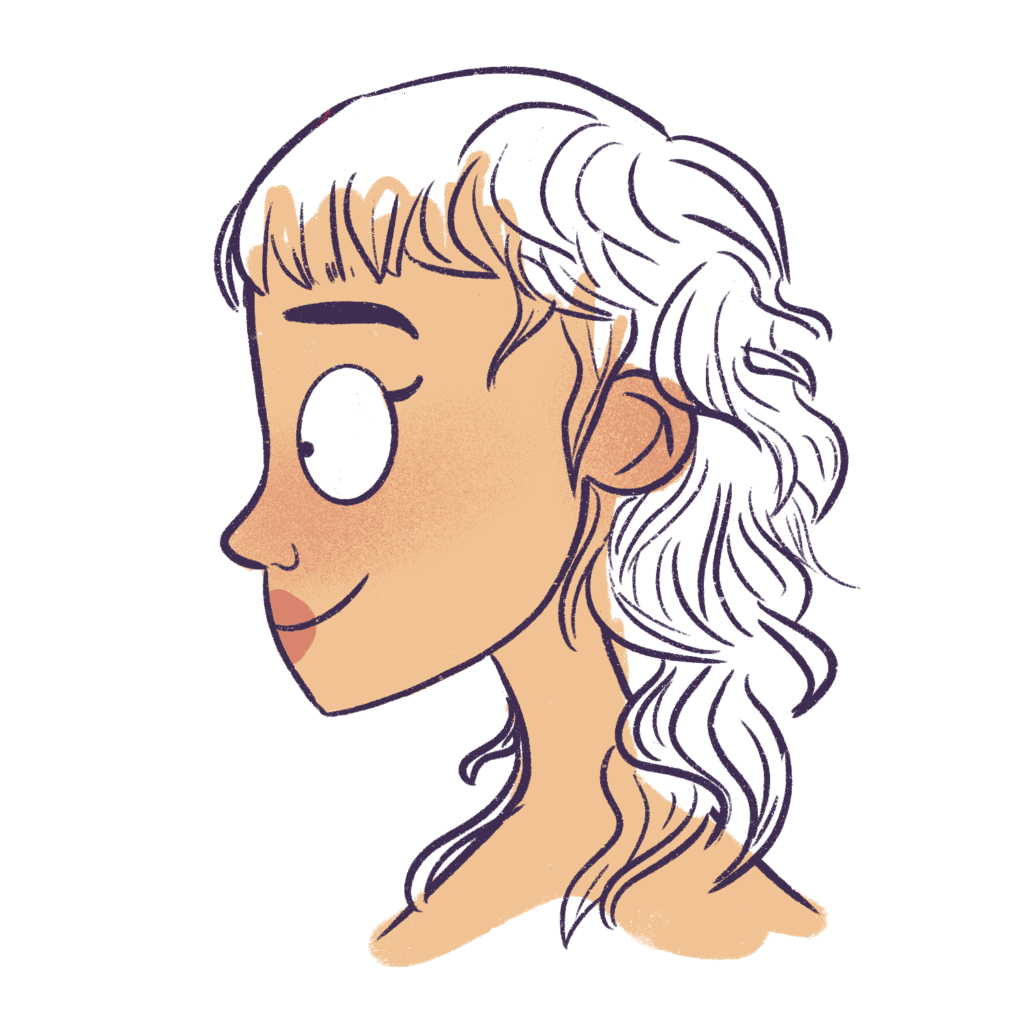
Next, on a new layer – I will paint the mullet hair a bright parrot green. Just like I did earlier.
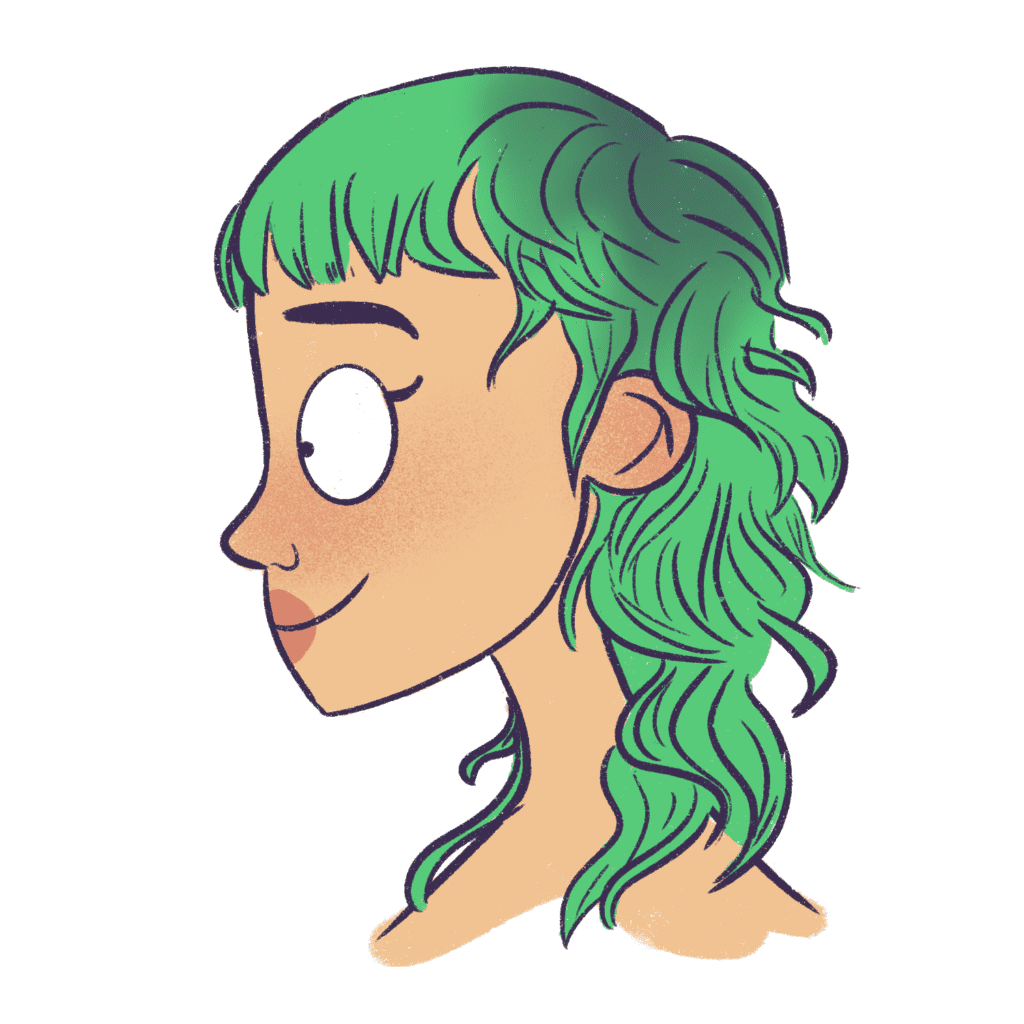
Because we are drawing this mullet from a side view, we can really focus on the roots this time.
It will be more clear.
So, on a new layer, using the Bonobo brush, I’m going to color the roots with a dark bluish-black.
And now, I will smudge this section using my smudge tool.
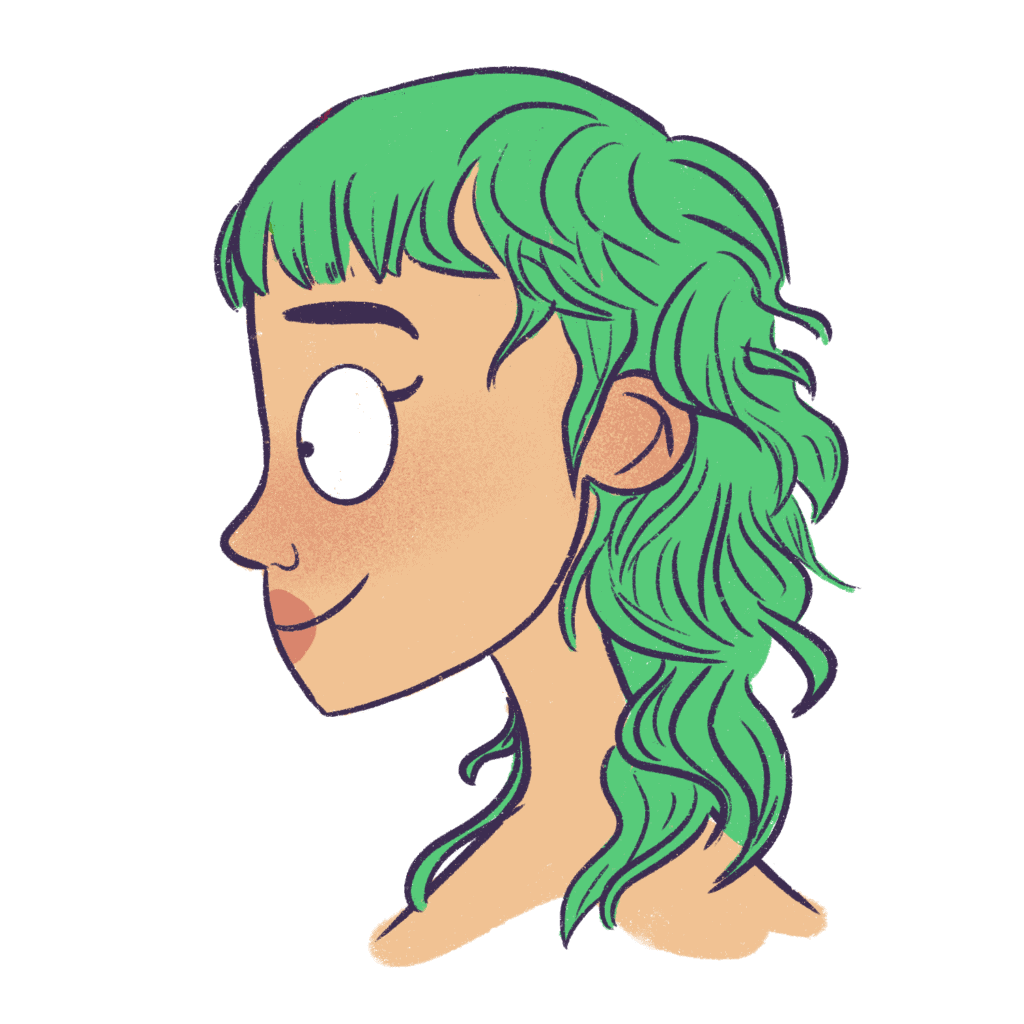
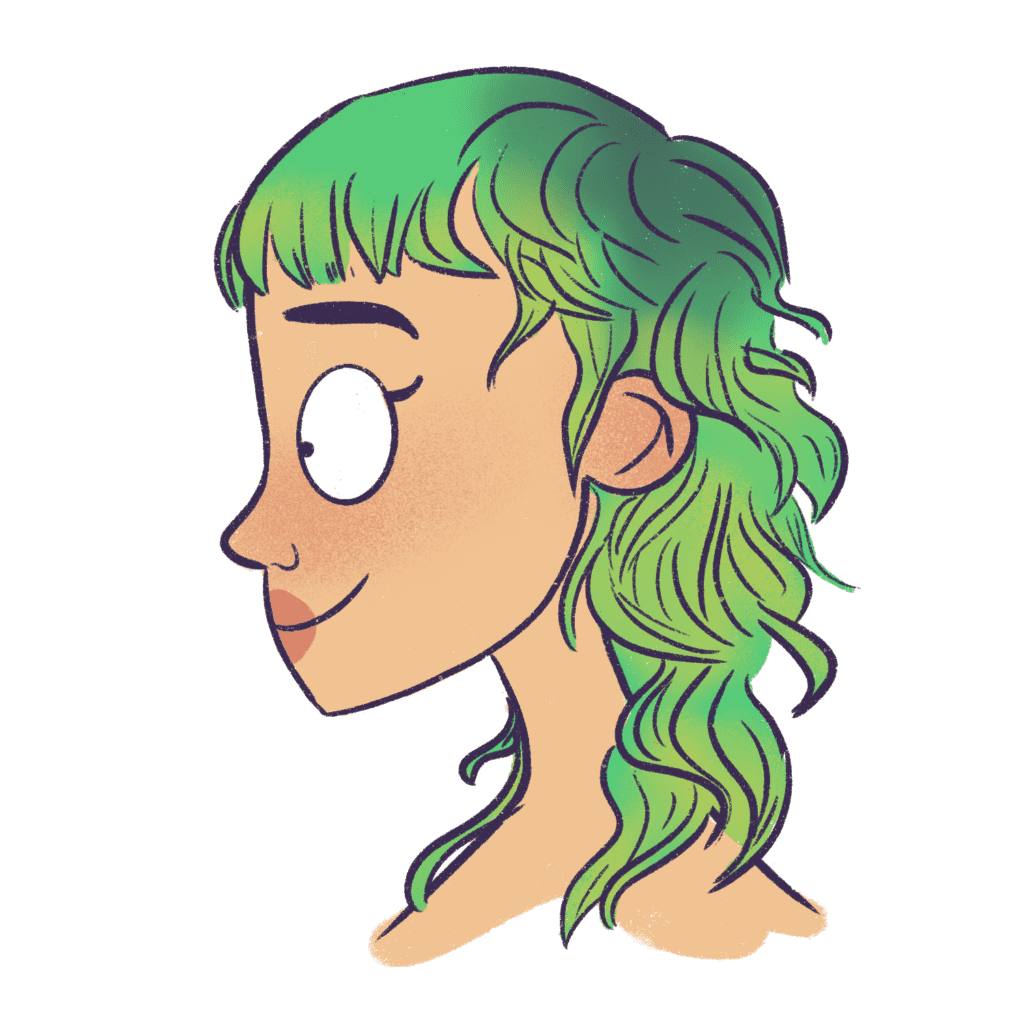
And now, I will add the highlights to this mullet drawing just to add some texture to her hair.
I’m going to go in with a bright lime green using the same bonobo brush!
You can also check out my coloring video here to see how I draw the sections of hair in the mullet and then color it.
Conclusion
I hope this tutorial was helpful for you and you were able to learn how to draw a mullet.
I know drawing hair isn’t easy, especially at the beginning, because there is a huge learning curve.
So, don’t feel sad if your mullet didn’t come out the way you expected it to.
It will get easier with practice.
Keep drawing different hairstyles till you get the knack for drawing hair. You can check out all my other hair-drawing tutorials here.
I draw a lot of hairstyles for my characters on a daily basis and I love experimenting with hair.
And you can always bookmark this post if you want to use this mullet hair drawing references for studying later.
One of the best parts about drawing hair in a cartoon style is that you don’t need to complicate things by adding too much texture. You just have to get the shape right and draw a few lines in the direction of hair growth.
I have a post that you can read on how to find your art style if you are keen on developing your own style of drawing cartoons.
You can make things easier by picking up this Character Drawing Toolkit.
If you want to see more tutorials on hair and people, just comment below.
I will be adding more hair drawing tutorials to this blog, so keep a lookout!
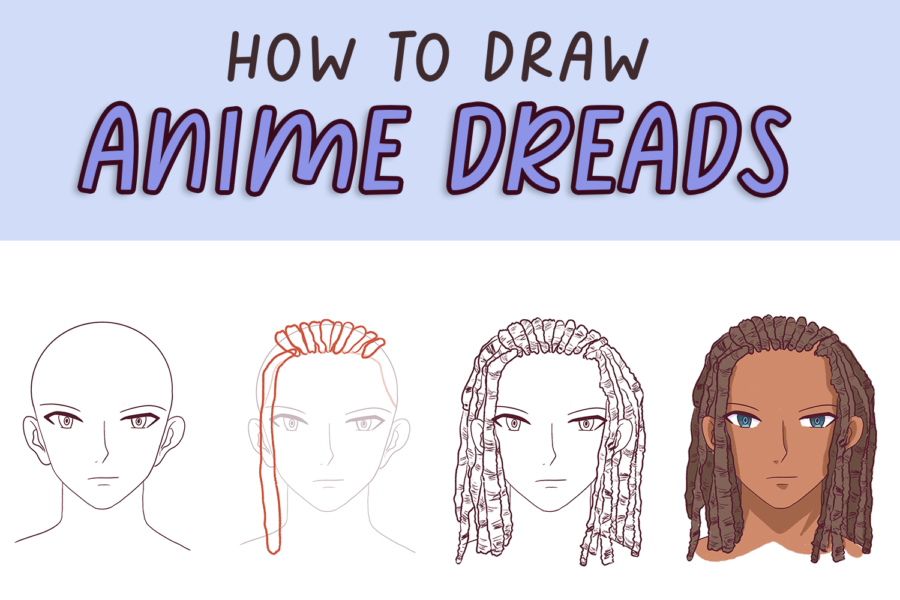
If you are looking for books on how to draw anime or how to draw anime bangs and anime hair, take a look at these:
If you’re looking to improve your drawings faster and want to really draw as a hobby or even pick up drawing professionally, I highly recommend picking up this beautiful online course that teaches you how to draw digital cartoon characters.
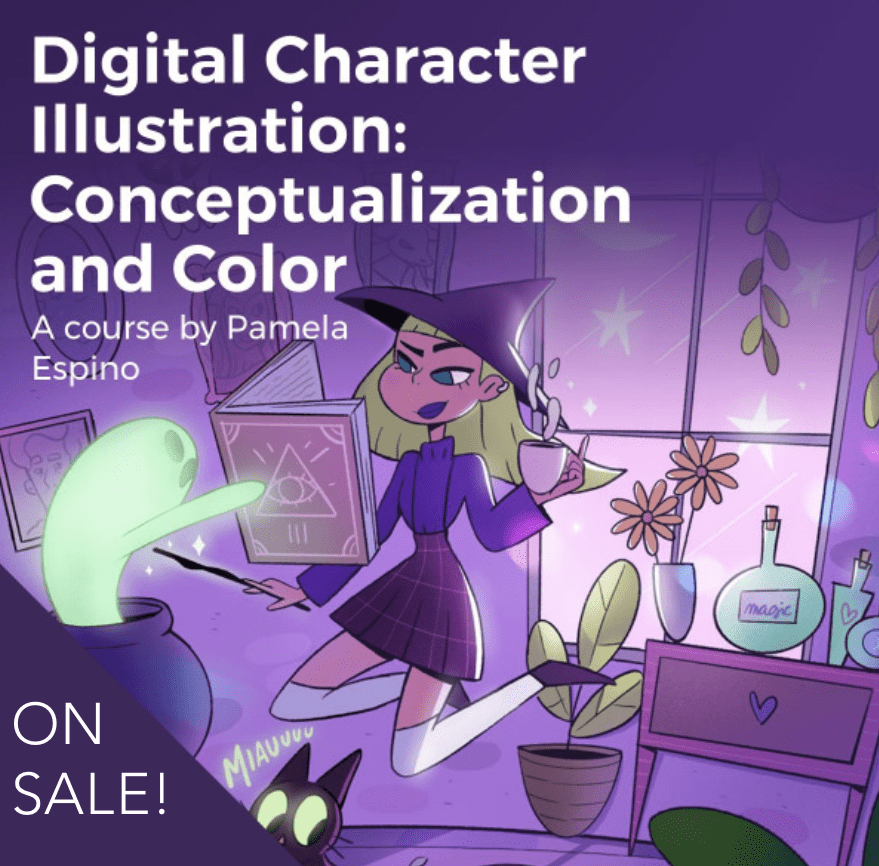
Use code STRAYCURLS-10 to get a 10% discount!
The course is in Spanish but comes with subtitles and is beginner-friendly. I’ve taken several courses on Domestika and I honestly feel it has improved my drawing and illustrating skills immensely.
This course will specifically teach you how to draw and color illustrations on your Procreate app or Photoshop app.
If you are just getting started with ProCreate, I highly recommend this course: Procreate for Beginners: Digital Illustration 101
If you enjoyed this drawing tutorial, you might enjoy these other hair drawing tutorials:
- How to draw straight and curly hair on Procreate
- How to draw bangs
- The Ultimate Guide to drawing ponytails (different types and angles)
- How to draw afro hair (4A, 4B and 4C)
- How to draw mermaid hair (in different conditions)
- How to draw wet hair
- How to draw a mullet
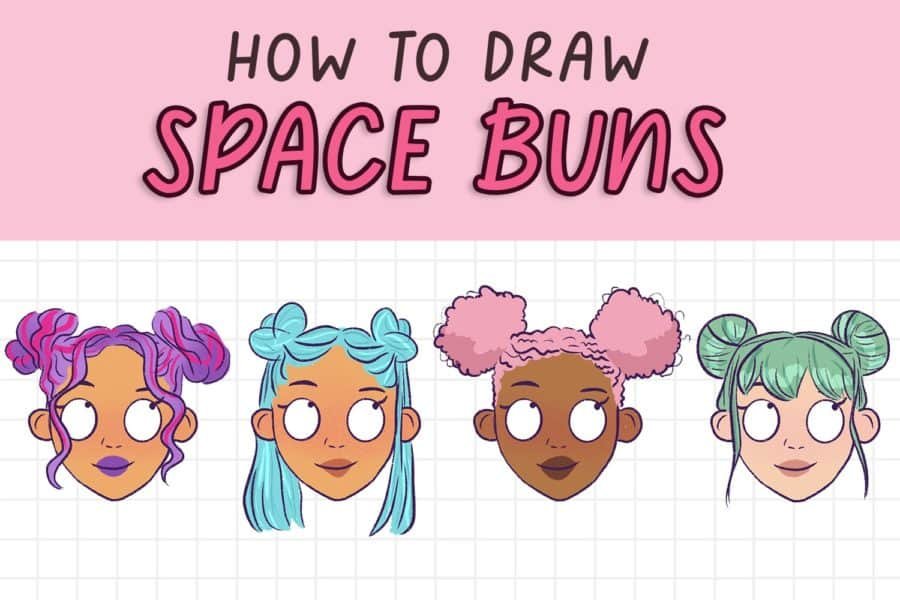
- How to draw space buns
Before I wind up, I want to cover some resources that helped me grow as an Illustrator and shorten my learning curve.
Resources to help you draw better:
Courses for Artists
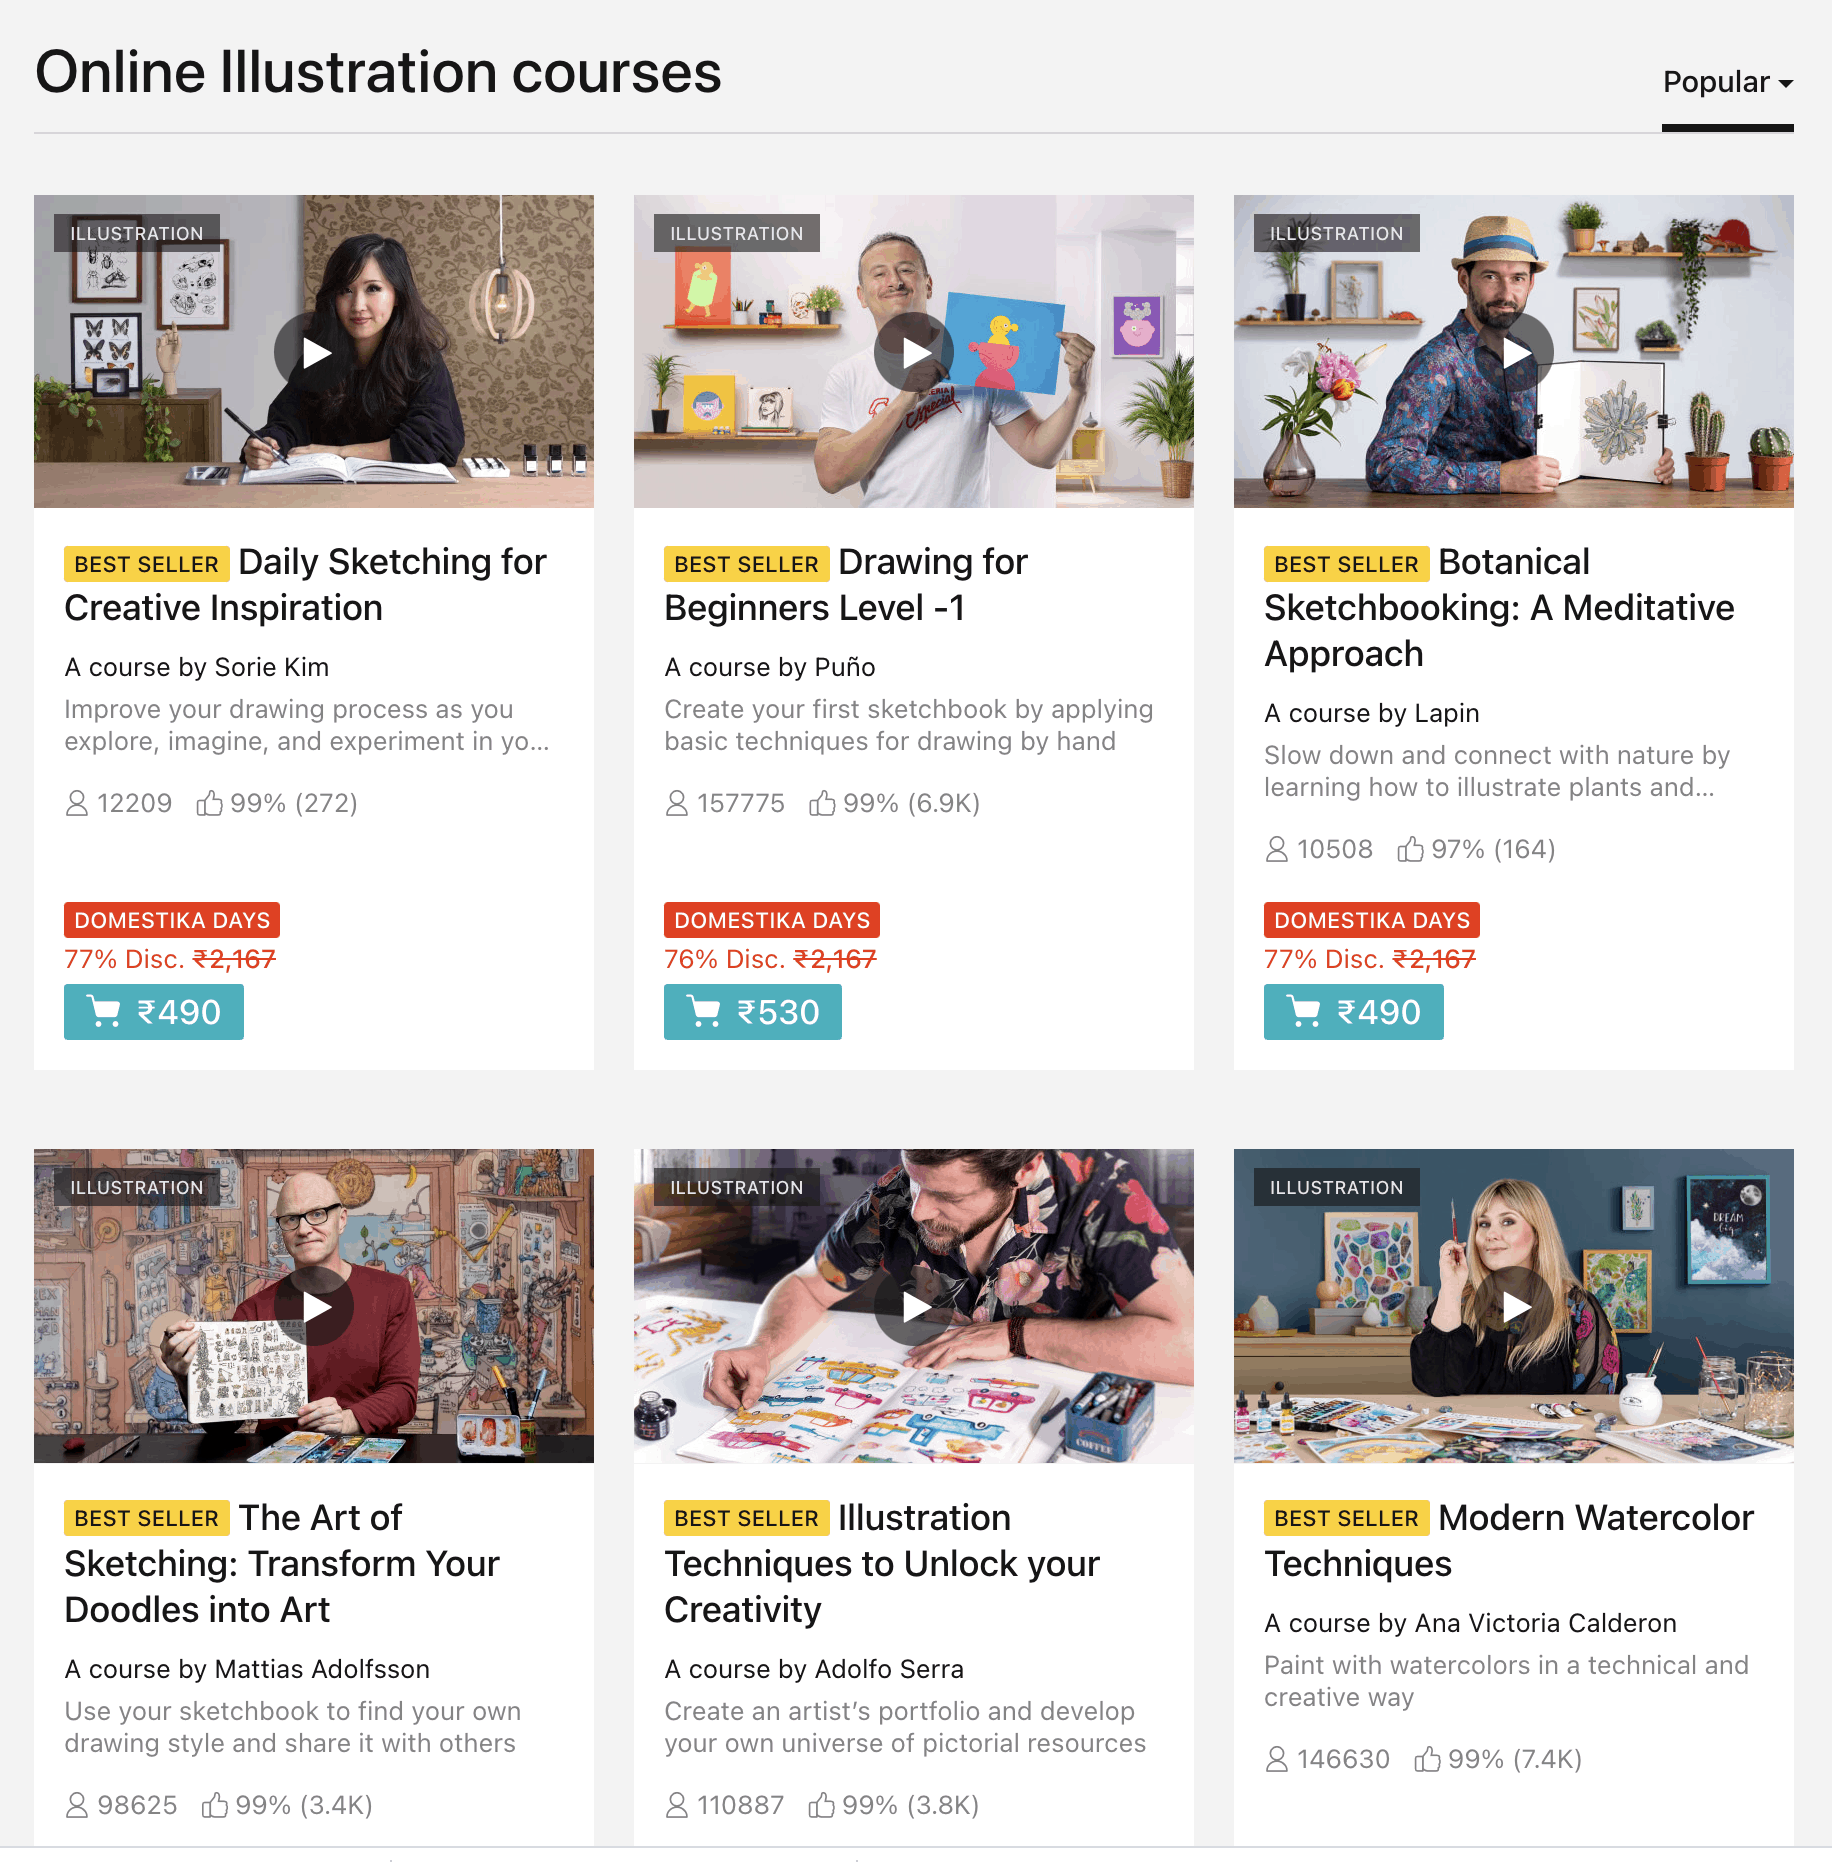
I highly recommend checking out Domestika’s Courses because they have courses on almost anything you want to learn and they’re structured beautifully.
It’s very well organized, and their website is super fast.
Their app is lovely too.
You can download the classes and watch them offline, and the best part? Once you buy the course, you own it forever!
Use STRAYCURLS-10 during checkout to get an additional 10% off!
And if you’re using Procreate, here are some fantastic tools:

Leave a Comment