I love drawing cute chibi animals.
These types of drawings are super cute to add to any notebook or planner and they also make great drawing projects for kids.
And I’ve been obsessed with drawing kawaii frogs lately.
I’ve already done a lot of tutorials on drawing cute and kawaii animals that you can check out here.
In this post, I’m going to show you how to draw a strawberry frog step by step so that by the end of the tutorial, you’ll get something like this:

This post includes affiliate links. If you do decide to purchase something, I will make a commission at no extra cost to you. For more information, please read my entire Privacy Policy here.
I am currently using an iPad Pro and an Apple Pencil to create my digital art.
But you can use any tool – a pen and paper or color pencils or Copic markers or Photoshop because the drawing method remains the same.
How to draw a strawberry frog – Step by step for beginners
I always start with a rough guide so that drawing becomes easier.
In this case, we are going to start a simple circle first. If you are drawing this with traditional tools, make sure the circle is erasable later.

Next, I will draw the frog’s body. We want to draw a simple “U” shape that’s bulgy at the bottom and also squished and flat at the center like this:

Chibi animals are usually round and short so this is how we achieve the chibi look with our small frog.
Next, we are going to draw the head of the frog and to do this we are going to draw 2 bulges for the eyes along with the top of its head.
Just draw 2 small U shapes at the top of its head like this:

Next, we are going to draw the frog’s legs. So I’m going to draw 2 small legs at the bottom of the frog on either side like this:

Now, we are going to draw the frog’s front legs, so just draw 2 small “W” shapes in the front of the frog’s body like this:

We’re almost there.
To complete our frog drawing, we need to draw its face. So, let’s draw 2 small eyes and a mouth with a U shape like this:

Easy, isn’t it?
We can also draw the belly of the small frog. It will give us a better opportunity to color the frog with more colors. So, I’m going to draw an inverted U shape on its stomach to draw the belly.

And we are done drawing the frog.
Now, we need to make this a strawberry frog. So, I’m going to draw a stem on its head

Next, we’ll draw the leaves on the strawberry frog.

We’re done!
Let’s color the strawberry frog.
I’m going to start by coloring the frog pink. Since I am drawing this on Procreate, I’m going to add a deeper color of peach to the stomach and then blend it using the blend/smudge tool.

Now, I’ll add a deep rose color to the bottom of the frog and slowly blend this – you can do this with crayons, coloring pencils, or paints if you’re doing this traditionally.

Next, I’ll add blush spots to the frog’s cheeks to make it more kawaii and color the leaves green.

Lastly, I’ll add highlights using a teal color on a new layer and change the layer’s blending mode to Add. I will decrease the opacity to 10% and the highlights will look like this:

Congratulations!
You’ve learned how to draw a strawberry frog from scratch.
You can go ahead and add this drawing to your planner or notebook to make it come to life!
Drawing Resources
I hope this tutorial was helpful to you and you enjoyed drawing this cute strawberry frog.
If you want to see more tutorials on drawing kawaii animals and kawaii things, please leave a comment below on what you’d like to see next!
I will be adding more kawaii drawing tutorials (animals, food, and lots of things) to this blog, so keep a lookout!
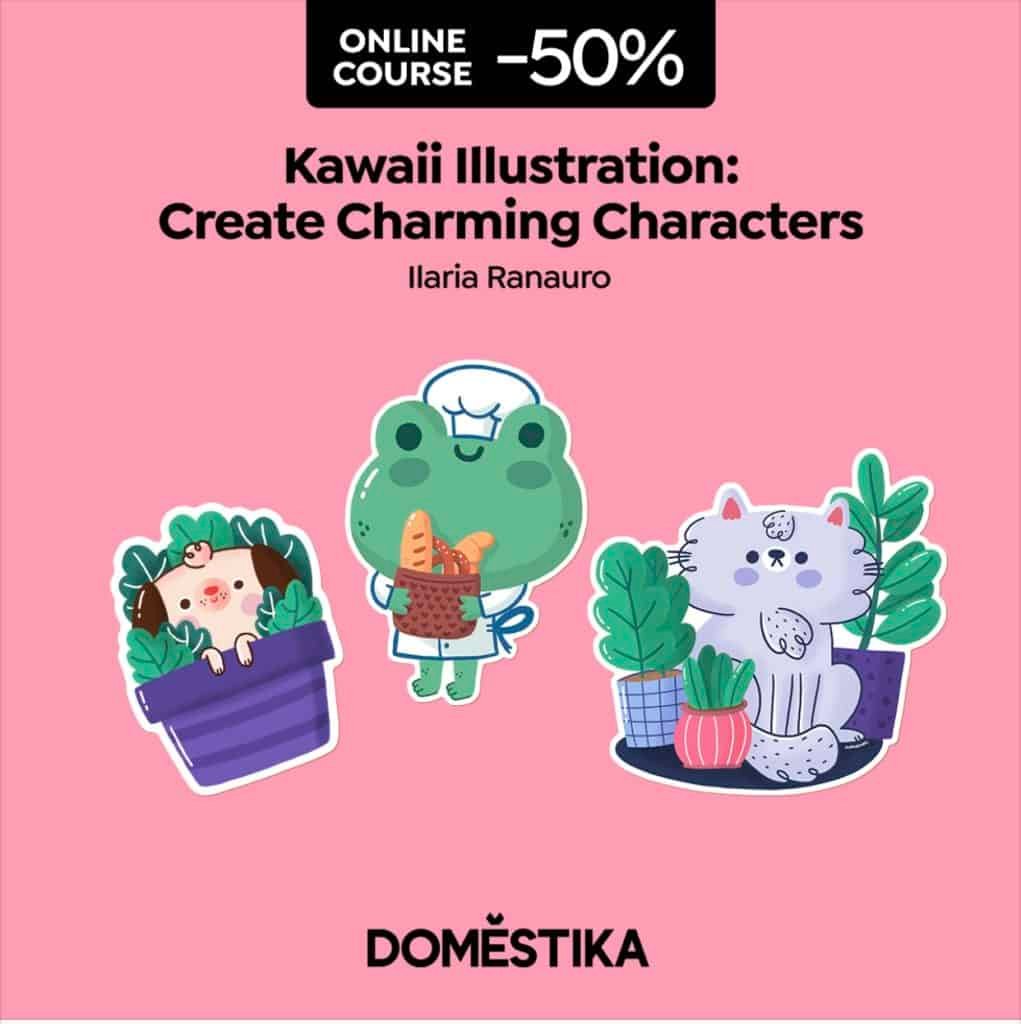
If you are interested in drawing in a kawaii style and then selling clipart or merchandise on Etsy, check out this course!
My old bud Ilaria (we’ve been friends on Instagram back when I had Instagram) created this course! I’ve watched her grow from 0 followers, and I’m so, so proud of her!
And believe it or not, there is not 1 single good online course about learning how to draw kawaii art and then making physical stickers on the internet. I’ve been looking for a course like this for a long, long time.
And it’s finally here!!!
You can create your own stickers and print them and sell them on Etsy or any space! She goes into detail about how to draw the characters.
This is by far one of the best courses I’ve taken that is so cute and so educational.
The course is in English, and it’s amazing!
What do you need?
A sketchbook, Photoshop, and a graphic tablet so that you can draw the kawaii characters. If you want to make stickers, you’ll need a printer and sticker sheets.
Even if you don’t want to make stickers and just draw kawaii characters, this course is perfect!
And if you are really keen on improving your drawings or you want to create cute kawaii animals and kawaii people, check out this second course by Sara.
Sara teaches you how to draw anything in a nice kawaii style. I really love these kinds of courses because they’re so easy to learn and it’s very easy to get clients because this is a really relatable drawing style.
It is in Italian but it comes with subtitles and it’s really easy to follow.
Use code STRAYCURLS-10 to get a 10% discount!
If you are just getting started with ProCreate, I highly recommend this course: Procreate for Beginners: Digital Illustration 101
You may also enjoy:
- How to draw a cute chibi frog
- How to draw a mushroom frog
- How to draw a Christmas frog
- How to draw a cute chibi mushroom
- How to draw a kawaii cat
- How to draw a cute hamster
- How to draw a kawaii unicorn
- How to draw a cute mermaid cat
- How to draw a cute dinosaur
- How to draw a cute long neck dinosaur
- How to draw a chocolate bunny
- How to draw cute boba tea
- How to draw a cute succulent
- How to find your art style





I love how simple yet well explained everything is. It makes the drawing process feel less intimidating.
I’m really glad you found this strawberry frog drawing tutorial easy – I know how hard drawing is in the beginning so I try to break down each drawing into steps that are super easy to follow.
Thank you again!
Angela