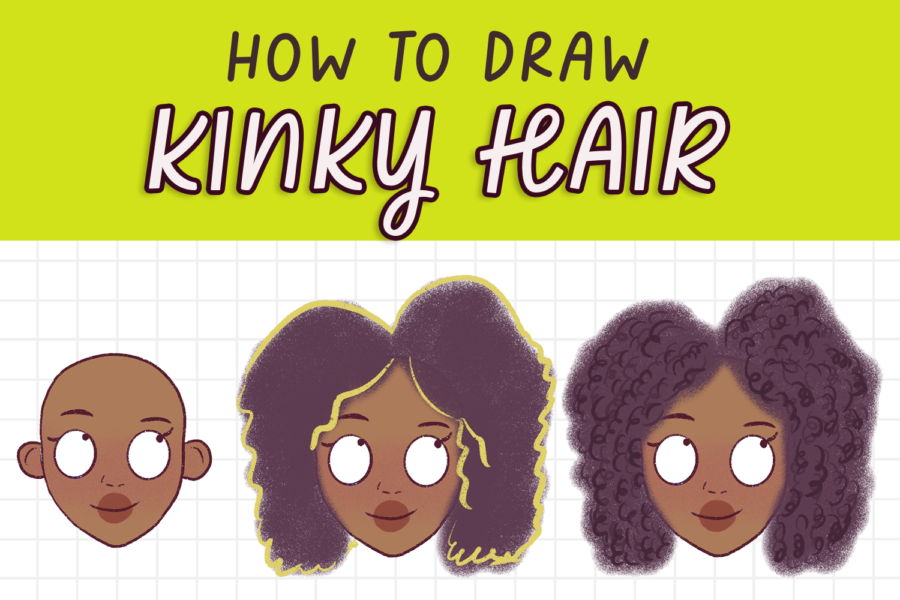
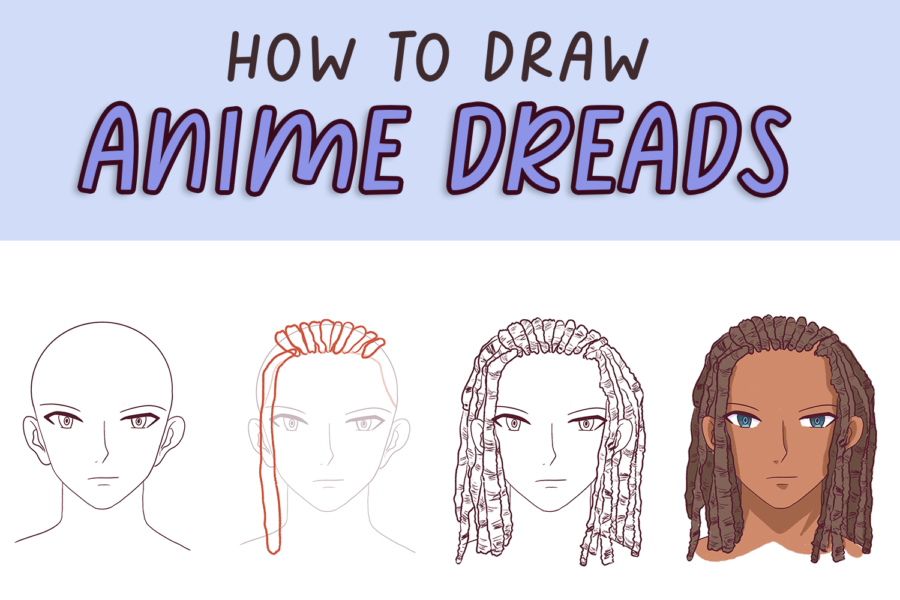
In an earlier post, I discussed how to draw afro hair. I’ve also done a post on drawing dreadlocks here.
You can also check out my other hair tutorials over here.
In general, hair is a little tricky to draw.
But when you consider black hairstyles, they can be even more complicated because there aren’t many tutorials online covering them.
And that’s why I will teach you how to draw twists in this post.
They can seem challenging to draw, but if you do it step by step and draw a rough guide first, it actually is one of the easiest hairstyles to draw.
In this post, we’ll learn how to draw twists in 2 hairstyles:

The first one is easy; once we’ve gotten the hang of drawing twists, we’ll attempt to draw the second one!
Let’s begin!
This post includes affiliate links. If you do decide to purchase something, I will make a commission at no extra cost to you. For more information, please read my entire Privacy Policy here.
I’m currently using:
And I’m using the Procreate software (which costs $10 one-time-fee)
I highly recommend looking at this superb online course that teaches you how to use Procreate.
You can draw this using sketching pencils or a fine marker or draw it digitally like me.
Table of Contents
Step 1: How to draw a twist – Simple Tutorial
Before I teach you how to draw twists on a head, let’s learn how to draw a single twist.
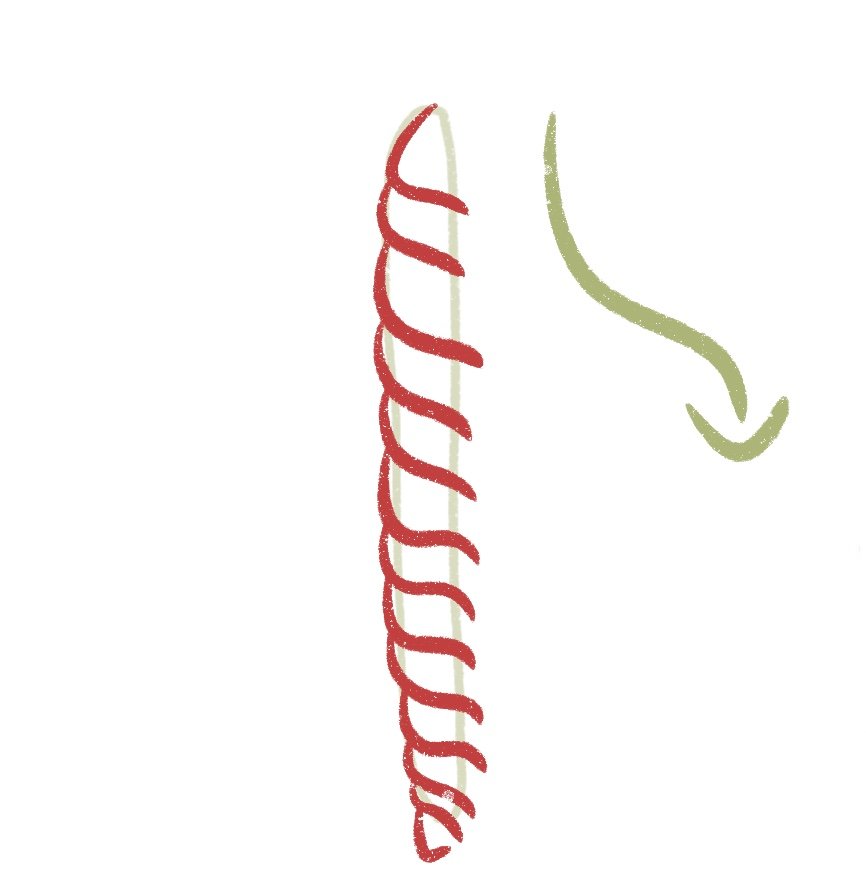
The best way to draw a twist is to start with the basic shape – a long cylindrical shape. Determine how long you want your twist to be, and accordingly draw a long sausage shape like this:

Next, using this as a rough guide for the base, slowly draw lines moving downward like this – each section becomes a twist.
Next, complete each twist by closing off the sections one by one.
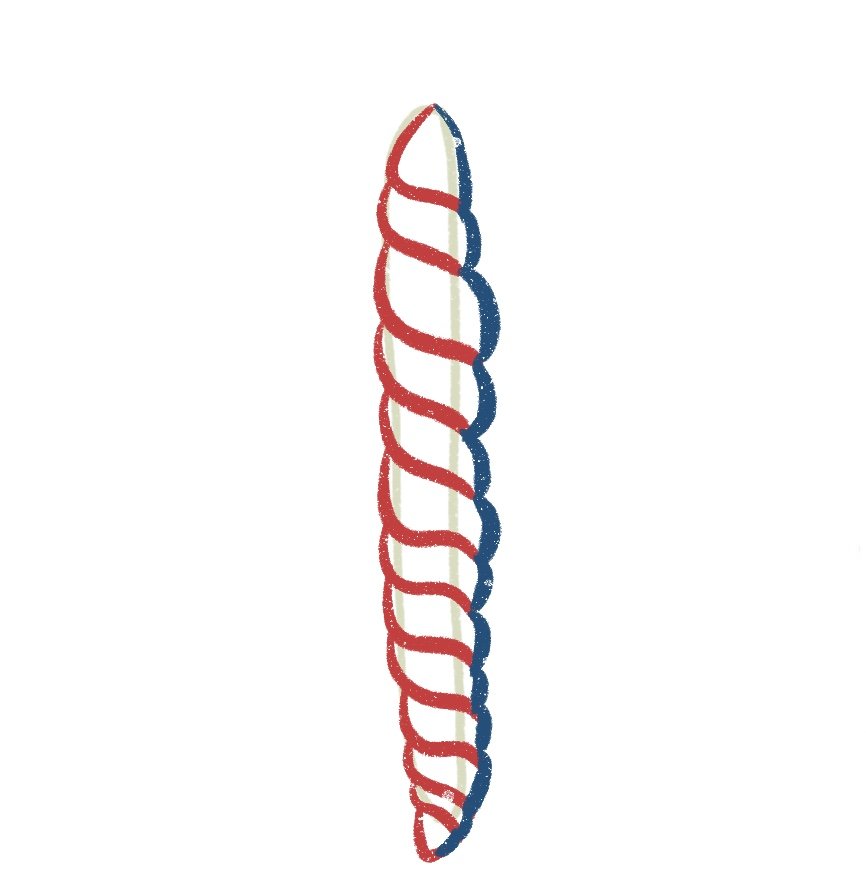
Remember, when drawing the ends, you want to end it in a small inverted croissant.
Here’s what you need to keep in mind when drawing twists:
- Vary the thickness of each twist to make it look more realistic
- Use the cylindrical shape as a guide so you know where you’re going as you’re drawing each section
- Make sure the tips are very small and come to a close (this is because hair thickness decreases as you get to the tips)
And voila!
You’ve understood the basis of drawing twists and learned how to draw a twist.
Now, let’s put this into action and draw a whole head of twists. We’ll start with a simple hairstyle first.
Step 2: How to draw twists (A simple hairstyle)
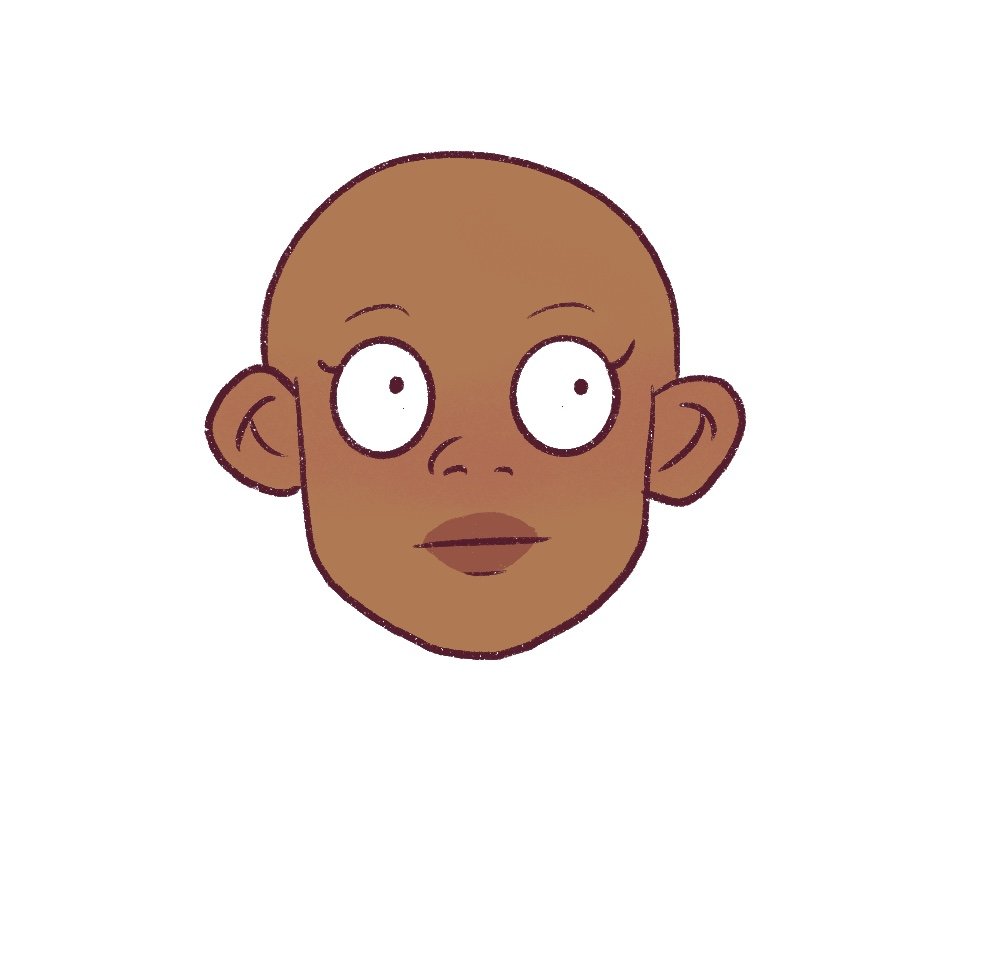
Never start drawing hair before you’ve drawn the head.
This will help you visualize how you want to draw the hair. I won’t go into detail about drawing cartoon heads, but you can pick up this book if interested.
I’m just going to draw a very basic cartoon head.

I’ll color the head quickly. You can check out this post if you want to learn how I color my digital art. It includes a video too!
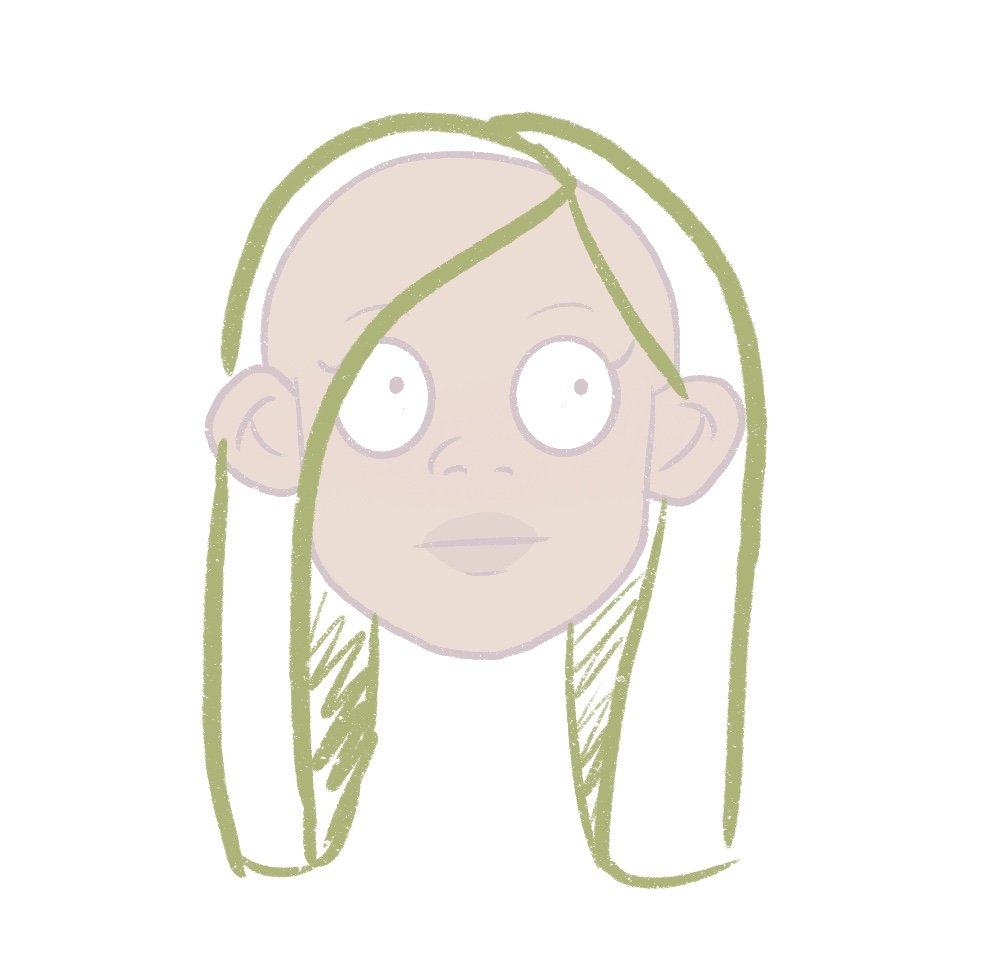
Now, we’ll start with the basic shape of the hairstyle we want to draw. You can use Google Images for inspiration or even Pinterest. Just type “twist hairstyles,” and you can choose any hairstyle you want from there.
Once you have a hairstyle in mind, just sketch out the basic shape, so you know what exactly you want to draw.
If you’re using traditional tools, make sure you draw the sketch very lightly because we will be erasing it later.
Next, I will draw a rough guide of the twists one by one. Remember how I drew the cylindrical shape before I started drawing the twists?
That’s what I am doing now!

Once I’m done and happy with how the drawing looks, I will hide my sketch layer and start working on the twists.
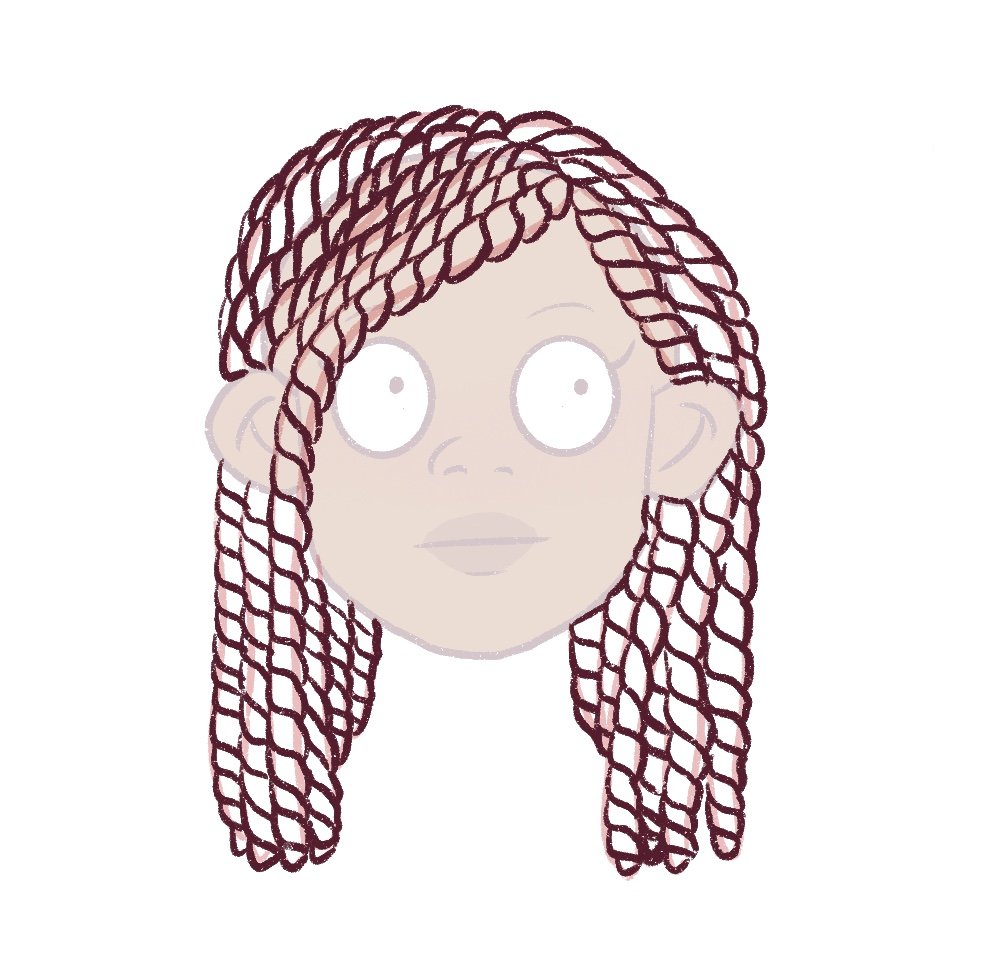
Take your time drawing each twist. Don’t be in a hurry – this is a very soothing process. Remember to draw the tips in a small triangular section to make it look more realistic.
Next, I’ll color the twists chocolate brown.
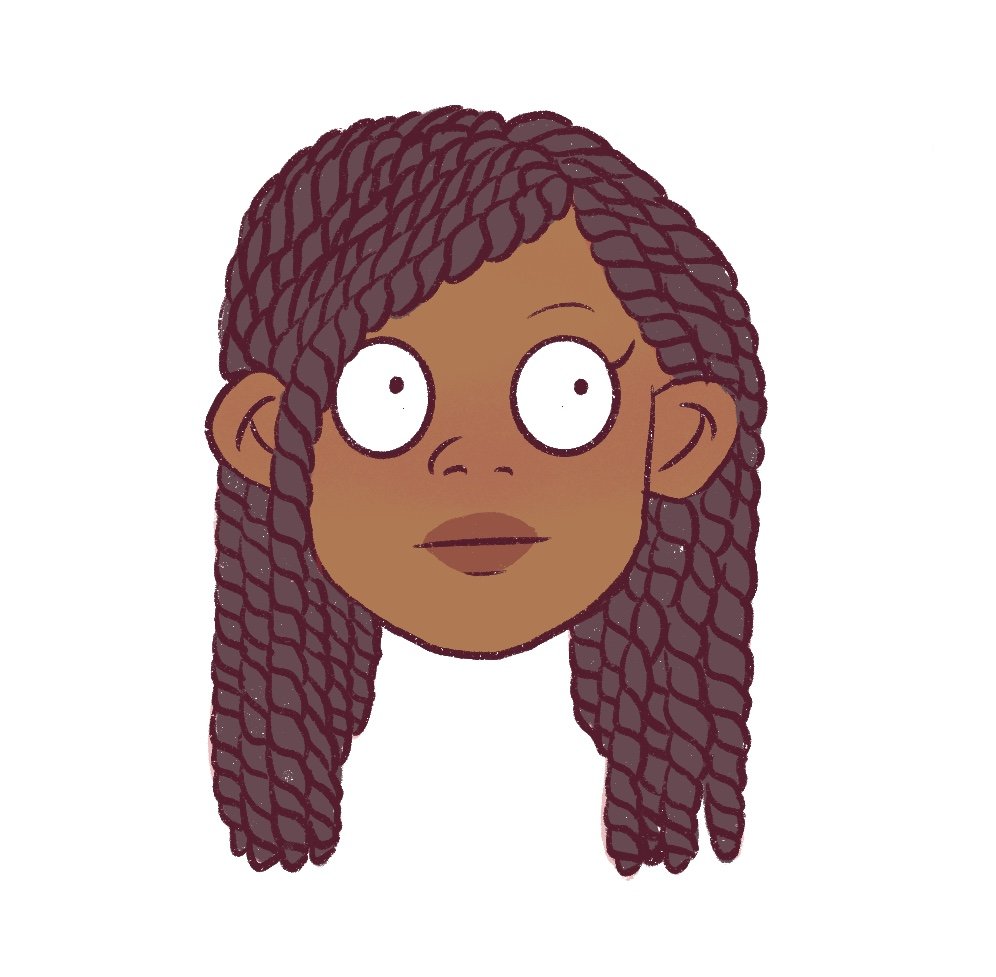
And now, I’ll just add some shadows and highlights. If you don’t know how to do this, just watch my coloring tutorial here.

And we’re done!
We learned how to draw twists in a simple hairstyle.
But if that was too fast for you, I’ll break it down further. Let’s move on to a more complicated hairstyle.
Step 3: How to draw twists (Half bun, half down hairstyle)
Now that we’ve gotten the hang of drawing twists let’s attempt something more challenging.
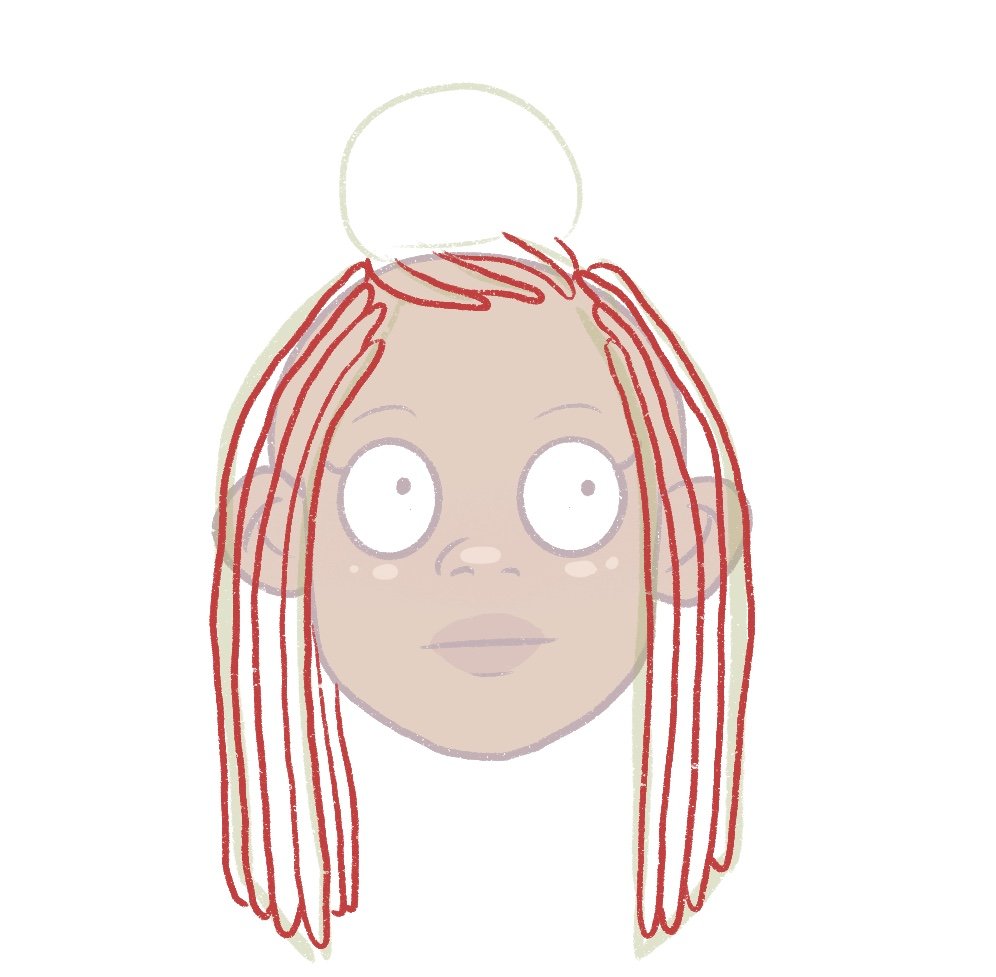
We’ll start with a rough template of the hairstyle first. So, I’m going to use Google to find a hairstyle I like and I think I’ll go for something like this now.
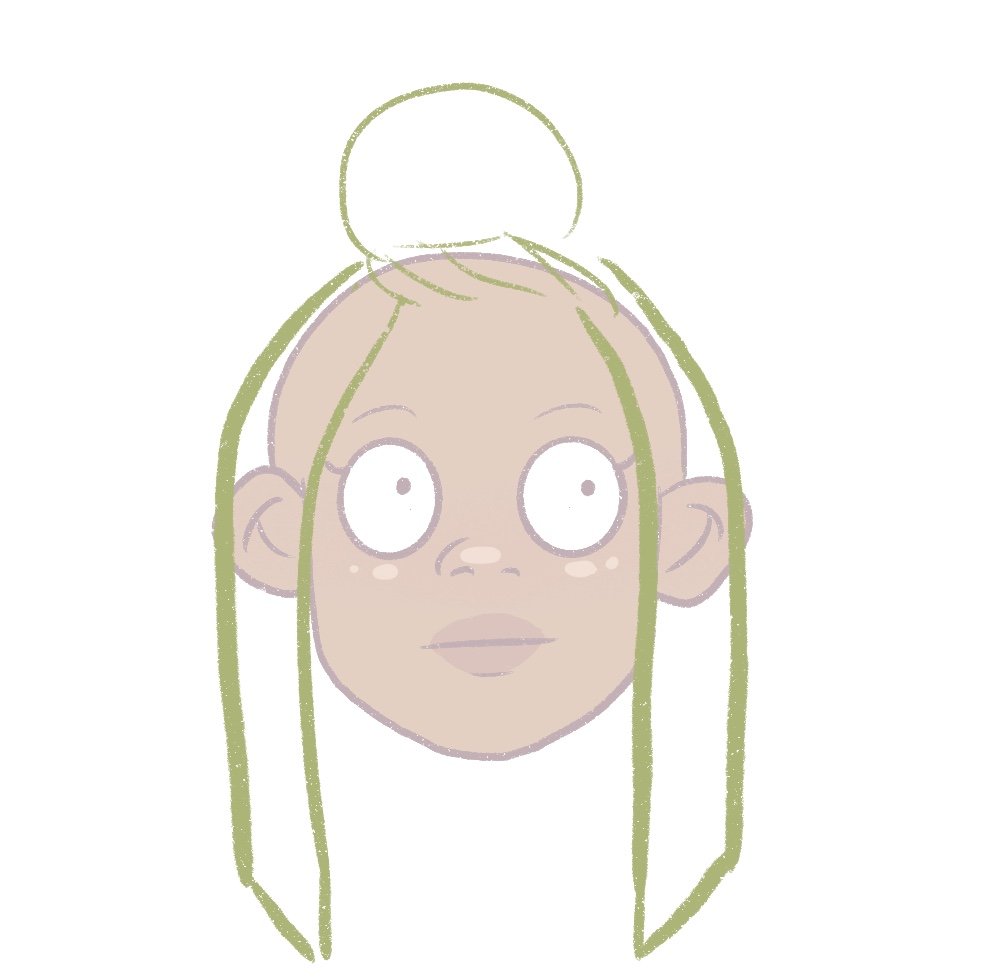
Breaking down hair into shapes before actually drawing the hair is the easiest way to draw hair. Always draw a rough guide of the hairstyle shape before drawing your hair – you will find it so easy to draw any kind of hair!
I’ll ensure I draw more steps this time so you can see each step clearly and have zero doubts. So, I’m going to draw twists and focus on drawing the twists only on the side of the head first.
Notice how the twists move back; they rise further up on the head. And it follows the same approach even below.

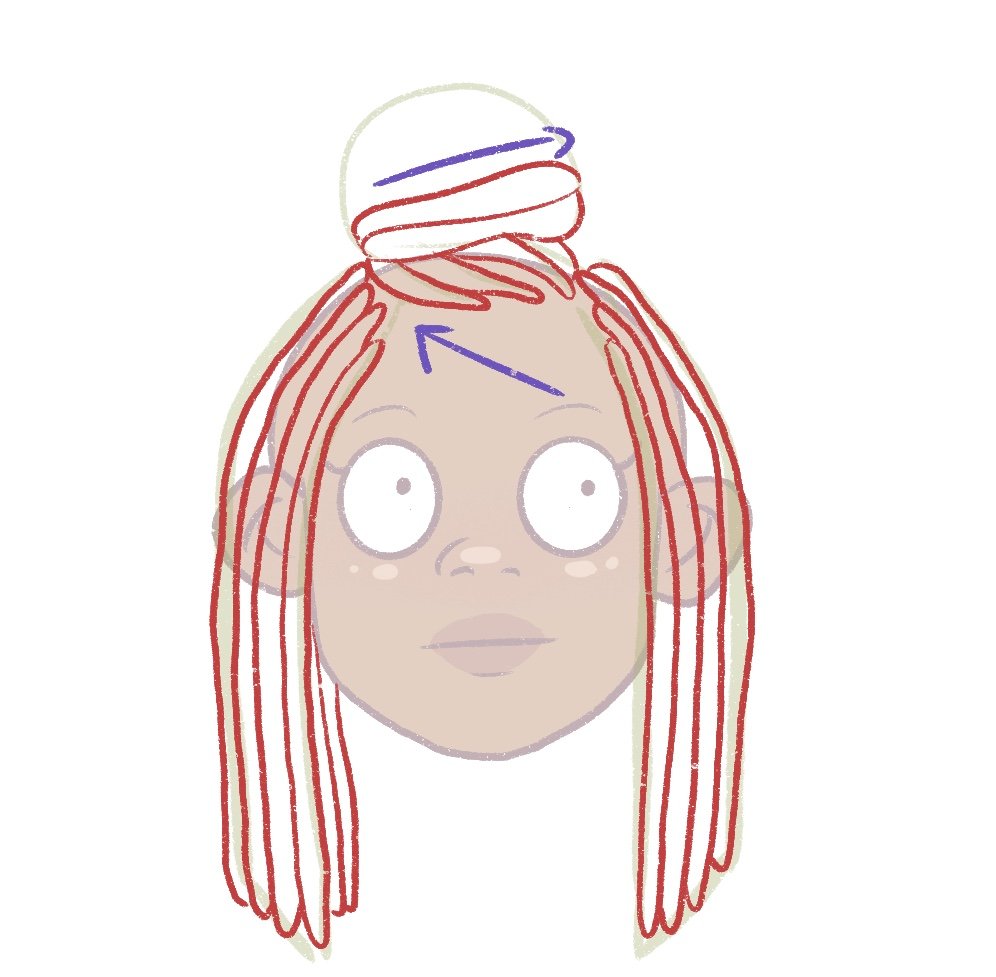
Next, I’ll draw the twists on top of the head and slowly draw the twists going towards the big bun on the top.
Next, I’ll draw the bun. Move the twists in the opposite direction so that people can see the distinction between the twists on top of the head and the twists in the bun.
Note the arrows.
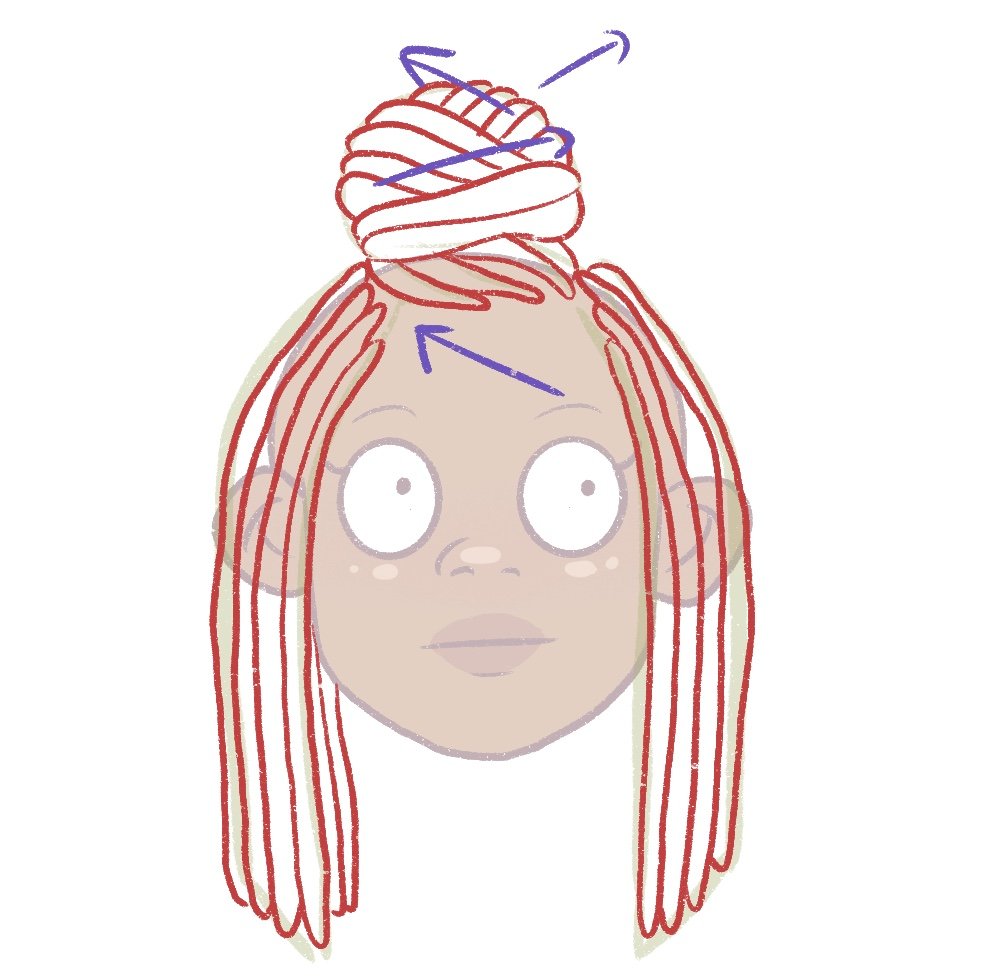
I like dividing the bun into multiple sections because this adds more depth to my drawings. I’ll now draw one more section in the opposite direction.

And I’ll repeat this when drawing the final section of the bun.
Now that we’re done with the rough sketch, we can start drawing the twists. So, I’ll first start with twists on either side of the head.
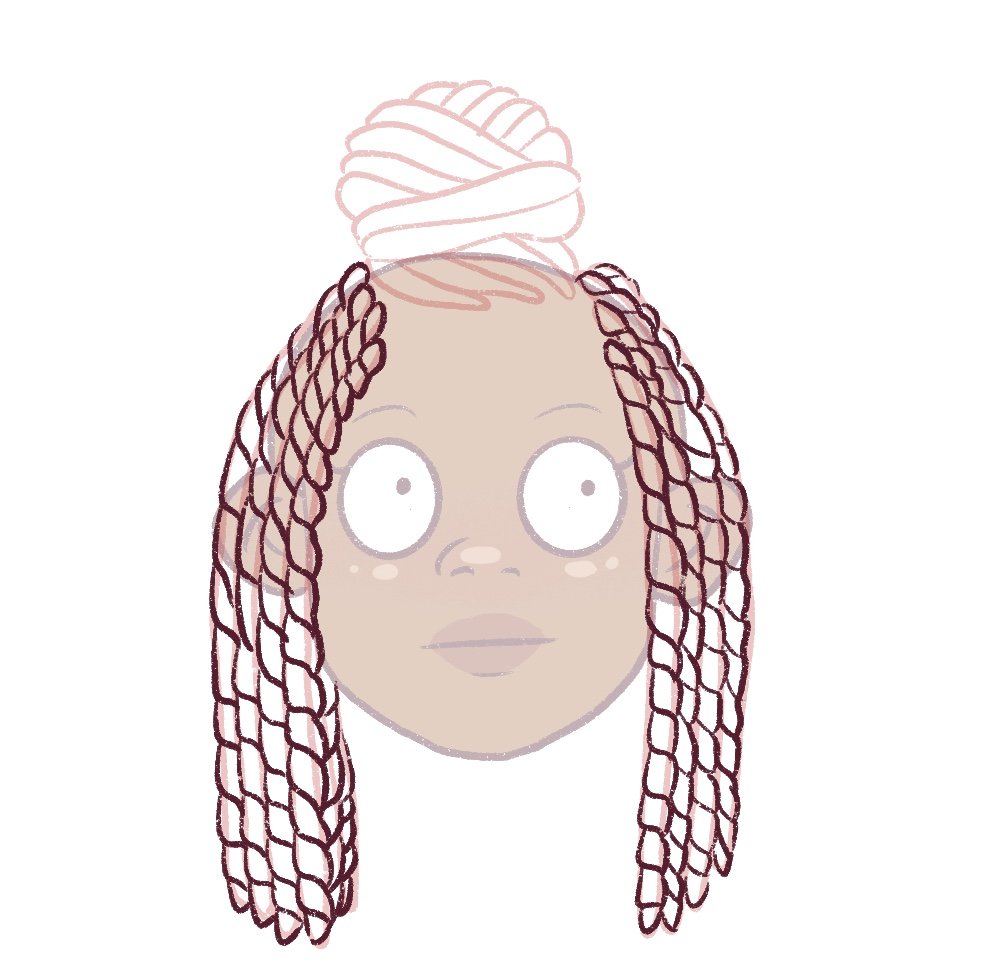
Next, I’ll draw the twists in the bun.
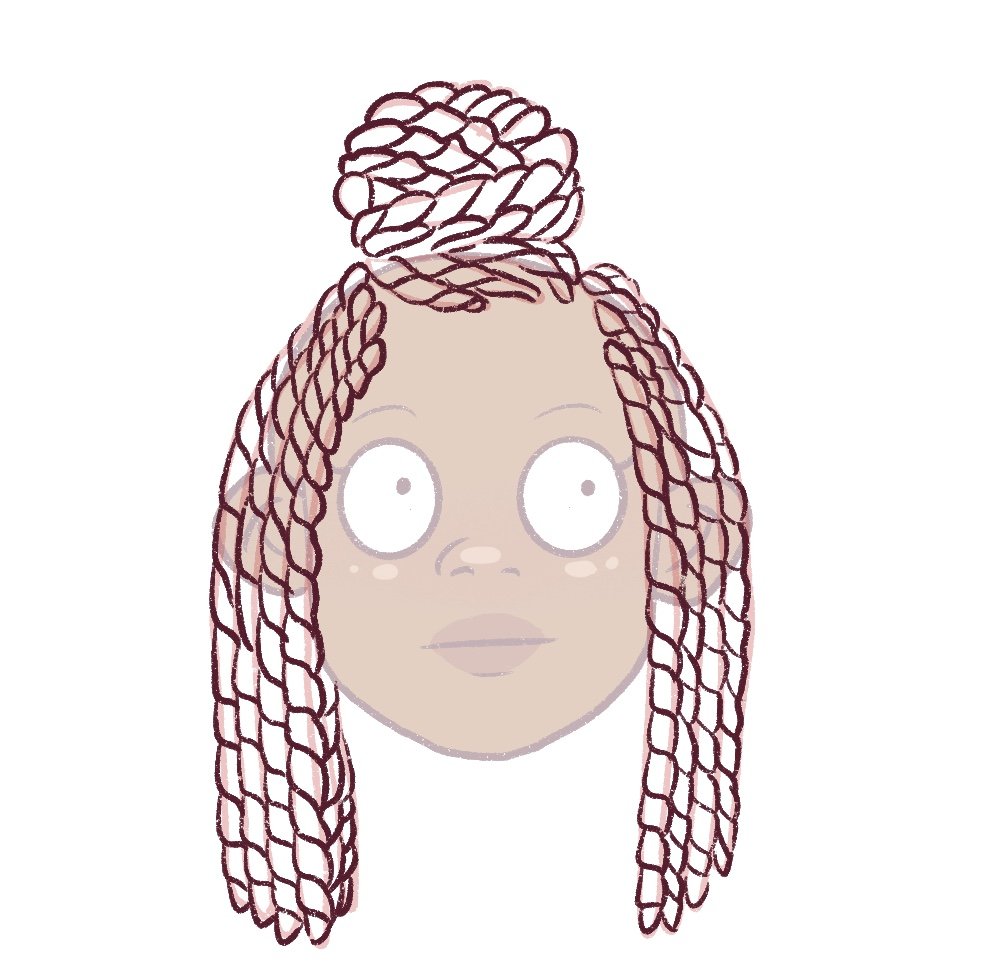
And finally, I’ll just add some fat twists behind her head.

I’m really happy with how this looks. So, I’ll color the whole drawing and add shadows and highlights.
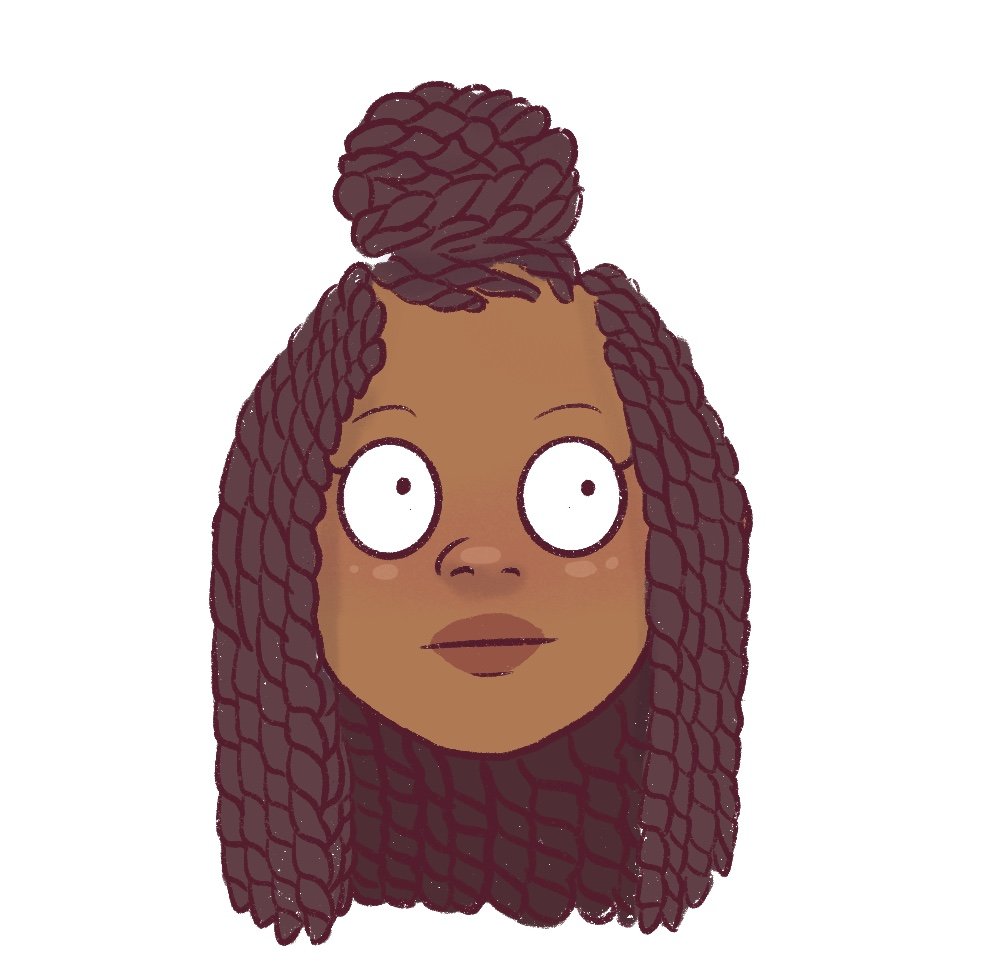
Voila!
You’ve learned how to draw twists in a slightly more challenging hairstyle and even how to draw a bun with twists!
Remember, you can draw any hairstyle you want with twists as long as you draw the hairstyle shape first and then break it into simple cylindrical sections.
Conclusion + Resources
I hope this in-depth tutorial was helpful to you and you were able to learn how to draw twists.
I know drawing hair can be a little tricky.
But drawing hair does get much easier with practice. Trust me. Also, drawing with references helps! You can look at stock photos to understand how hair works and practice daily drawing hair.
One of the best parts about drawing in cartoon style is that you don’t need to complicate things by adding too much texture. You must get the shape right and draw a few lines toward hair growth.
I have a post that you can read on how to find your art style.
You can make things easier by picking up this Character Drawing Toolkit.
If you want to see more tutorials on hair and people, just leave a comment down below. You can check out my other posts on drawing hair over here.
I will add more hair drawing tutorials to this blog, so keep a lookout!
- How to draw afro hair
- How to draw dreadlocks (male)
- How to draw bangs
- How to draw chibi hair
- The ultimate guide on drawing different types of ponytails
- How to draw mermaid hair (in different poses)
- How to draw cartoon hair on Procreate (easy tutorial for beginners)
- How to draw wet hair
- How to draw a mullet
- How to draw space buns
- How to find your art style


Leave a Comment