
There are so many posts on the internet covering how to draw cute doughnuts, so I decided I’ll create a slightly different post.
In this post, I will teach you how to draw a stack of doughnuts.
I have tons of other cute kawaii drawing tutorials here if you’re interested in learning how to draw cute foods and animals, so be sure to check that out!
Here’s what you will be learning to draw in this post:

If it looks too hard, please don’t worry. I will teach you how to draw this cute stack of doughnuts step by step.
So, let’s get started.
Before I move to the tutorial, please sign up for my email list if you want weekly free drawing tutorials and printable worksheets! I even give great drawing course recommendations.
[convertkit form=3083431]
This post includes affiliate links. If you do decide to purchase something, I will make a commission at no extra cost to you. For more information, please read my entire Privacy Policy here.
Please note that I’m currently using:
And I’m using the Procreate software (which costs $10 one-time-fee)
I highly recommend looking at this superb online course that teaches you how to use Procreate.
You can draw this using sketching pencils or a fine marker or draw it digitally like me.
Table of Contents
How to draw a stack of doughnuts step by step – Easy Beginner Tutorial
Step 1: Draw the doughnuts one by one
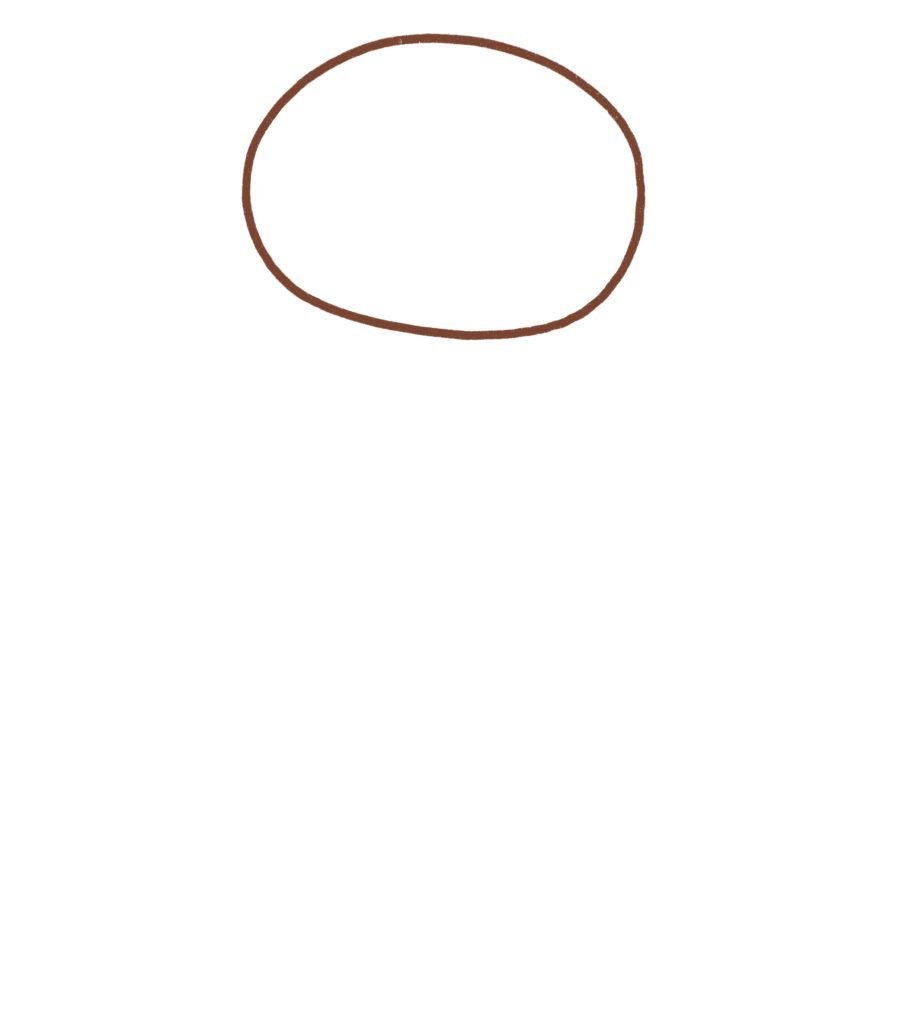
Let’s start with a simple oval shape first. This is going to be our first doughnut.
Make the oval a little thicker length-wise so that the doughnut looks fluffy. It doesn’t have to be perfect because this will give your drawing a very hand-drawn look and look cuter.
Now, we need to draw the doughnut hole. So draw a little oval at the center of the oval shape.

Next, we need to draw the icing. Simply draw a wavy line between the mini oval and the end of the doughnut.

And voila! You’ve just drawn a cute doughnut.
Now, to draw the rest of the stack, we must draw multiple doughnuts underneath this one.
So, let’s draw another oval shape underneath the first doughnut.
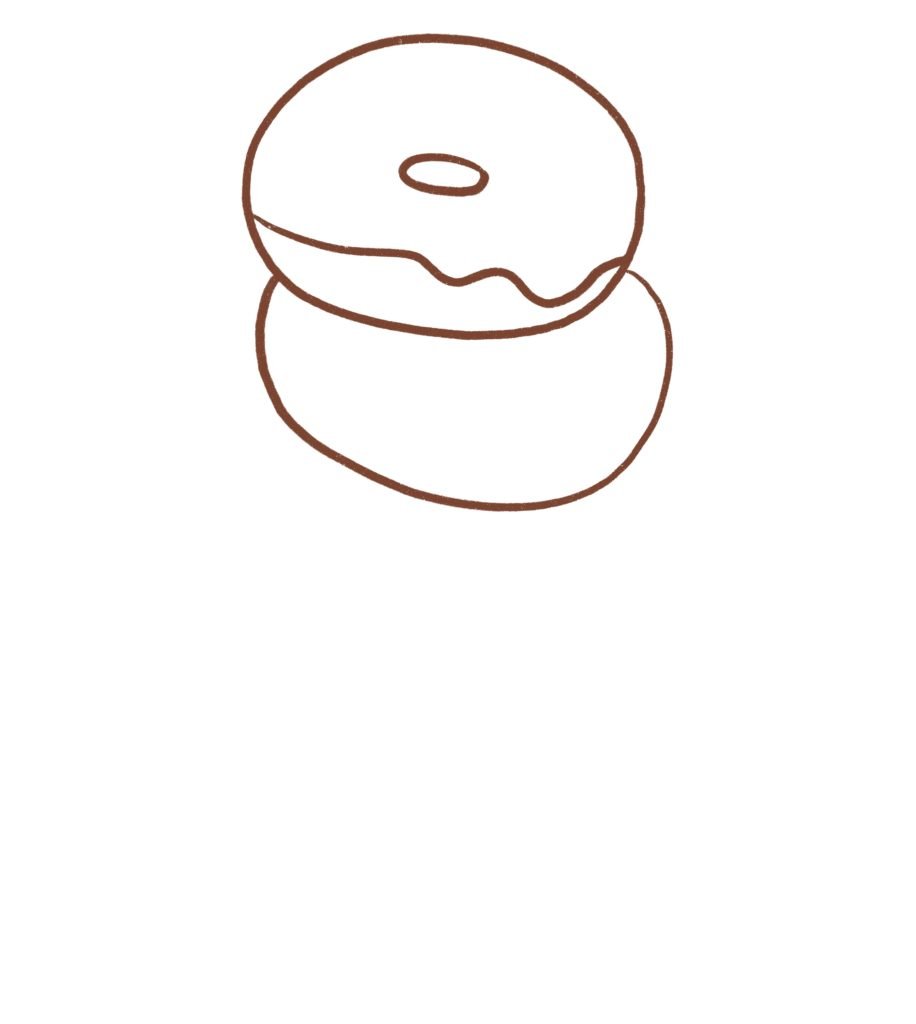
Because it’s sitting underneath the first doughnut, you don’t need to draw the whole oval shape. Also, tilt the oval slightly to make it look like the first doughnut isn’t sitting perfectly at the center of the stack.
Now, just like the previous drawing, draw the center of the doughnut hole by drawing a mini oval at the center and draw the icing which is the wavy line.
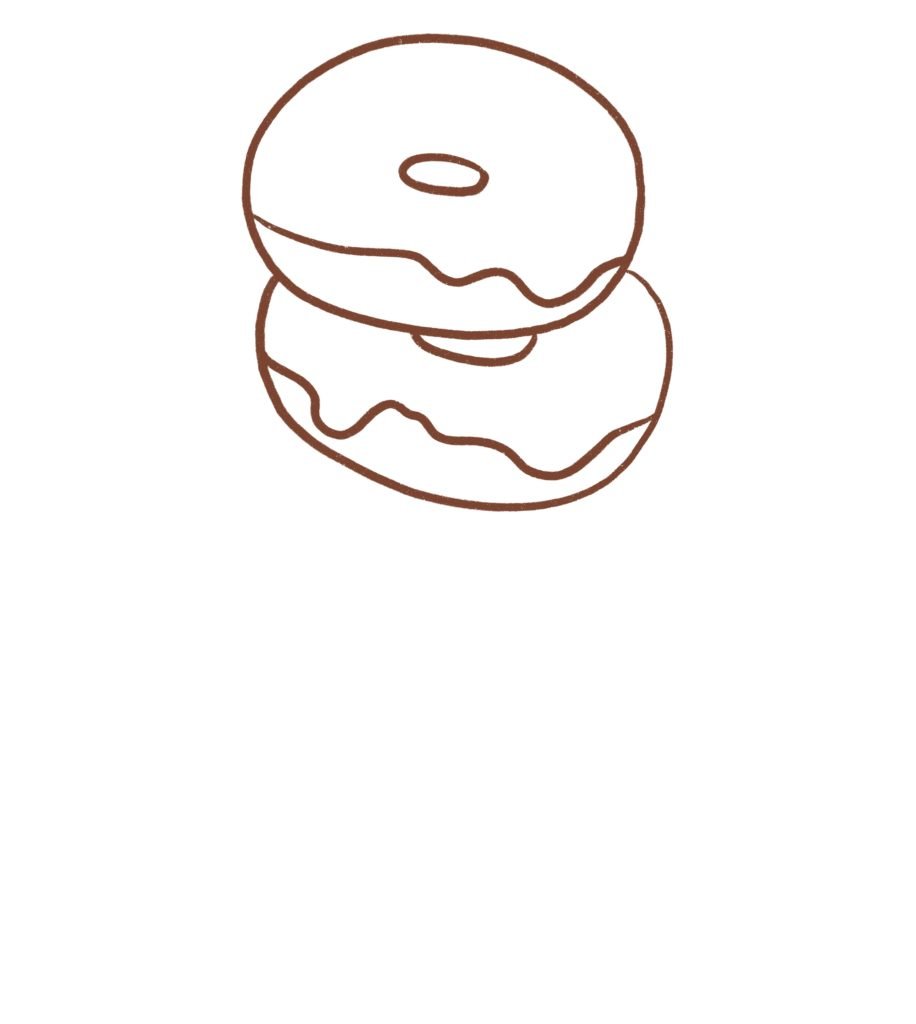
Once you’re satisfied with how your 2 doughnuts look, draw a third one underneath the first 2 doughnuts.

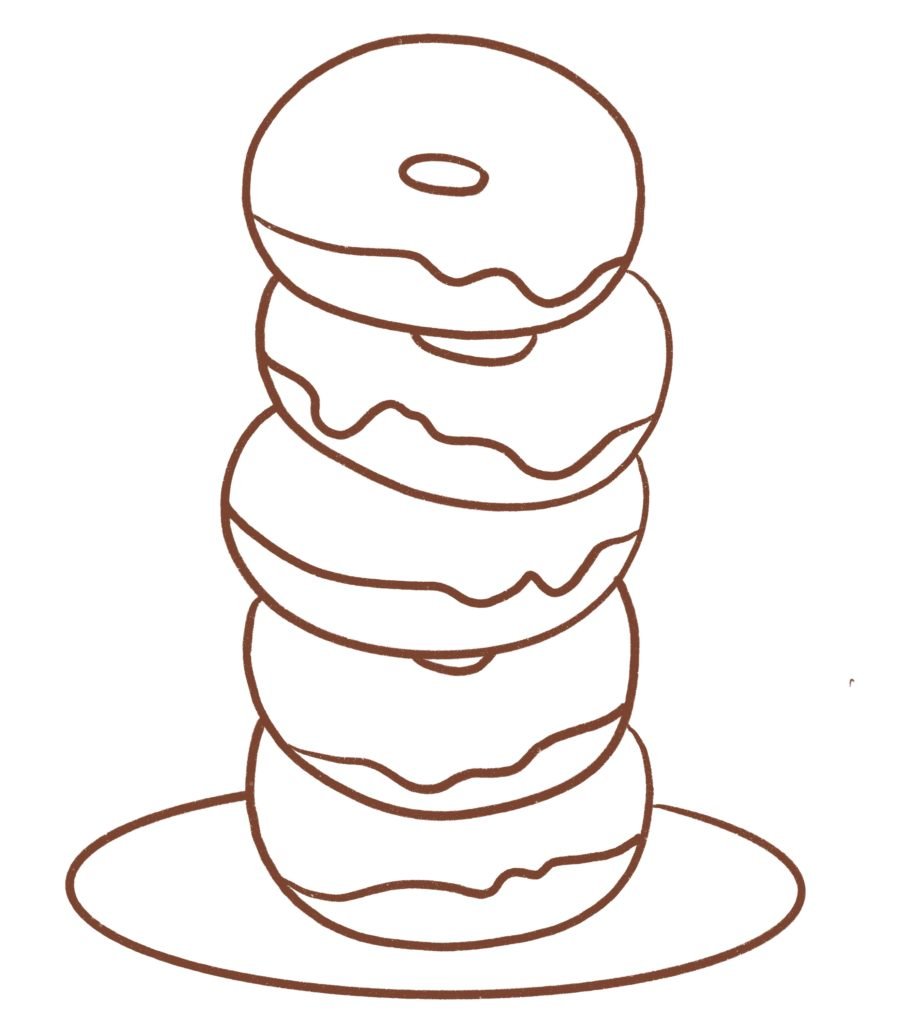
Remember to tilt the doughnuts and move them sideways to make the doughnut stack look more organic.
I’m quite happy with how it looks, so I will add 2 more doughnuts to this cute stack.

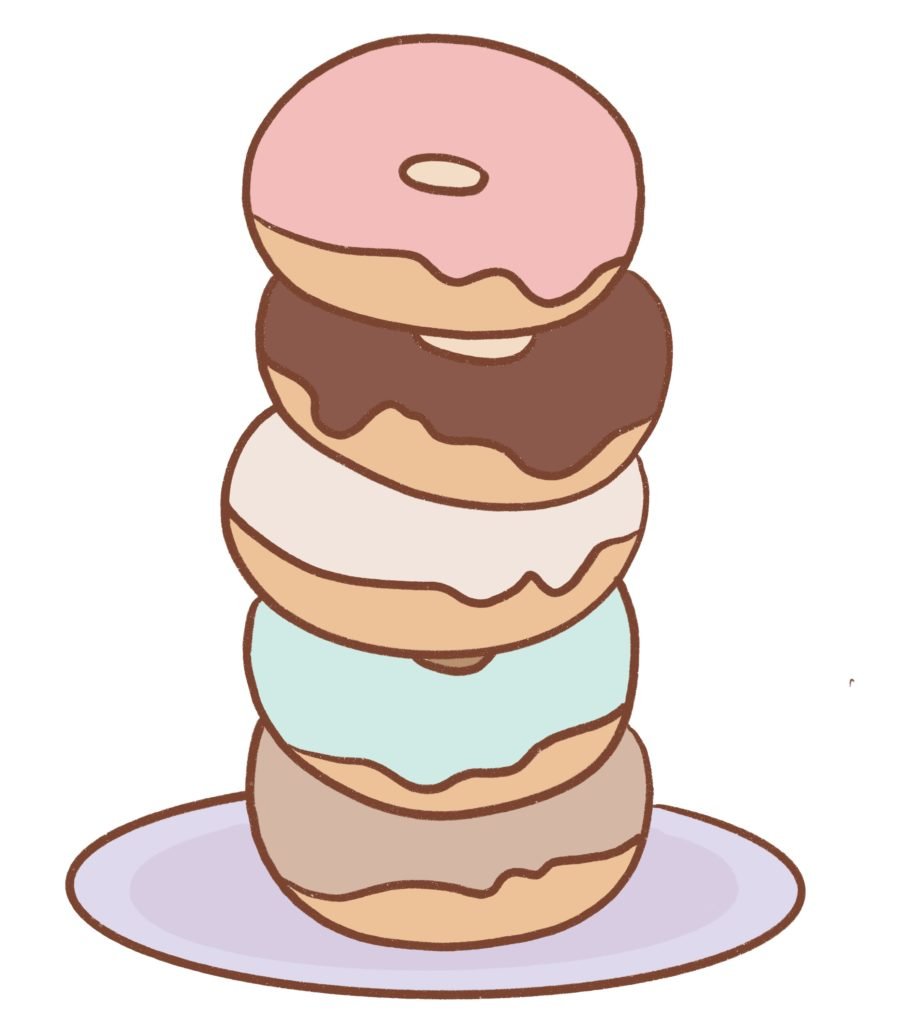
And now we have a whole stack of doughnuts!
Let’s draw a plate underneath to make it look cuter. This oval can be a perfect oval. But if you want, you can draw any plate shape. I’ll leave that up to you!
Step 2: Color the stack of doughnuts
We’ll start by coloring the plate.
I will use purple because it’s one of my favorite colors. But you can color the plate any color you like!
Once you finish coloring the plate, color the middle of the plate a darker color to show a slight dip in the plate. This will give a nice finish to your plate.

It’s time to color the doughnuts – honestly, this is my favorite part of the drawing.
I’ll color the doughnuts a cream beige color or a light camel brown to give them that beautiful deep-fried wheat color.

Next, we can color the icing of the doughnuts.
This is completely up to you. You can color the doughnuts any color you want. Use your imagination to color the doughnuts.
You can use unicorn colors. I’m using Dunkin Doughnuts for inspiration since they’re my favorite, and coloring the doughnuts in a variety of colors – keeping the pink one on the top!
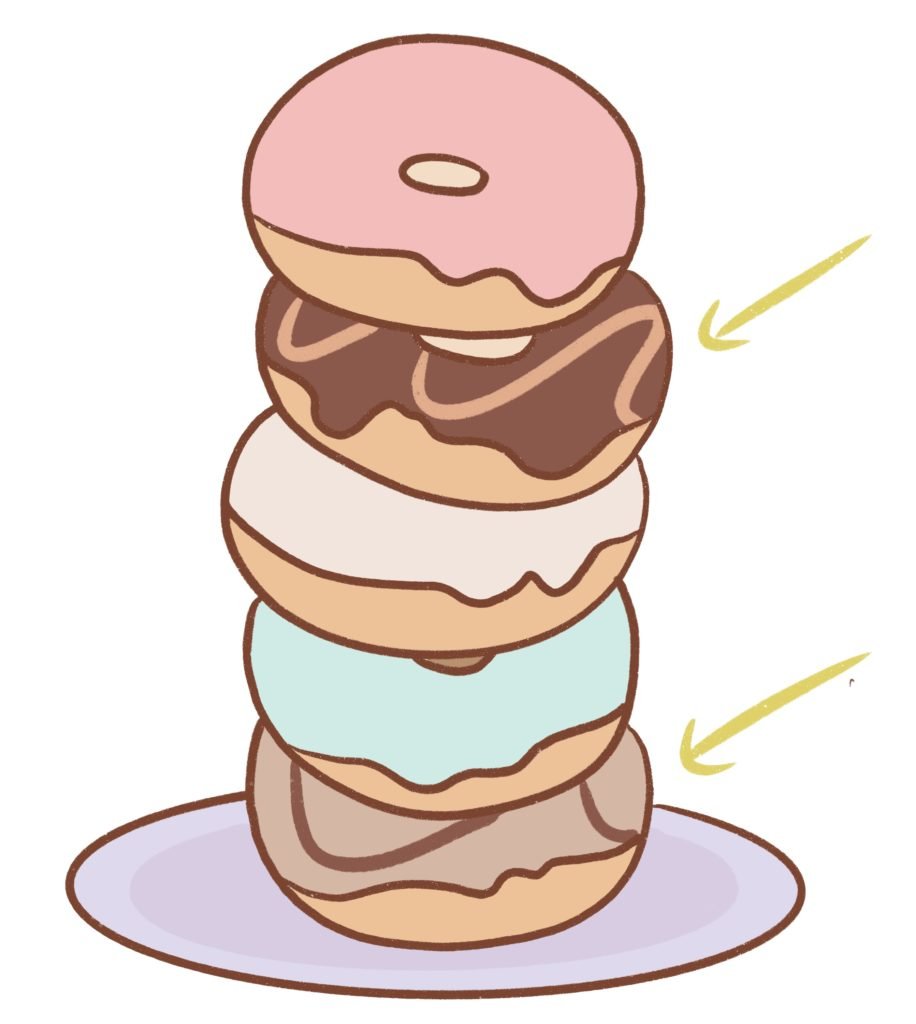
Step 3: Add detailing to the doughnuts
Okay, now that you’ve finished coloring the doughnuts with basic colors, it’s time to add the toppings and the detailing.
So, I’m going to add a drizzle on a few doughnuts, like caramel drizzle and chocolate drizzle.
To imitate the syrup drizzle, simply draw a wavy, zigzag line on the doughnuts like this:
Another great way of adding details to doughnuts is adding sprinkles.
Just add colorful dots and dashes to the top of the doughnuts like this:
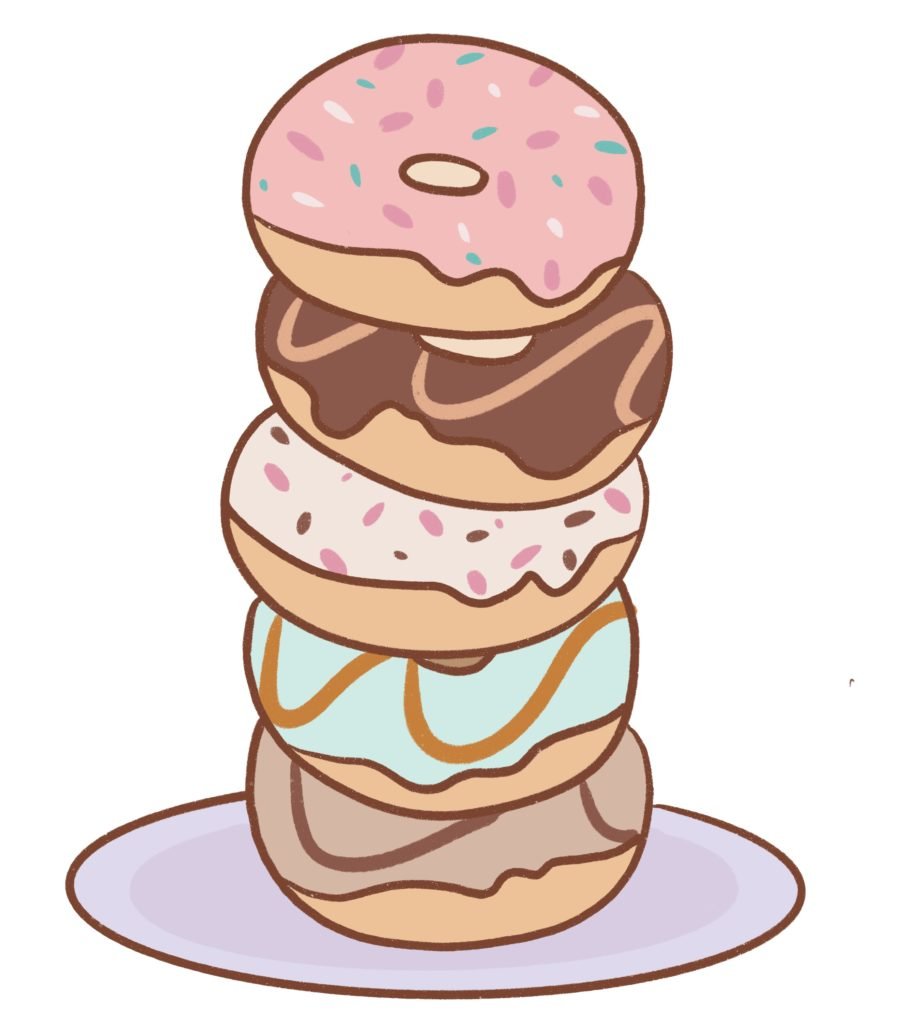
And once you’re done, you can add shadows to your drawing to make it look more organic and give the drawing more depth. You can check my post on how I color digital art here to learn more. It even includes a video.
And yay!
We’ve finished drawing a cute stack of doughnuts.
Drawing Resources
I hope this tutorial was helpful to you and you enjoyed drawing this stack of doughnuts.
If you want to see more tutorials on drawing kawaii animals and kawaii things, please leave a comment below on what you’d like to see next!
I will add more kawaii drawing tutorials (animals, food, and lots of things) to this blog, so keep a lookout!
If you are interested in drawing in a kawaii style and then selling clipart or merchandise on Etsy, check out this course!

My old bud Ilaria (we’ve been friends on Instagram back when I had Instagram) created this course! I’ve watched her grow from 0 followers, and I’m so, so proud of her!
And believe it or not, there is not 1 single good online course about learning how to draw kawaii art and then making physical stickers on the internet. I’ve been looking for a course like this for a long, long time.
And it’s finally here!!!
You can create your own stickers and print them and sell them on Etsy or any space! She goes into detail about how to draw the characters.
This is by far one of the best courses I’ve taken that is so cute and so educational.
The course is in English, and it’s amazing!
What do you need?
A sketchbook, Photoshop, and a graphic tablet so that you can draw the kawaii characters. If you want to make stickers, you’ll need a printer and sticker sheets.
Even if you don’t want to make stickers and just draw kawaii characters, this course is perfect!
And if you are really keen on improving your drawings or you want to create cute kawaii animals and kawaii people, check out this second course by Sara.
Sara teaches you how to draw anything in a nice kawaii style. I really love these kinds of courses because they’re so easy to learn and it’s very easy to get clients because this is a really relatable drawing style.
It is in Italian but it comes with subtitles and it’s really easy to follow.
Use code STRAYCURLS-10 to get a 10% discount!
If you are just getting started with ProCreate, I highly recommend this course: Procreate for Beginners: Digital Illustration 101
You may also enjoy:
- How to draw a kawaii dog
- How to draw a kawaii cat
- How to draw a kawaii jar of honey
- How to draw a cute burger
- How to draw a stack of pancakes
- How to draw a cute chocolate bar
- How to draw a cute kawaii egg
- How to draw a cute chibi mushroom
- How to draw cute junk food
- How to draw a cute hamster
- How to draw a kawaii unicorn
- How to draw a cute mermaid cat
- How to draw a cute dinosaur
- How to draw a cute long neck dinosaur
- How to draw a chocolate bunny
- How to draw cute boba tea
- How to draw a cute succulent
- How to find your art style

Leave a Comment